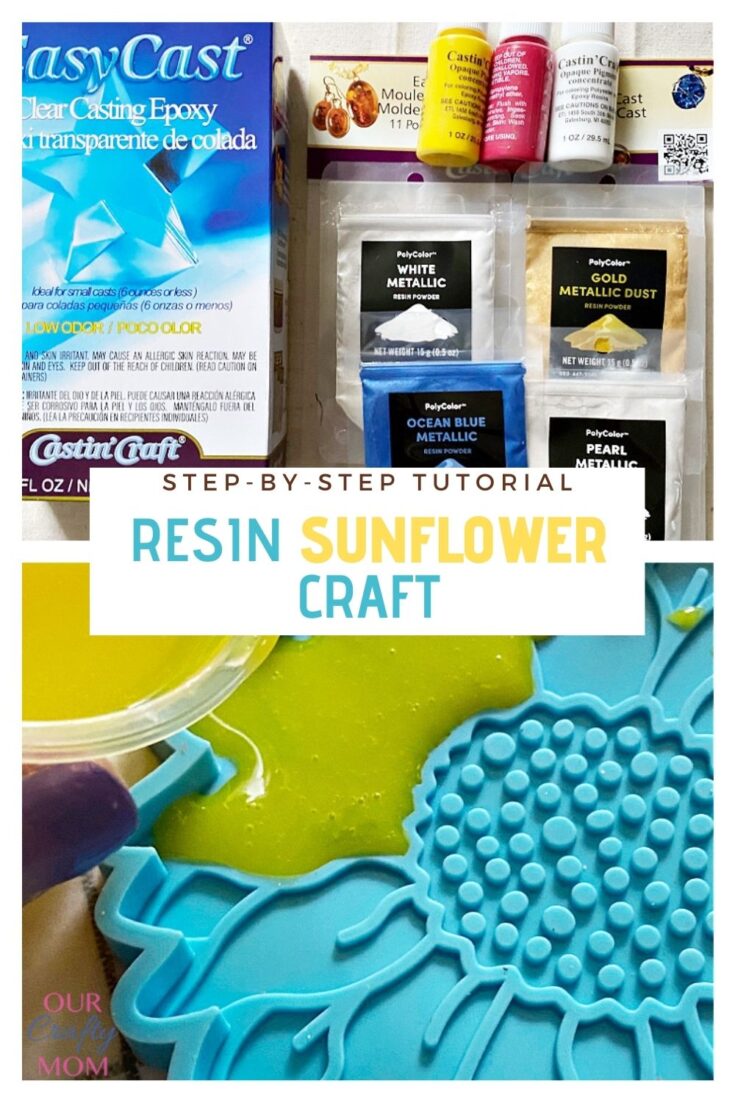
Let me show you how to make beautiful DIY resin sunflower coasters using Easy Cast and a sunflower mold. This was my first time working with molds and I can’t believe how easy (and fun) it was!
These DIY resin sunflower coasters were easier than I thought to make. I’ve been wanting to try resin molds for quite some time. For whatever reason, I was a little intimidated.
If you are feeling the same way, I’m here to tell you to go for it! Once you do, you will want to make all the things! I’ve since tried a couple of other resin crafts that will be coming up in the next couple of weeks.

This post is sponsored by ETI and contains affiliate links at no extra cost to you. Please see my full disclosure here.
Fair warning…it is slightly addicting! I’ve worked with resin a few times on furniture like this epoxy resin desk and this resin wood table.
One of my favorites was this wood slice coffee table with ghost legs. The great thing about resin is how versatile it is, as shown in these projects.
You can make furniture, jewelry, coasters, bookmarks. The possibilities really are endless!
So, let’s get to this tutorial so you can make your own pretty sunflower. And, you don’t have to use them as coasters.
They would look great hanging in a window as a suncatcher, or shaped into a bowl for a jewelry dish.
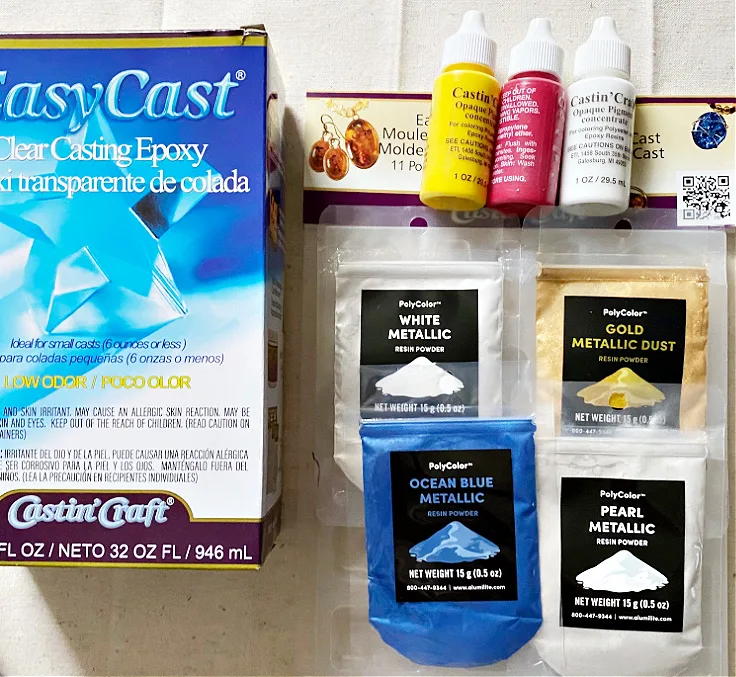
Supplies Needed For Resin Sunflower
- Sunflower mold
- Easy Cast Clear Casting Epoxy
- Mold Release Conditioner
- Opaque Pigments – Yellow
- Mixing Cup Set
- Resin Powder – Gold Metallic
- Resin Powder – Pearl
If you are a first time user of ETI Products, I have good news! You can save 10% off your first order by entering code OURCRAFTYMOM10 at check out. 🙂

It’s important when working with resin to follow the directions with the exact measurements of 1 part resin and 1 part hardener, otherwise the resin won’t set properly.
If you follow the simple steps, you will have a beautiful finish!

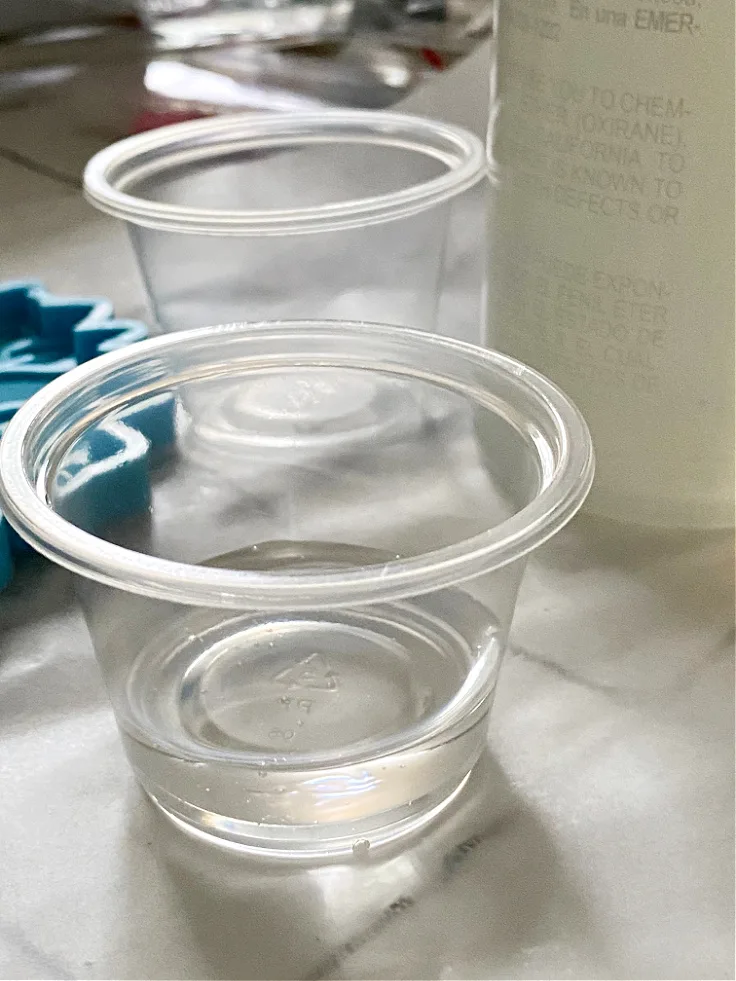
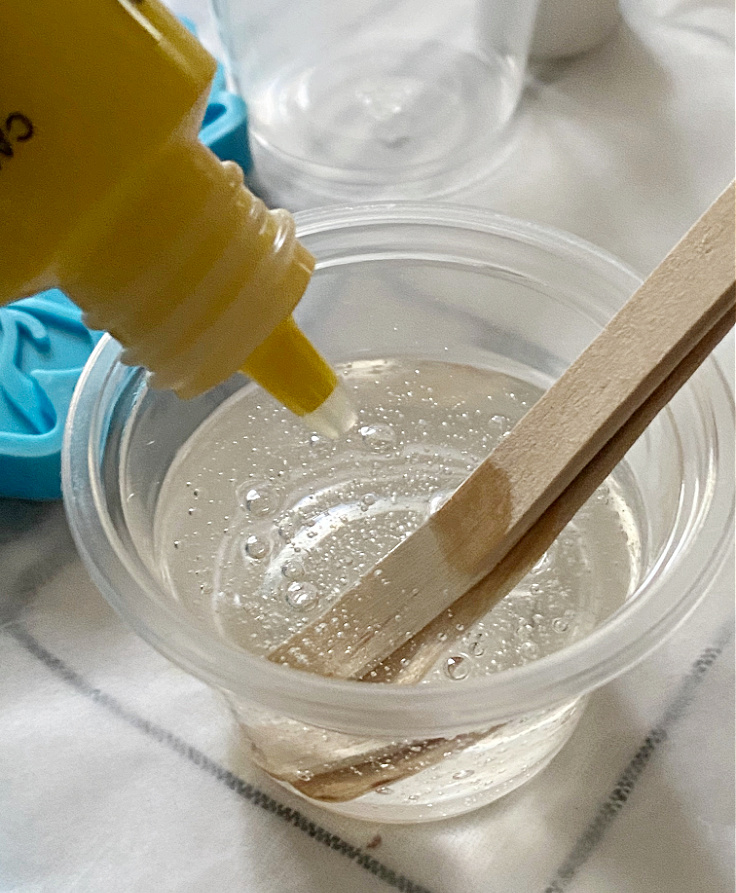
Start by pouring equal parts resin and hardner into separate cups and mix.

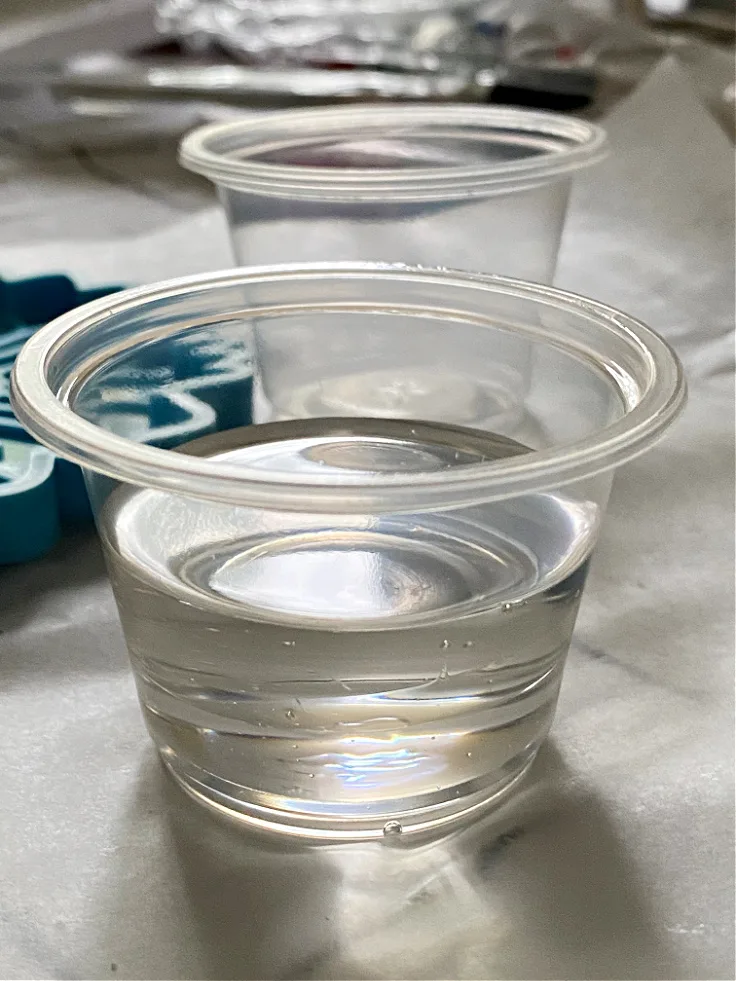
Then, pour the hardner into the resin and mix about 2 minutes using wood craft sticks.

For the sunflower I went with yellow opaque pigments, adding a few drops at a time until I had the color yellow that I wanted.
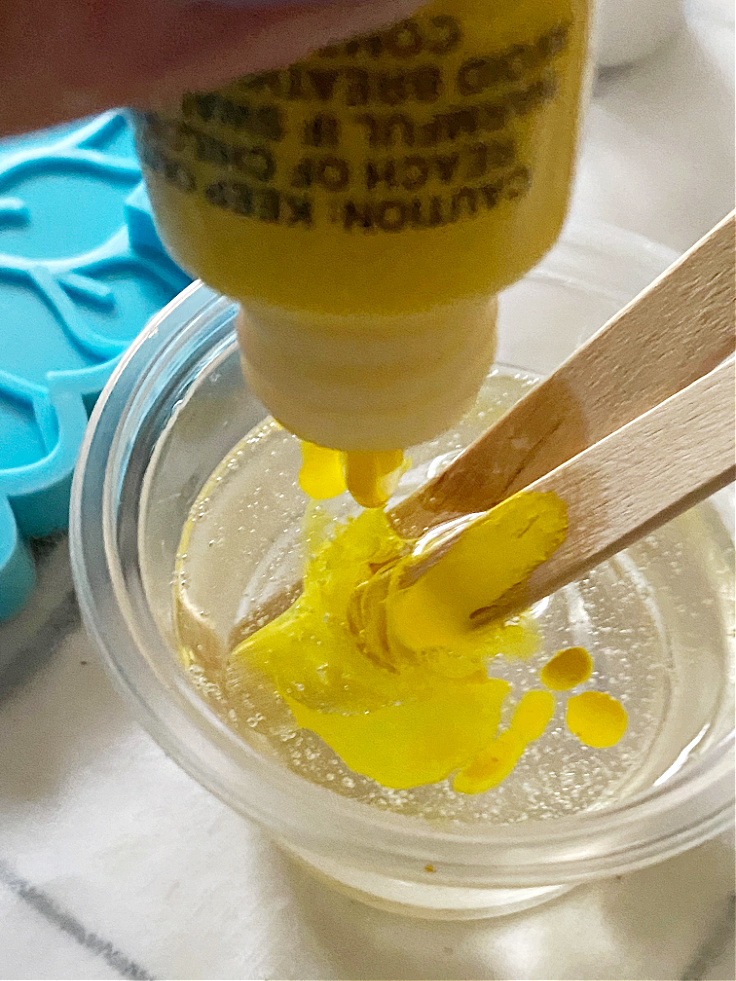
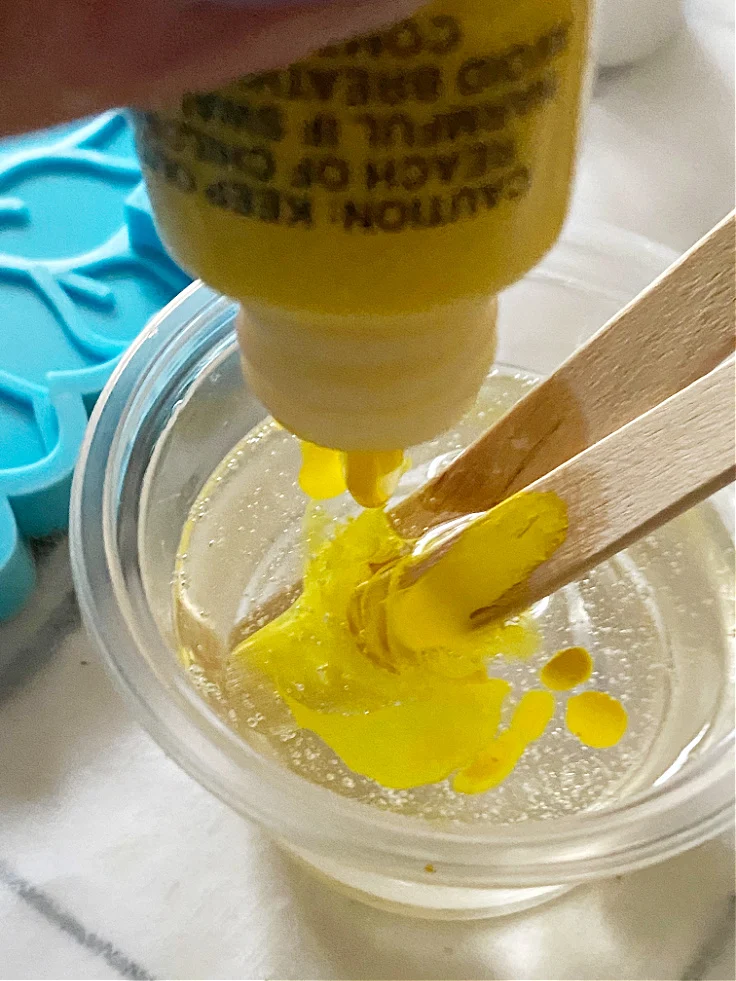
I probably used about 8 drops to get this bright sunny yellow.
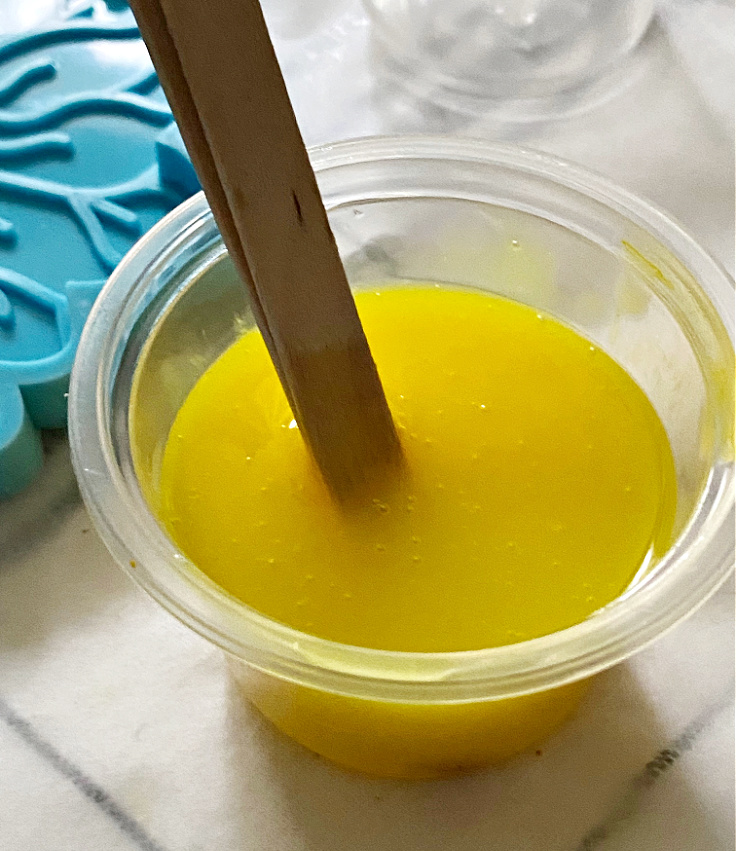

Make sure you mix it well, again about 2 minutes.
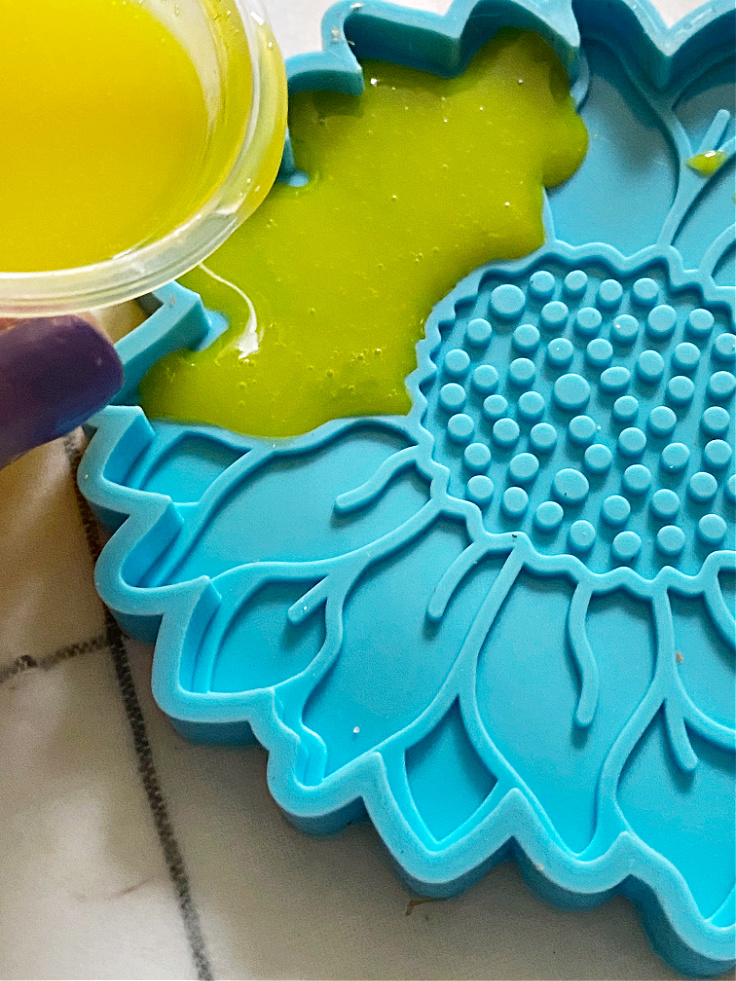

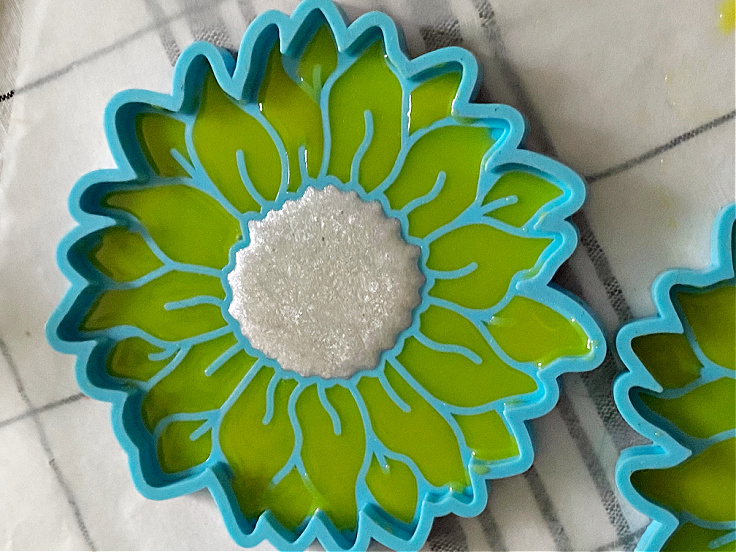
Now for the fun part! Pour the yellow resin into the sunflower mold. I did cover the mold with mold release conditioner, just to be safe.
Although, because the mold is new I probably didn’t need to.

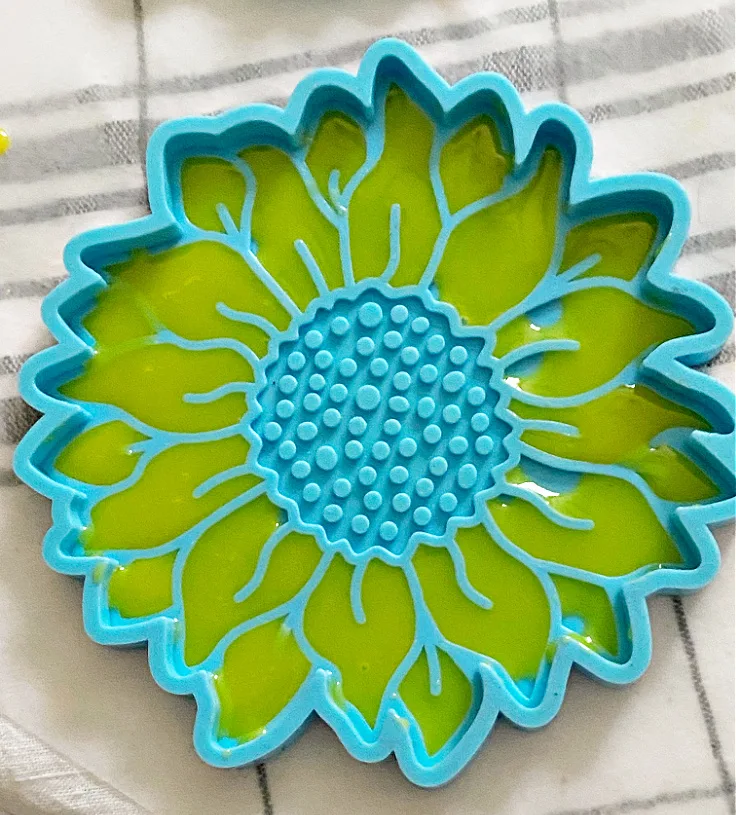
Continue to add resin to the mold until it is full. It took about 2 mixes to fill this mold.
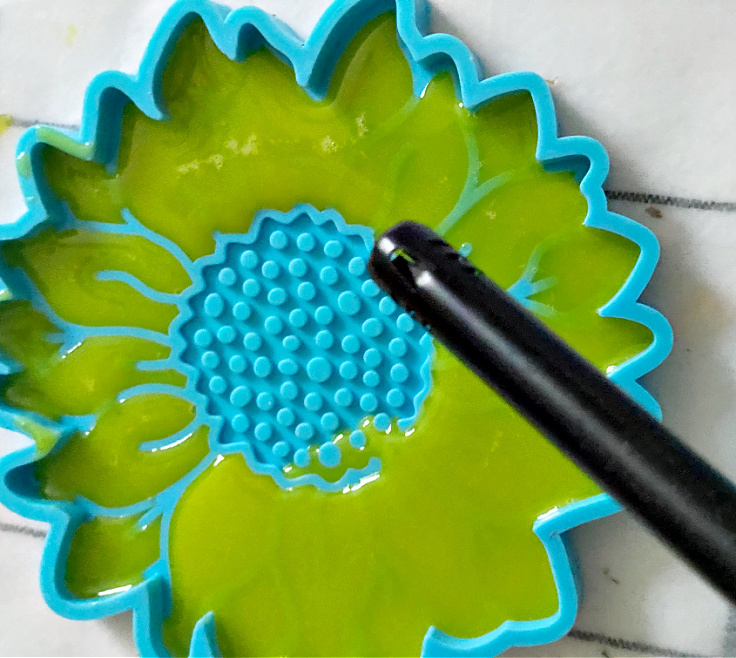

Use a lighter or kitchen torch to remove any bubbles. This is a step you don’t want to skip. You don’t want all your hard work filled with bubbles!

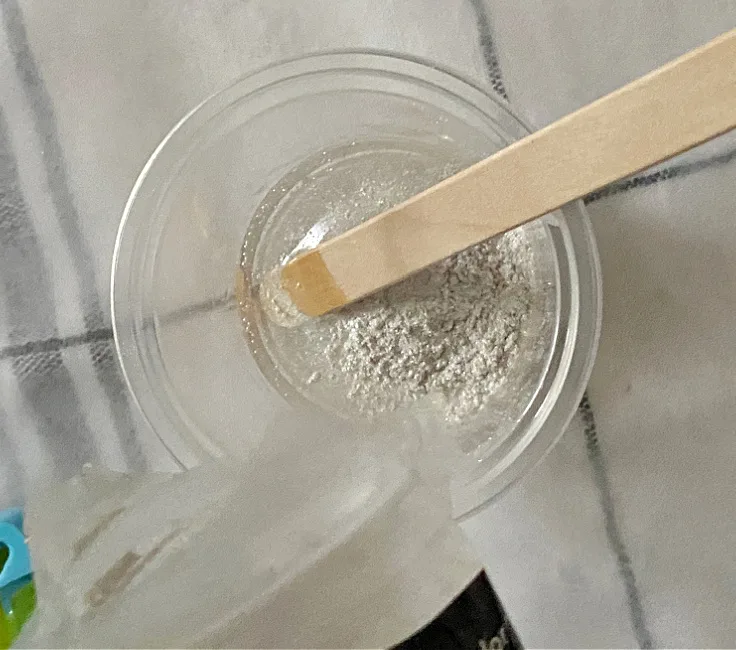
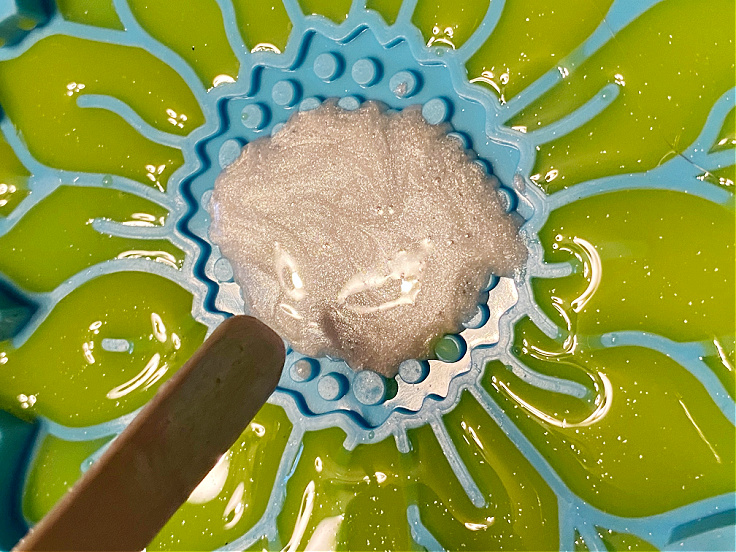
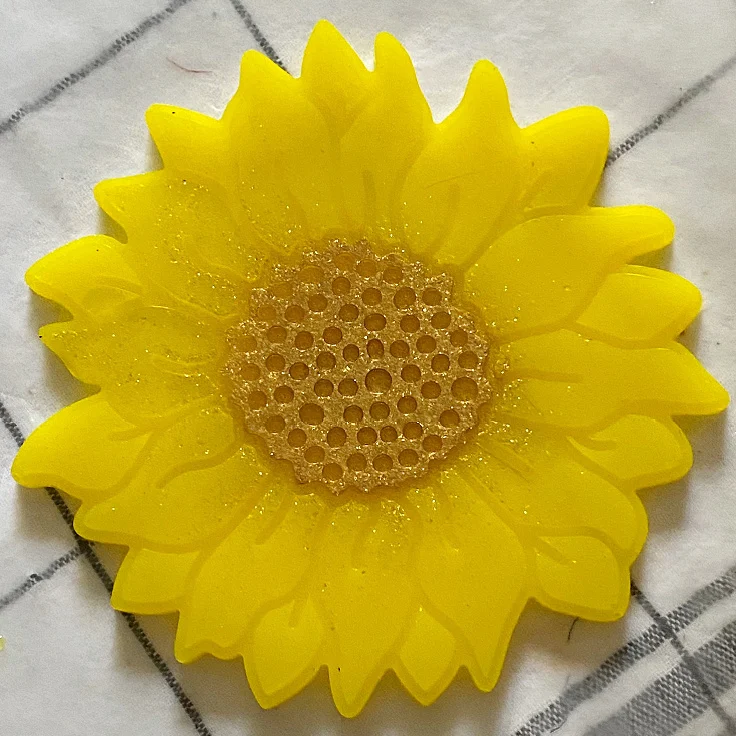
I tried a couple of products for the center of the sunflower. First I used pearl pigment mixed with resin and poured that just in the center.

Let the resin completely dry. You can check on it to see if it is still tacky. But, when in doubt wait another day or so.
You can also cover it so no dust gets in it while it’s curing.

[Tweet “How To Make DIY Resin Sunflower Coasters @ourcraftymom @resincraftsblogbyETI #ourcraftymom #resinsunflowers #MadewithETI!”]

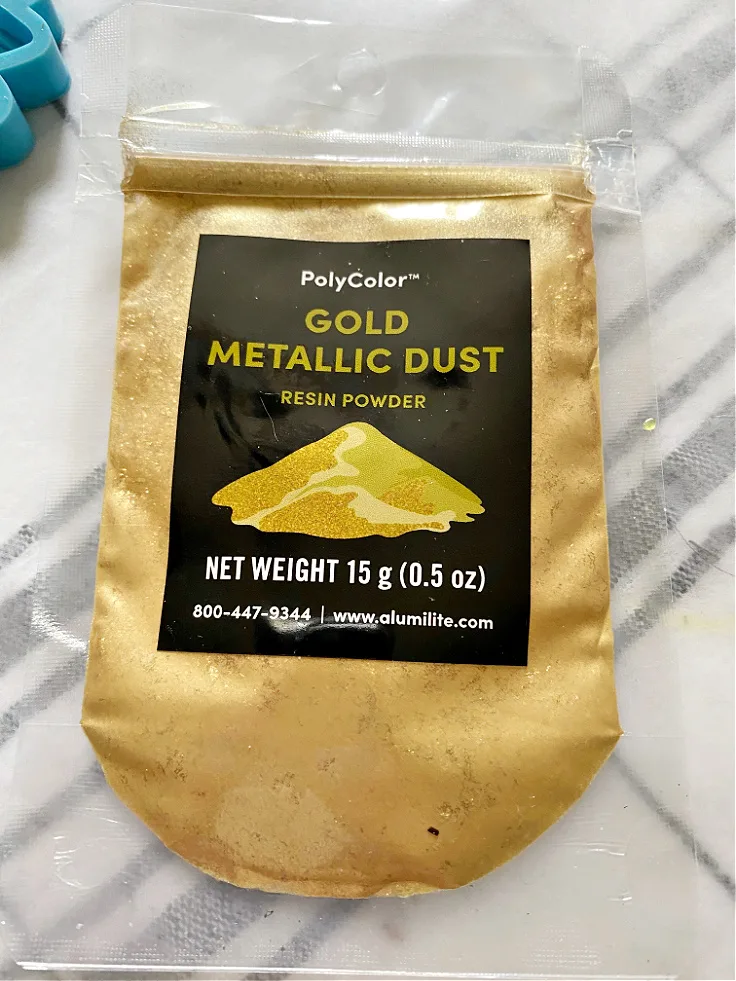
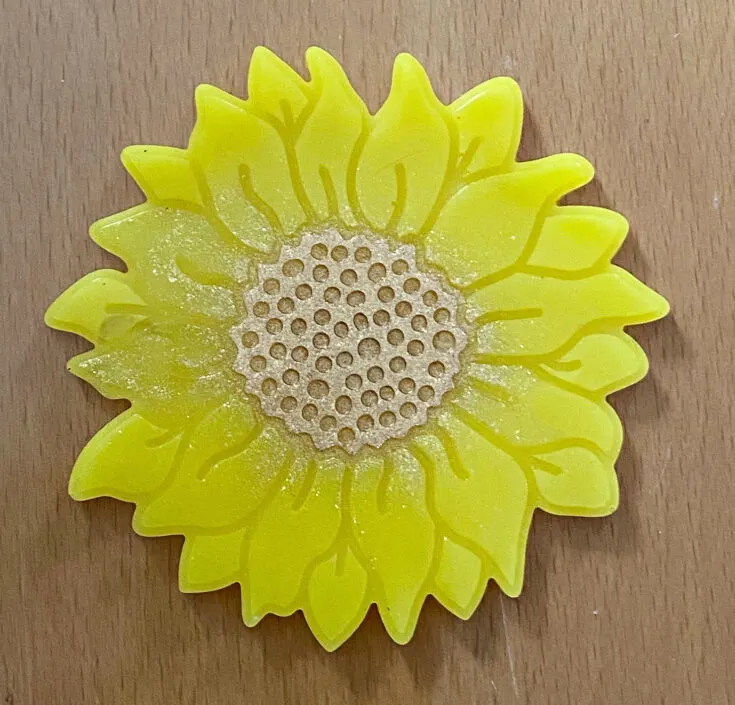
The other option I tried was brushing the center of the sunflower with gold metallic dust and a small paint brush.
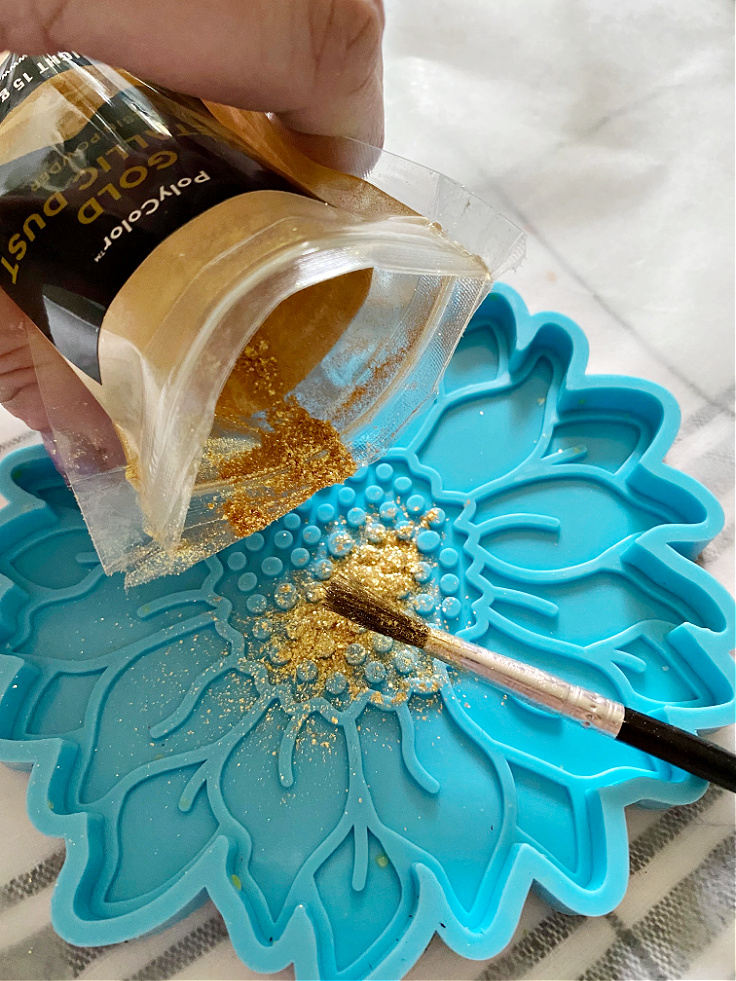

Both are pretty and it’s actually nice if you are making a set of sunflower coasters to have different variations. The sunflower mold comes with 3 so you can easily make up a set.
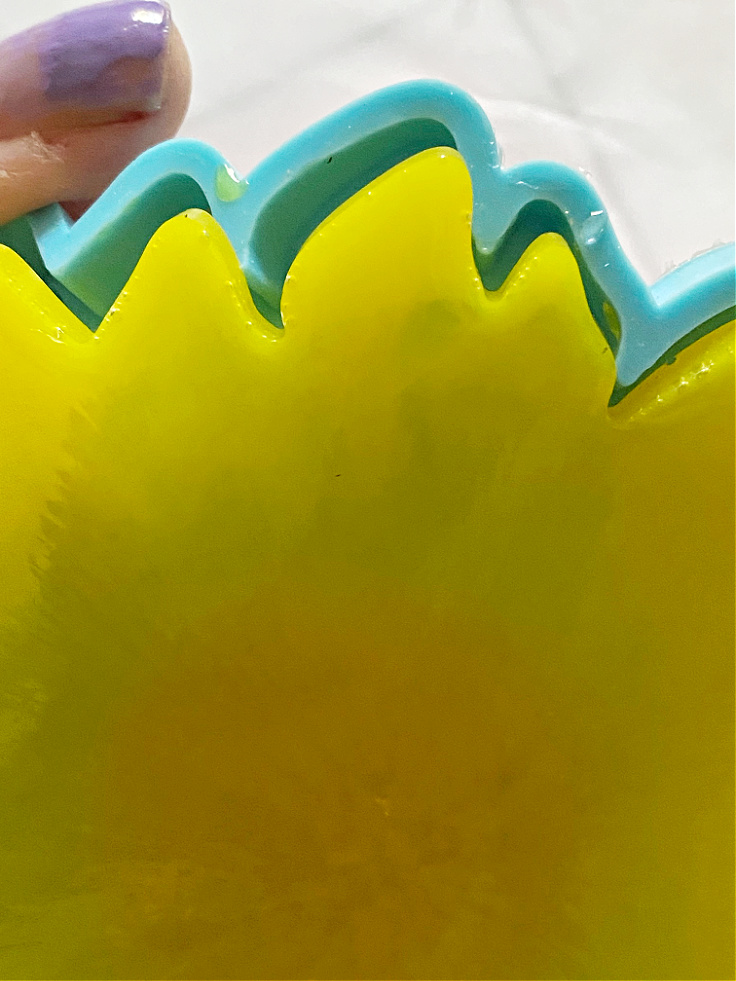

Once the resin is cured, it’s time to “de-mold”. This is when you get that “wow” factor. It’s so cool to see it come together! Just carefully bend and release and repeat around the mold.

Mine sat about 72 hrs, but was still tacky. It does take time to fully cure, so if you are planning on giving these as gifts, allow yourself a little time.
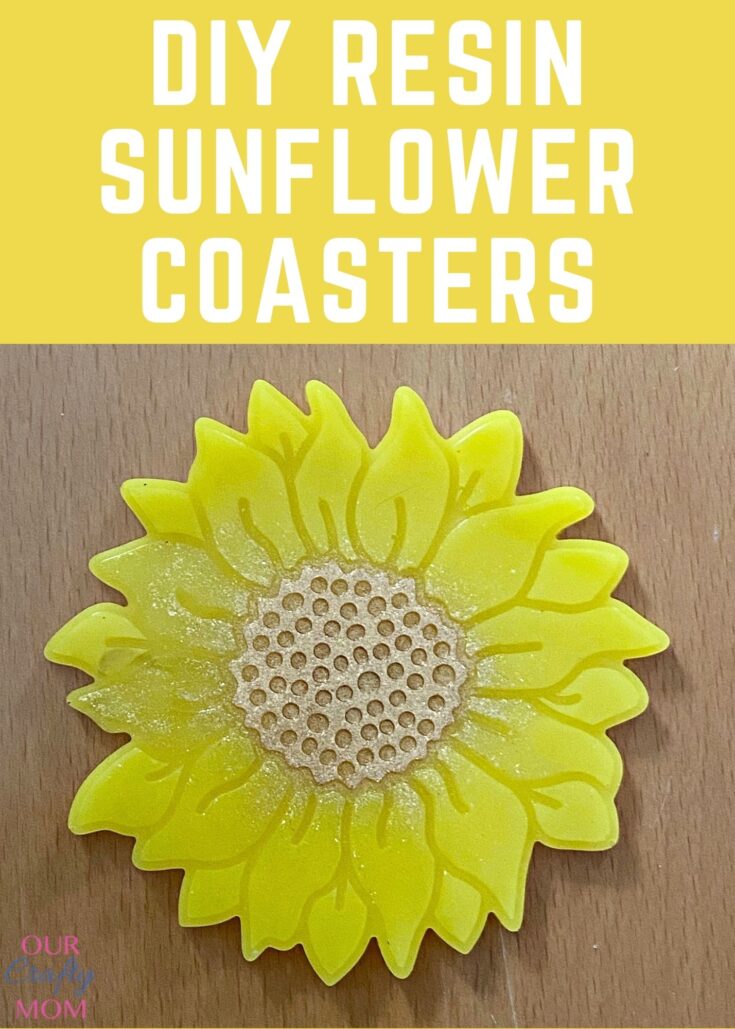
Look at this beauty:

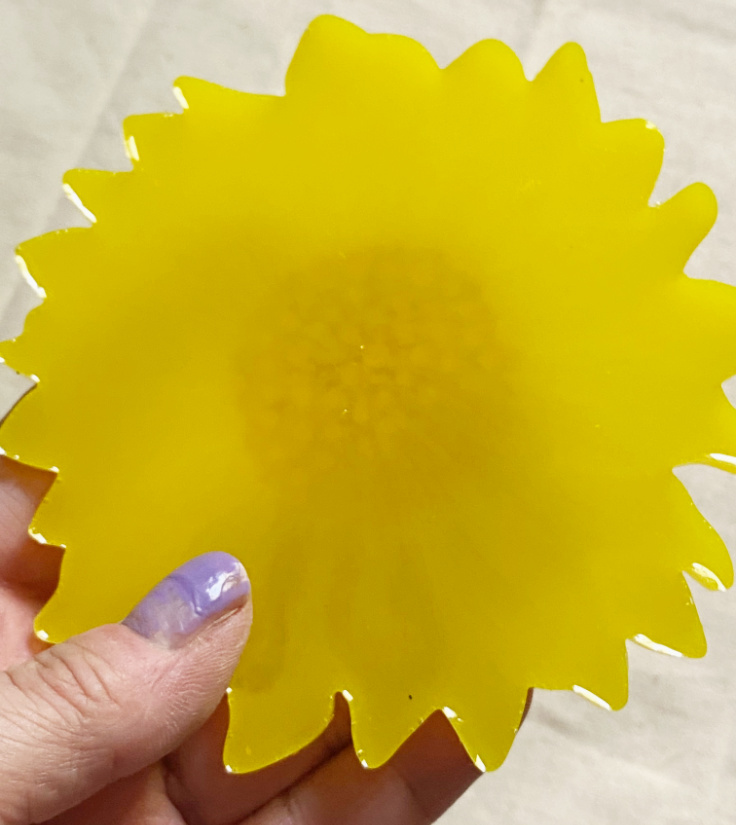
And the back:

See how easy that was? And, it was seriously fun to make. You feel a little bit like a scientist mixing colors and pigments.
There are so many amazing products. If you want to see even more resin flower crafts check out these 15 resin flower crafts on Resin Crafts Blog.

Thank you so much for stopping by. Have a great day!
Maria
Tuesday 1st of June 2021
These are so cute! Thanks for inspiration
Anita Holland
Monday 31st of May 2021
They look really great, I love the colours. I can well believe that it will become addictive. lol