Turn a sweet bunny printable into a lovely Easter busted canvas art with this easy DIY. It’s the perfect way to add spring to your home.

This post contains affiliate links at no extra cost to you. Please see my full disclosure here.
Busted Canvas Crafts
This sweet bunny busted canvas is the next craft project in the Busted Canvas Printable Series.
If you missed the details, you can read all about it and check out January’s winter busted canvas for more information.
Also, be sure to check out the vintage Valentine busted canvas shared last month.
Somehow I missed St. Patrick’s Day, but I do have free St. Patrick’s Day images you can use if you want to make a canvas to celebrate. My plan is to make one in the next couple of weeks…fingers crossed.
If you enjoy busted canvas crafts, we would love to have you join us in our Facebook Group.
There are over 1,300 members of the most supportive community. You can learn more about it and join below:
Busted Canvas Crafts Facebook Group
Now let’s get to this step-by-step tutorial.
Easter Busted Canvas
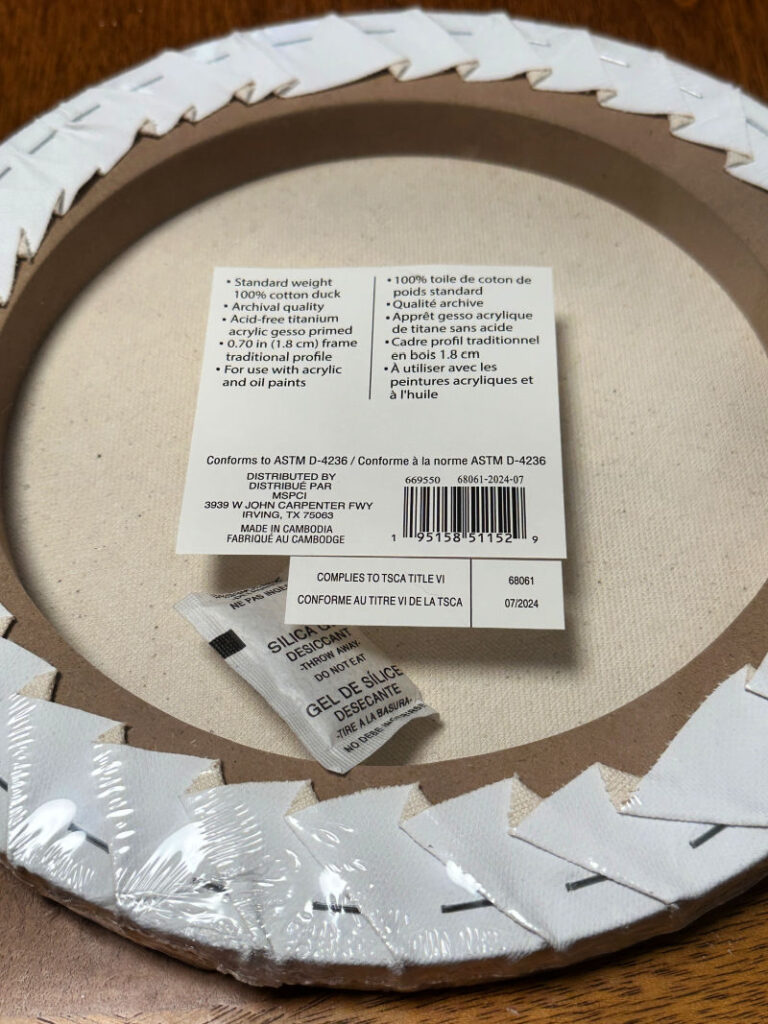
For this project I am using a 10×10 round canvas that I found at Michaels. But, you can absolutely use a standard 8×10 canvas if you like.
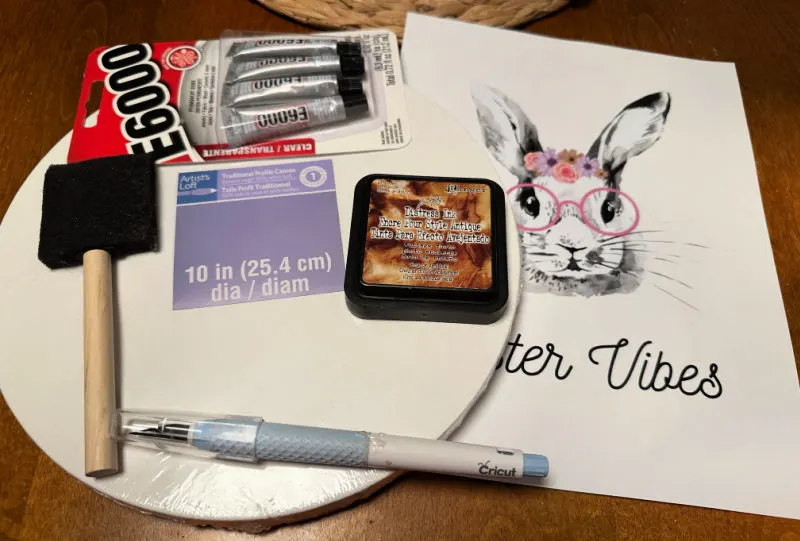
Supplies
- 10x10 Round Canvas
- Foam Board or Cardboard
- Printable Easter Bunny
- Cardstock or Decorative Paper – choose 2 coordinating designs
- Mod Podge – I went with matte
- Craft Knife – I love the Cricut knife kit
- Scissors
- E-6000
- Foam Brush
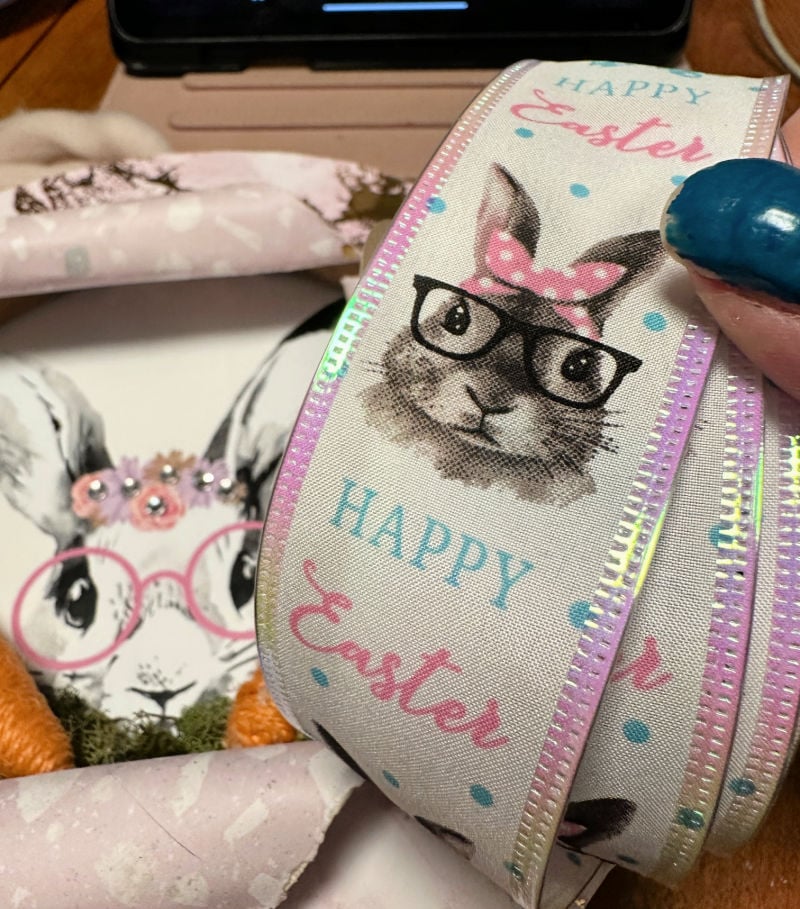
- Bunny with Glasses Ribbon – Dollar Tree
- Embellishments – I used Dollar Tree rhinestones, moss and mini carrots
- Hot Glue Gun
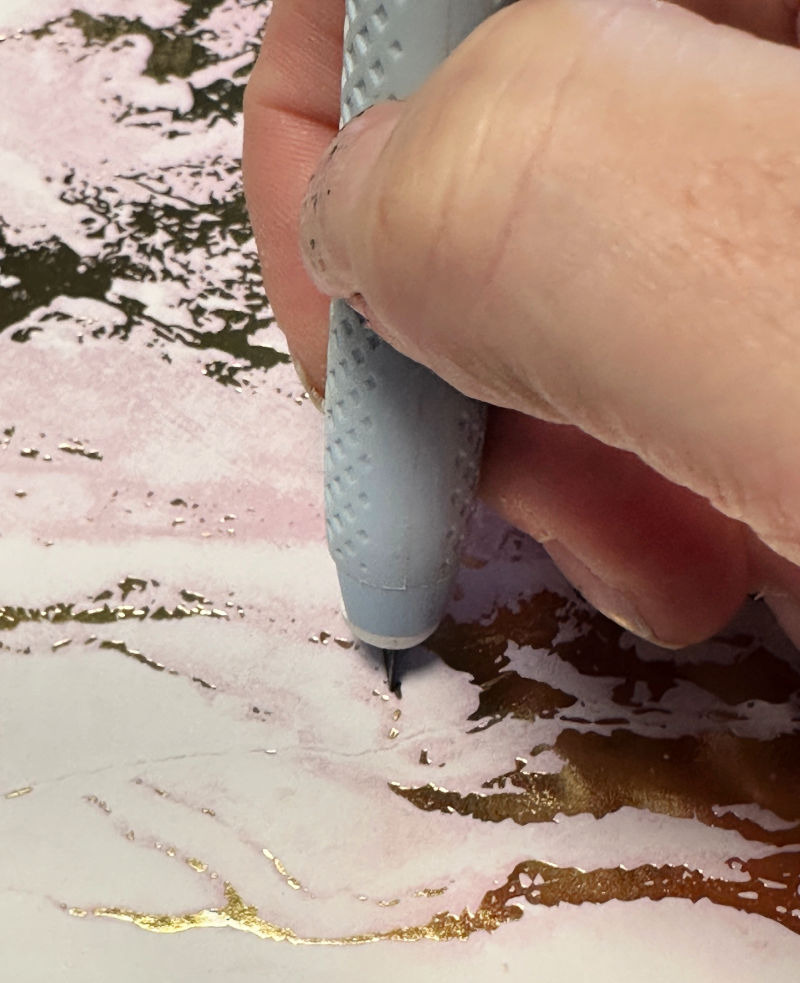
I decided not to use the distressing ink shown in the below image.

Step 1. Decorate the Main Canvas
Decide how you want to decorate the main canvas. This will be the top of your busted canvas and the bottom of the canvas which will show the “busted” strips.
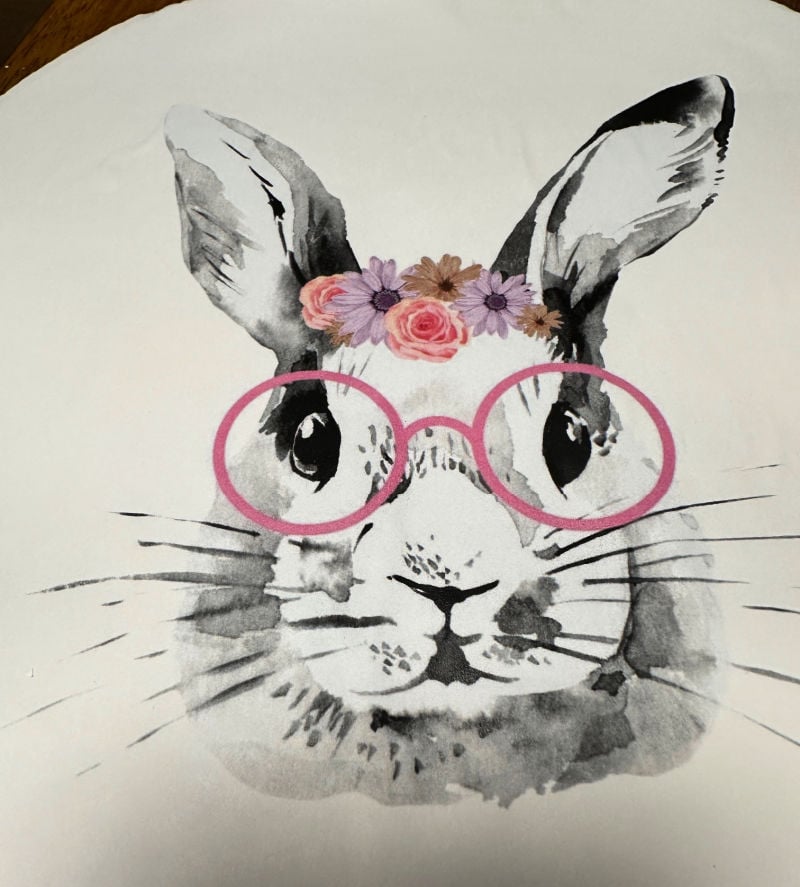
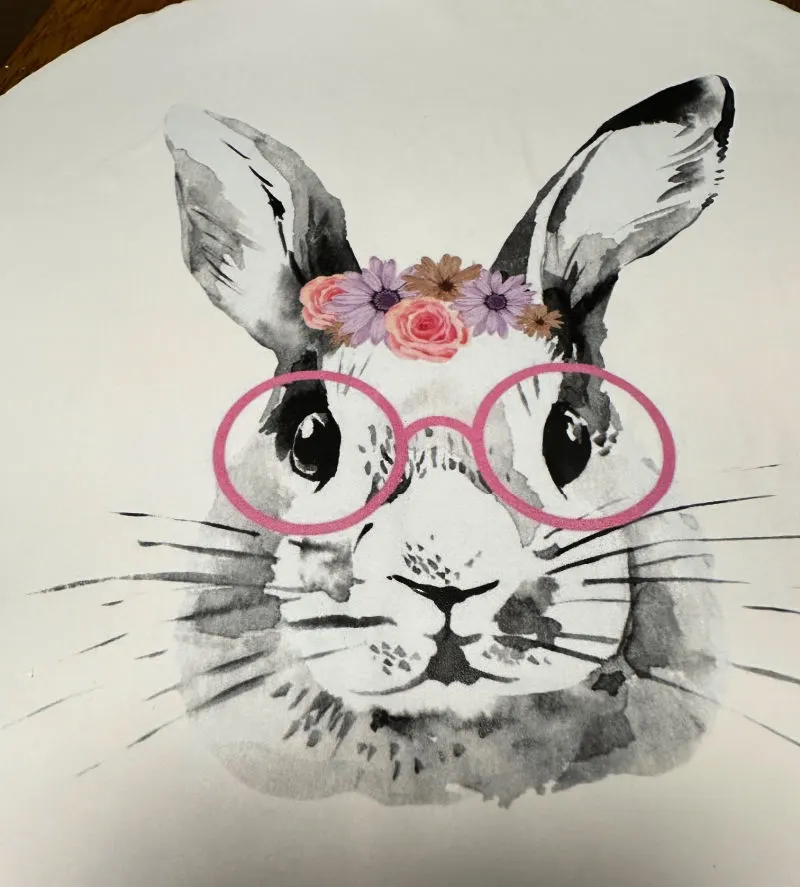
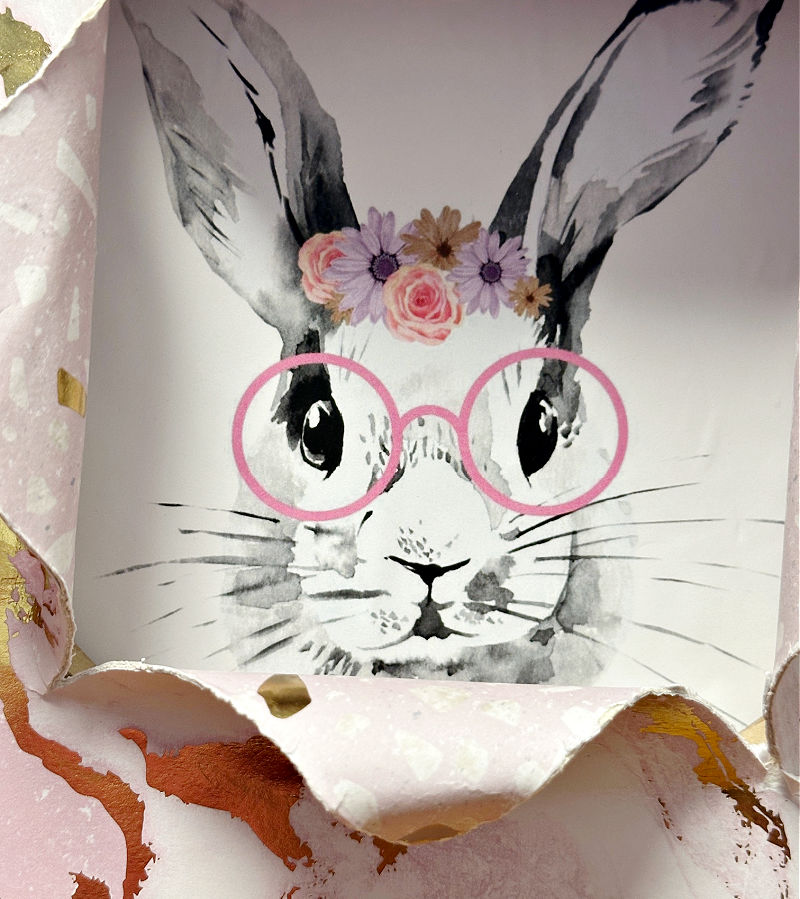
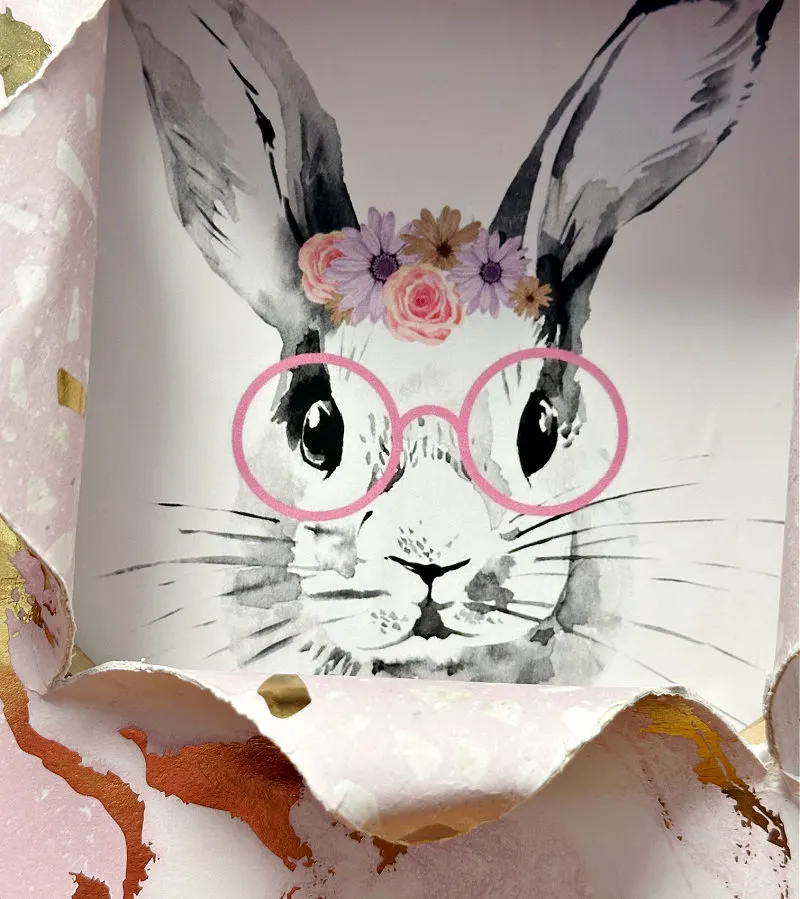
I am using an adorable bunny with glasses image that was very popular with readers last Easter. Isn’t the floral crown just lovely?
It’s printed on standard 8×10 copy paper and is just the right size for this round canvas.


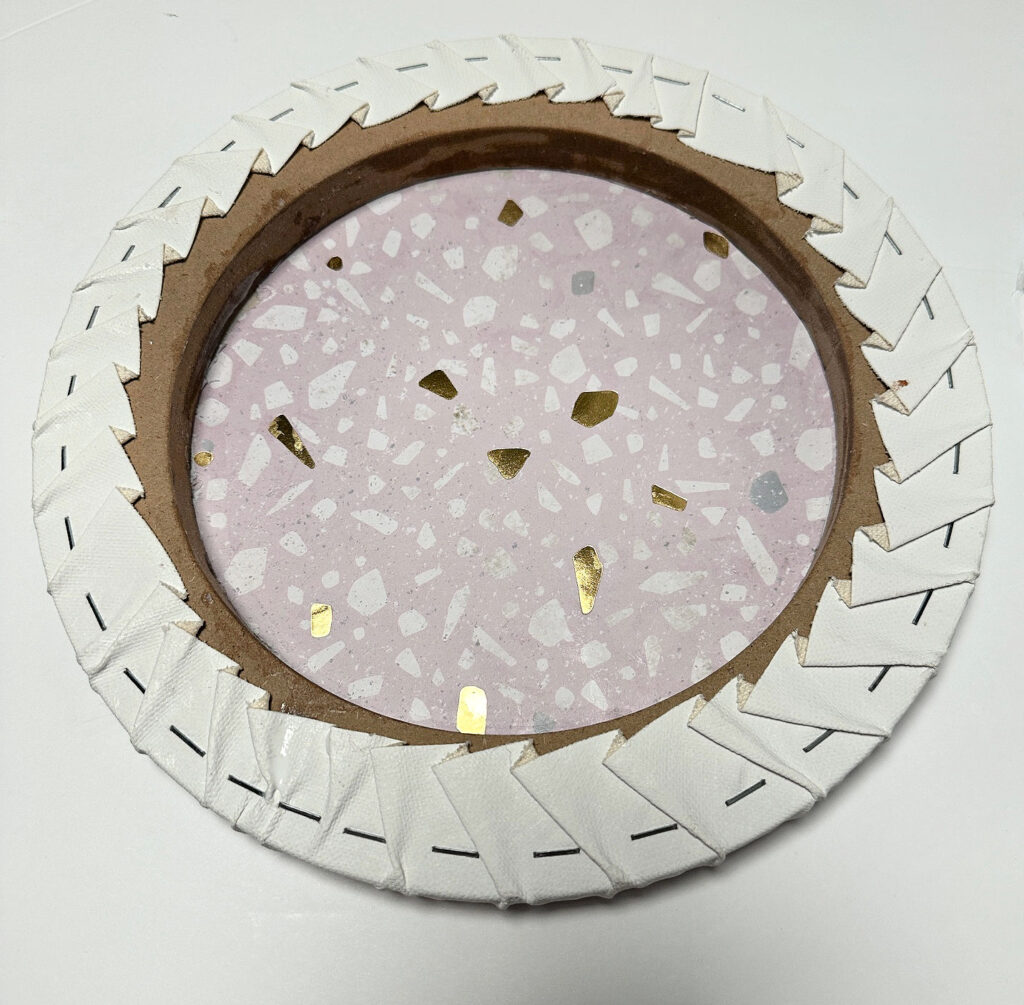
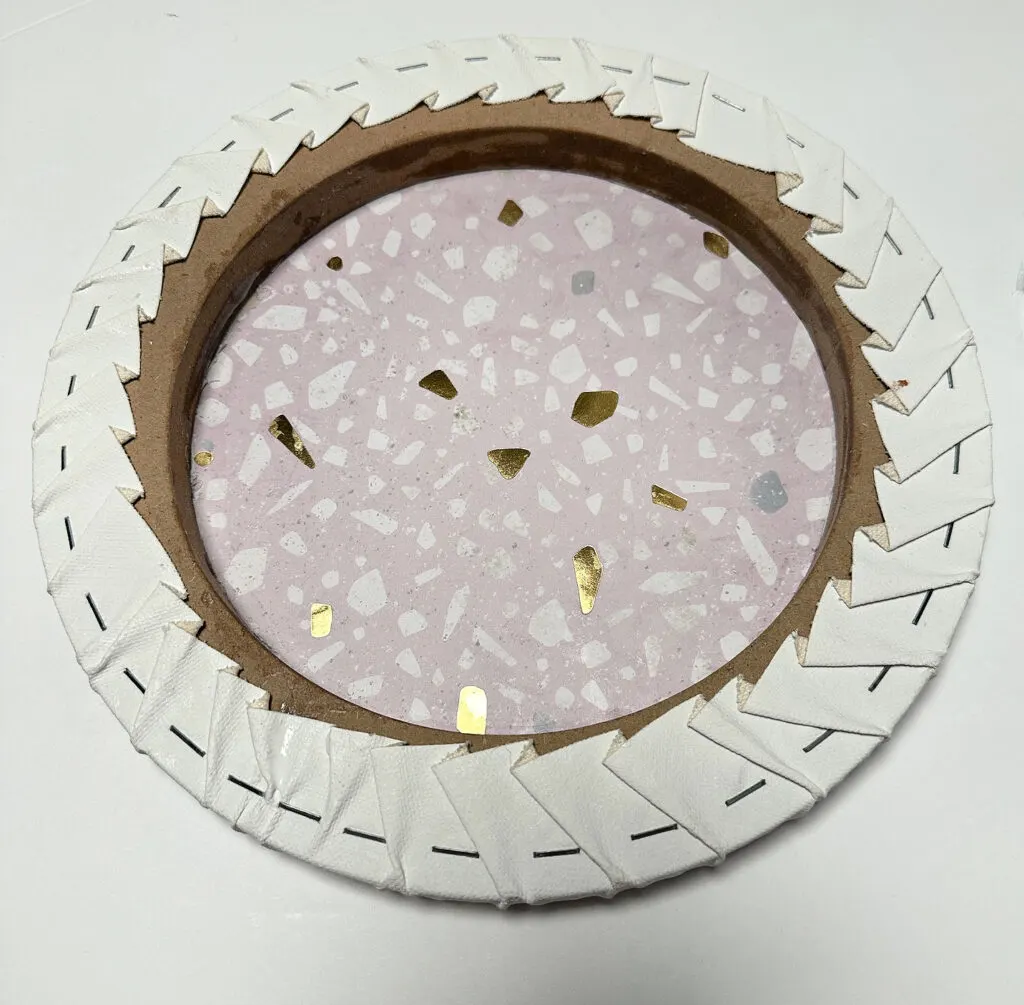
So, I chose to use an elegant pink and gold marble craft paper for the front of the canvas. A coordinating pink and gold design was used for the back of the canvas.
Simply, trim the craft paper to cover the front of the canvas, as well as the back of the canvas.

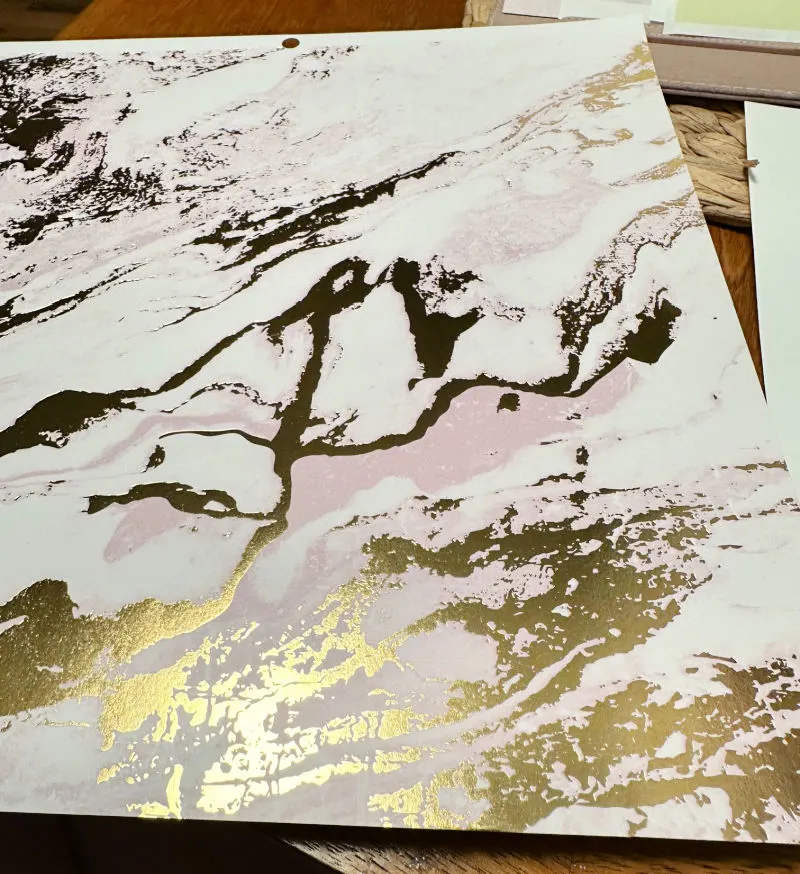
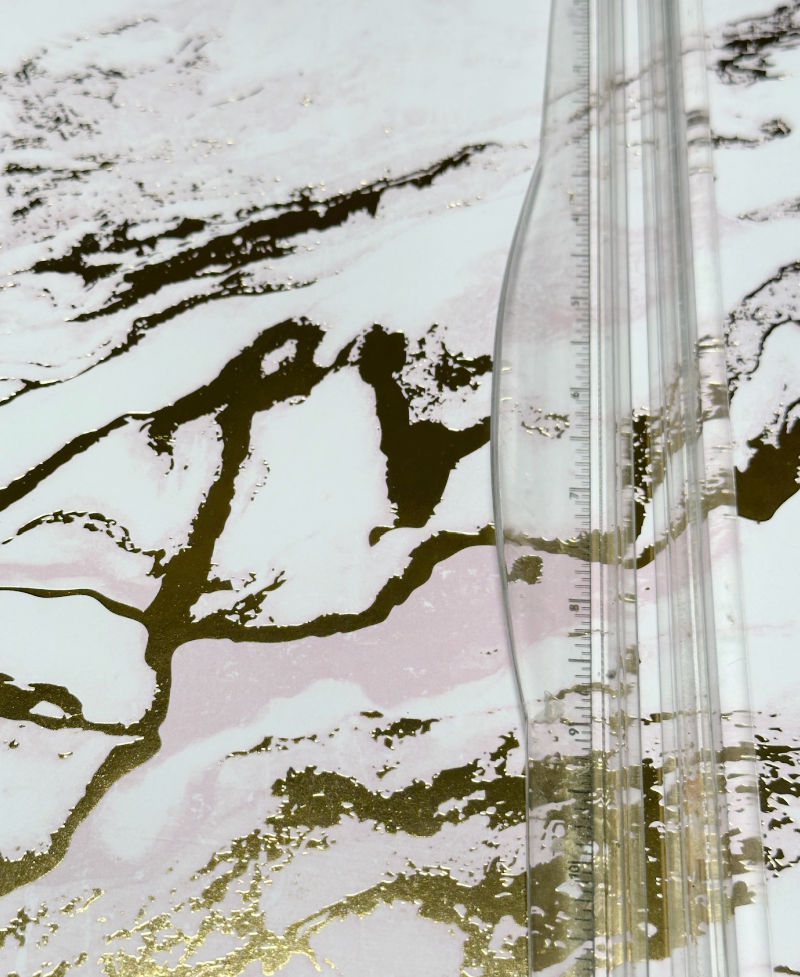
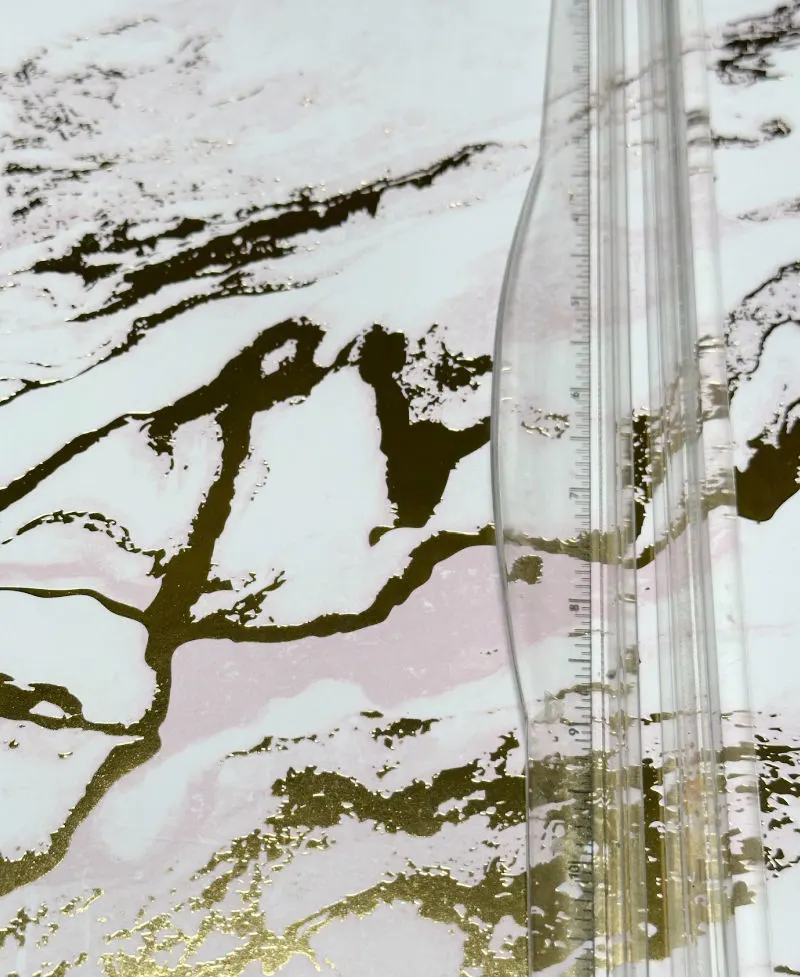
This round canvas is 10″x10″ so I used a paper cutter to make it easier.

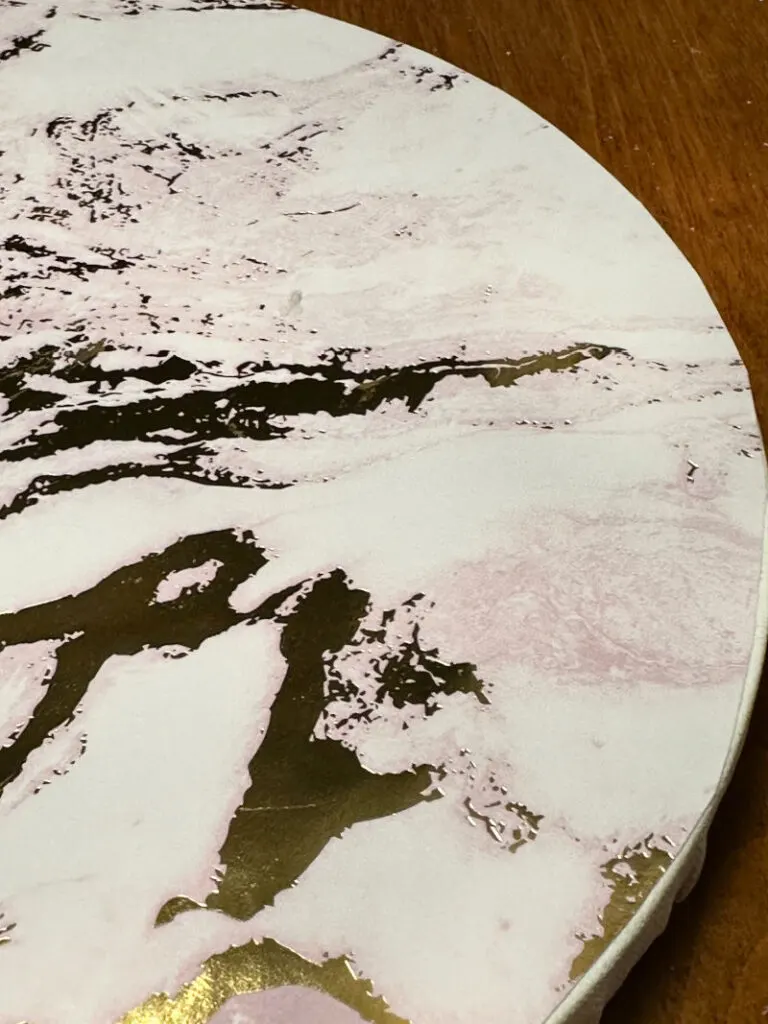
Step 2. Add Mod Podge
Brush a layer of mod podge on the front of the canvas. I went with matte. Don’t add too much as it will cause bubbles.
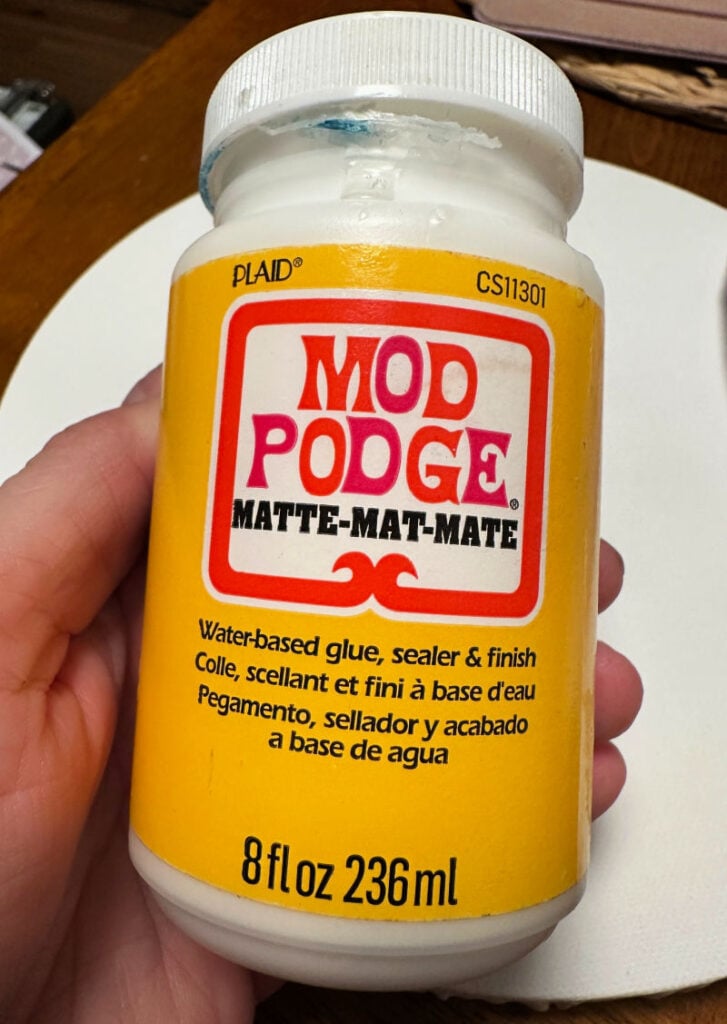

It also helps to wait about a minute or so for the mod podge to get a bit tacky. Repeat the process for the back canvas.
Step 3. Attach Feature Image
Now it’s time to add your feature image to a canvas board, cardboard or foam board. I use whatever I have in my stash. Foam board was used for this craft.
Simply place your Easter image on the canvas and smooth out any wrinkles.
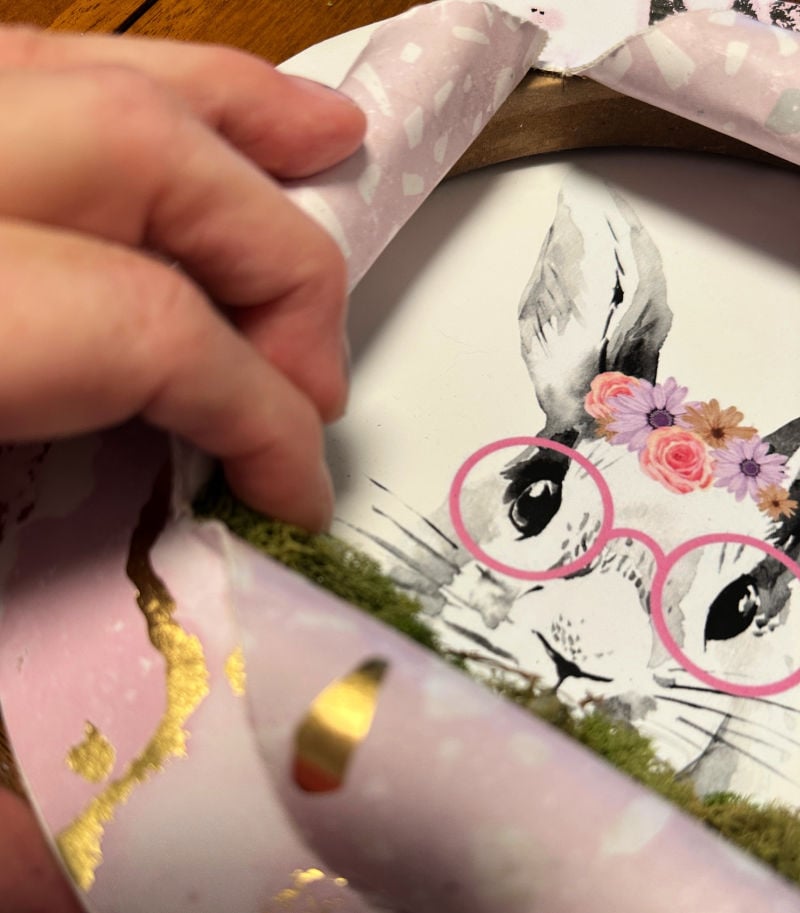
Step 4. Bust the Canvas
Get ready for the fun part-busting through the canvas! I’ve made quite a few of these over the past several months, so here are some easy tips.

- Use a craft knife to find the center of the canvas and poke a hole. Use sharp scissors to start cutting.
- Leave an inch or two around the edges of the canvas to fold back the pieces.
- Make sure the opening is large enough to show your feature image.
- Use a combination of hot glue and E-6000 to secure the cut pieces to the canvas. Also, hold the piece down for a minute or two until it sets. Hot glue alone will not stay. Trust me, I know. 🙂


If the pieces don’t stay secure, add more glue and hold it a bit longer.
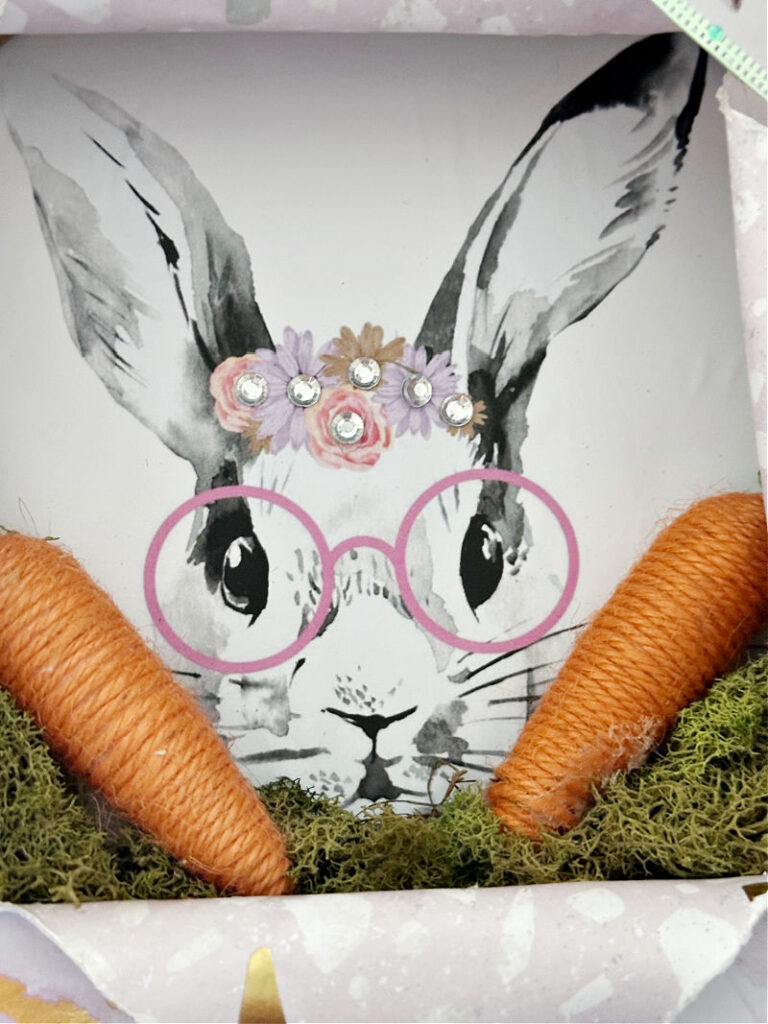
Step 5. Add embellishments
This is where you can get really creative. Add any embellishments that you like. I found the sweetest bunny ribbon at Dollar Tree. The bunny even add glasses like the bunny image!

A simple bow was placed at the top of the canvas with a bit of twine.
To give the busted canvas craft a bit of dimension, I chose to add moss and mini carrots also from the dollar store.
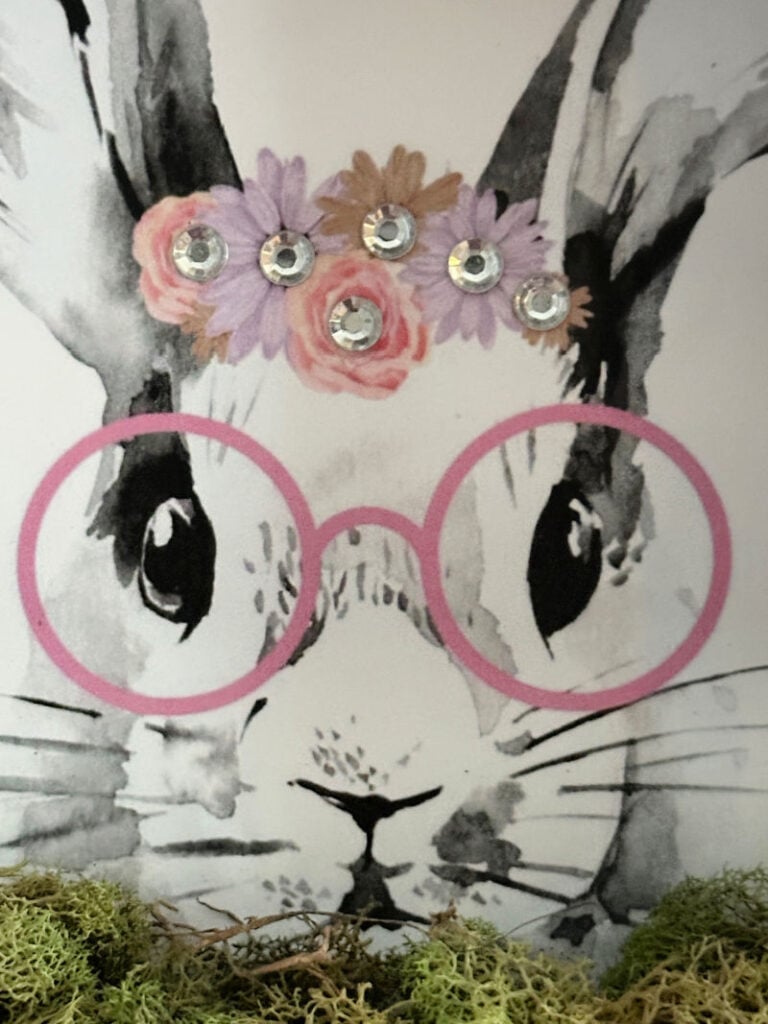
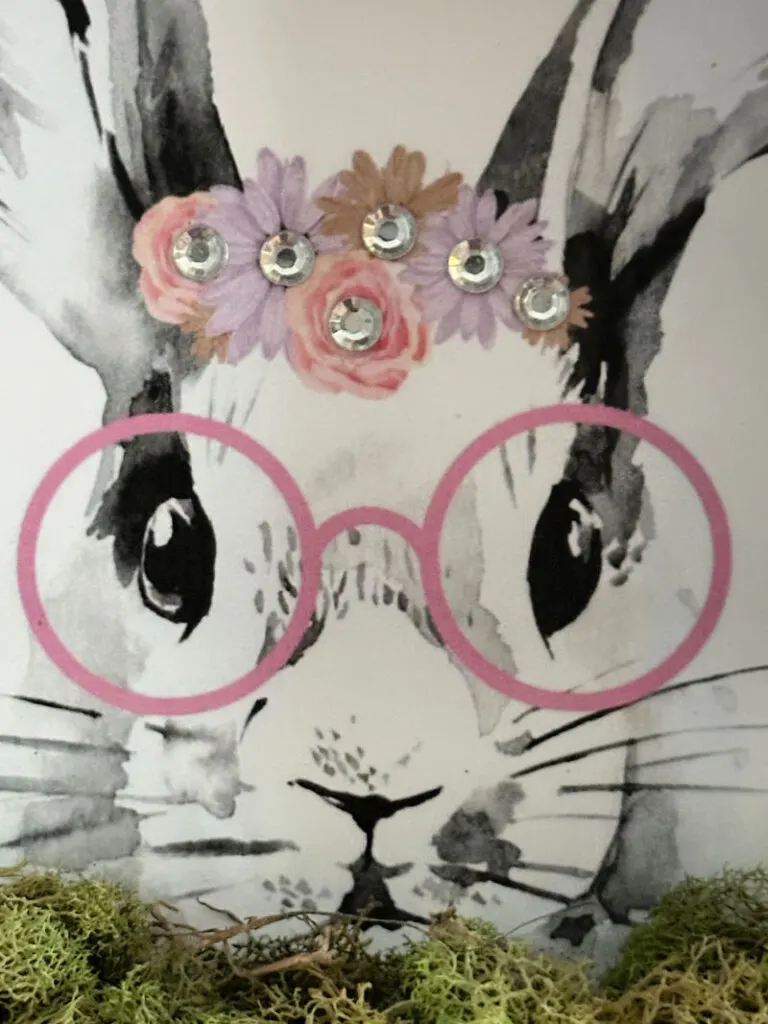
Finally, every piece needs a bit of bling, so I added rhinestones to the bunny crown and love the sparkle!
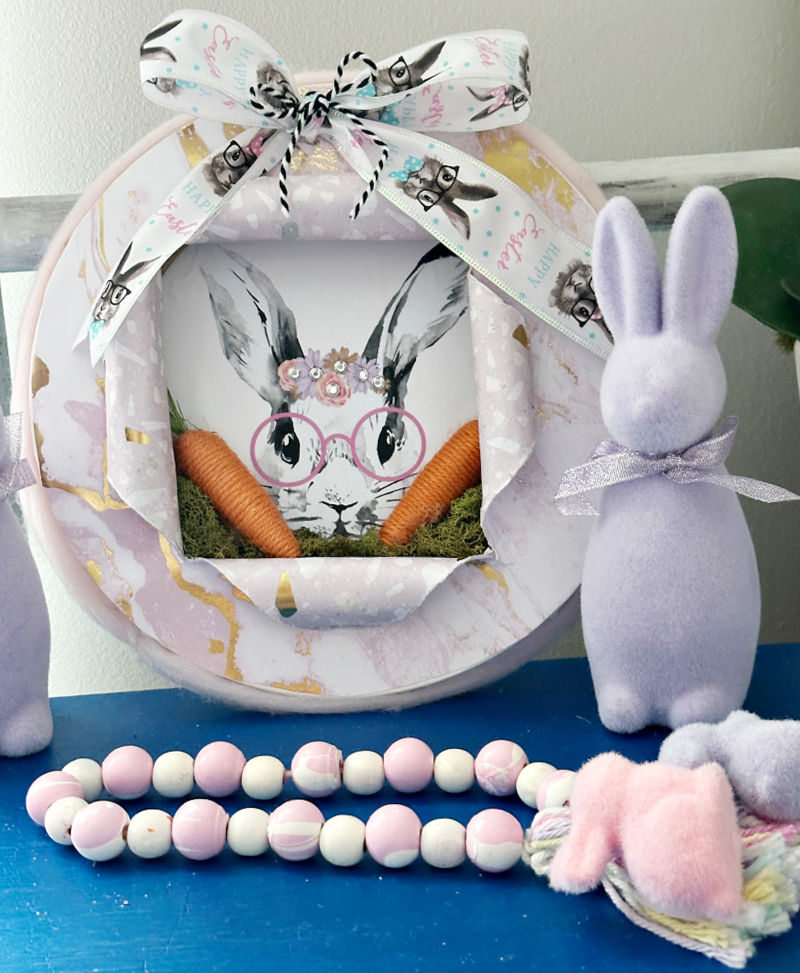

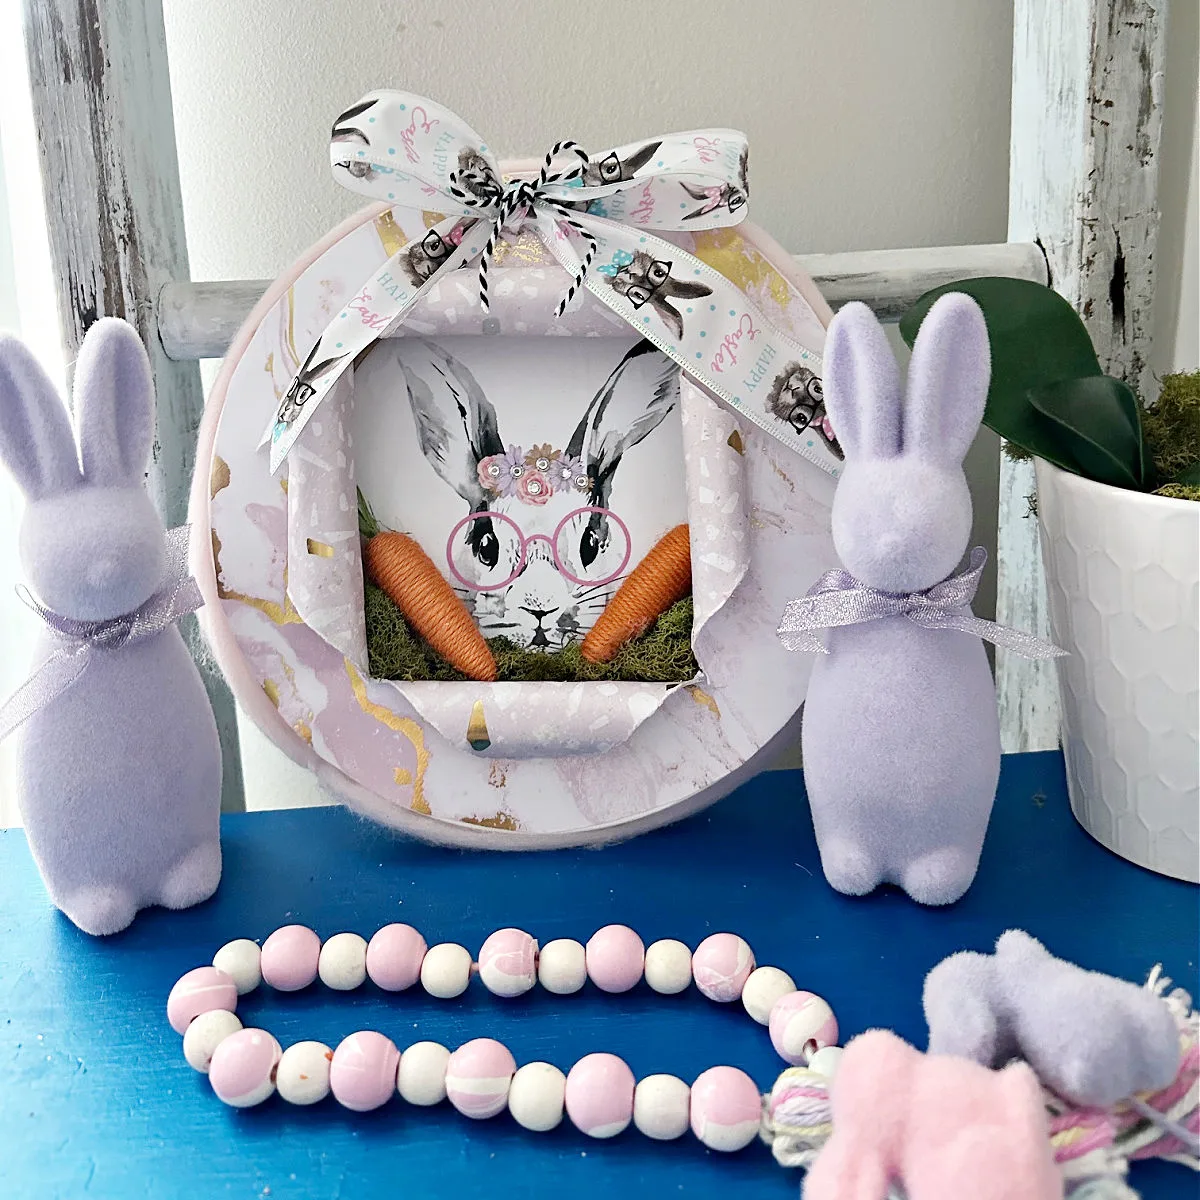
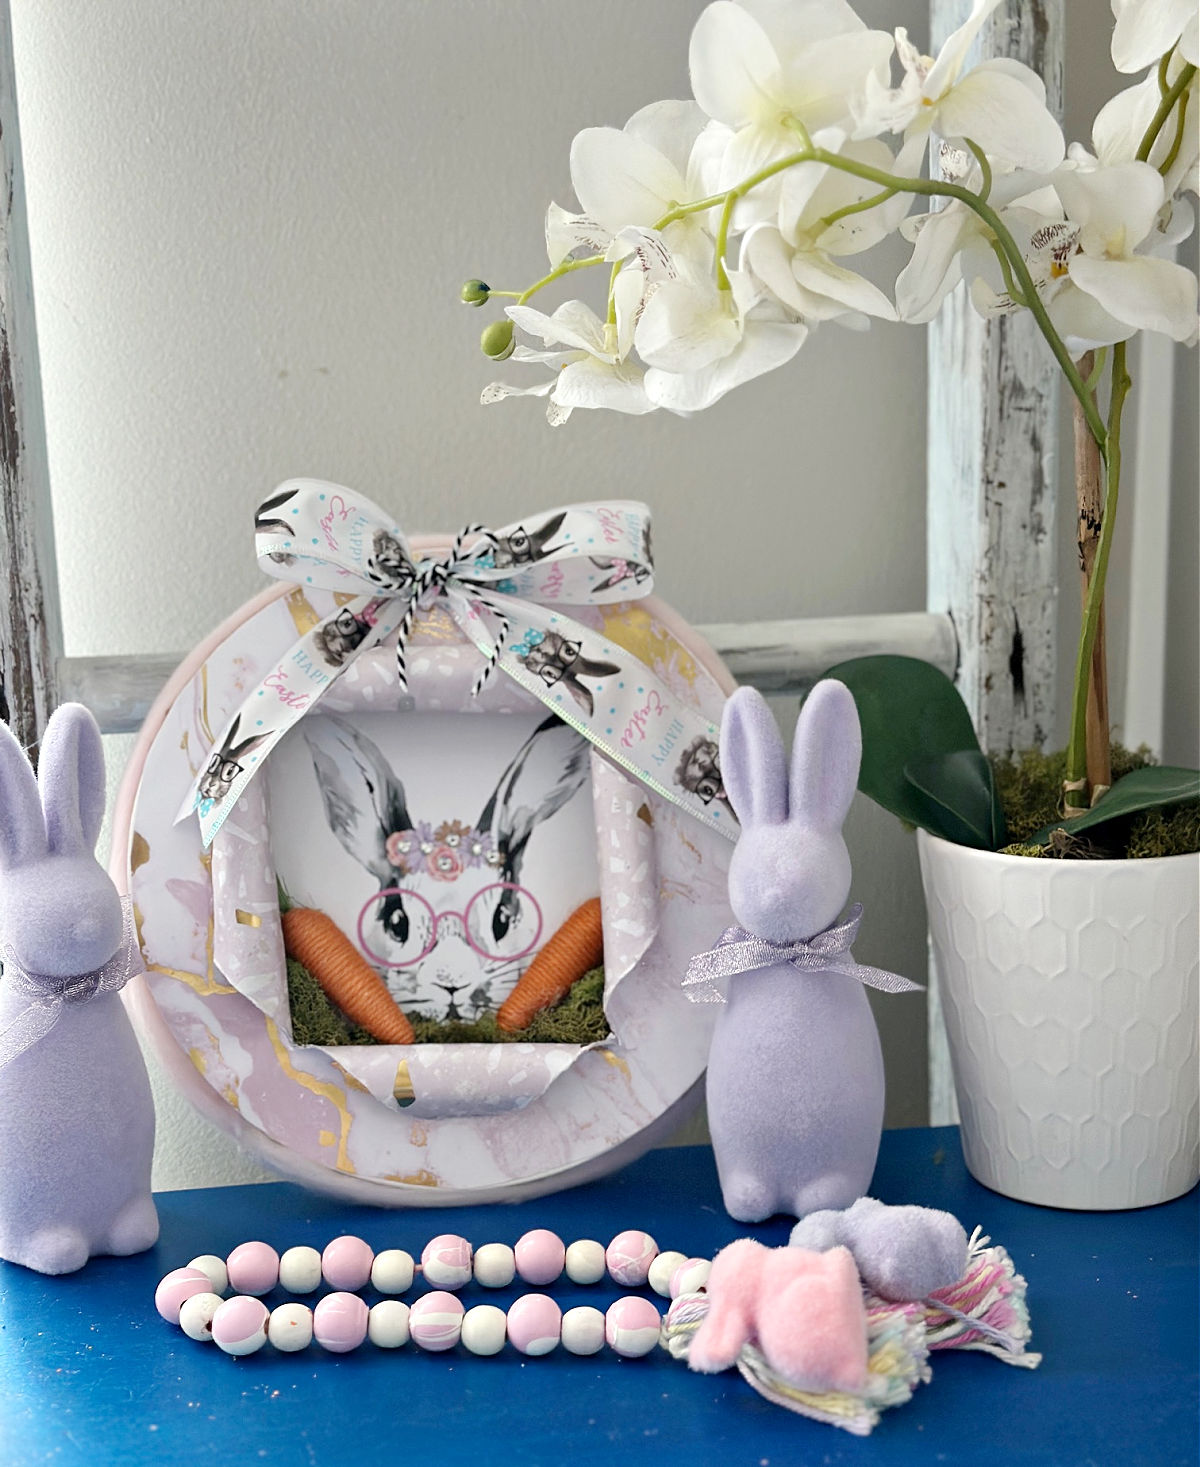
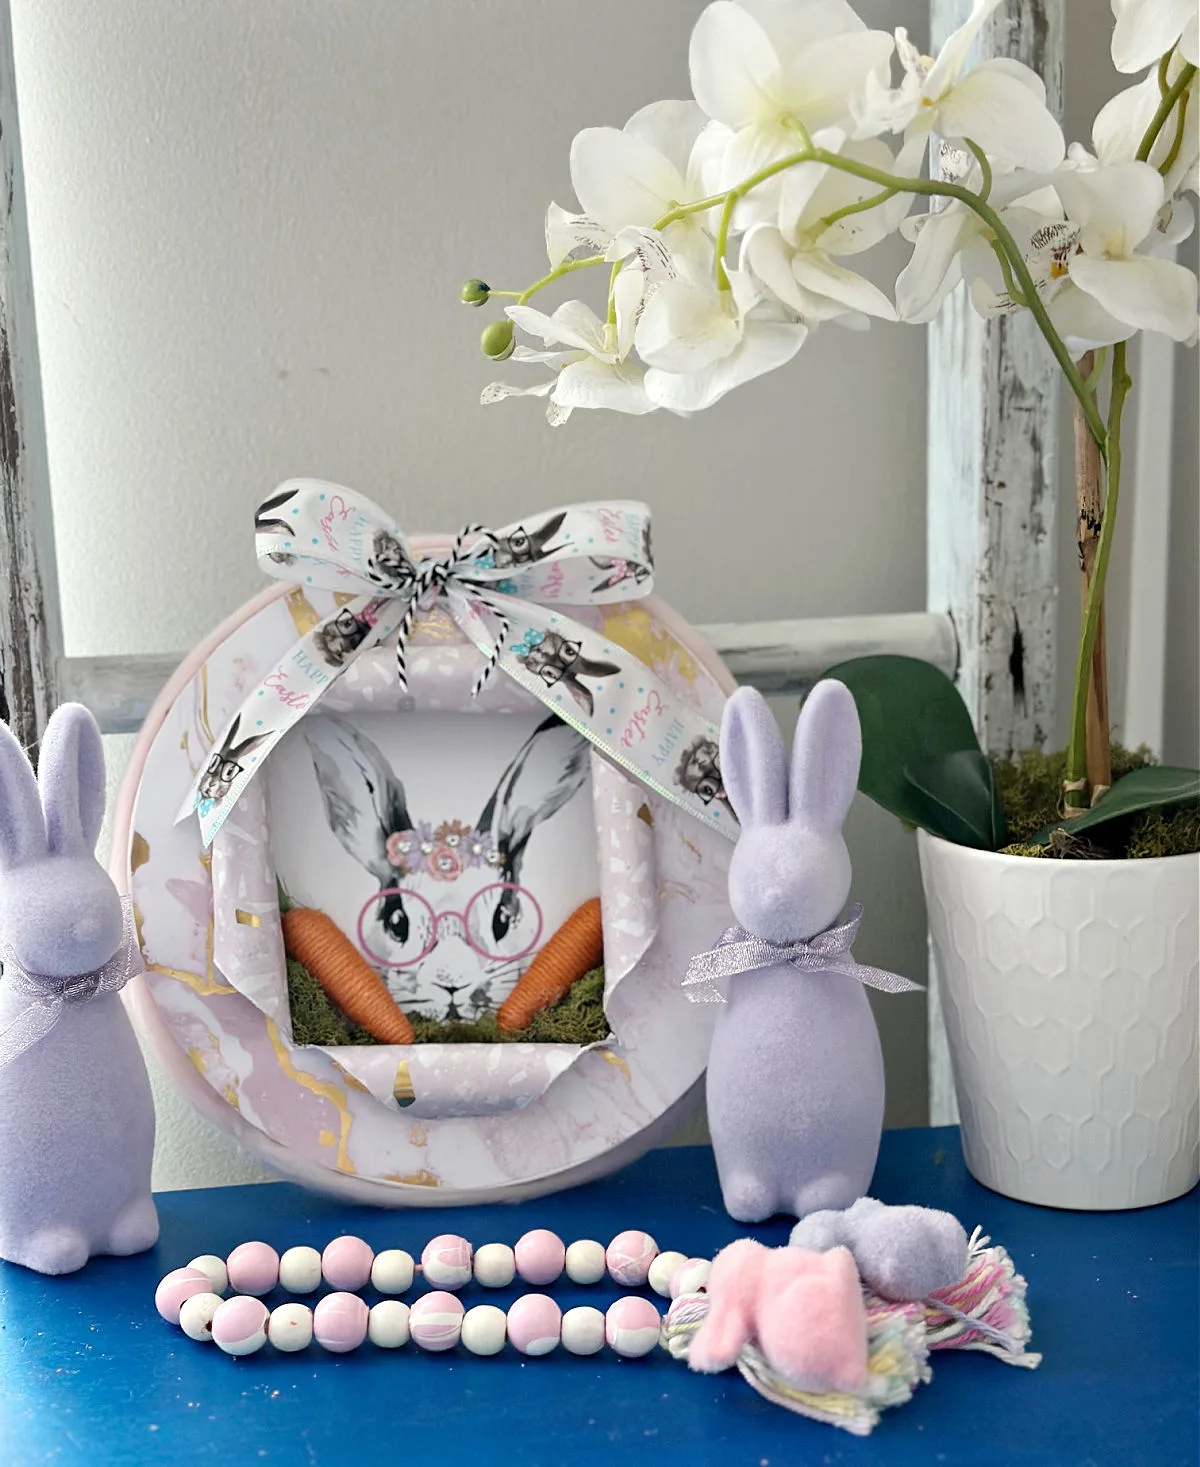
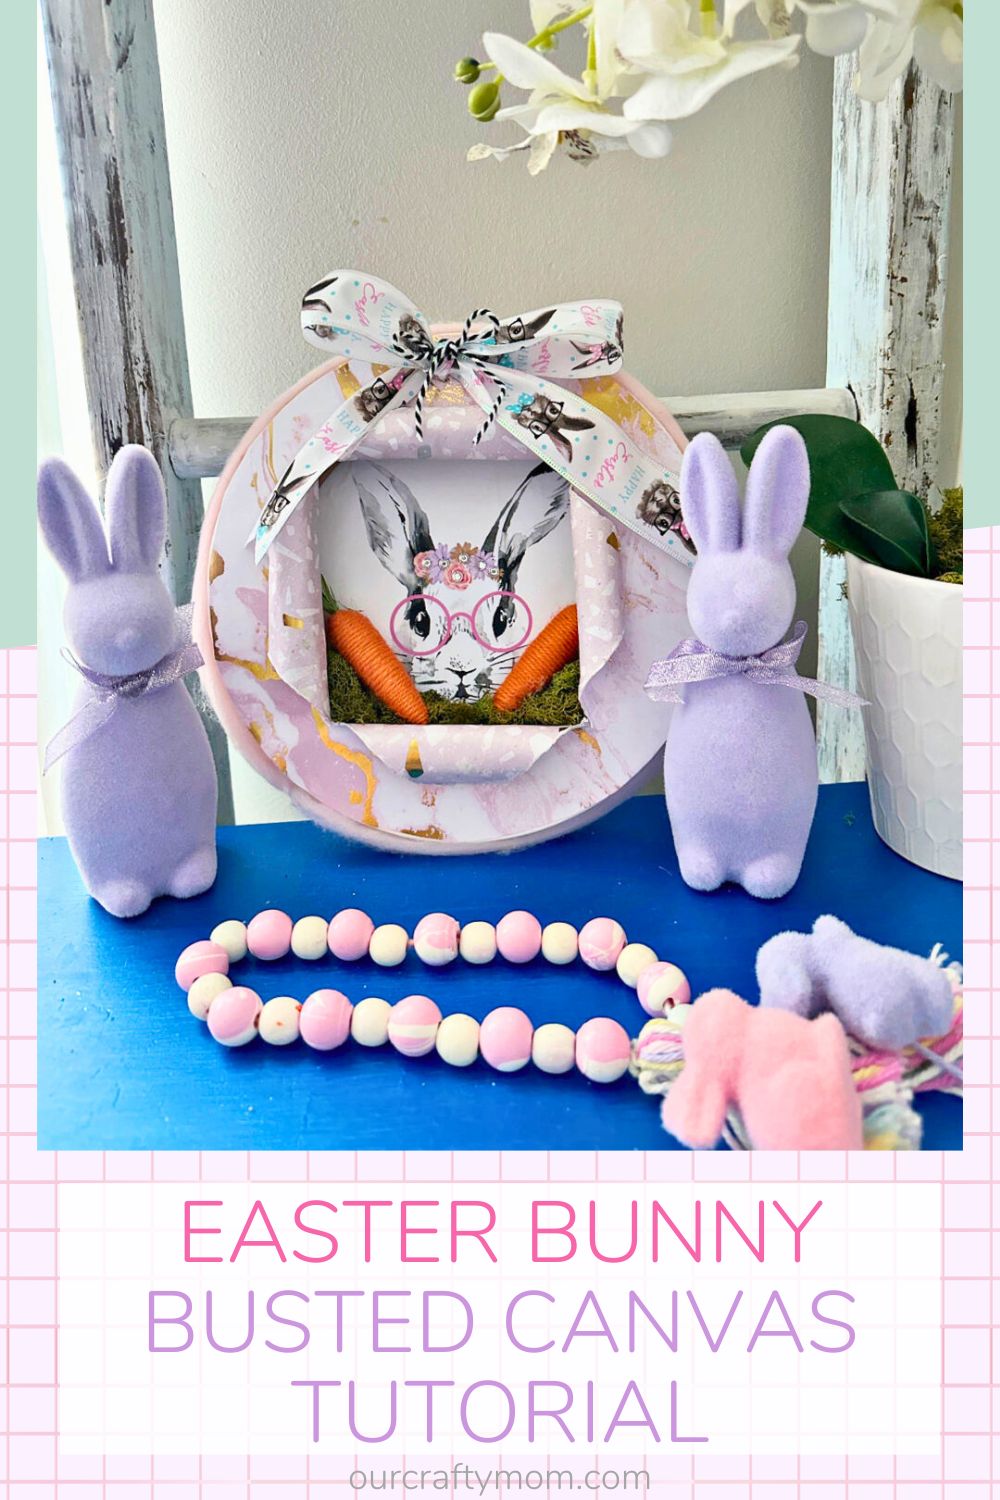
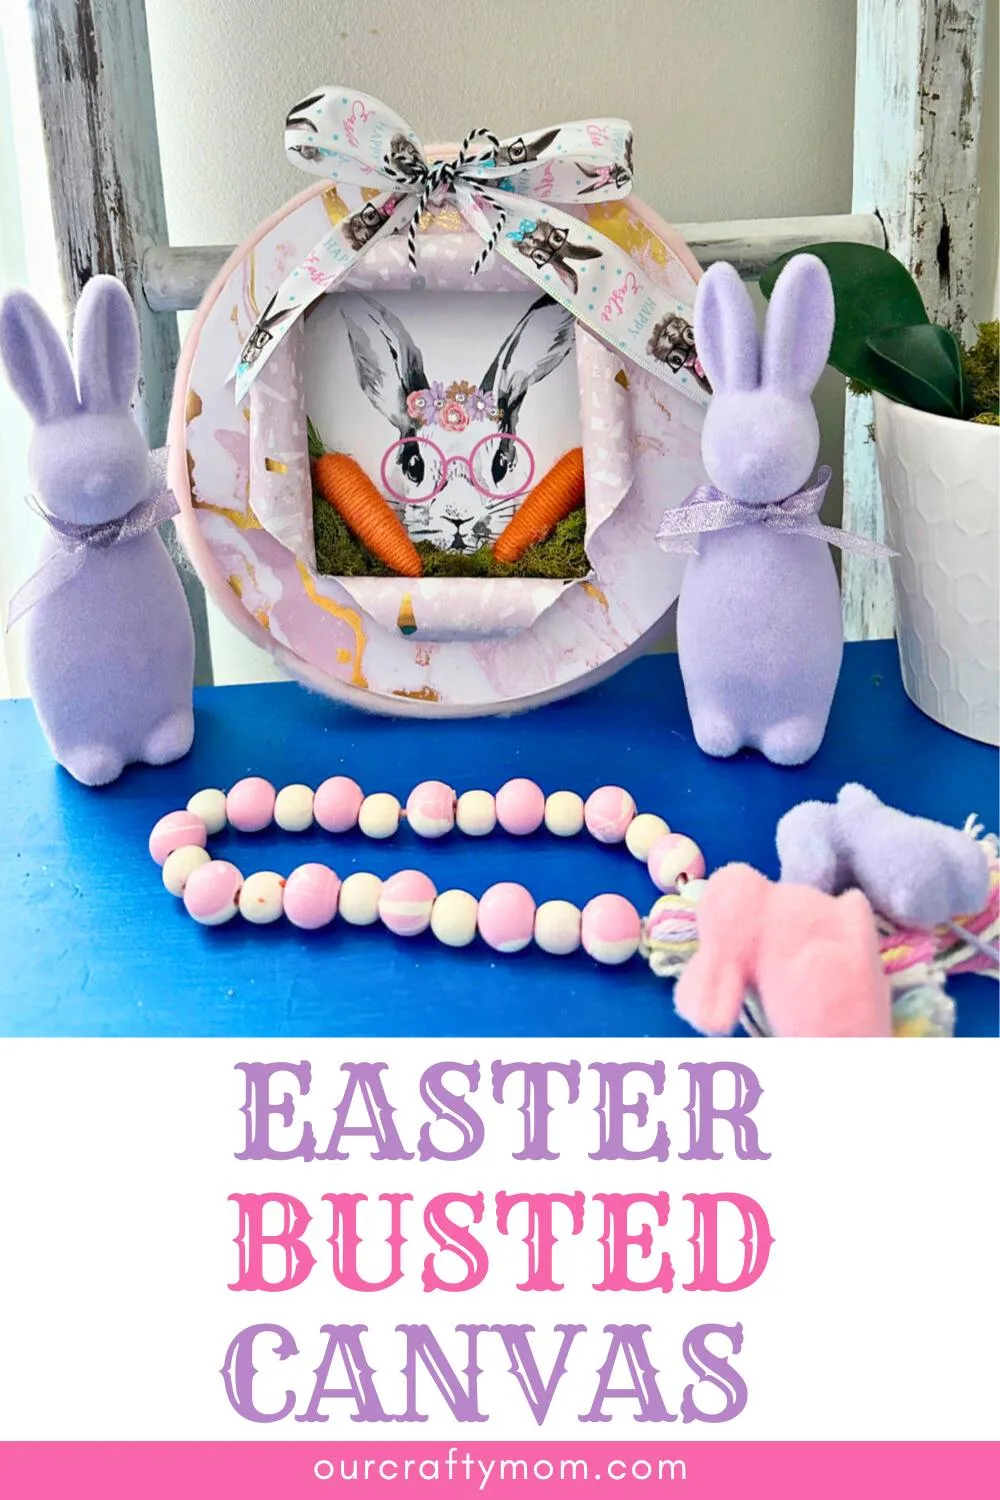
Here she is in all her glory in an Easter vignette with a few flocked bunnies.
I’d love it if you would share this article with your friends on Pinterest by pinning the below image.
It helps my blog grow and doesn’t cost a thing! 🙂

I hope you enjoyed this beautiful Easter busted canvas. Leave a comment below and share if you make any of these for your home, or tag @ourcraftymom on social media so I see it.
Thanks so much for stopping by. Happy crafting!


Follow me on social media below: