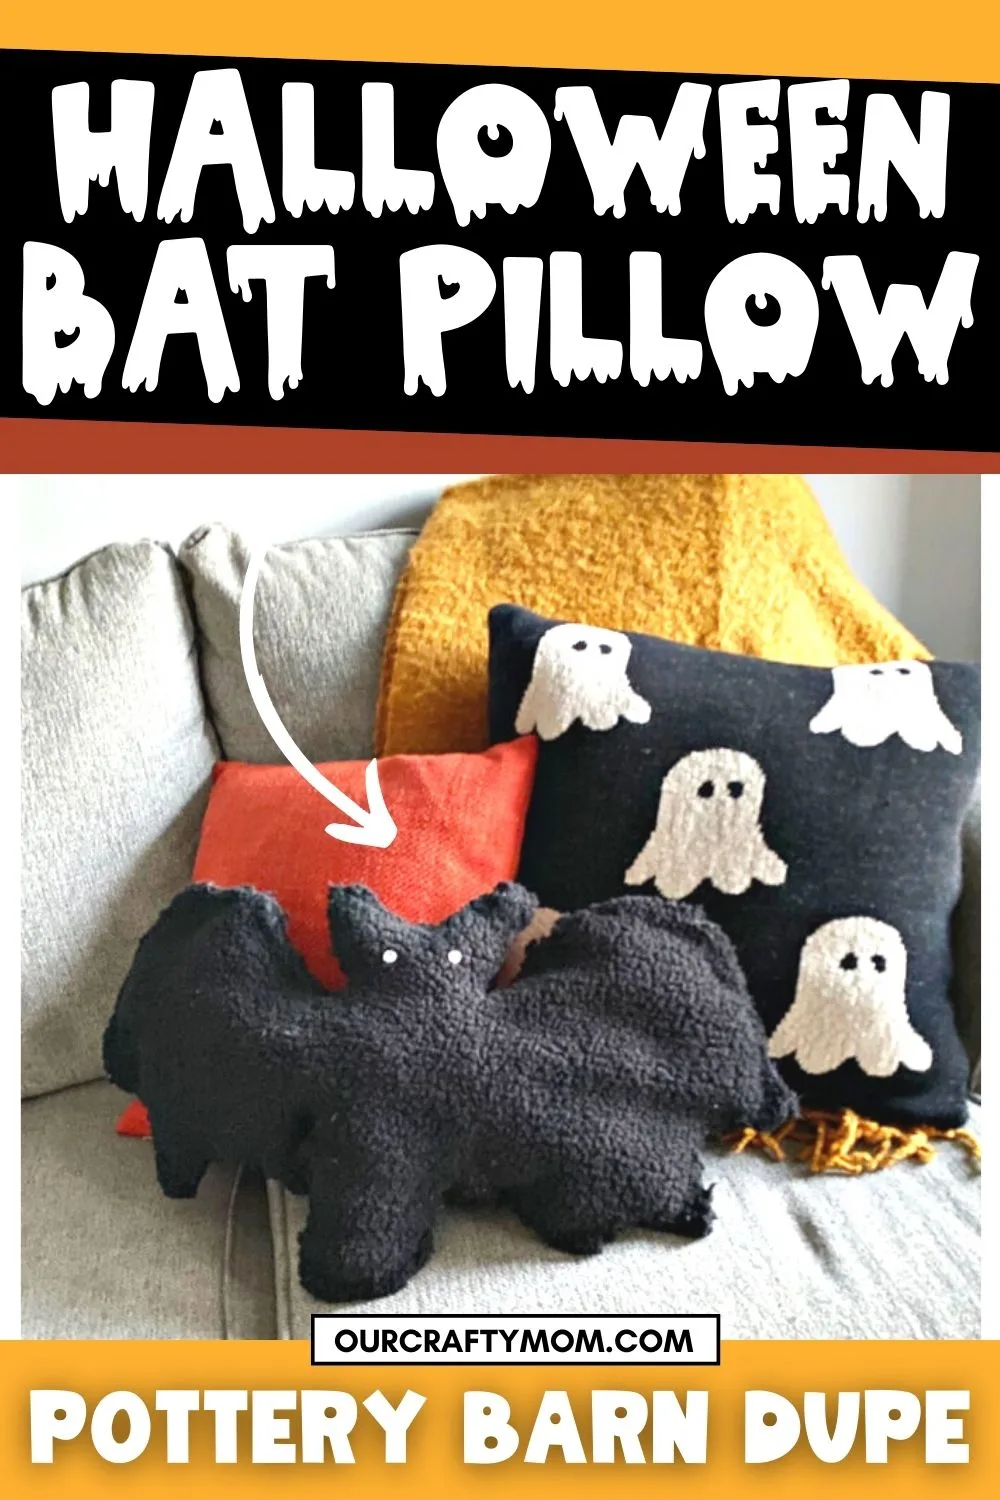
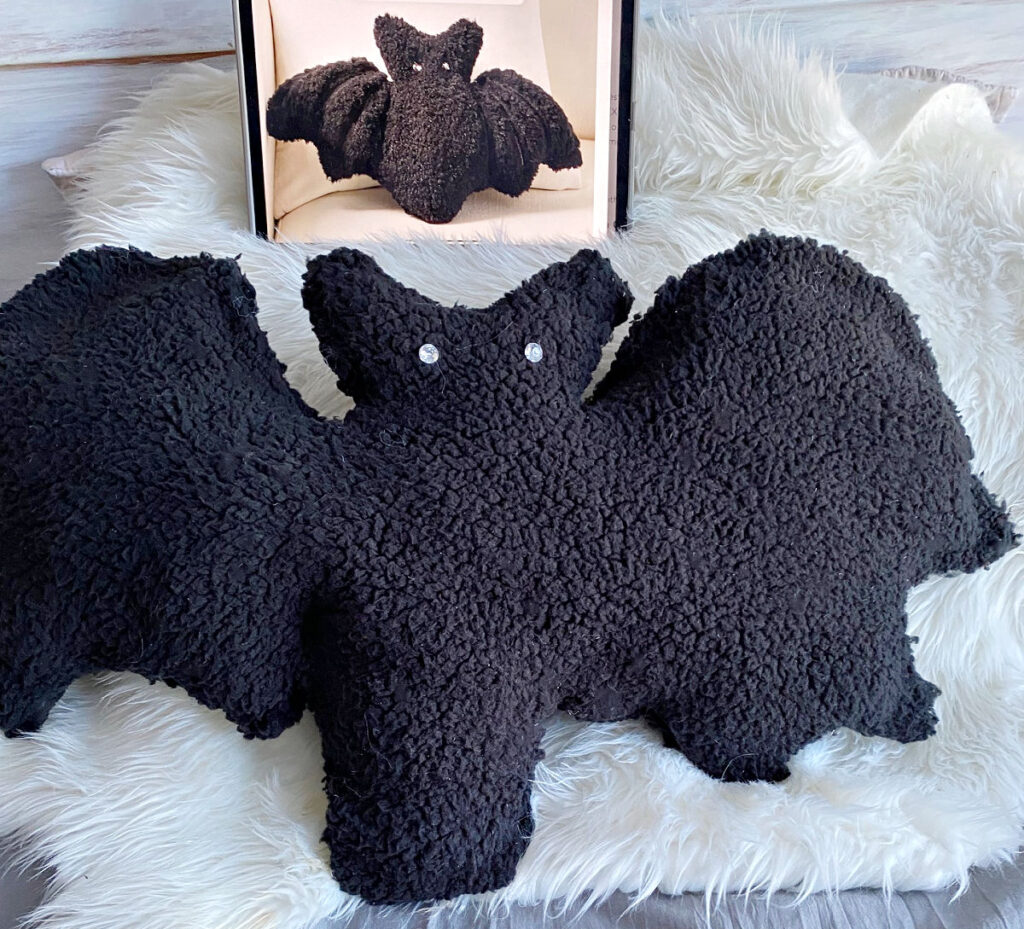
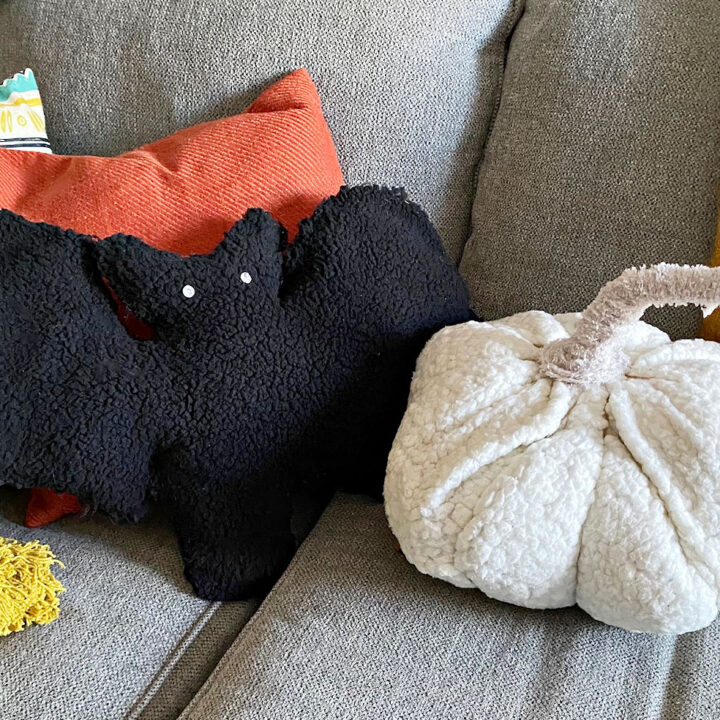
If you’re like me, you love the Halloween bat pillow at Pottery Barn, but you don’t love the cost. Make your own for a fraction of the price!
With Halloween just around the corner, it’s time to decorate your home with a little spooky flair.
I’ve been fawning over all the gorgeous Halloween decor at Pottery Barn.
At the top of my list is their line of adorable Halloween pillows. Look how cute:
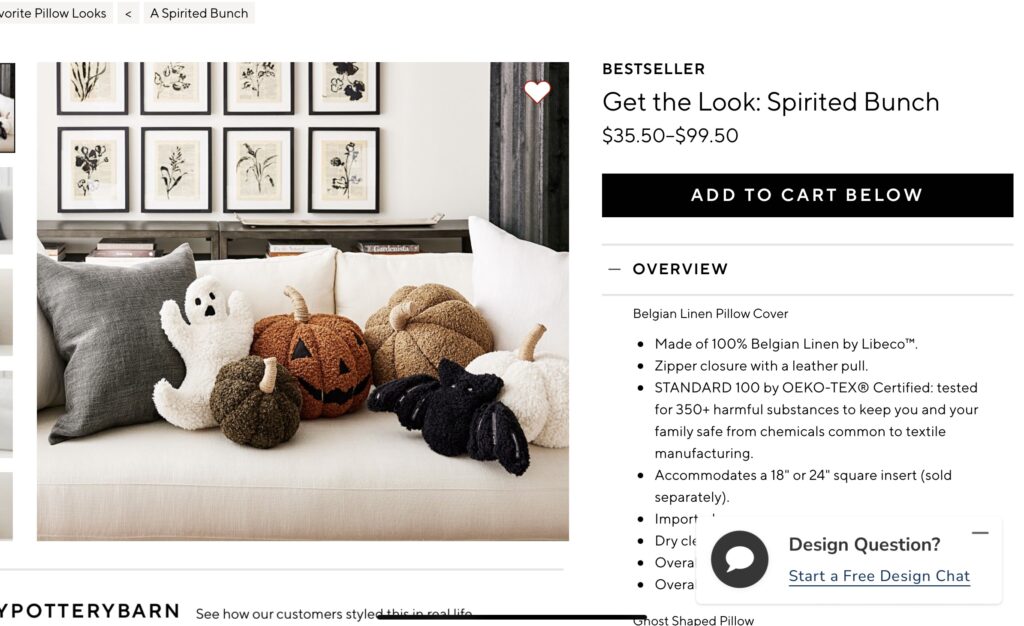

But at $35.50-99.50, I just couldn’t justify the price.
Fortunately, it’s easy to make your own Pottery Barn-inspired Halloween pillows.
For example, this Halloween bat pillow is a cute and easy way to add some Halloween spirit to your home decor.
All you need are a bat wings template, some black sherpa fabric, poly-fil, and a few other simple supplies.
You can even use an old pillow case or pillow cover to make your cute pillow.
It’s the perfect way to add a modern farmhouse Halloween throw pillow to your home – and it won’t break the bank.
Another great thing about my version is it is no-sew! I’ve talked before about my inability to sew.
I’m still going to learn someday. But until then I am a master with a hot glue gun.

If you are a sewer you can easily use a sewing machine instead of a hot glue gun. So let’s get to it!
Bat Pillow Supplies
- Black Sherpa – I purchased 1 yard at Joann Fabric and Crafts
- Poly-fil
- Fabric Scissors
- Rhinestones
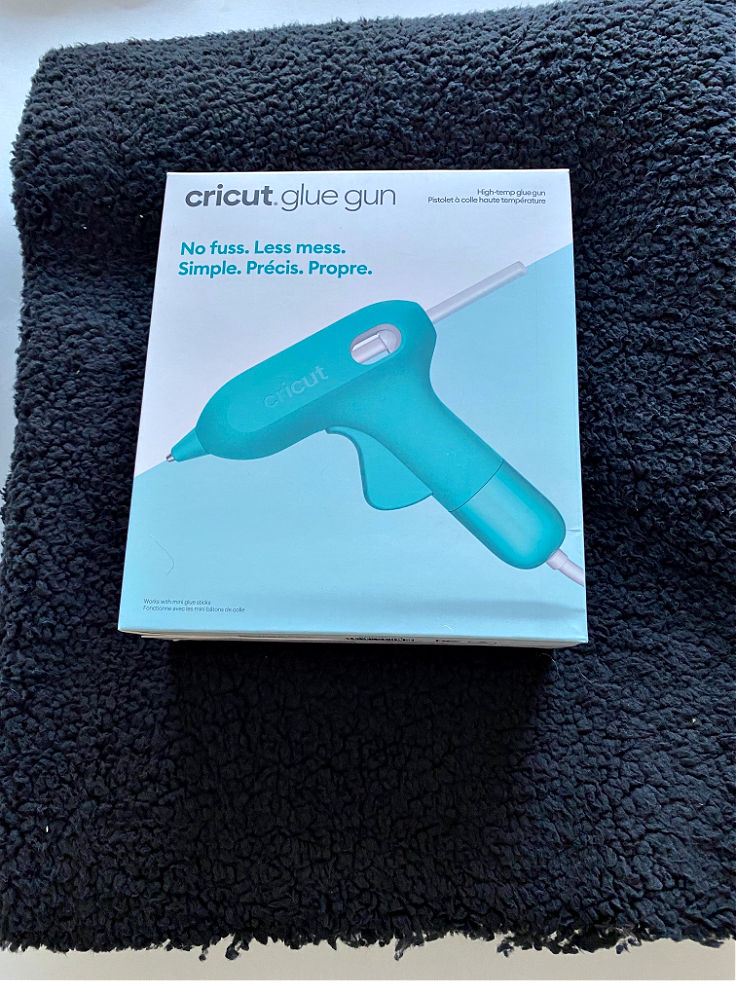
- Hot Glue Gun – I LOVE this new Cricut glue gun!

While I purchased a yard of fabric, I only ended up using a little more than half. Maybe there will be a small bat pillow in my future!
How To Make A Pottery Barn Dupe Bat Pillow
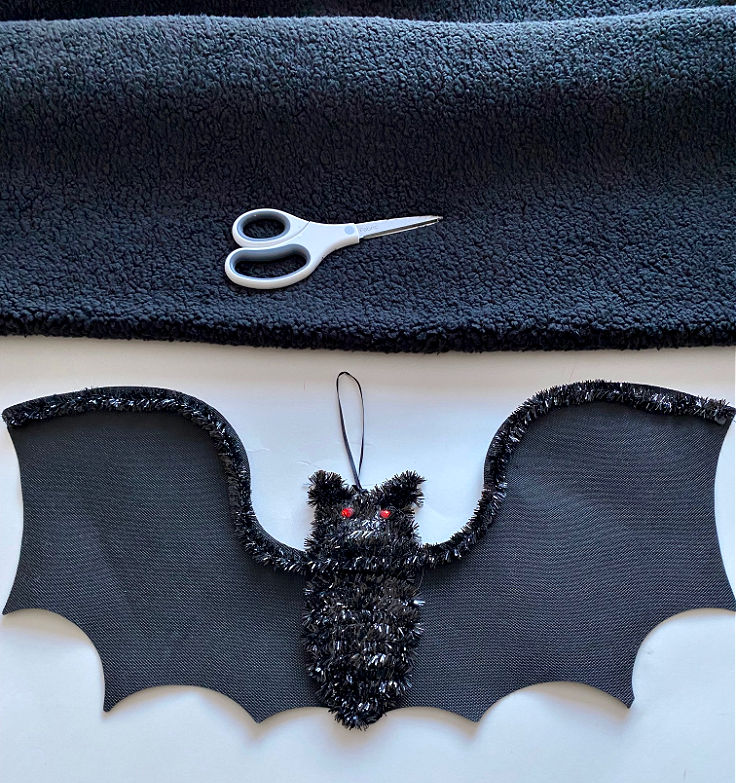
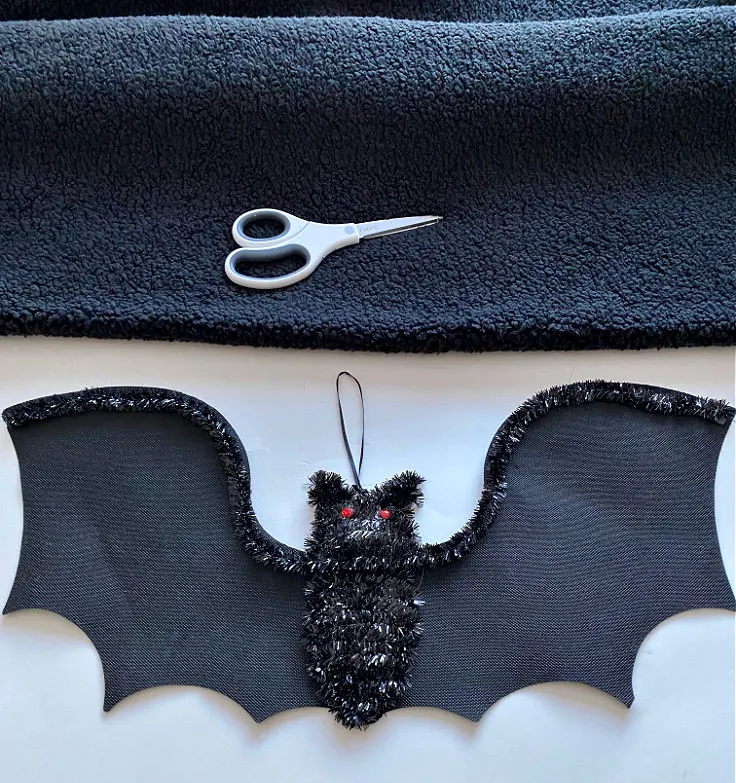
Step 1. Create a template
You can print out a template of a bat if you like, however, I used a dollar store bat that my daughter had.
I wanted it a little bigger, so I just added an inch or two around the bat.

You may also find this step-by-step tutorial from Artsy Pretty Colors on how to draw a bat helpful.
Draw your bat, cut it out and you have the perfect template for your bat!
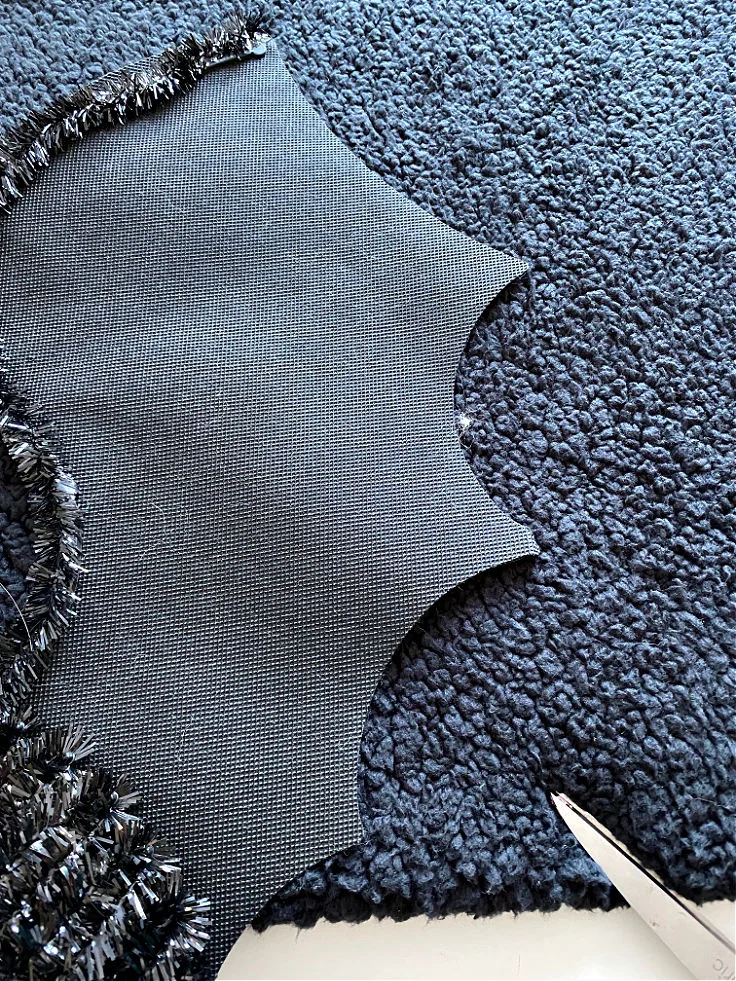
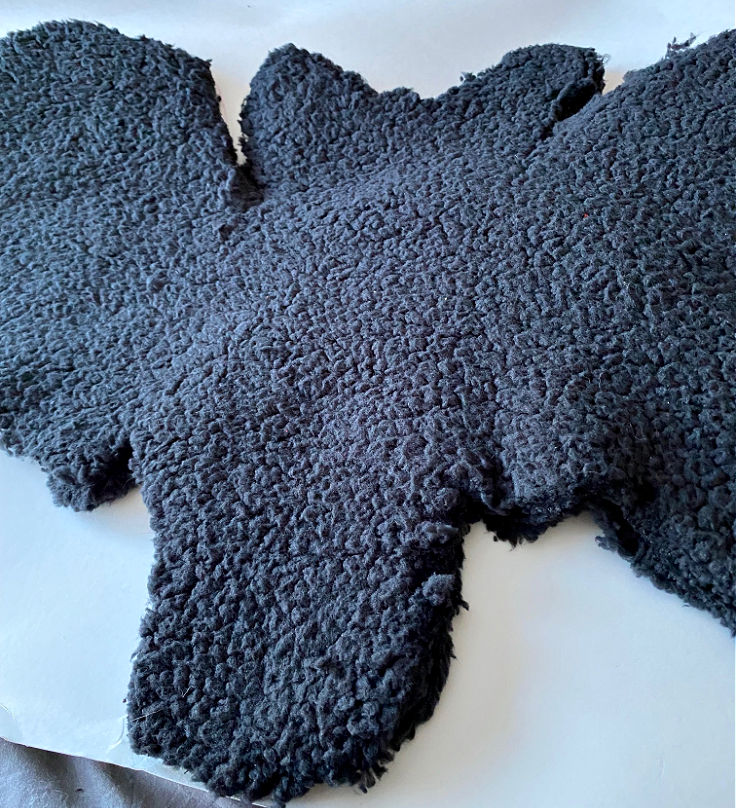
Step 2. Cut the fabric
Now it’s time to cut your fabric. I folded the fabric in half so I would have two even pieces for the pillow.

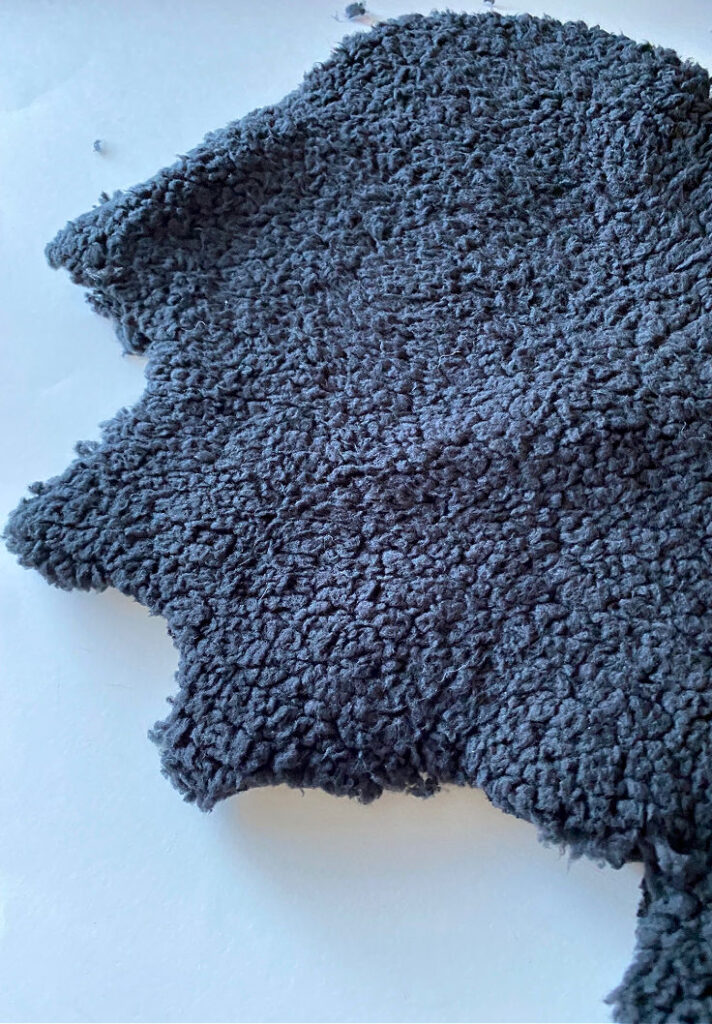
The only problem with that is the fabric is pretty thick so it was a little tough to cut with my scissors.
One tip I have when cutting sherpa or any thick fabric is to use a sharp pair of fabric scissors, or a rotary cutter.
I would have used a rotary cutter but mine is still in storage.

The hardest part of this project was cutting out the bat! Other than that it was a breeze!
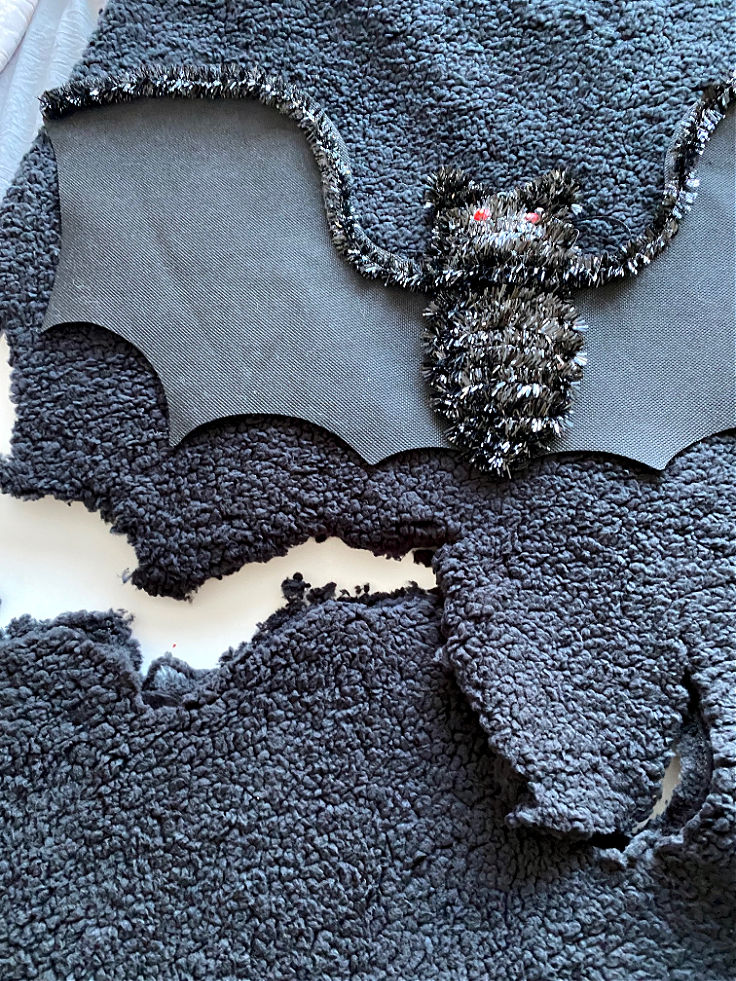
Step 3. Glue the Bottom Of The Bat
One helpful tip I have when making your bat is to pull up a picture of your inspiration on your phone or iPad.

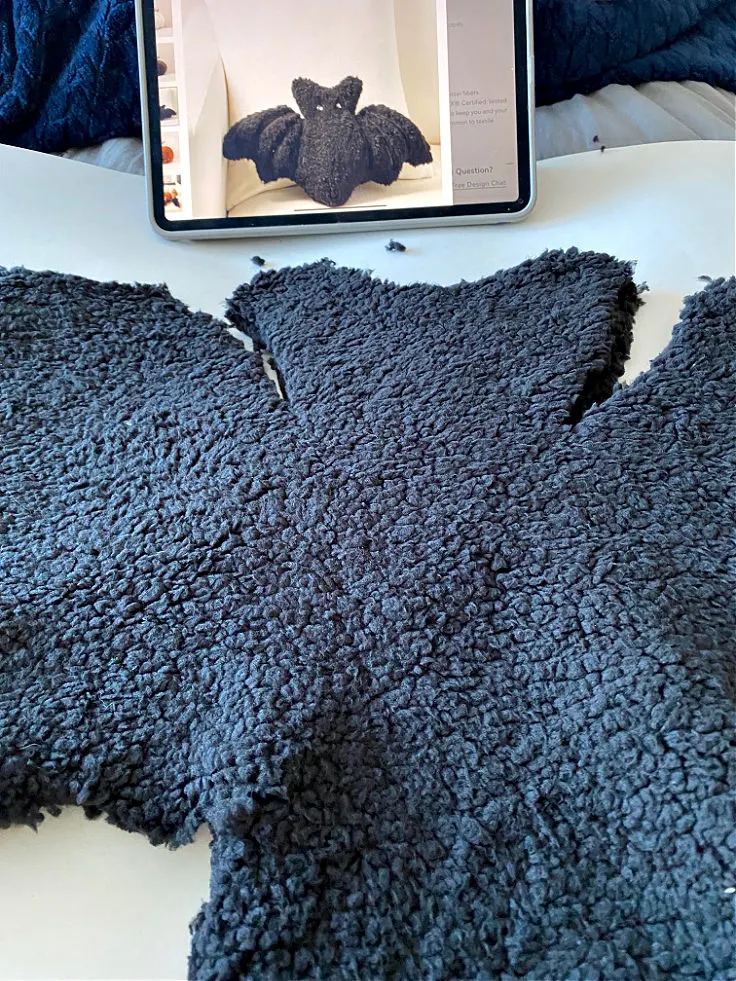
It really helps especially when making the bat wings. Now that you have both pieces of the pillow cut, line them up so the sherpa is facing out on each side.
Make sure your glue gun is nice and hot and begin gluing the bottom of the bat starting at the body.

This was my first time using the new Cricut Glue Gun and I was very impressed with it!
It uses mini glue sticks and there seemed to be fewer strings.
Just add a line of glue, press the fabric together and hold for a minute.
It’s better to work in small sections.
Step 5. Hot Glue The Bat Wings
Once the body is secure glue the wings together. Again, just work in small sections. Add a line of glue and hold for a minute or two.

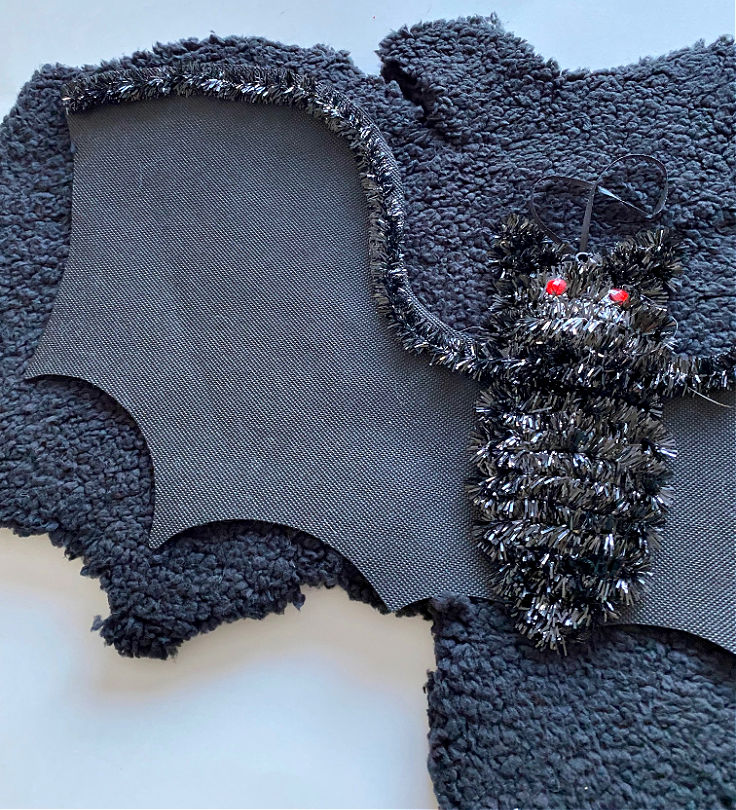
Leave the bat head unglued so you can stuff it.
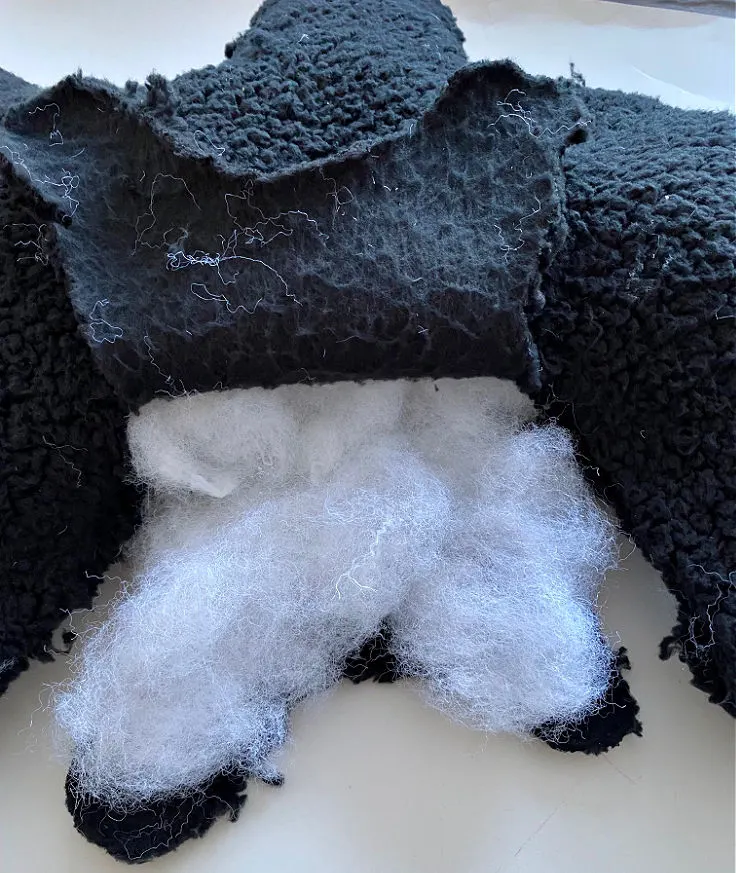
Step 6. Add Stuffing
Now you want to add handfuls of stuffing pushing it down into the body and the wings.

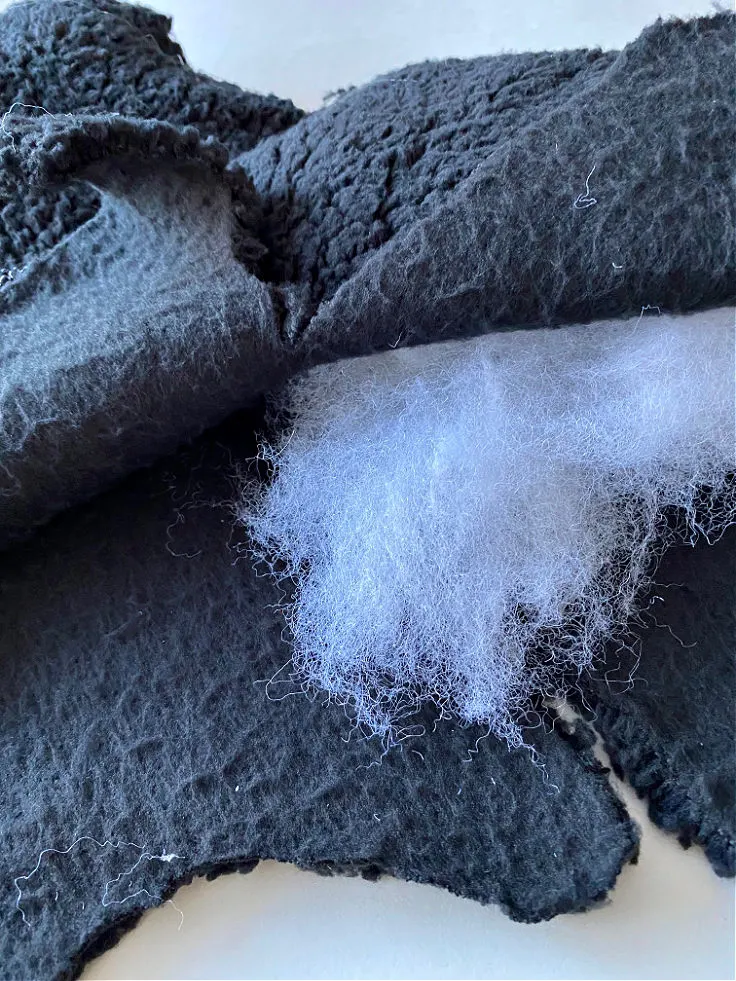
You can use a skewer or even scissors to push the poly-fil down into the bat. Make sure to get the points of the wings.
Be sure not to overstuff the bat. You don’t want any filling to come out. This pillow is more for decorative use.
Especially since it is no-sew I wouldn’t recommend letting the kiddos have a pillow fight with it!
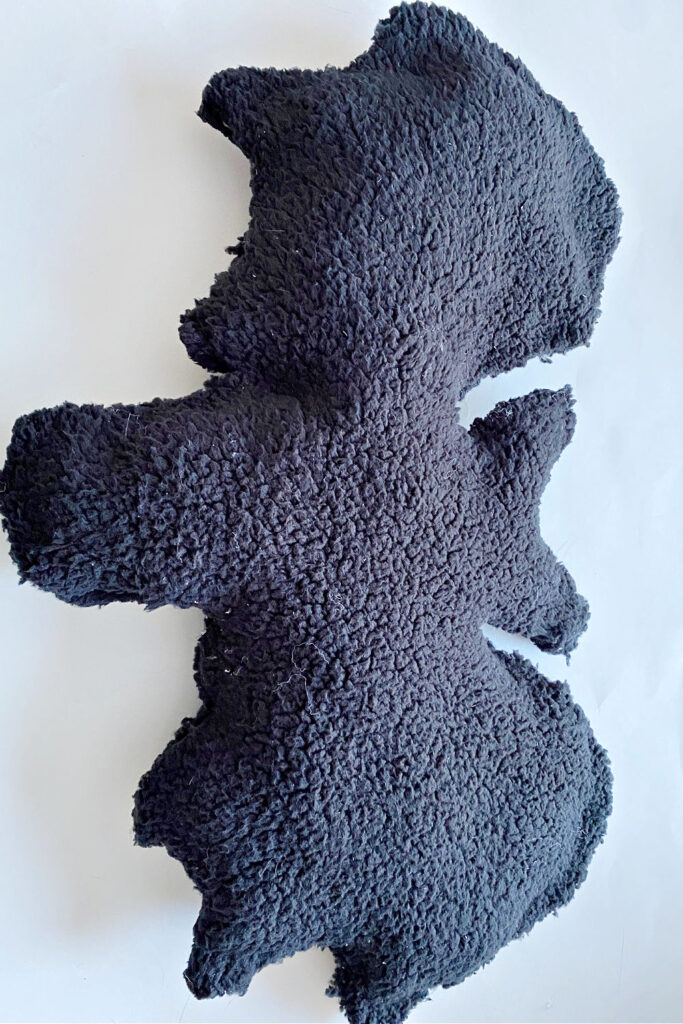
Step 7. Glue The Top Of The Pillow Closed
Once you have the bottom filled, add the stuffing to the head and close it up with your hot glue.

It’s always a good idea to check the entire pillow and see if you need any touch-ups.
If so, just add a little bit more glue.

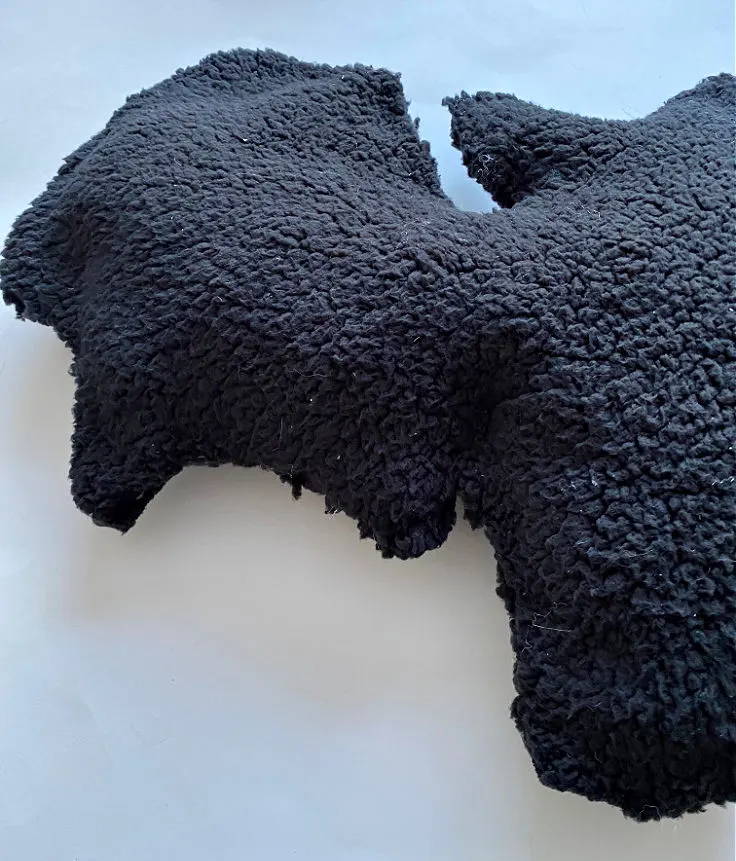
Look how great this pillow looks already! But the next step really takes it to the next level.

Step 8. Add Shimmer Eyes
To really get the look of the “shimmer bat pillow” inspired by Pottery Barn, you MUST include a little bling for the eyes.

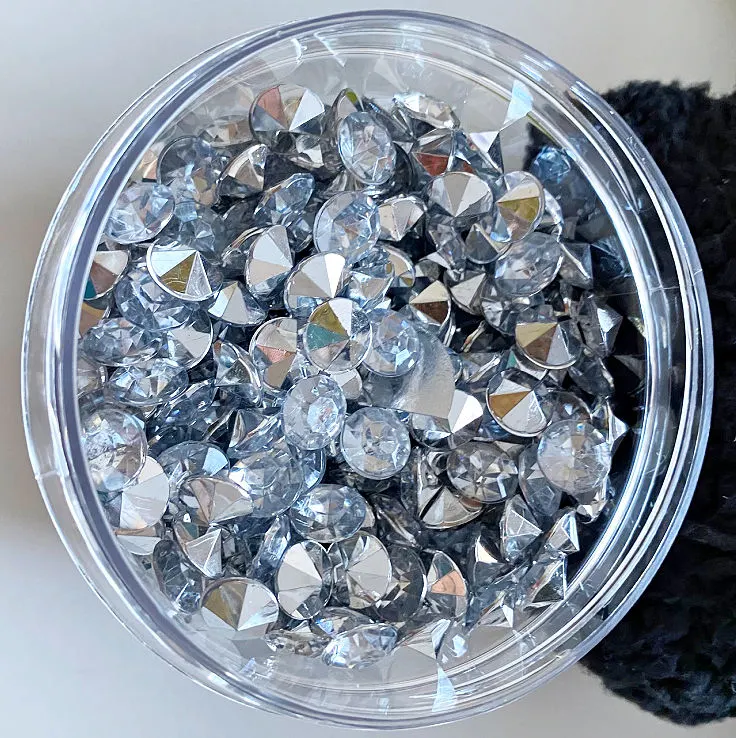
Simply hot glue them in place. The second the eyes are on the bat comes to life!

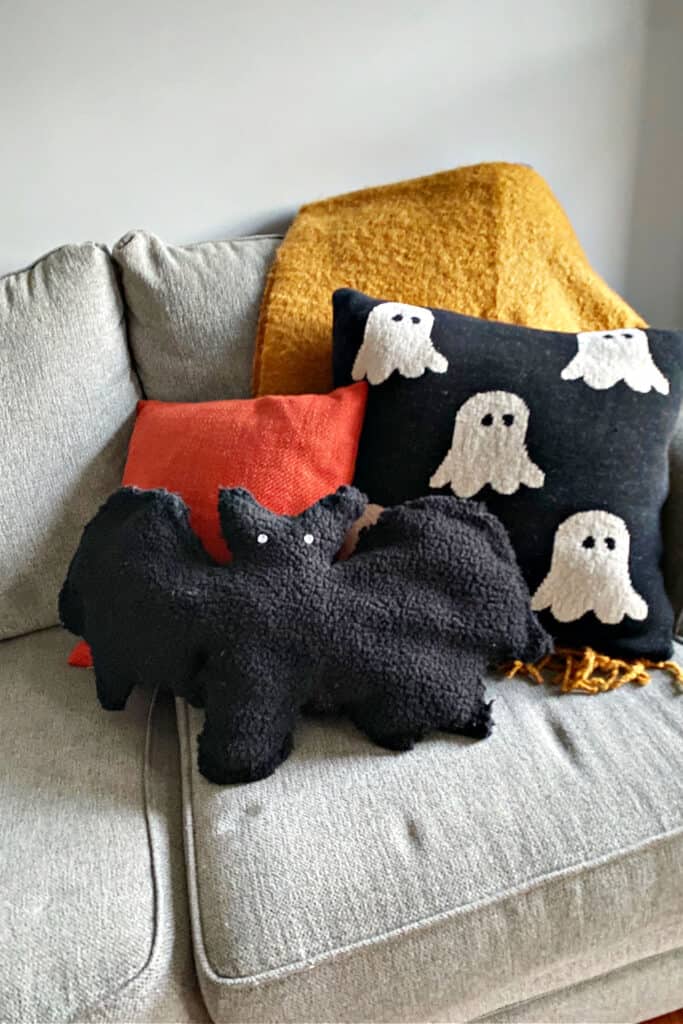
I’m seriously loving this little guy! He looks great in my living room with the Pottery Barn dupe pumpkin pillow I made last week.
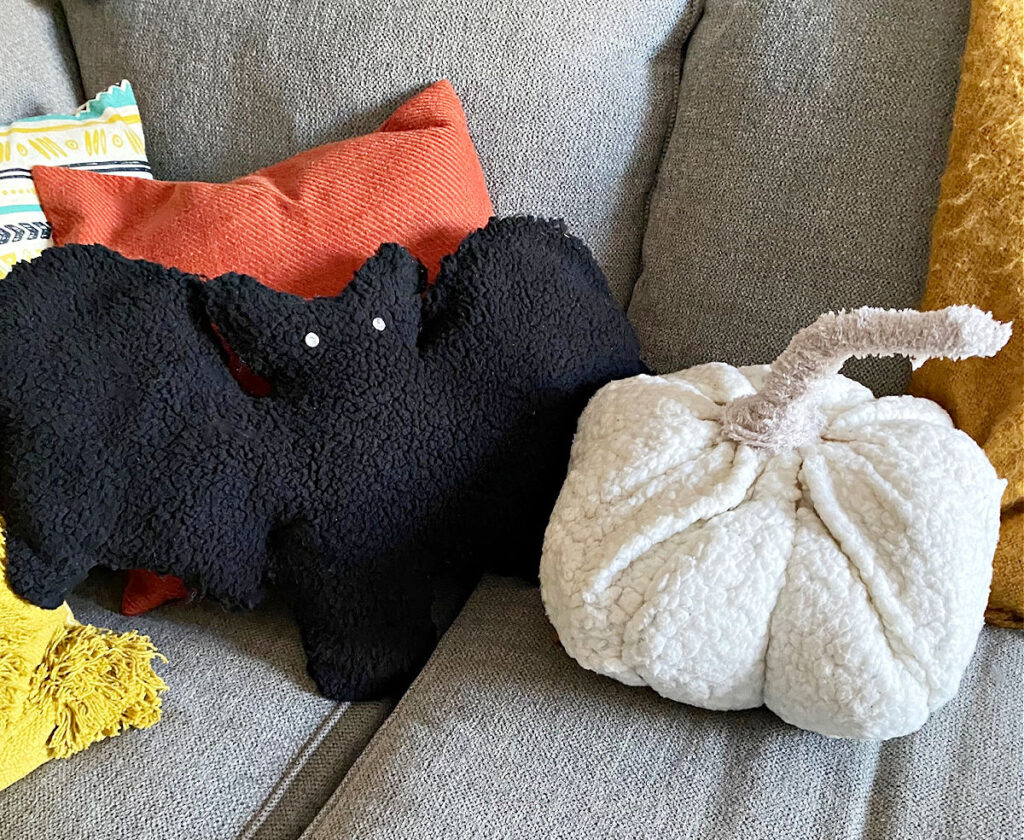

I added my daughter’s ghost pillow to the sofa and it just makes me smile each time I walk into the room. What do you think?

Not bad for about $15-less if you use stuffing from an old pillow.
Stay tuned for that super simple tutorial. So now that I’ve made the pumpkin and bat any guesses about which one of the Pottery Barn Halloween pillows is next?
Here’s a hint…he’s white all over and rhymes with most! 👻
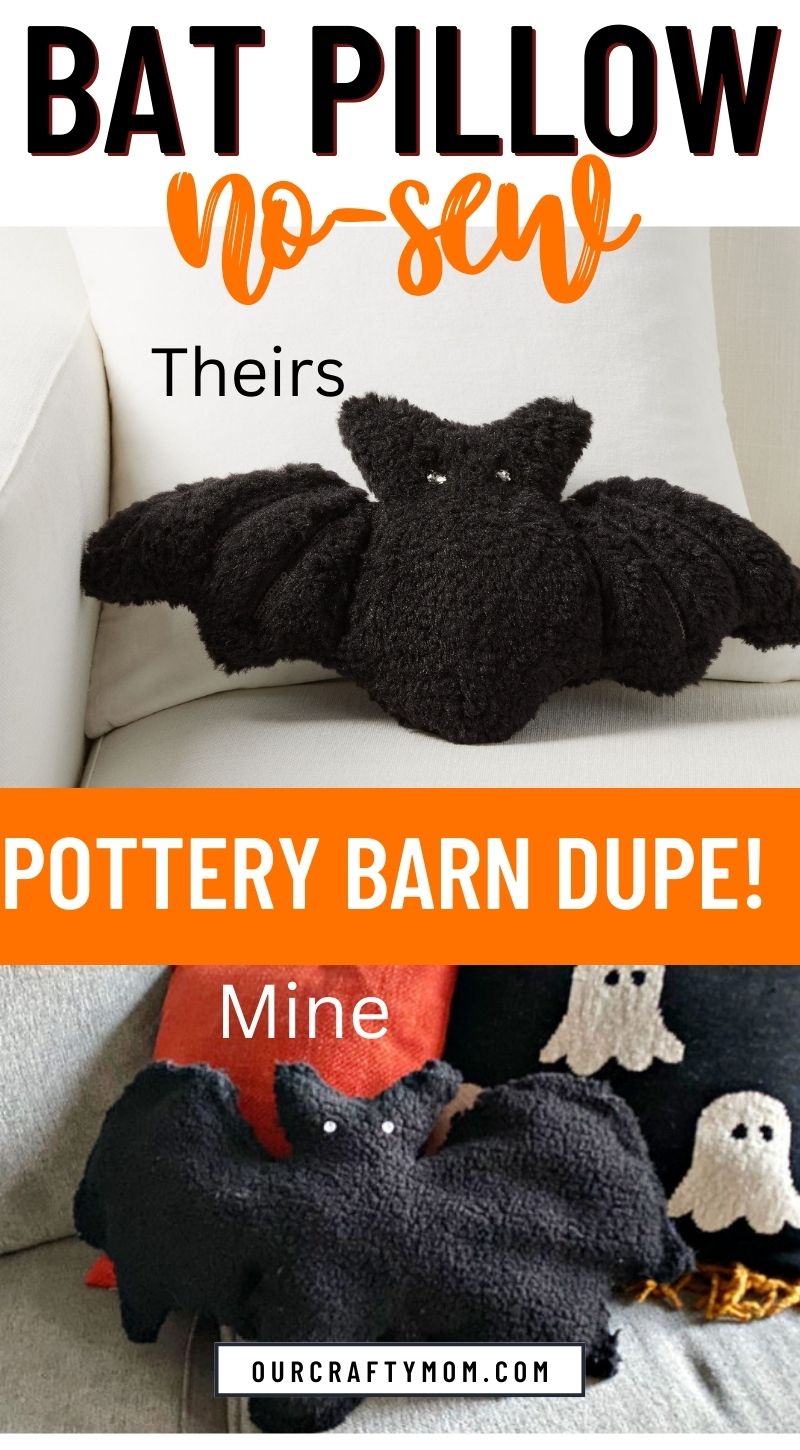
SAVE FOR LATER BY PINNING THIS IMAGE:

We will cozy up with these pillows while watching Hocus Pocus next week! 🙂

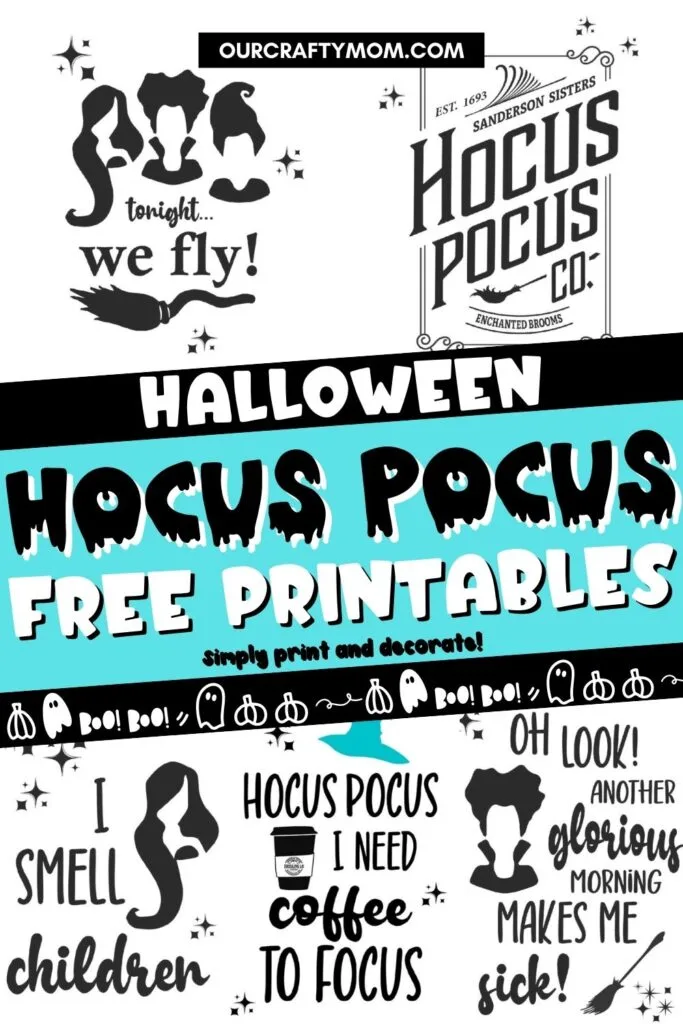
If you are a fan you will LOVE my Hocus Pocus printables that you can download free HERE.
Thanks for stopping by. Happy Halloween!
Google Web Story: Pottery Barn Dupe Halloween Bat Pillow
Enjoy even more Halloween crafts and home decorating ideas below:
- Halloween Pumpkin Diorama
- 15 Tasty Halloween Treats
- 20 Cricut Halloween Project Ideas
- Day of the Dead Pumpkin
- Air Fryer Halloween Donuts

Bat Pillow Pottery Barn Dupe
Make a super cool Halloween bat pillow that is no-sew! It is a Pottery Barn dupe that is a TikTok viral Halloween craft. It can be made for under $15 and you only need about 4 supplies. What a great addition to a kids' room. It's not too spooky and you can use any color sherpa if you want to make a colorful bat pillow.
Materials
- Black Sherpa 1 yard
- Poly-fil
- Rhinestones
Tools
- Hot Glue Gun
- Fabric Scissors
Instructions
- Create a template for the bat.
- Place it on the sherpa fabric folded in half.
- Use your scissors to cut it out.
- Lay the pieces together right sides out.
- Hot glue the bats wings and bottom of the bat.
- Continue gluing until you reach the bats head.
- Fill the bat pillow with poly-fil.
- Push the filling into the corners of the pillow until it is full.
- Finish stuffing the bats head then glue closed.
Recommended Products
As an Amazon Associate and member of other affiliate programs, I earn from qualifying purchases.
-

 Scissors, iBayam 8" Multipurpose Scissors Bulk 3-Pack, Ultra Sharp Blade Shears, Comfort-Grip Handles, Sturdy Sharp Scissors for Office Home School Sewing Fabric Craft Supplies, Right/Left Handed
 -
 Surebonder Cordless Hot Glue Gun, High Temperature, Full Size, 60W, 50% More Power - Sturdily Bonds Metal, Wood, Ceramics, Leather & Other Strong Materials (Specialty Series CL-800F)
FOLLOW ALONG
Pinterest ~ Facebook ~ Instagram ~ Twitter ~ YouTube ~ TikTok
Sara
Tuesday 27th of September 2022
So cute; can't wait to see the ghost too :)