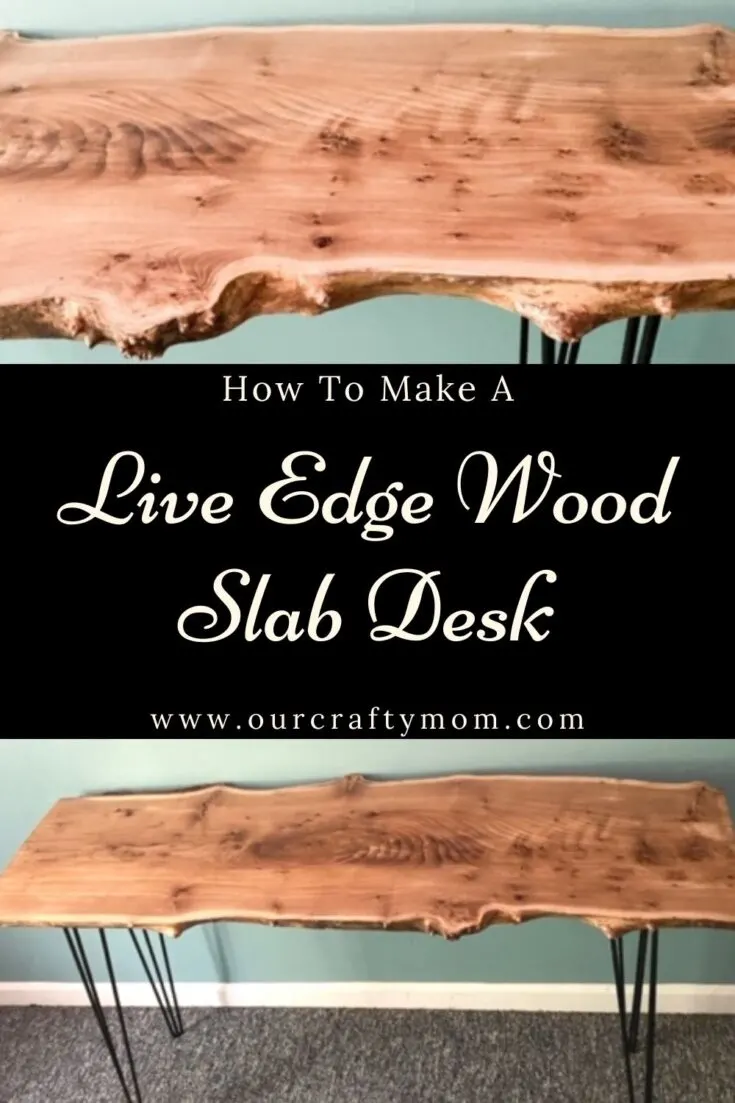
Make a beautiful live edge wood slab desk for a unique addition to your home. The hairpin legs are cool contrast to the rustic wood slice.
This post contains affiliate links at no extra cost to you. Please see my full disclosure here.
Live Edge Wood Slab Desk
I’m so excited to share this live edge wood slab desk with you!
I’m a huge fan of custom desks and this one was a super simple build.
It’s the perfect piece to use in an office space, but it’s also the right height to use in a dining room as a console table or front entry table.
You may also want to check out my live edge table HERE.
It was one of my first pieces of DIY live edge furniture and still a favorite!
You may have seen my post last week where I talked about my plans for the $100 room challenge.

The basic rules of this challenge are you have one month and $100 to update a space in your home.
I’m making over my daughter’s old bedroom by turning it into a reading room.
One of the things I want to accomplish in this room is to have a relaxing space to read and unwind at night.
But I also want to incorporate a desk area where I can blog or browse Pinterest.

I didn’t want a large desk, or anything that would overpower the room.
The first thing that came to mind was using a gorgeous live edge wood slab that my Dad bought me for my birthday in July.
Yup, the way to my heart is a stunning piece of kiln dried black walnut wood!
By way of history, my Dad has a good friend who owns a lumber mill.
So he has access to some really cool pieces.
My first time working with a wood slab was when I made an epoxy resin wood slice side table. I was hooked!
My most recent piece was a wood slice coffee table with ghost legs.
I wanted to change it up for this desk and use hairpin legs, which are perfect for this size wood slab.
This post contains affiliate links at no extra cost to you. Please see my full disclosure here.
Here are the supplies I used:
Supplies Needed For Live Edge Wood Slab Desk
- Polycrylic Clear Stain
- Hairpin Legs 28″
- Foam Brush
- 66″ Black Walnut Kiln Dried Wood Slab
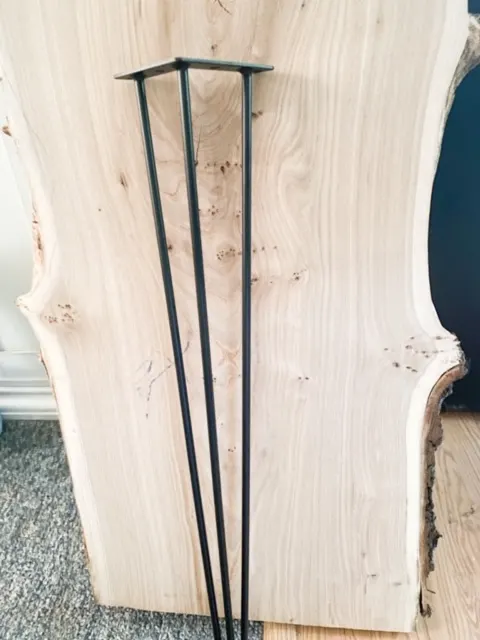
The wood was already gorgeous, so I wanted to keep it as natural as possible and really show off the wood grain.
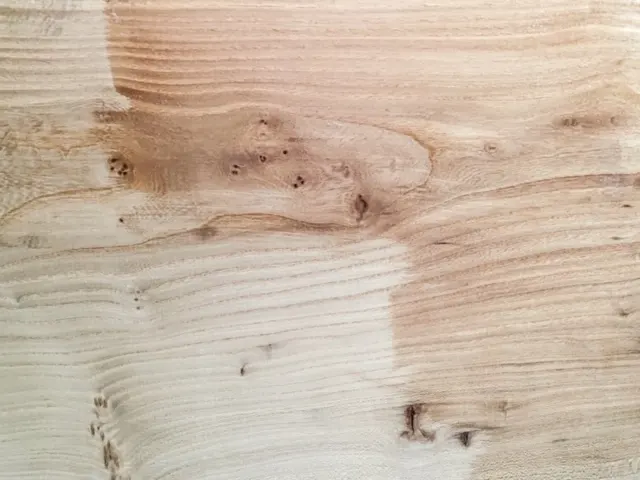
I started off by giving the wood a good sanding with an orbit sander.
Make sure you clean it off well to remove any dust or dirt.
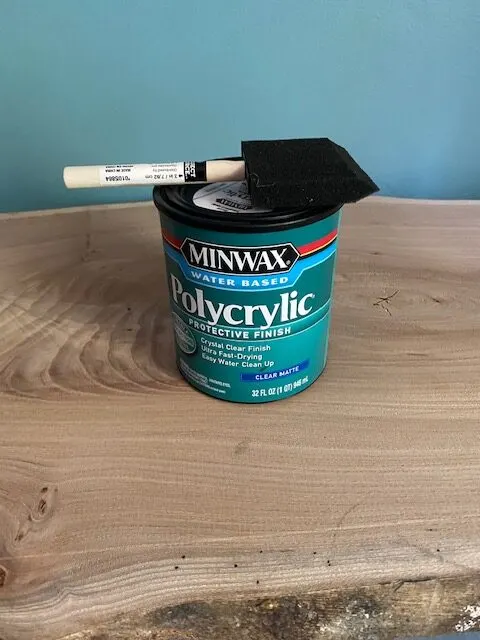
Next up, give it a good 3-4 coats of poly and let it dry overnight.
The last thing you need to do is attach the hairpin legs using a drill.
Measure where you want them to go and mark it with a pencil.
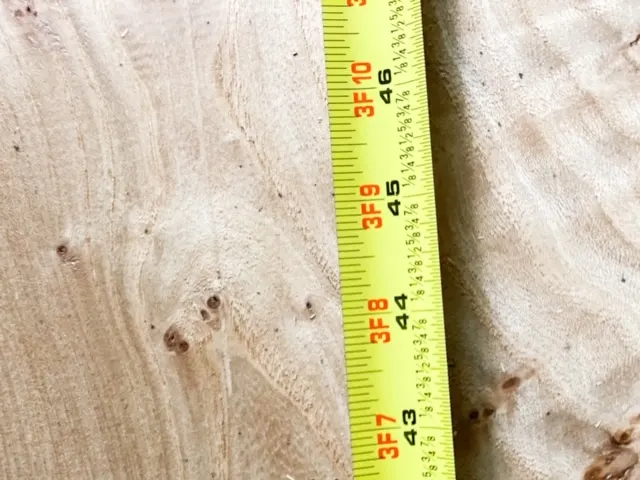
One of the things I love about participating in these types of challenges is it helps me to step out of my comfort zone.
While I’m a pro with a glue gun and craft tools, I’m a novice with power tools.
But, it’s never to late to learn a new skill, right?
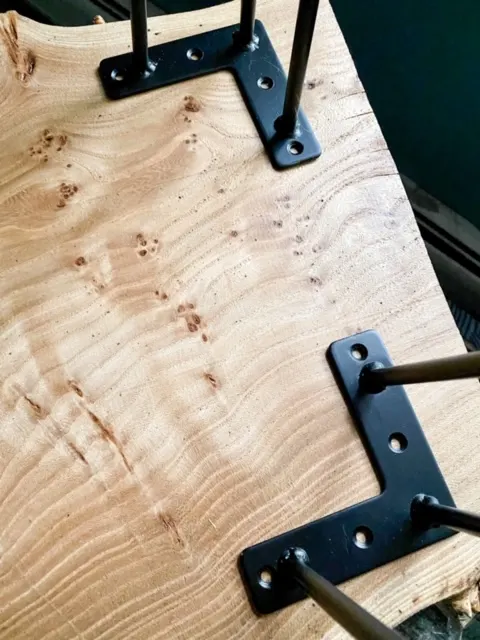
I had a little trouble with the drill, but I powered through (pun intended).
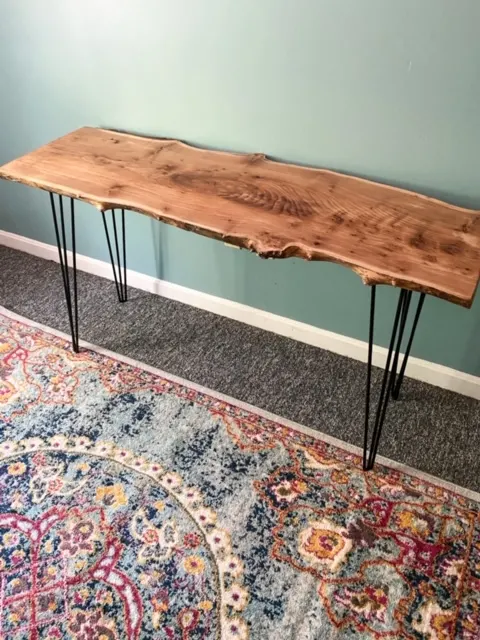
This desk is the perfect size for this reading room.
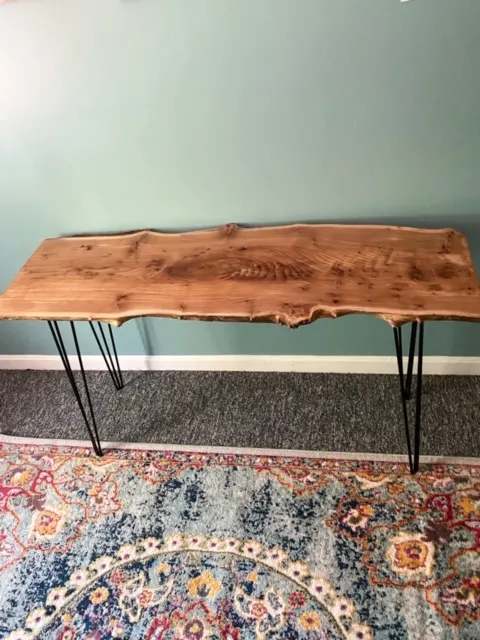
I also added the beautiful rug that I found for a steal.
The colors are exactly what I was looking for with golds and blues.

Unfortunately, the leather desk chair my sister gave me is way too big, but I have a substitute in my basement that I plan to recover.
The benefits of being a thrifter!
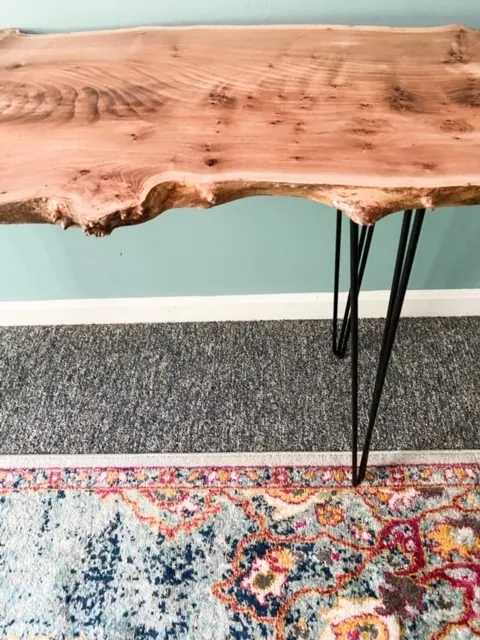
Don’t you love the live edges on this piece? They really give it a funky look.
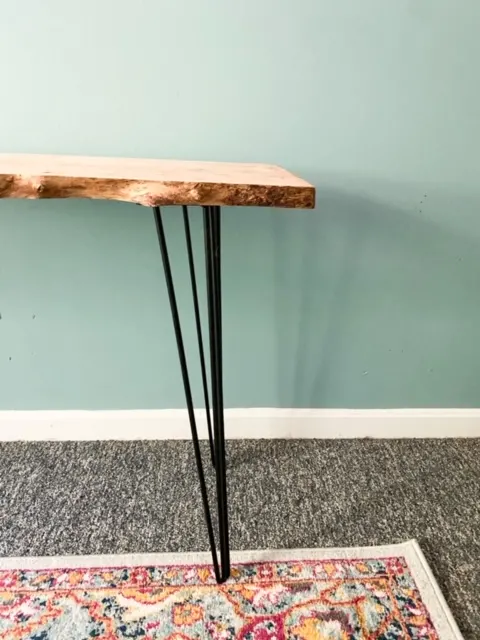
As I’m renting, I can’t paint or pull up the rug, so I’m finding other ways to change the look of this room.
Boy do I wish I could paint!
I’m all about decorating in blues, but this is more of a cooler blue.
My goal is to warm this space up with cozy seating, plants and lots of books.
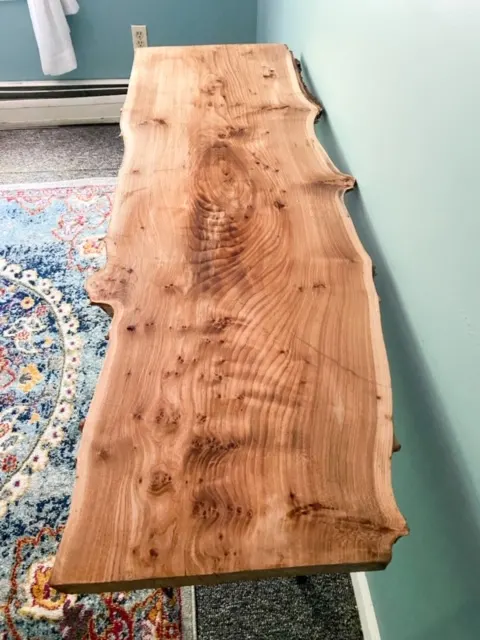
Here is what I have left to completely transform this bedroom:
- Curtains
- DIY Floating Bookshelves
- DIY Wood Plant Shelves
- Reading Chair
- DIY Floor Lamp
- DIY Ceiling Light
- DIY Side Table
- If budget allows, feature wall.
You see all of those DIY projects? Since I spent $45 on the rug, I only have $55 left so I need to DIY as much as possible to come in under budget.
I’m very thankful I already had pieces in my basement to redo.
Follow along over the next few weeks to see the progress and be sure to check out what all the other participants are working on this month using the links below!
Google Web Story: Live Edge Wood Slab Desk Tutorial
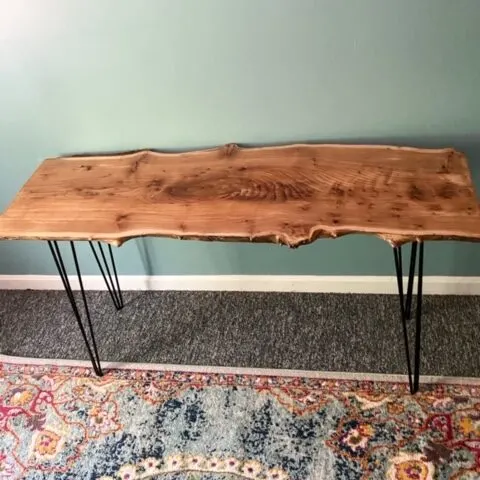
How To Make An Amazing Live Edge Wood Slab Desk
Make a gorgeous live edge wood slab desk with hairpin legs with just a few supplies. This can also be used as a console table, or coffee table using shorter hairpin legs.
This will be a unique statement piece in any home.
Materials
- Wood Slab
- Hairpin Table Legs 28"
- Polycrylic Clear Gloss
- Foam Brush
Tools
- Drill
- Palm Sander
- Measuring Tape
Instructions
- Sand the wood slab until it is nice and smooth.
- Apply 3-4 coats of polycrylic clear gloss. Allow it to dry overnight.
- Measure where you want the legs to go and mark with a pencil.
- Attach the legs with a drill.
Recommended Products
As an Amazon Associate and member of other affiliate programs, I earn from qualifying purchases.
-
 Komelon SL2825 Self Lock 25-Foot Power Tape
 -
 DEWALT Palm Sander, 1/4 Sheet (DWE6411K)
 -
 US Art Supply Variety Pack Foam Sponge Wood Handle Paint Brush Set (Value Pack of 20 Brushes) - Lightweight, durable and great for Acrylics, Stains, Varnishes, Crafts, Art
 -
 Minwax 244444444 Minwaxc Polycrylic Water Based Protective Finishes, 1/2 Pint, Semi-Gloss
 -
 BLACK+DECKER 20V MAX Cordless Drill / Driver with 30-Piece Accessories (LD120VA)
 -
 Signstek 28" Hairpin Table Legs with Heavy Duty Metal and Industrial Design for Coffee Tables, Modern Desks and Night Stands,Set of 4
Thanks so much for visiting. Have a great day!
I’d love it if you would follow me on social media:


Dara
Tuesday 22nd of September 2020
What a gorgeous piece of wood! Great work on the desk!
Tracy
Monday 21st of September 2020
Wow!! What a beautiful desk and great deal on the rug!
Michelle Leslie
Monday 21st of September 2020
It looks WOW!!!!!!!!!!! And good on you for picking up that drill and going for it. Nothing can stop you know and I can't wait to see all the things you're going to be making
Maria
Sunday 20th of September 2020
The table turned out amazing. I have always wanted to make a wood slab table. Great Tutorial.
Jackie @jackiecantblog
Sunday 20th of September 2020
Your desk came out so beautifully! And fits that boho vibe you want for your reading room. Glad you got to play with some power tools- that's always a good time in my book.