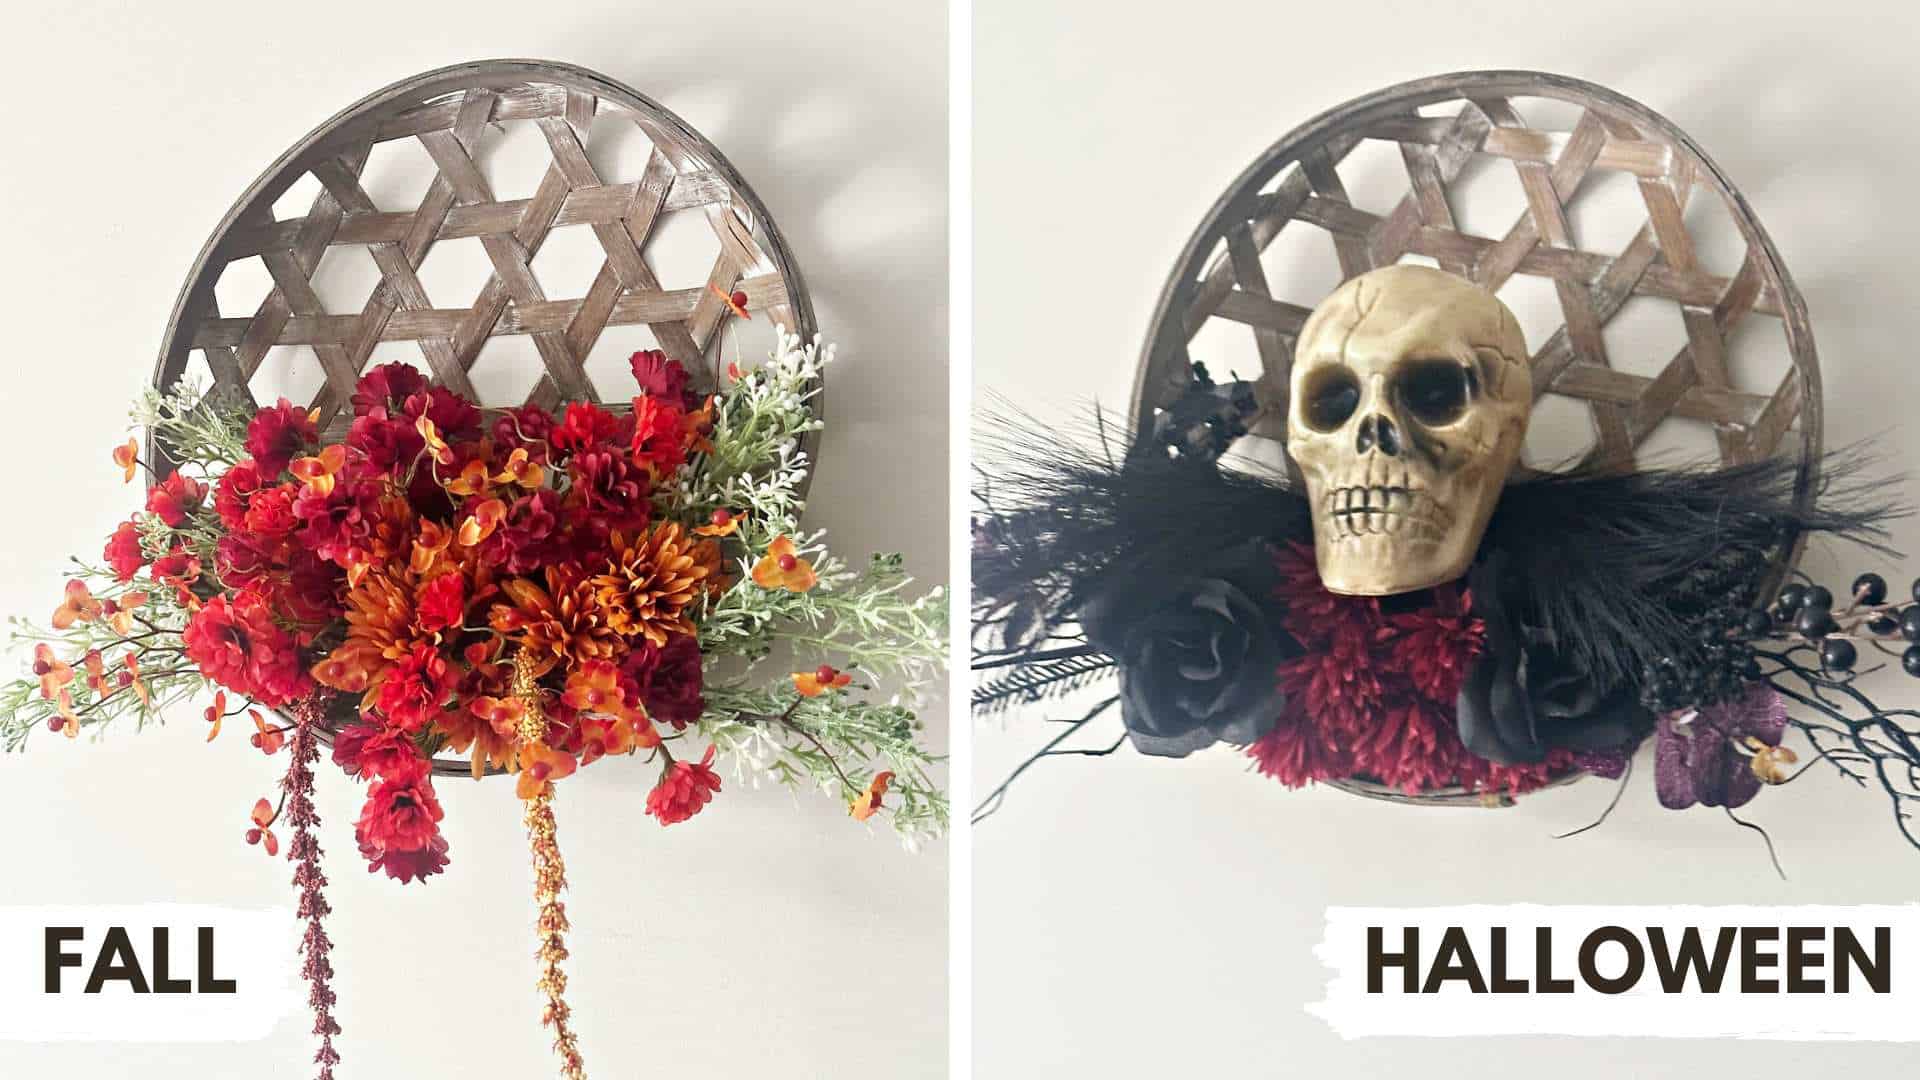
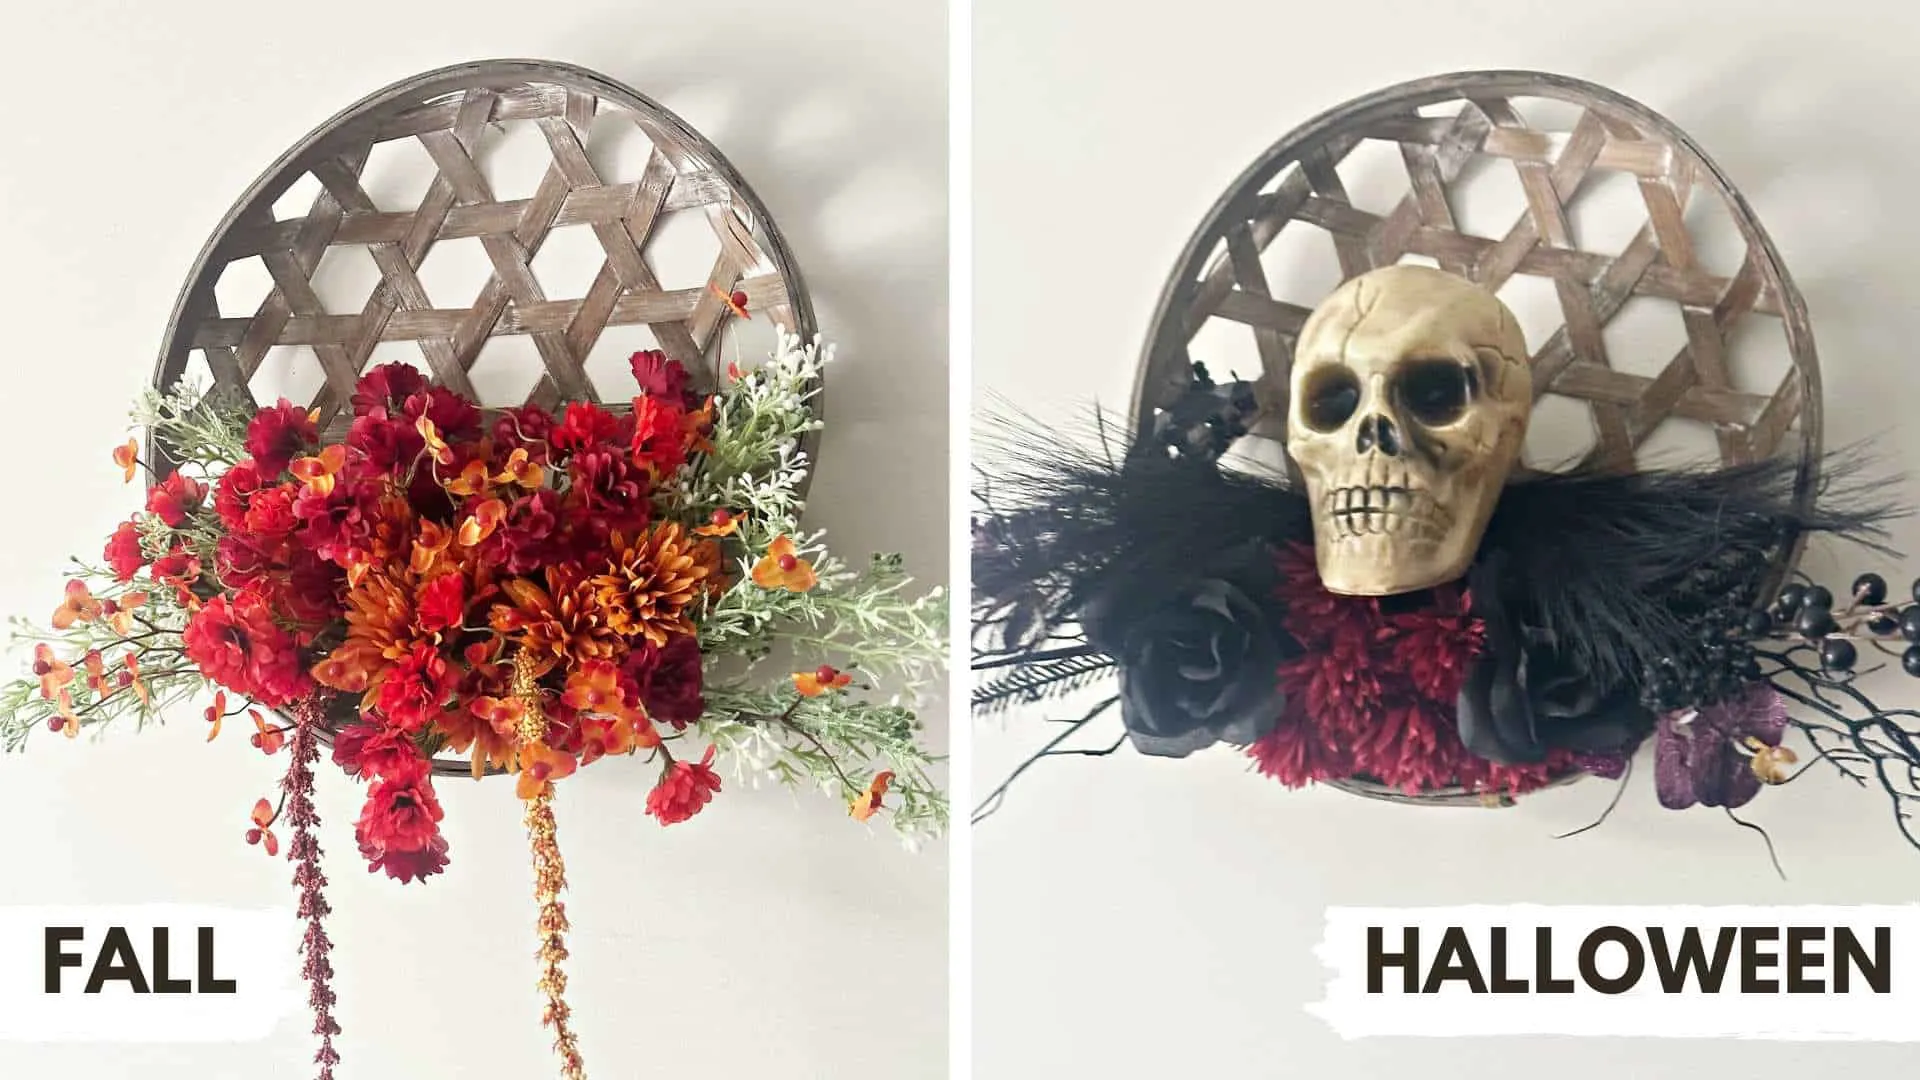
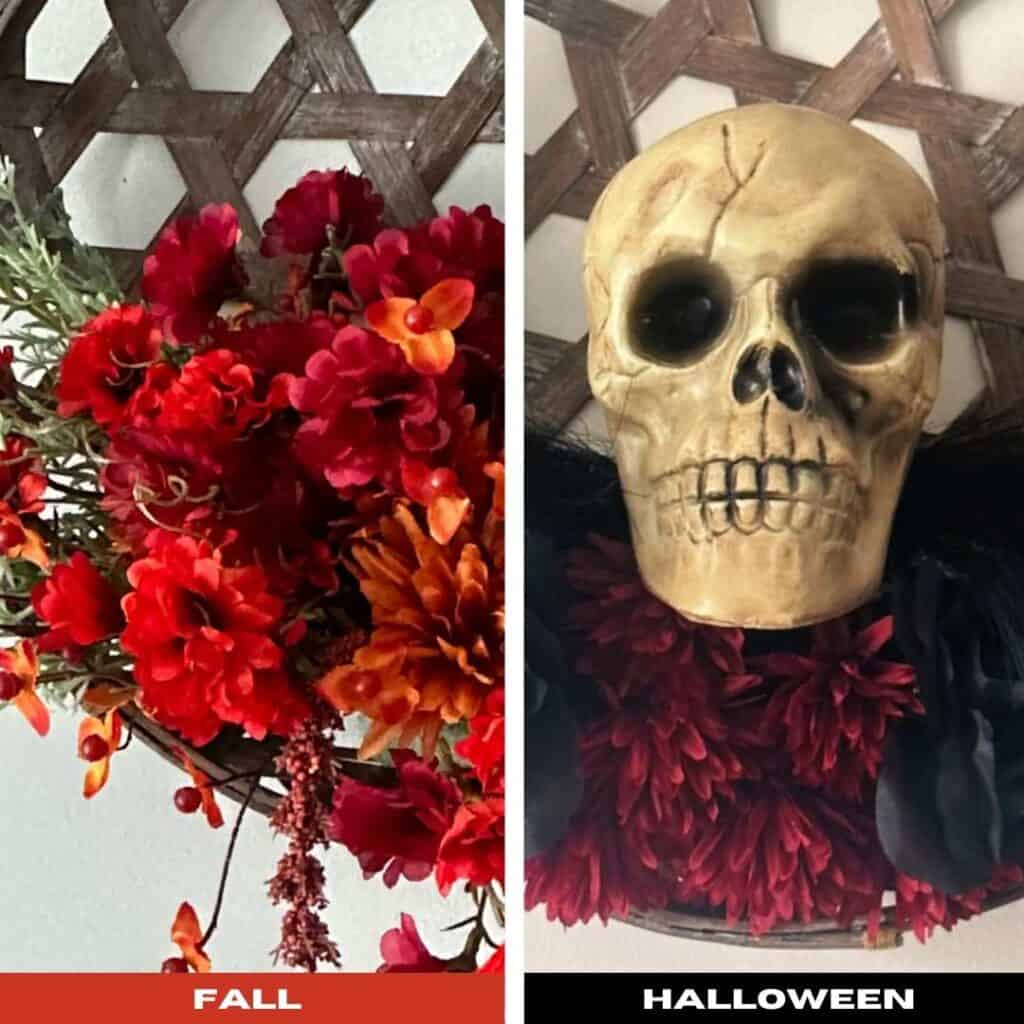
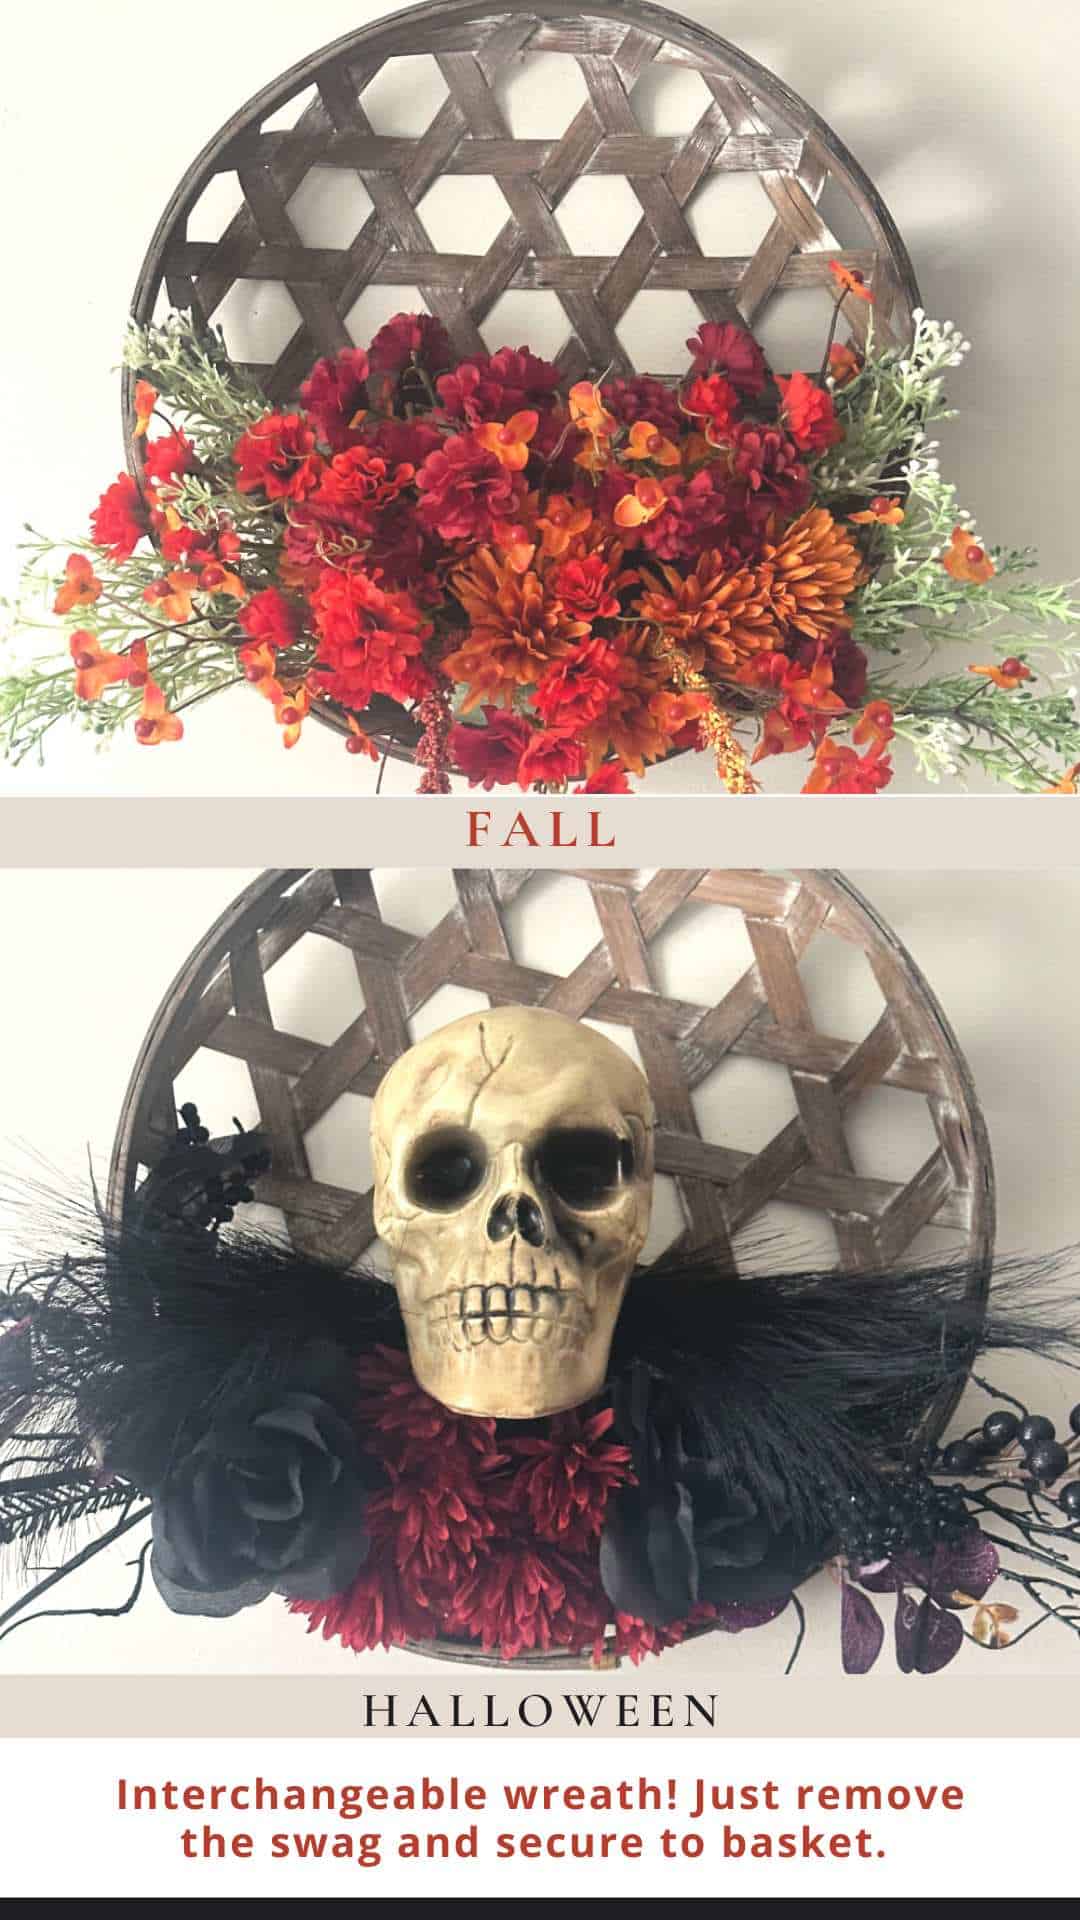
Let me show you how to make an easy interchangeable wreath for fall and Halloween. The swag attaches with floral wire, so it can be removed.
You all know I am a huge fan of wreath making, but I am running out of room for all these wreaths!
While making a front door wreath for Halloween, I had a lightbulb moment. And, it’s a good one!
Keep reading for all the details.
This post contains affiliate links at no extra cost to you. Please see my full disclosure here.
Do you ever have those moments that just hit you out of nowhere and you wonder why you didn’t think of it sooner?
That’s exactly what happened to me when I sat down surrounded by fall and Halloween craft supplies!
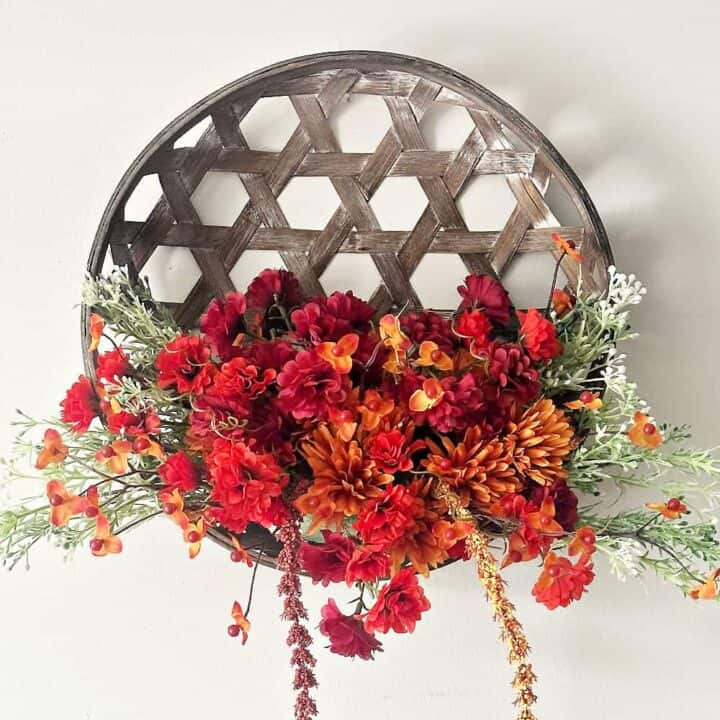
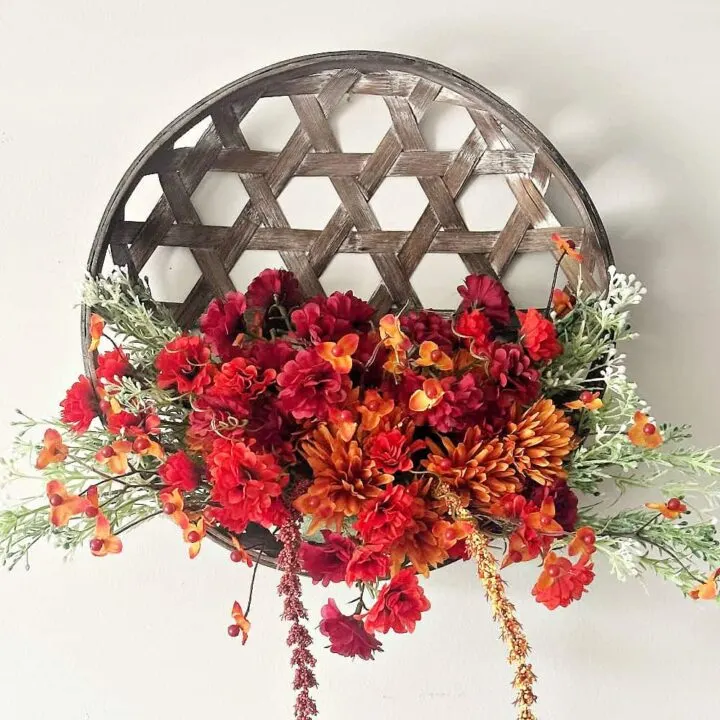
My plan was to make a Halloween tobacco basket wreath, but when I looked at all the pretty fall florals I had too, I couldn’t decide which one to make.
Then I had that lightbulb moment-make both that can be interchangeable on the wreath!
Why didn’t I think of this sooner? Now my mind is spinning with ideas of the other styles I want to create.
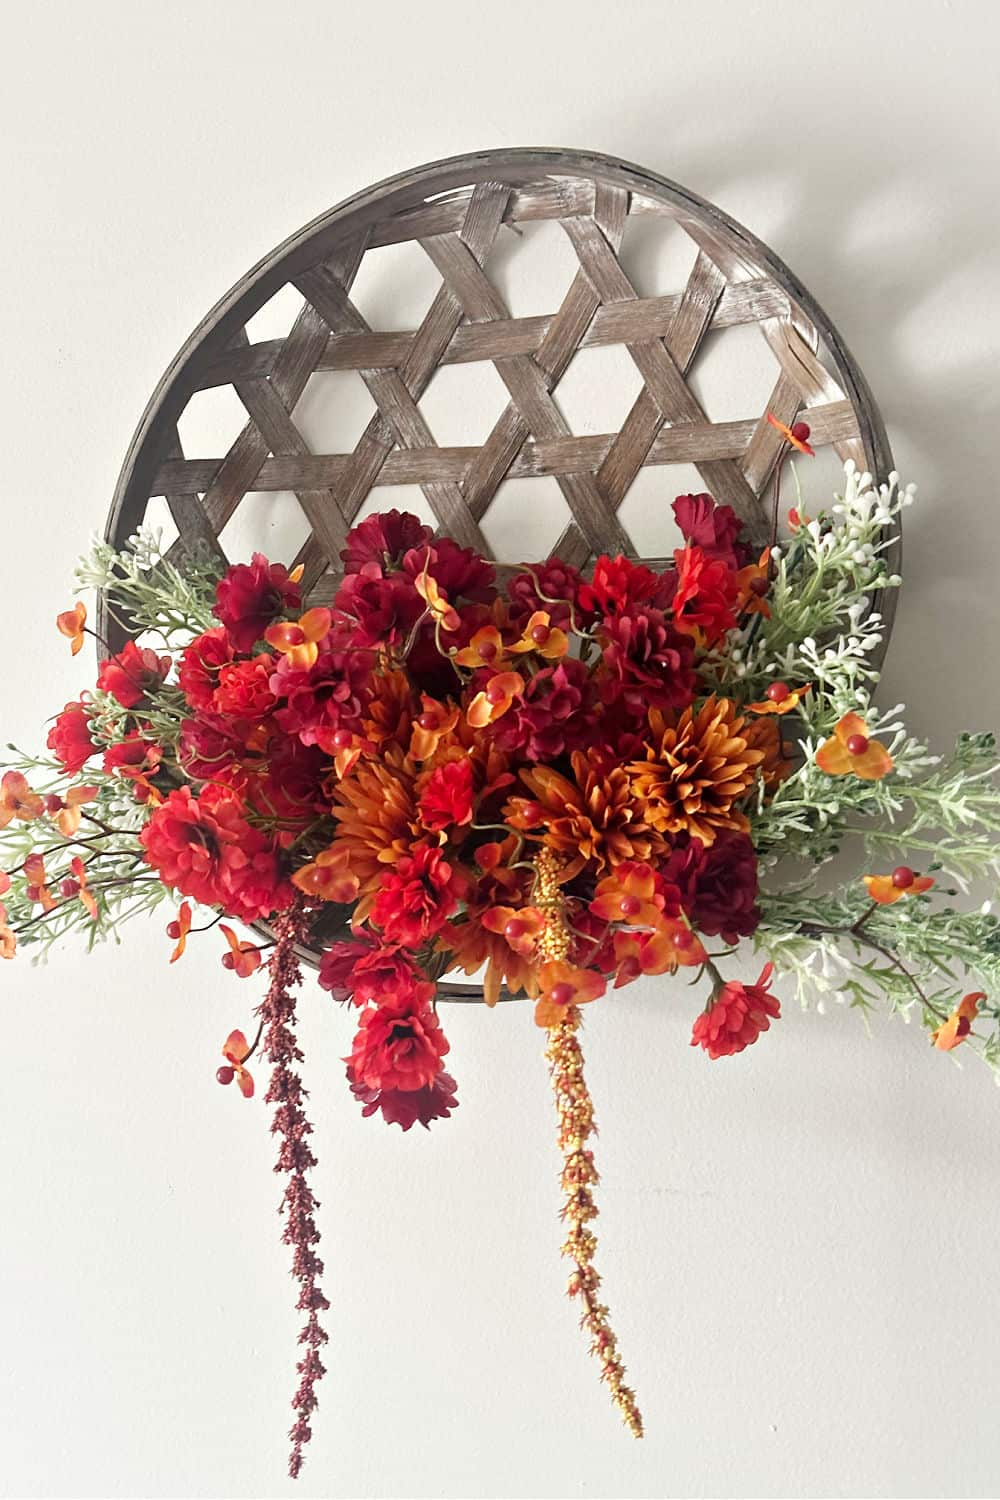
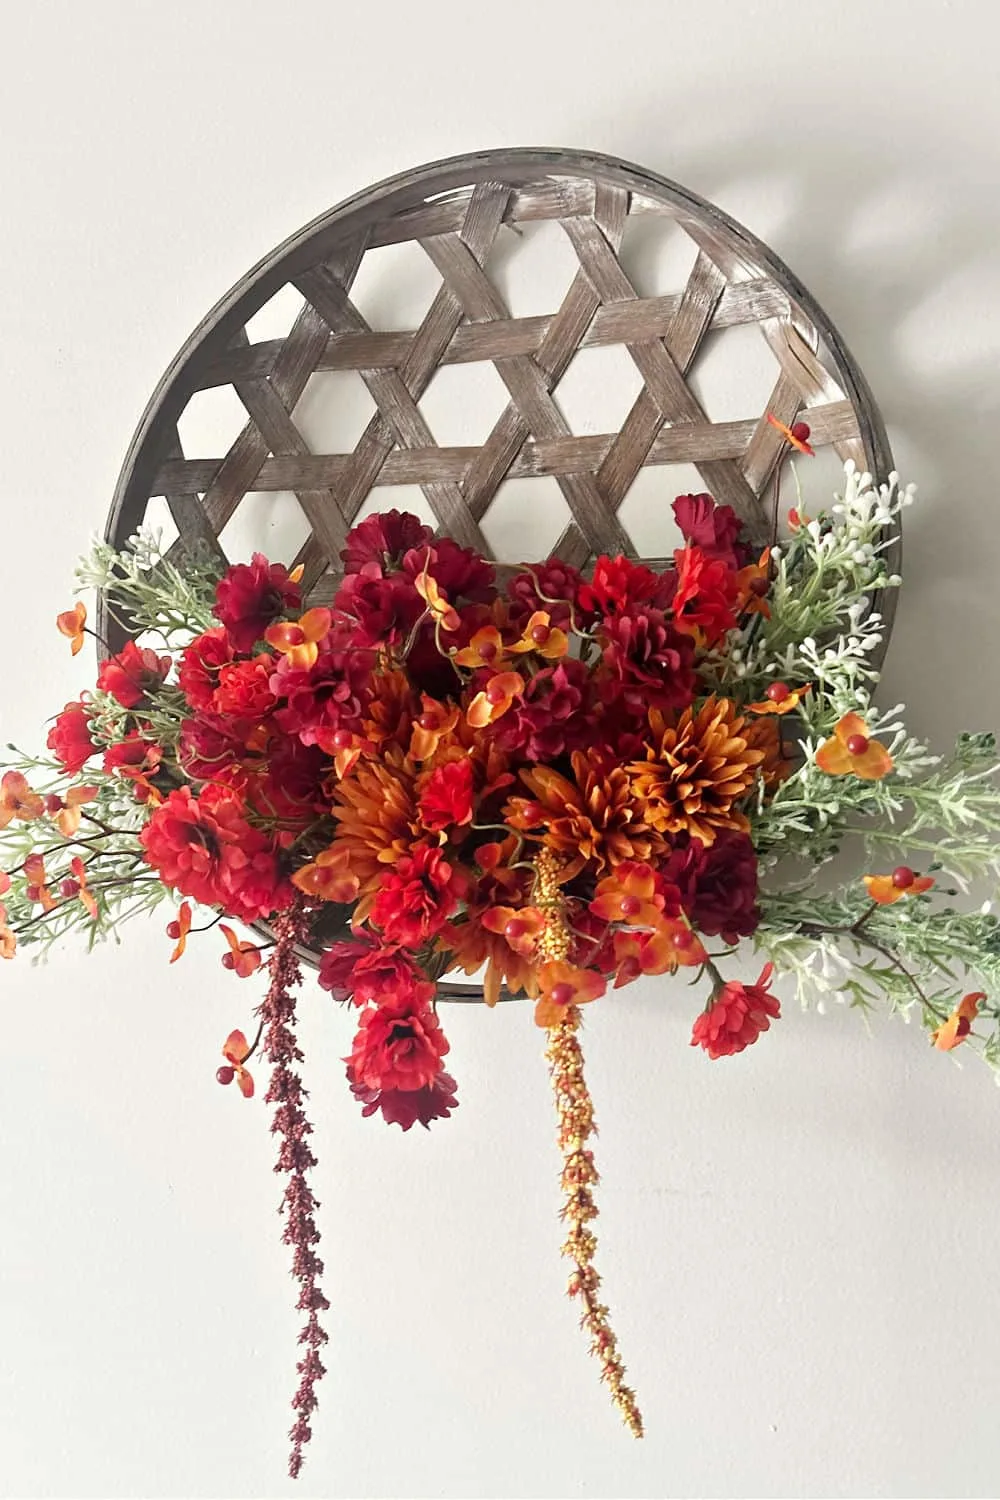
Interchangeable Wreath For Fall and Halloween
I chose to use a tobacco basket that I already had in my craft closet. They are a classic farmhouse style and the size works perfectly as a wreath base.
Just about all of the supplies can be found at Dollar Tree making this a very budget-friendly way to decorate for each season.
You can see how I used a larger rectangle one to make a gorgeous Christmas wreath and a metal tobacco basket to create an adorable DIY spring wreath.
Supplies Needed for Interchangeable Wreath
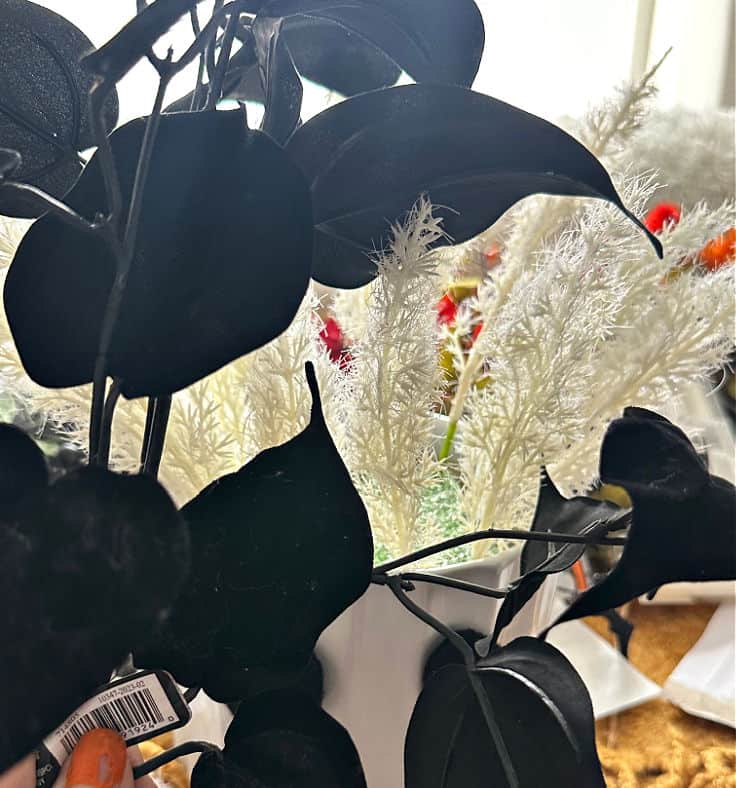
- Faux Flowers- mine are from Dollar Tree
- Wreath Forms – I used a tobacco basket that I already had. You can also use a grapevine wreath, wood bead wreath, or even a modern hoop style wreath. Hobby Lobby has a ton of different size tobacco baskets.
- Floral Wire or twine
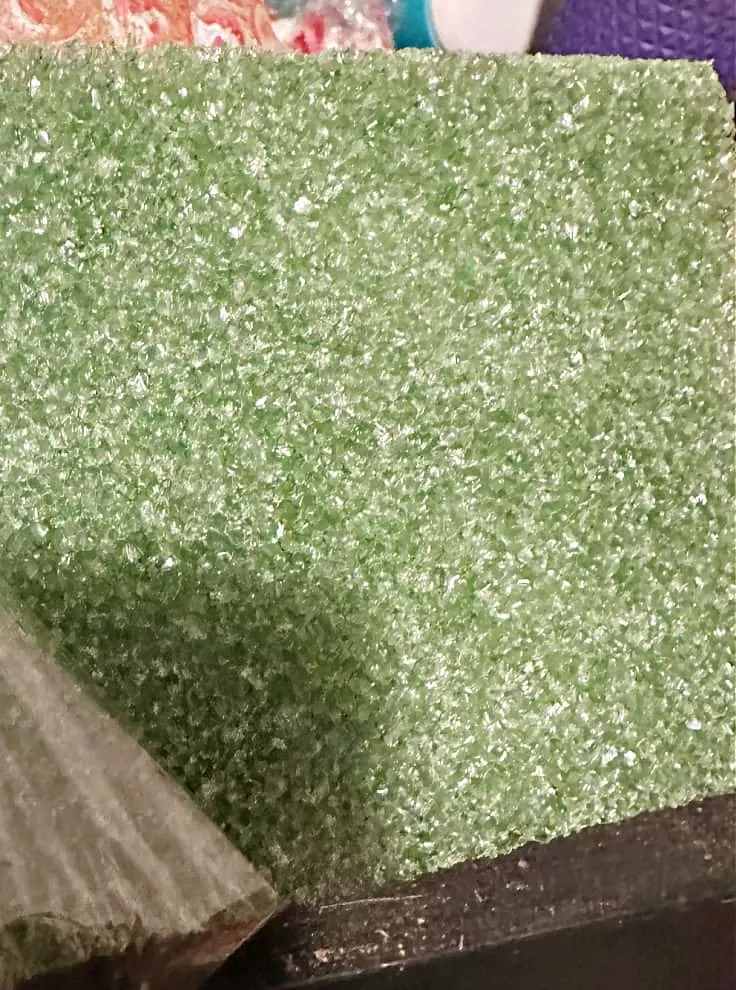
- Craft Foam Blocks
- Hot Glue Gun and glue sticks – I used a very minimal amount-just to attach the skull
- Wire Cutters


Create a Swag for the Wreath Base
You will find a printable DIY card at the bottom of this article with step-by-step instructions, so I will get right to a few quick tips so you can make your own seasonal wreath.
The main thing you want to do is set your wreath base aside. Pretend it is not even there.
You want to ensure your decoration or “swag” is completely independent of the wreath.
This was a little strange for me at first, because I am so used to adding the florals directly to the wreath.
But, once you get started it comes together so quickly.
Start from the Bottom Side
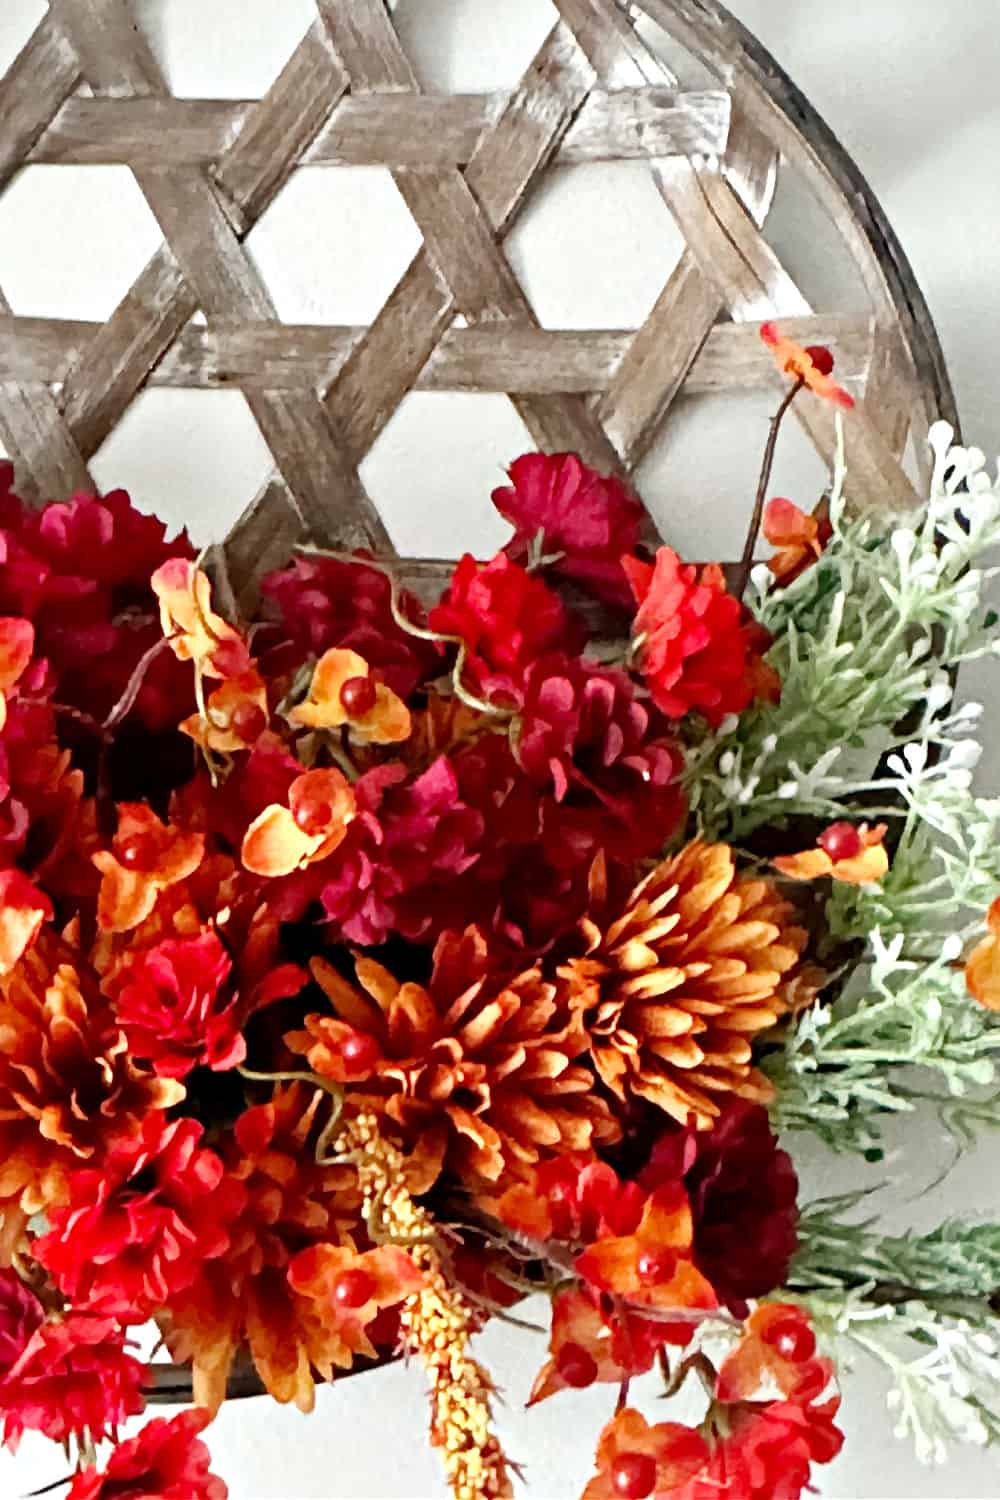
I’m a big fan of symmetry, so I found it easy to start adding the flowers on the bottom left side, then repeating the same process on the bottom right side.

The great thing is, you don’t even need to use hot glue for this part.
The stems have wire so you can just push them right into the foam.
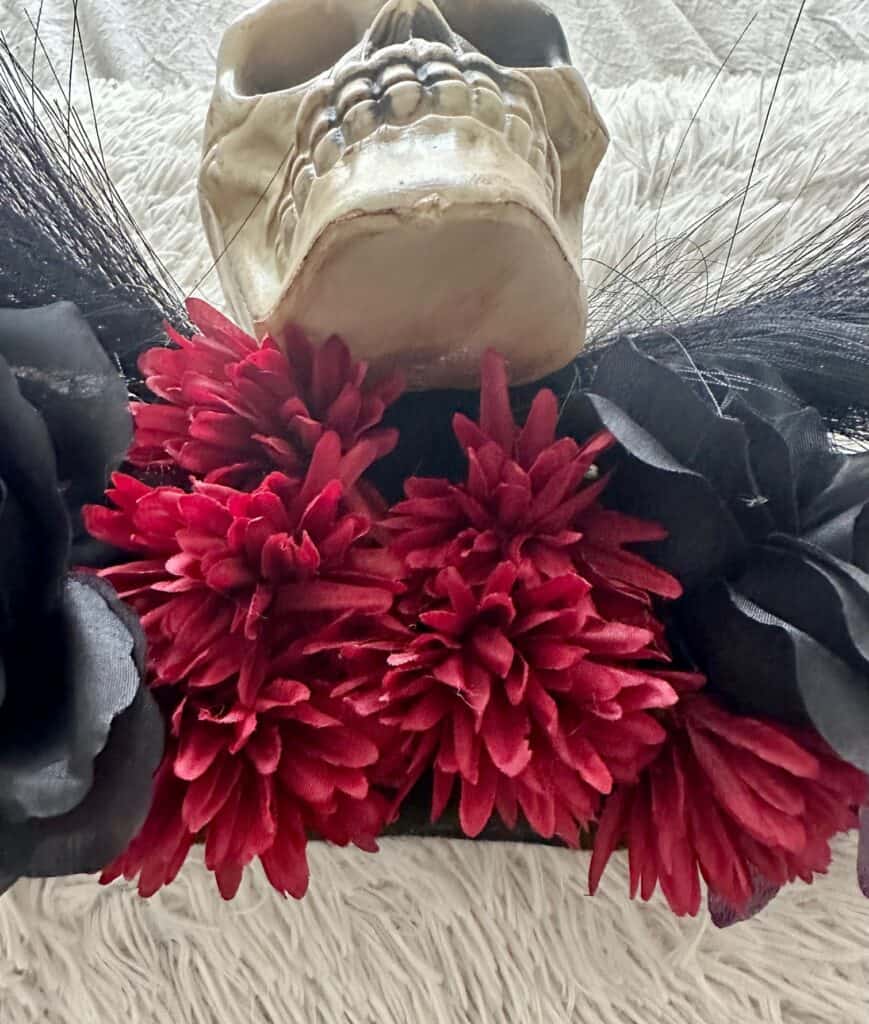
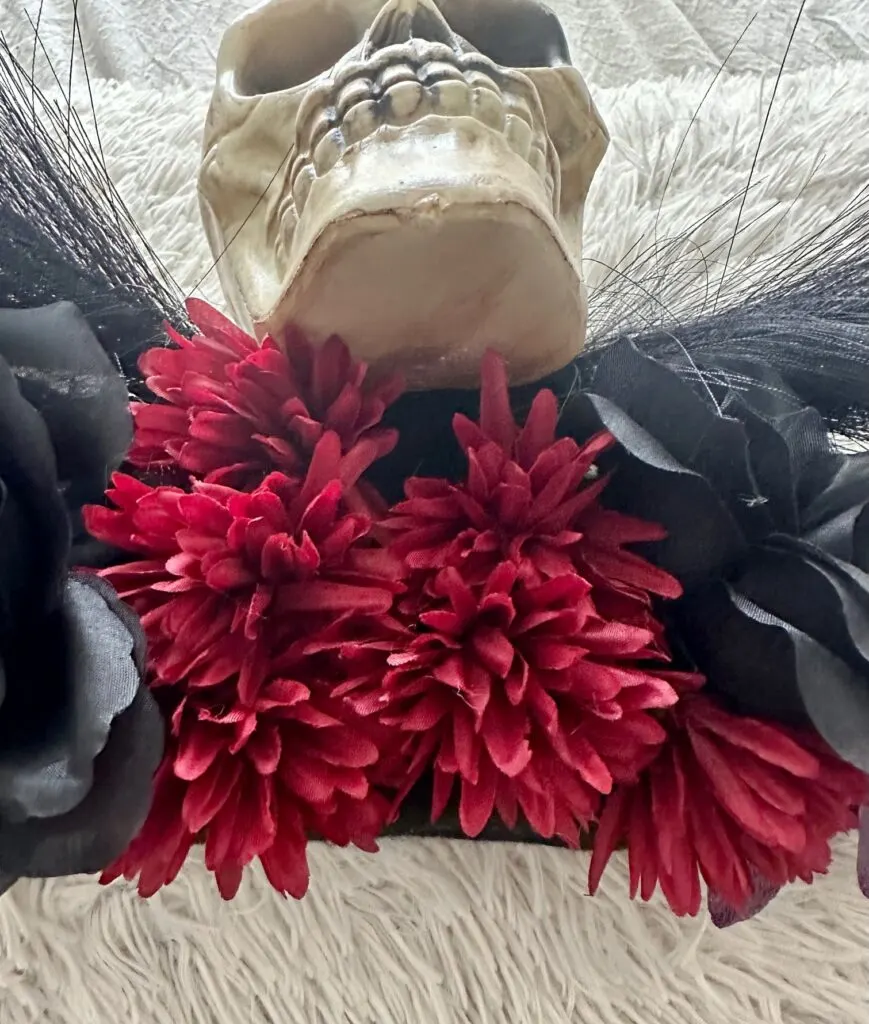
Fill in the Center
Once you have the sides nice and full, add flowers to the center of the foam.
Make sure you cover all of the green foam.
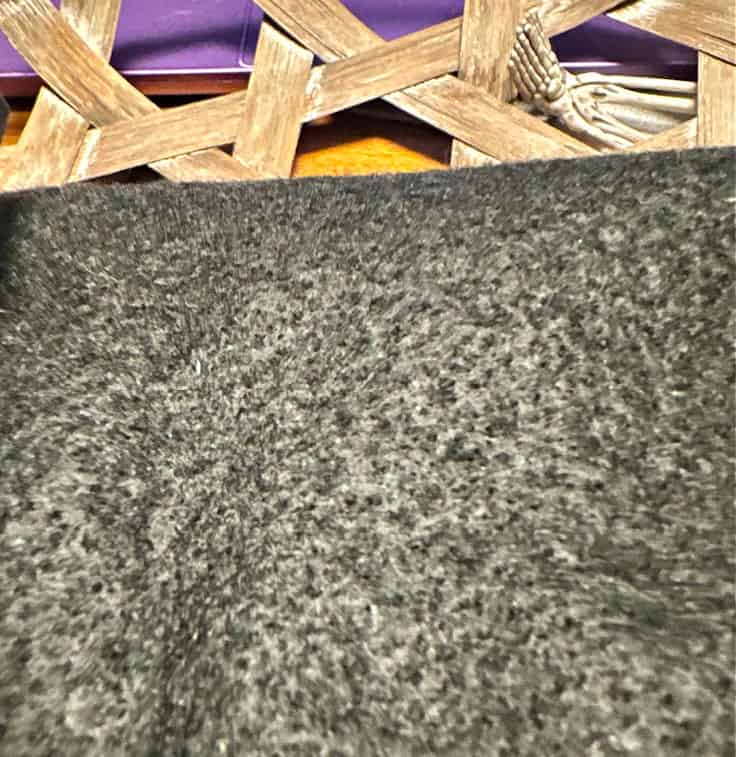
Quick tip: for the Halloween wreath I covered the foam with black felt fabric.

Check Placement on Wreath
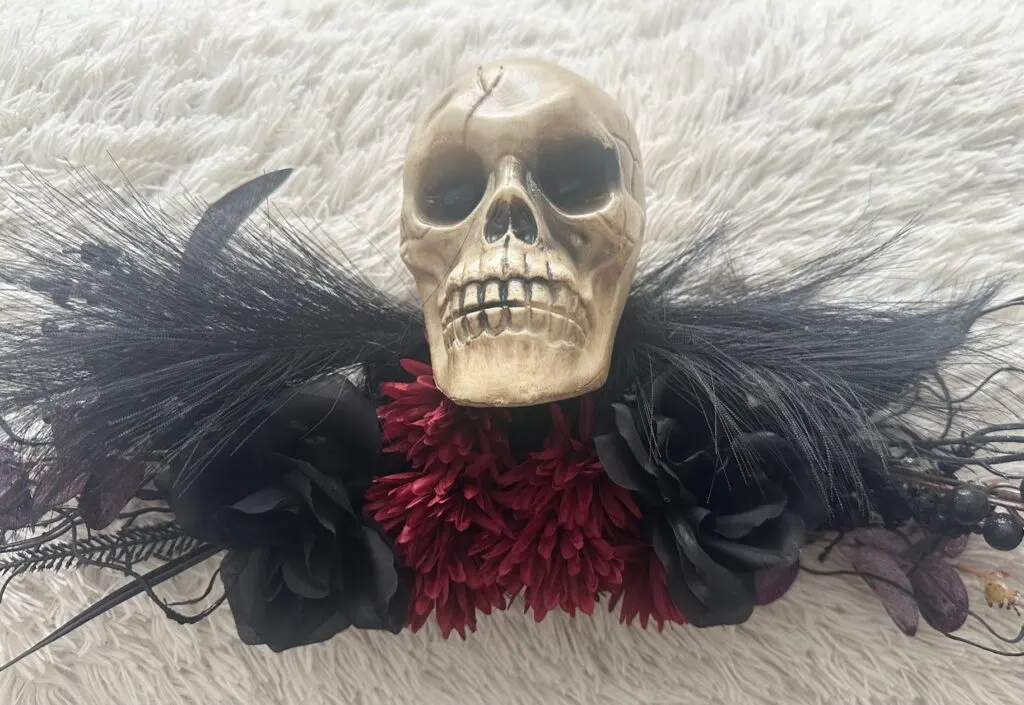
Once you have all of your flowers nice and secure in the base, hold it up against the wreath form to ensure you are happy with it.

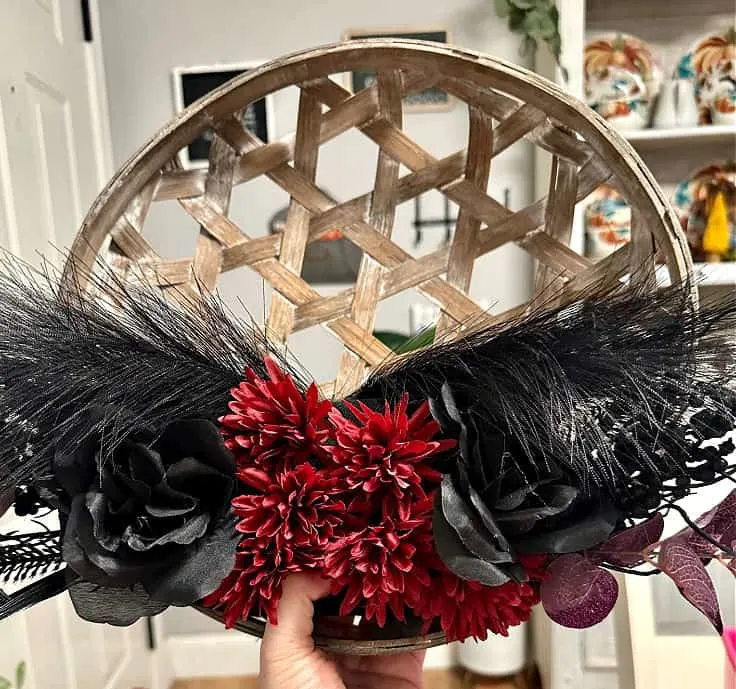
Once I had the swag on the basket, I felt it was missing something, so I added the skull.
Again, this was added to the top of the foam, not to the basket. A little hot glue did the trick.
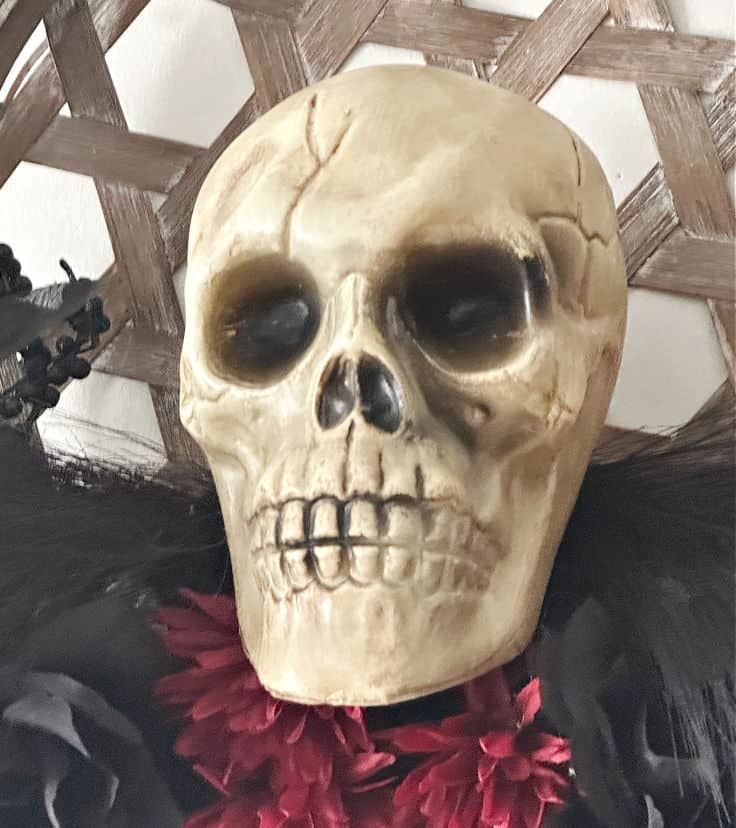
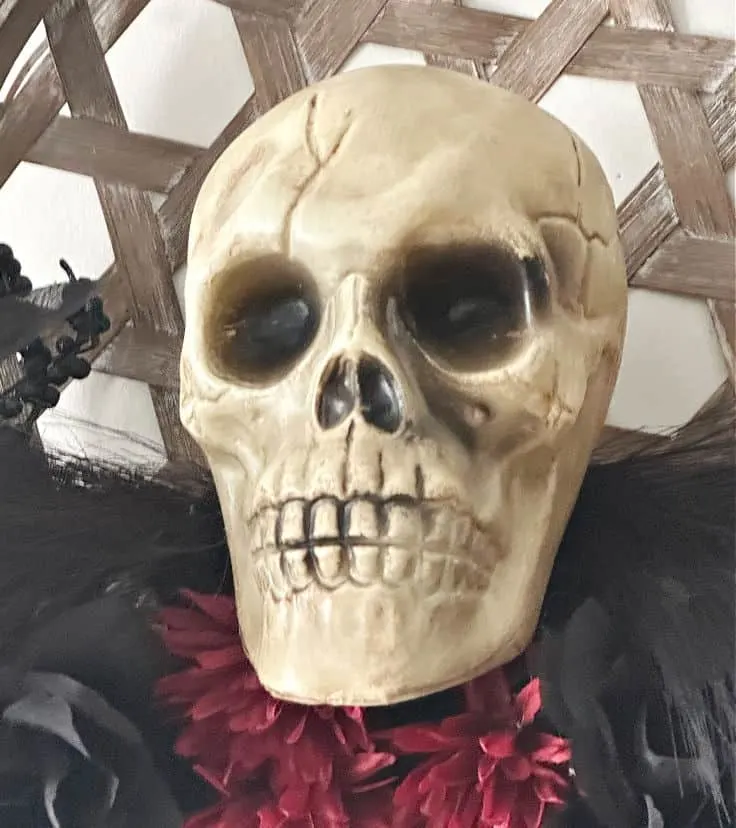


The skull was pretty fake looking, so I aged it up a bit with a dark wax.
The final step is to secure the swag or foam base to the basket with floral wire or twine.

I’m seriously so happy with how this turned out and can’t wait to make one for each season.
Be sure to read the craft card below as I have an expert tip on how to store the swags!
I hope you enjoyed this diy interchangeable seasonal wreath. It really is an easy DIY.
Now for the fun part-making your own. 🙂

Think about how many different swags you can make. Of course, the next one on my list is a Christmas swag.
What about a Valentine’s Day wreath that you can switch out with St. Patrick’s Day, or even a birthday wreath?
You could totally make a swag for every month.
They are inexpensive and so much easier to store than an entire wreath.
Please let me know if you give this a try.
If you do, please tag me on Facebook or Instagram with #inspiredbyourcraftymom so I can see it.
It totally makes my day!
I’d love it if you would share this with your friends by saving the below image to your favorite Fall/Halloween or home decorating board on Pinterest.
Thanks so much for stopping by. Have a great day and happy crafting!
Before you go, check out these DIY Halloween crafts and home decorating ideas:
- Day of the Dead Pumpkin with Decoupage
- Stitch Halloween Pumpkin DIY
- Halloween Crafts Skull Candy Jar
- You’ve Been Booed Free Printables
- Hocus Pocus Party Ideas
You may also like these fall DIY wreath ideas and home decor:
- Thrift Store Fall Wreath Makeover
- Rustic Glam Fall Wreath
- Fall Watercolor Printables
- Neutral Fall Decorations
- Fall Balcony in Classic Autumn Colors
Interchangeable Wreath For Fall and Halloween
Materials
- Faux Flowers
- Floral Wire
- Floral Foam
- Tobacco Basket or other wreath form
Tools
- Hot Glue Gun
- Wire Cutters
Instructions
- Start by trimming your flowers so they are the right size for the floral foam.
- Start at the bottom side and add the flowers by pushing them into the foam.
- Make the flowers symmetrical by working on the left side, then the right.
- Continue adding flowers to the center of the foam base until you are happy with the coverage.
- Make sure all the green foam is covered.
- Take your completed swag and secure it to the tobacco basket wreath with floral wire or twine.
- Follow the same process for the Halloween swag, just secure the skull with hot glue directly to the foam base.
Notes
Store each swag in a hanging ziploc bag to keep them free of dust. It's an easy way to find them.
Recommended Products
As an Amazon Associate and member of other affiliate programs, I earn from qualifying purchases.
-

 AMZQNART 4 Pack Craft Foam Blocks, 8x4x2 Square Polystyrene Foam Bricks for Art Sculpting, Flower Arrangements, Sculpture, Modeling, School and Home DIY.
 -
 Surebonder Cordless/Corded High Temperature Mini Hot Glue Gun With Detail Tip, 20 Watt, Recharge With Portable Heat Stand (CL-195F)
 -
 100% Handwoven Flat Wicker Round Fruit Basket Woven Food Storage Weaved Shallow Tray Organizer Holder Bowl Decorative Rack Display Kids DIY Drawing Board (Hexagon Hollow-Bamboo-White, 18cm/7")
 -
 24 Pack Hanging Storage Bags, Large Hook 10 x 12.5-inch Clear Plastic Bags for Classroom, Library, and Pharmacy Use
Google Web Story: Fall and Halloween Wreath That’s Interchangeable
You can find me on social media below: