A step-by-step tutorial on how to make your own DIY resin candle holder using a lotus flower-shaped mold and colored resin.
Lotus flowers are some of the most beautiful flowers in the world. They are often used in art and decoration because of their unique look.
You can make your own lotus flower candle holder using resin. This is a simple project that anyone can do, and it will add a touch of elegance to any room.
Keep reading for instructions on how to make your own resin candle holder.

I received product from ETI Resin Crafts used in this post, however, all opinions and love for this product are 100% mine. This post contains affiliate links at no extra cost to you. Please see my full disclosure here.
You may also want to check out my resin sunflower craft tutorial.
Let’s get started!
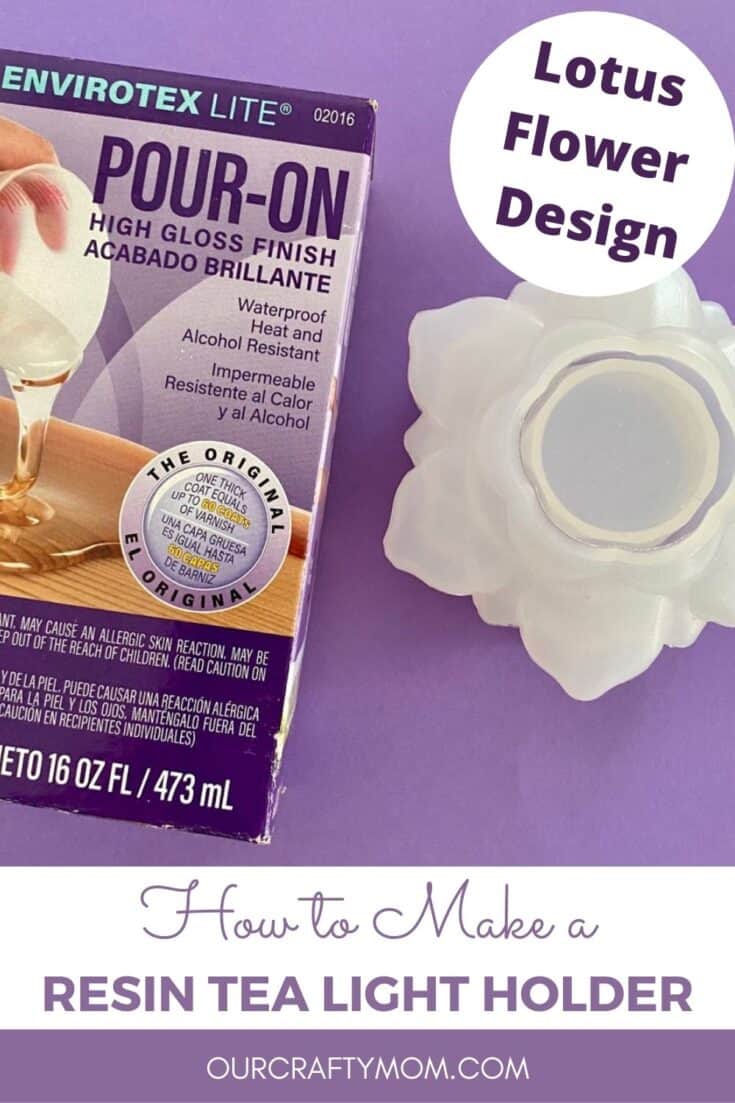
Resin Candle Holder Supplies
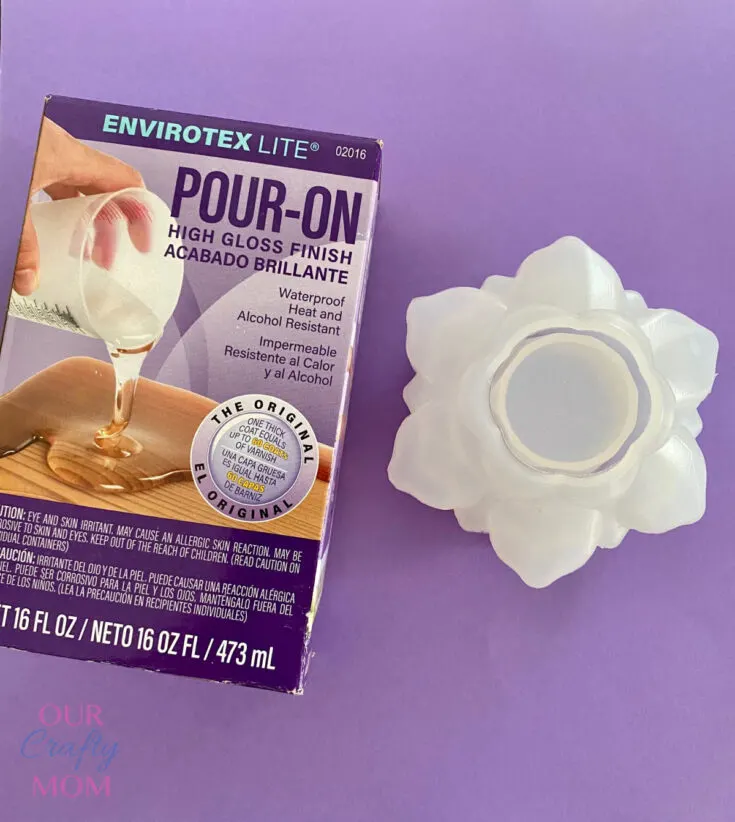
- EnviroTex Lite Resin
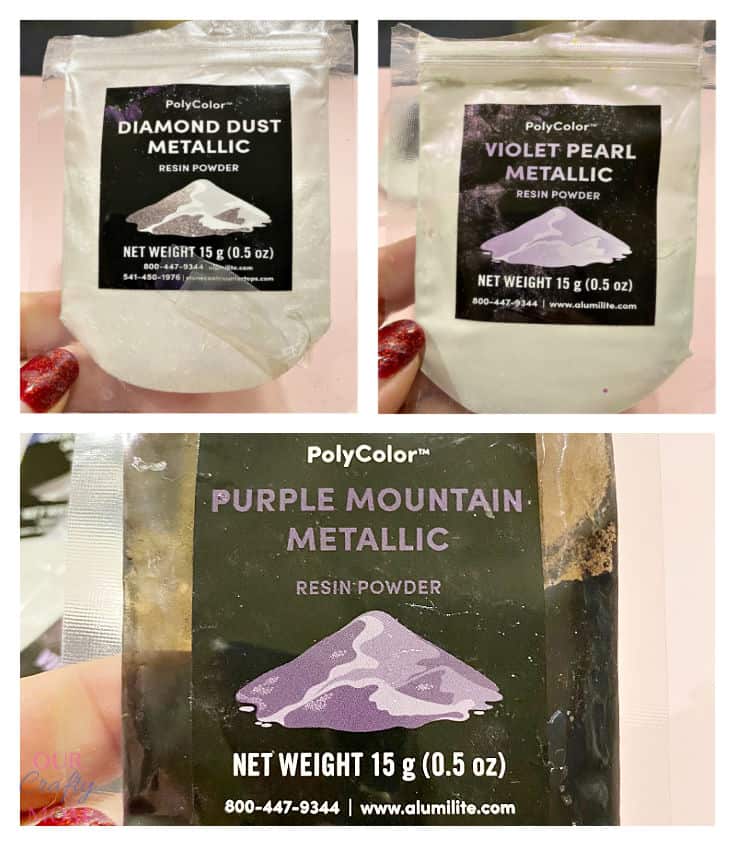
- Polycolor Resin Powder – I used Diamond Dust, Violet Pearl Metallic and Purple Mountain Metallic
- Mixing Cup Set – comes with measure/mixing cups, 6 stir sticks, and 3 disposable craft brushes.
- Mold Release Conditioner
- Lotus Flower Silicone Mold
- Heat Gun


How to Make A Lotus Flower Resin Candle Holder
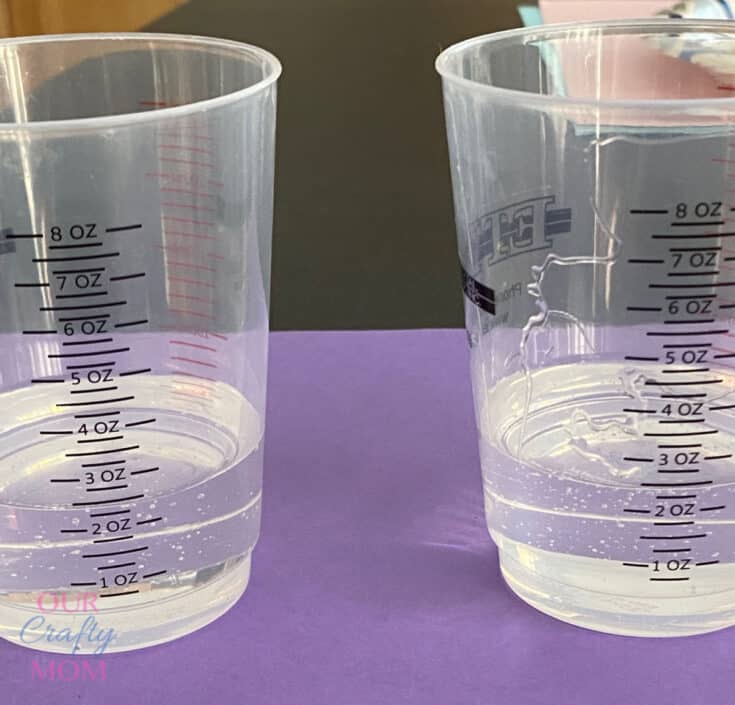
When working with resin, it’s very important to follow the directions with the exact measurements of 1 part resin and 1 part hardener, otherwise, the resin won’t set properly.
Also, be sure to work in a well-ventilated area and wear disposable gloves. If you must work inside, wear a mask.
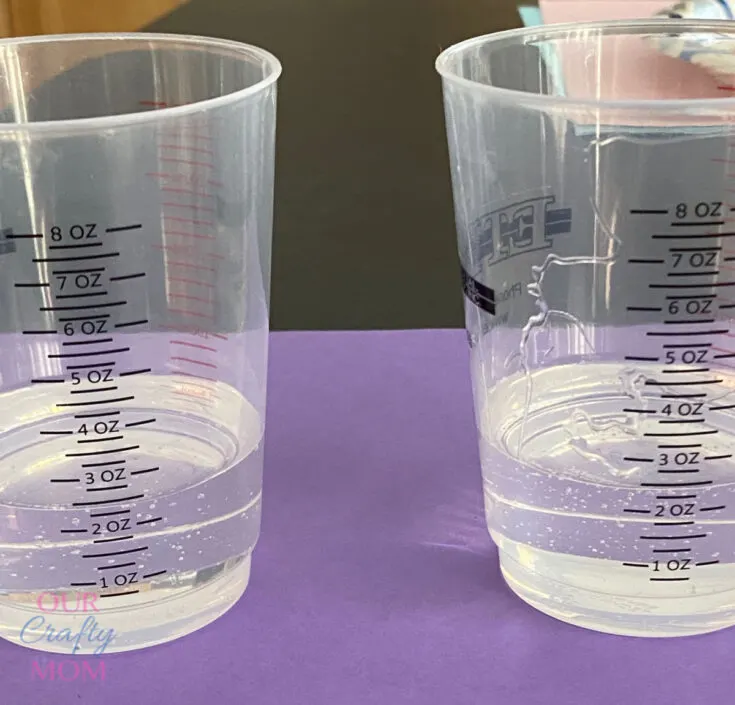
Step 1.
Start by pouring equal parts resin and hardener into separate mixing cups. For this candle holder I used 2 ounces of resin and 2 ounces of hardener.
Step 2.
Stir both resin and hardener mixture slowly with a stir stick for about two minutes.
Quick tip: Mixing it slowly will help keep the number of bubbles down.
Step 3.
Once you have stirred them well, pour the mixed resin and mixed hardener into a 3rd CLEAN mixing cup.
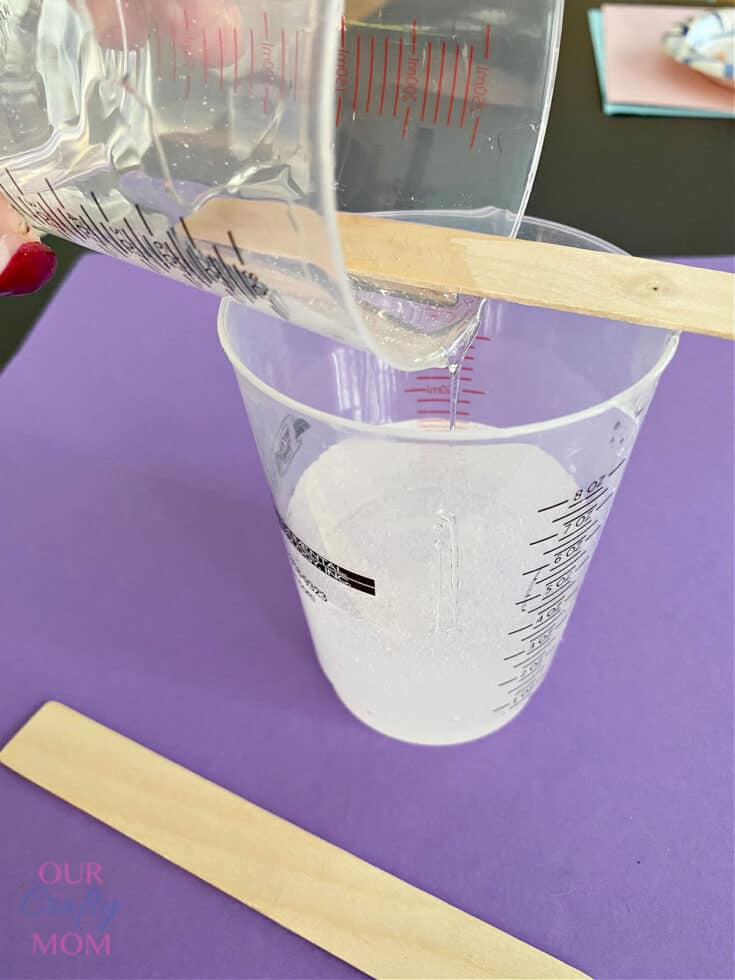
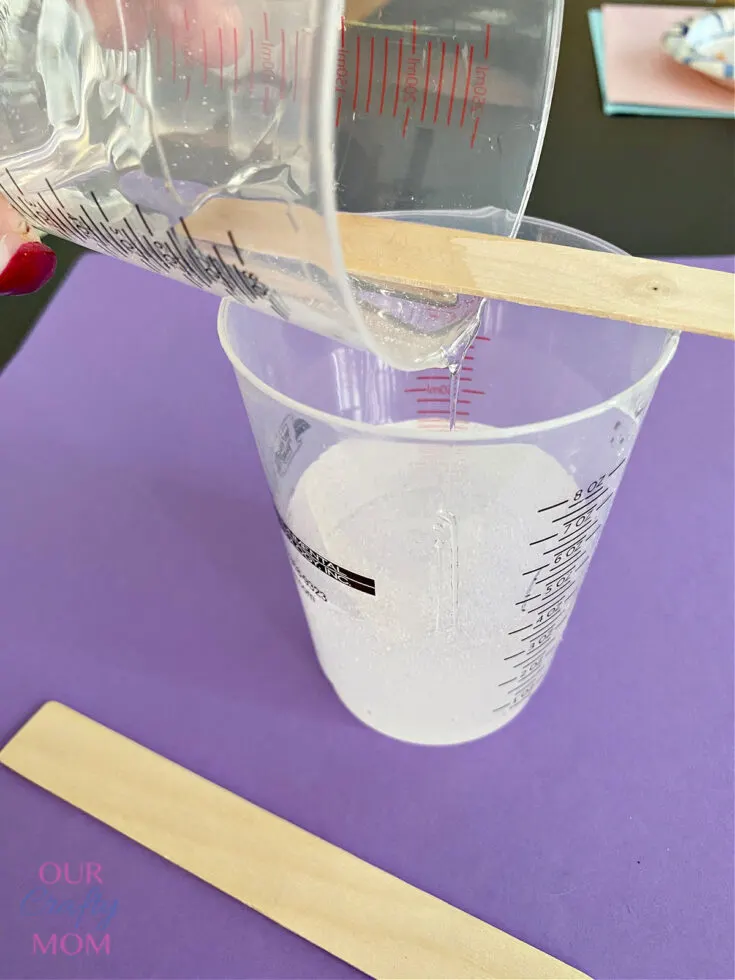
Stir again until well blended about 2 minutes. It’s important not to skip this step as it may not set properly.
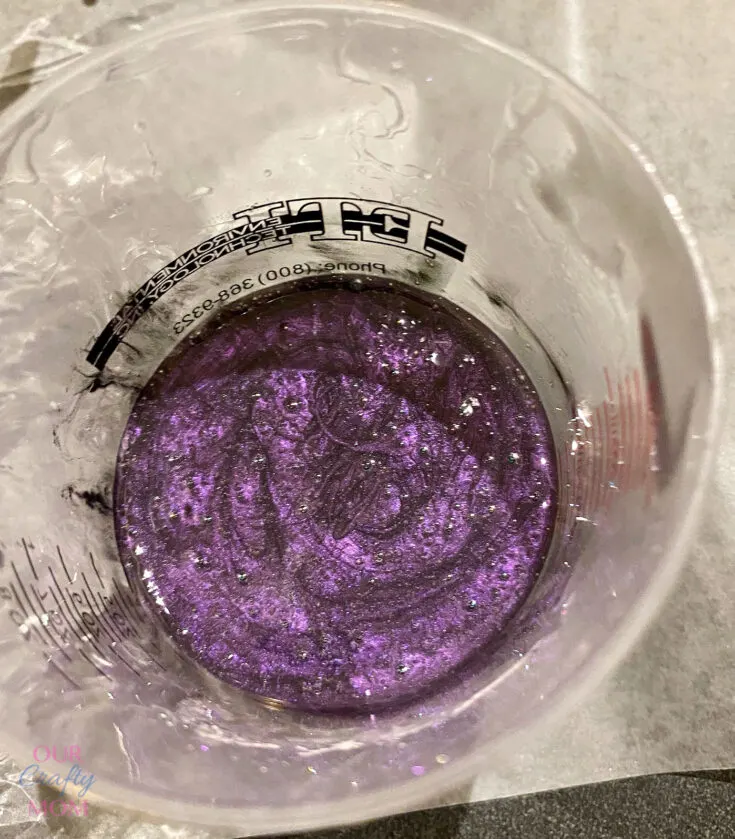
Step 4.
Now it’s time to add color! I started by adding the main color of Purple Mountain Metallic.

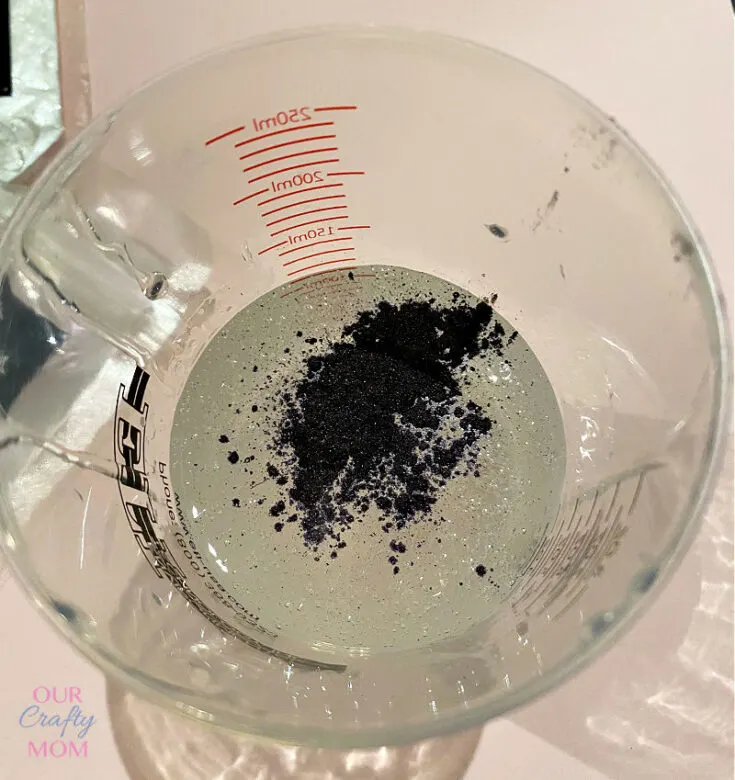
This color is just stunning! Mix well using a NEW stir stick.

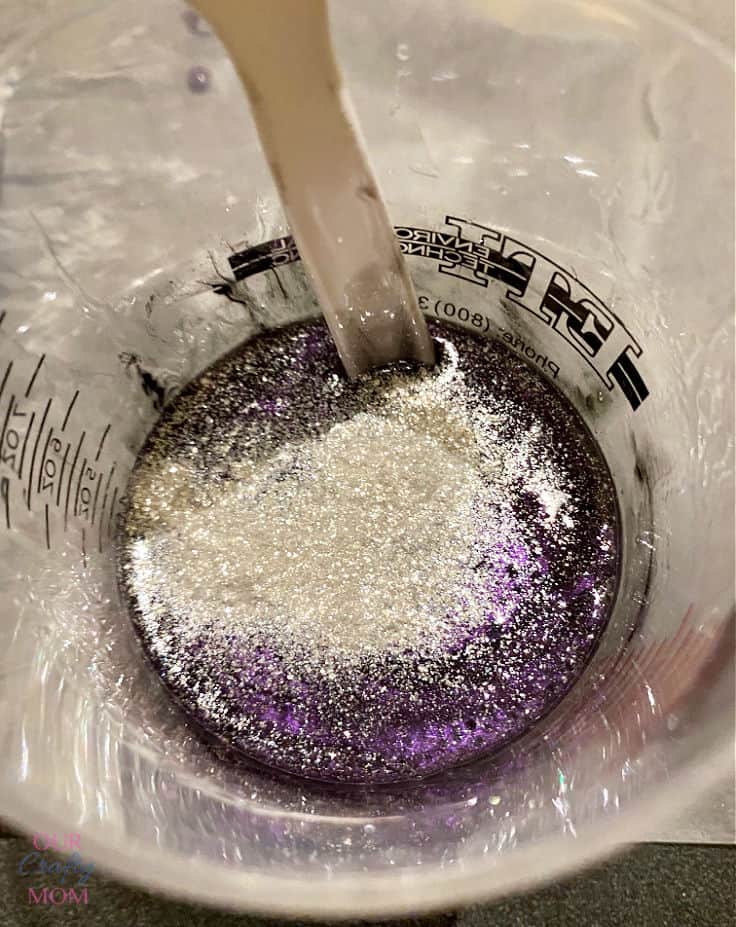
Step 5.
Next up, I added the Diamond Dust Glitter. Add as much, or as little, glitter as you like. I didn’t measure but just kept adding glitter until it looked sparkly enough.

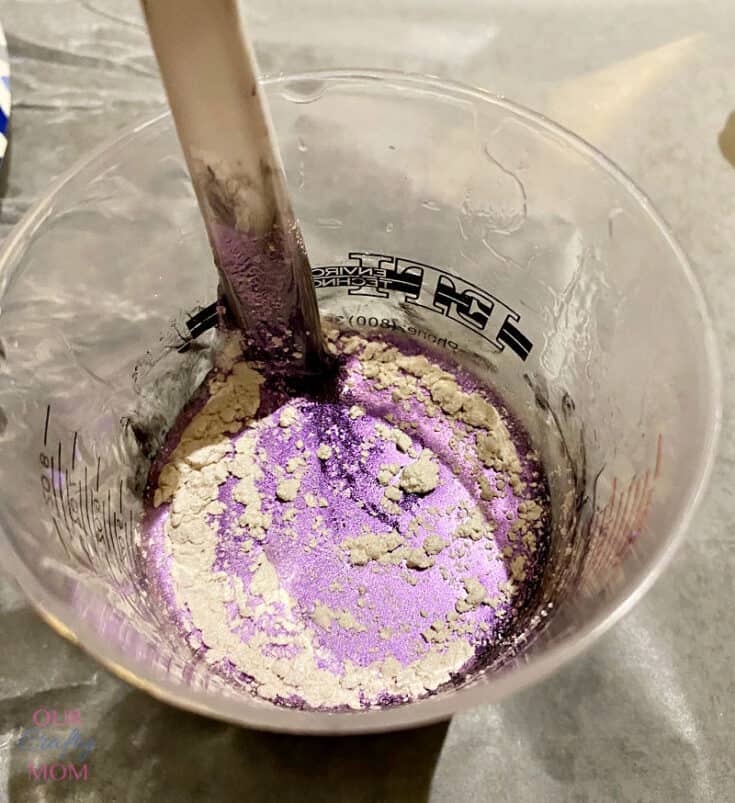
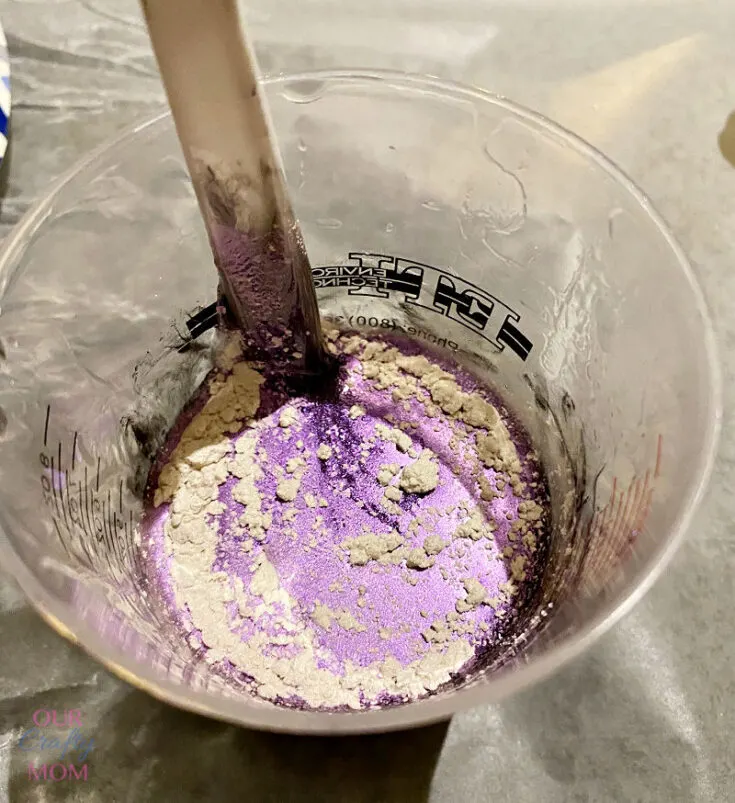
Step 6.
I really wanted the color to have depth and dimension, so I decided to add another colorant. This time I went with Violet Pearl Metallic. This color is amazing and really adds that pearl finish that I love.
Step 7.
Now it’s time to pour your mixture into the resin mold. If your resin mold has been used before, prepare it with Mold Release Conditioner.
This will help make it easier to “de-mold”, or remove the finished mold.
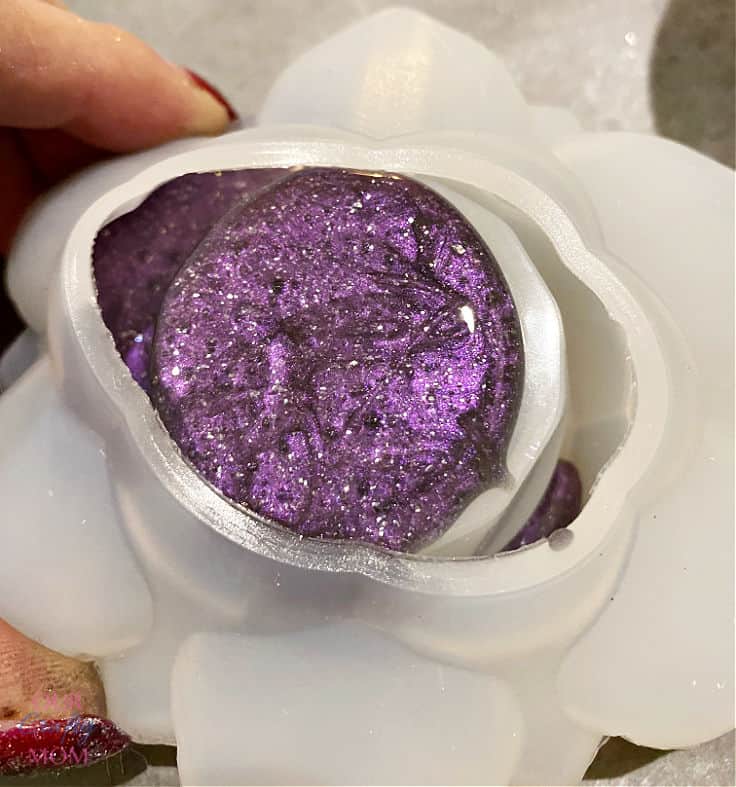

Slowly pour the resin into the mold. This was my first time using this mold and it took me a minute to figure out the best way to add the resin.
It worked best to squeeze the mold a little so the resin flowed into the entire lotus flower. I continued to add the resin until it was completely full.

You want to try to get as few air bubbles as possible, so take your time while pouring. You can also tap the mold a few times to help release any air bubbles.
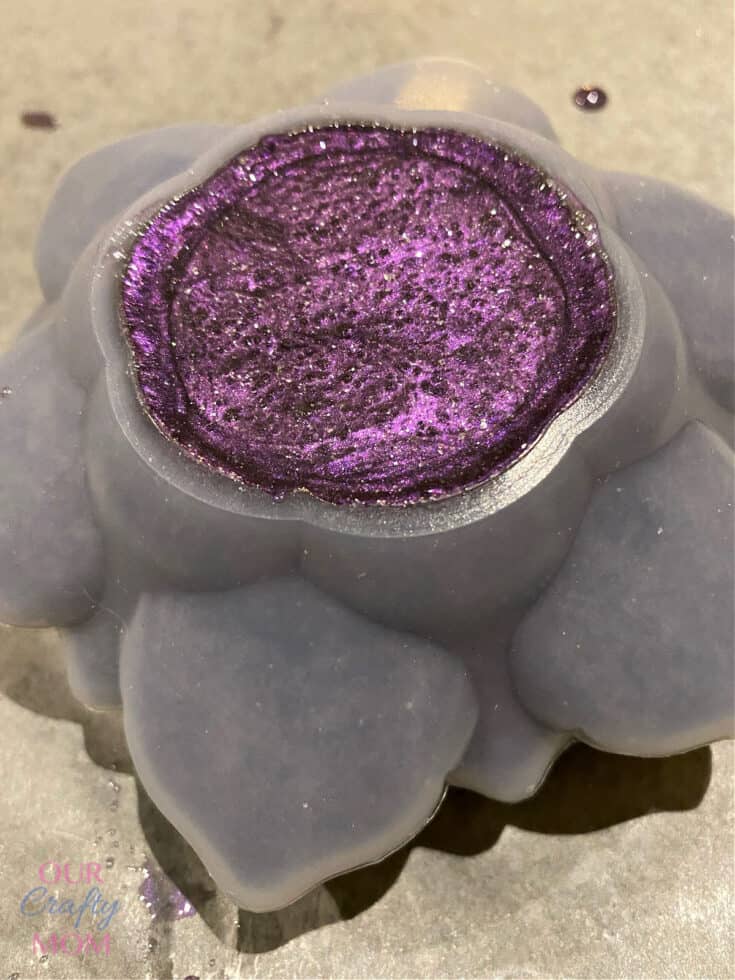
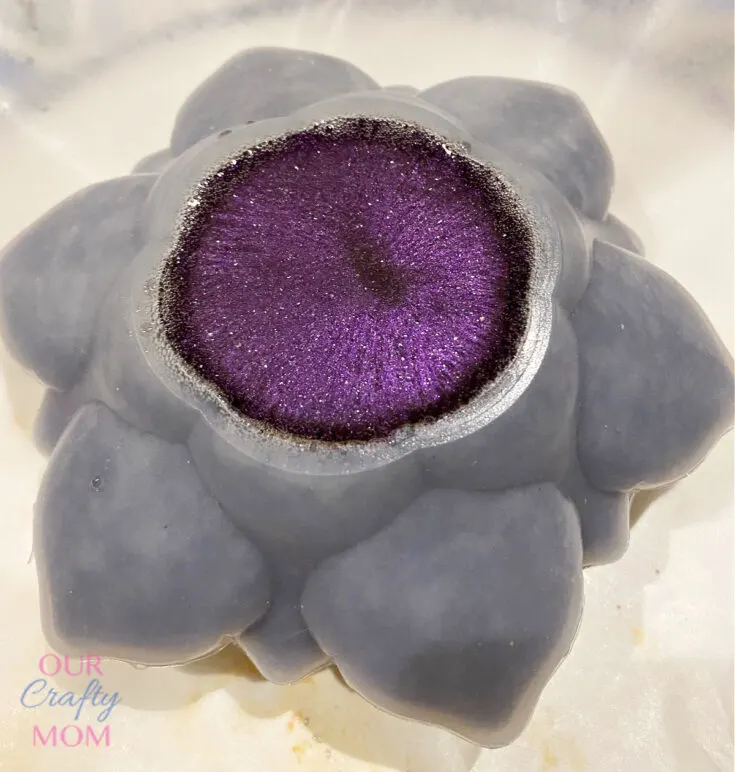
Step 8.
Next up, I ran a heat gun across the top of the resin to remove any air bubbles.
Let the resin cure…
The hardest part for me is waiting. It’s best to let it cure overnight, but if you are anxious (like me) a good 8 hours should be fine.
Step 9.
Now for the big reveal…

Slowly work the mold by pulling the mold down and turning it until the finished product starts to come out. It can be a little difficult with larger molds, but this one was pretty easy.
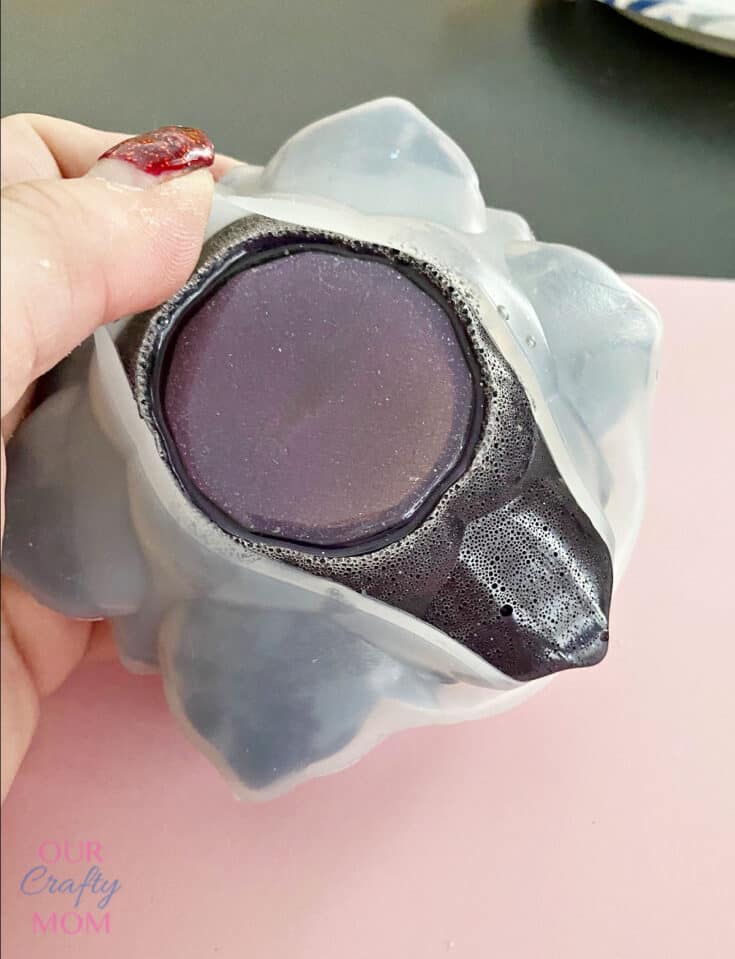

I definitely have bubbles on the bottom, but thankfully there are no bubbles on the front of the candle holder.
Since this was my first time using this type of mold I have a few ideas for the next one to minimize these bubbles.
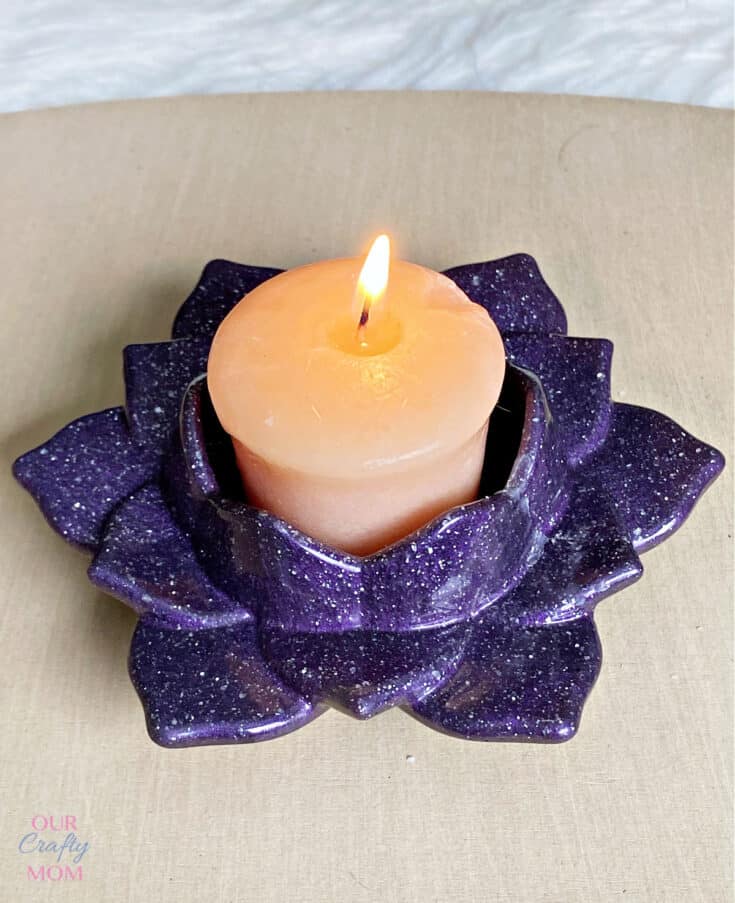
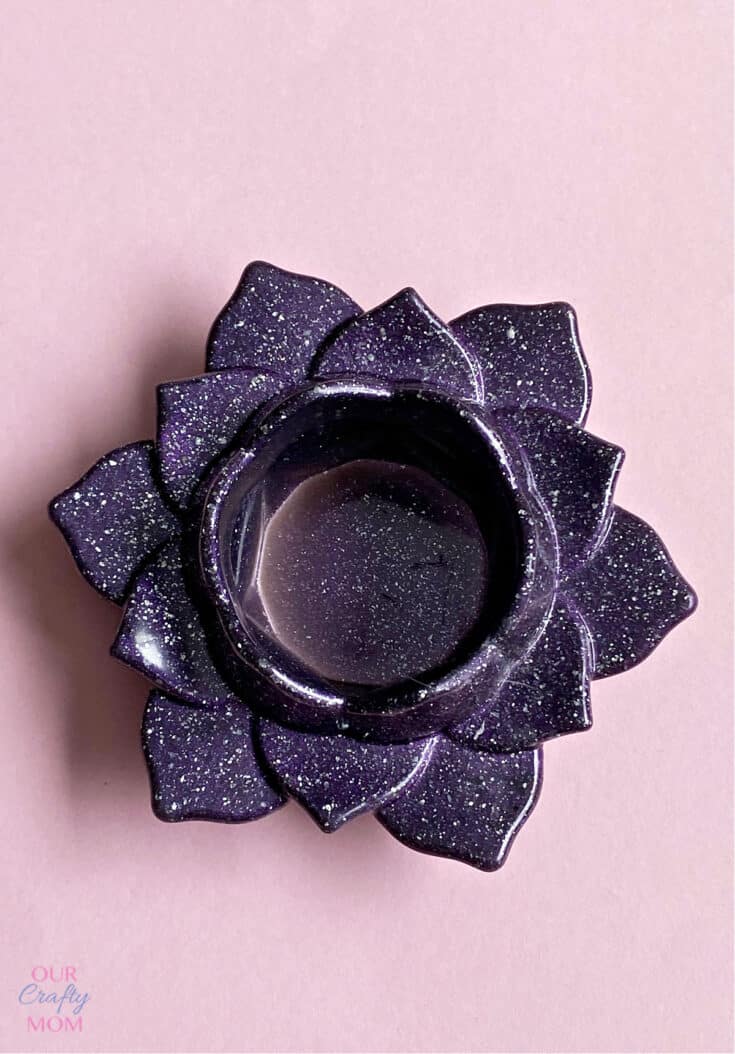
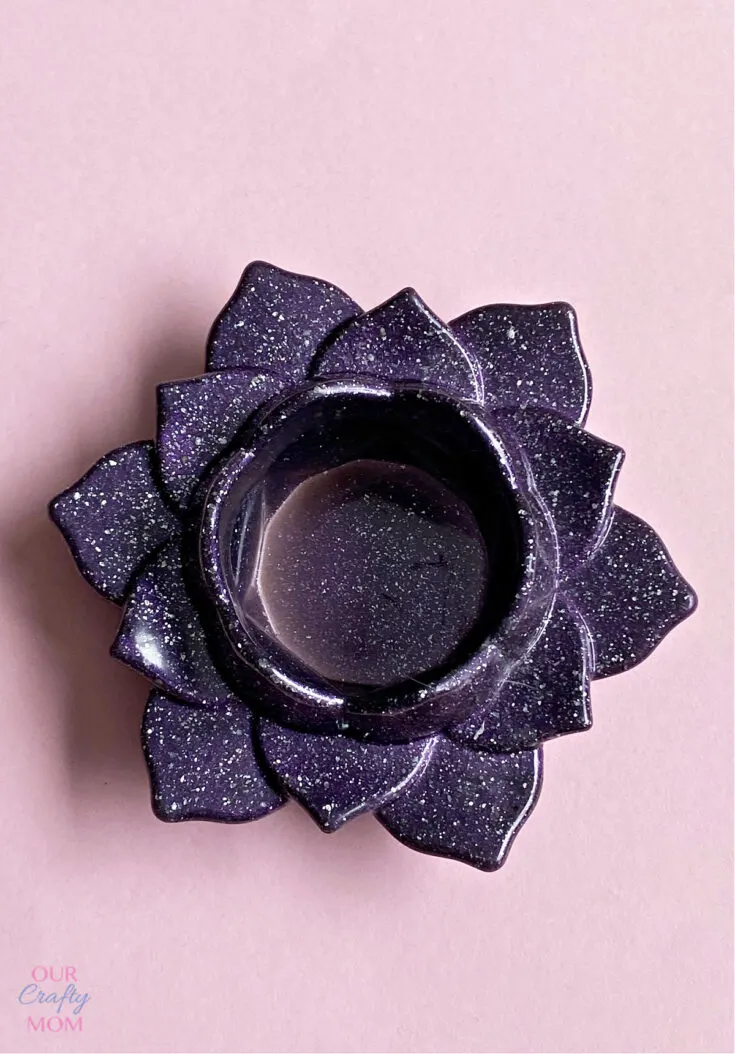
Lotus Flower Resin Candle Holder
Look at how stunning this beauty is…
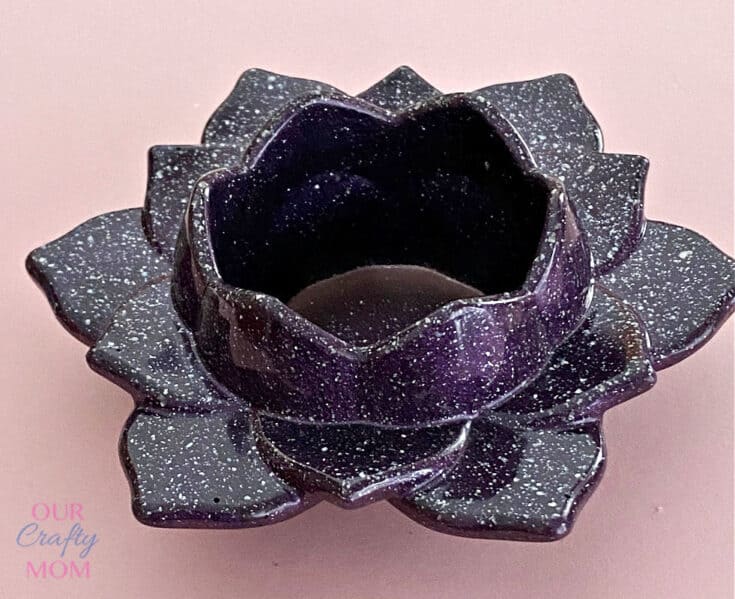
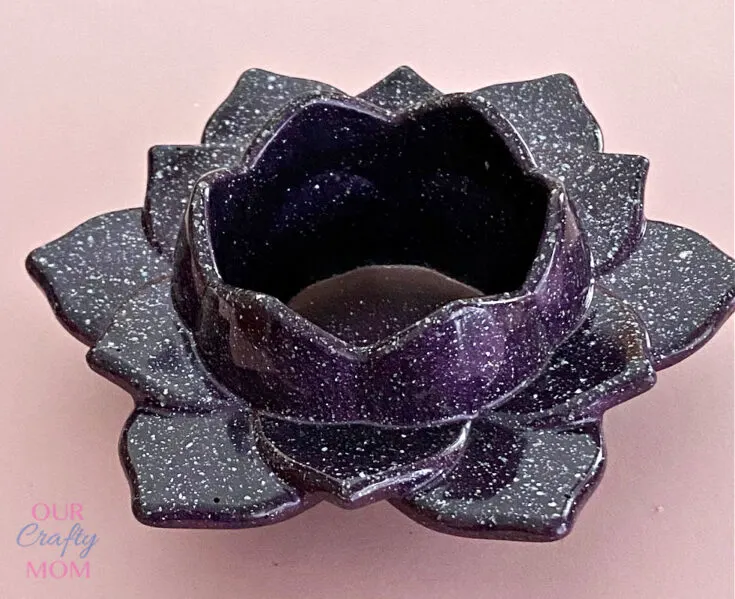
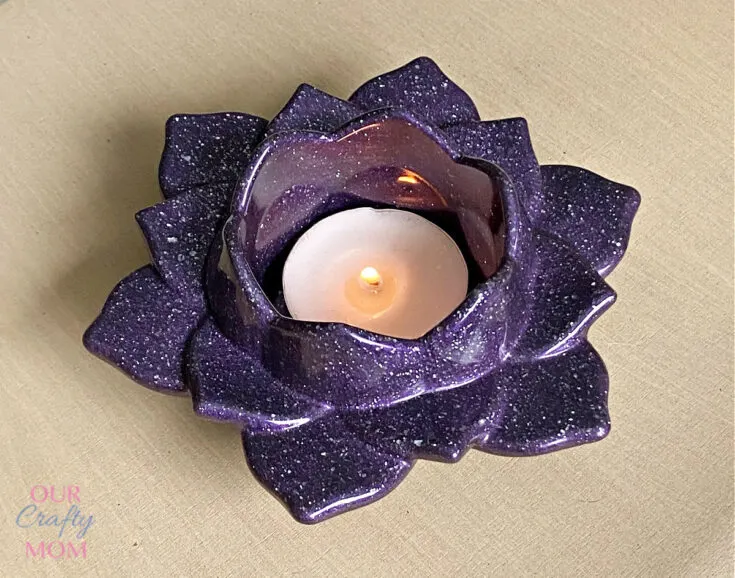
I love that you can see all the diamond dust glitter and the color varies based on the light. You can really see depth and dimension in these next photos:
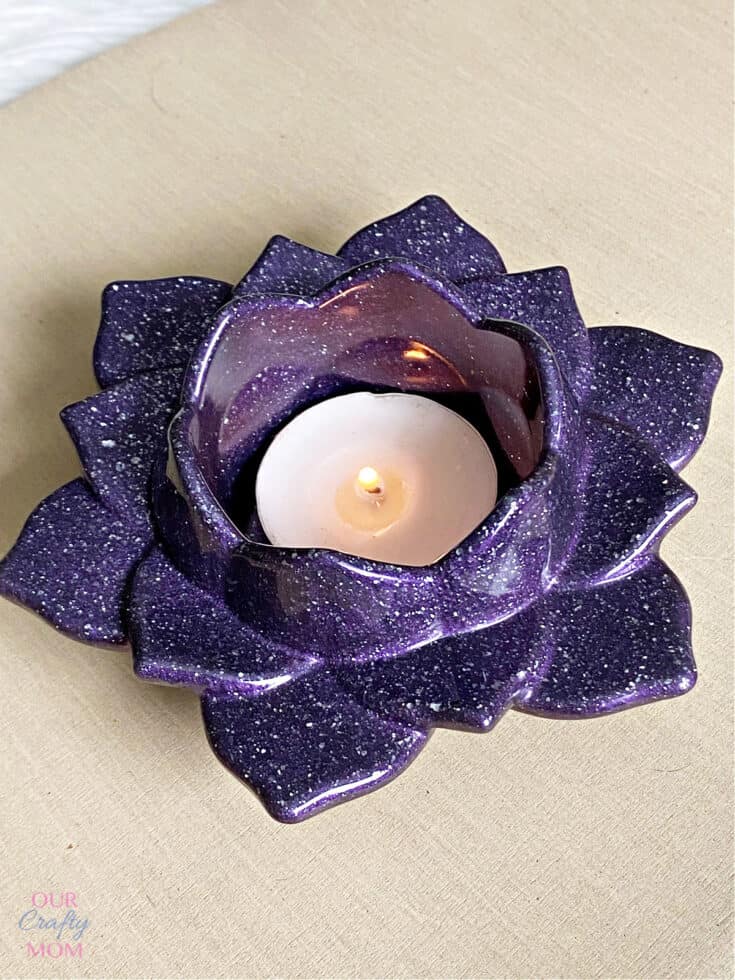
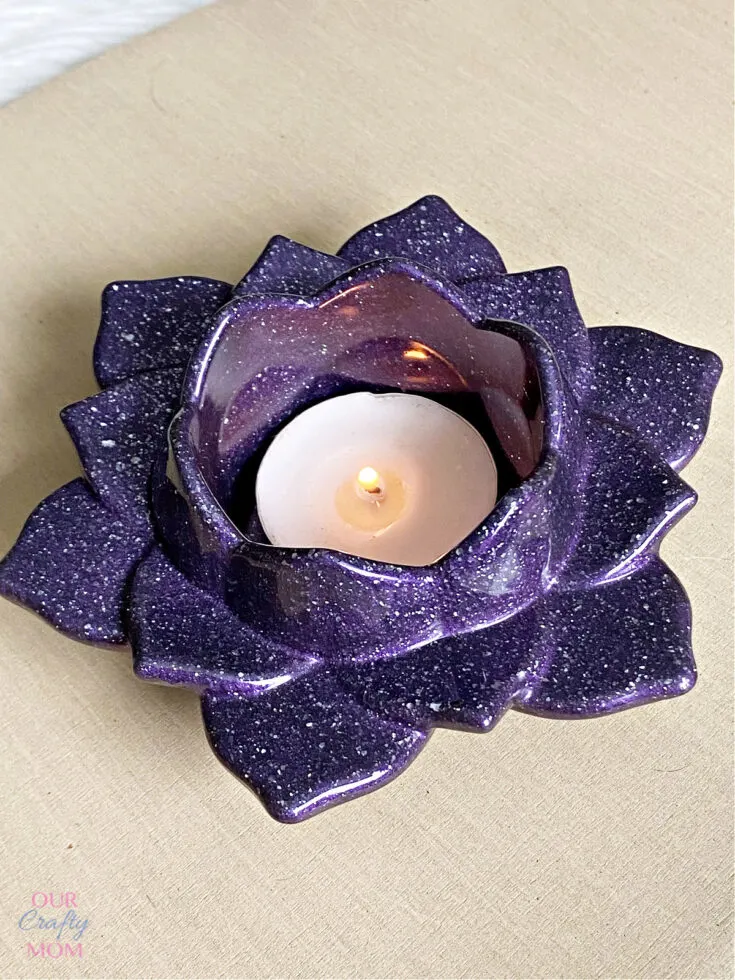
And look at how beautiful it looks with a tea light:
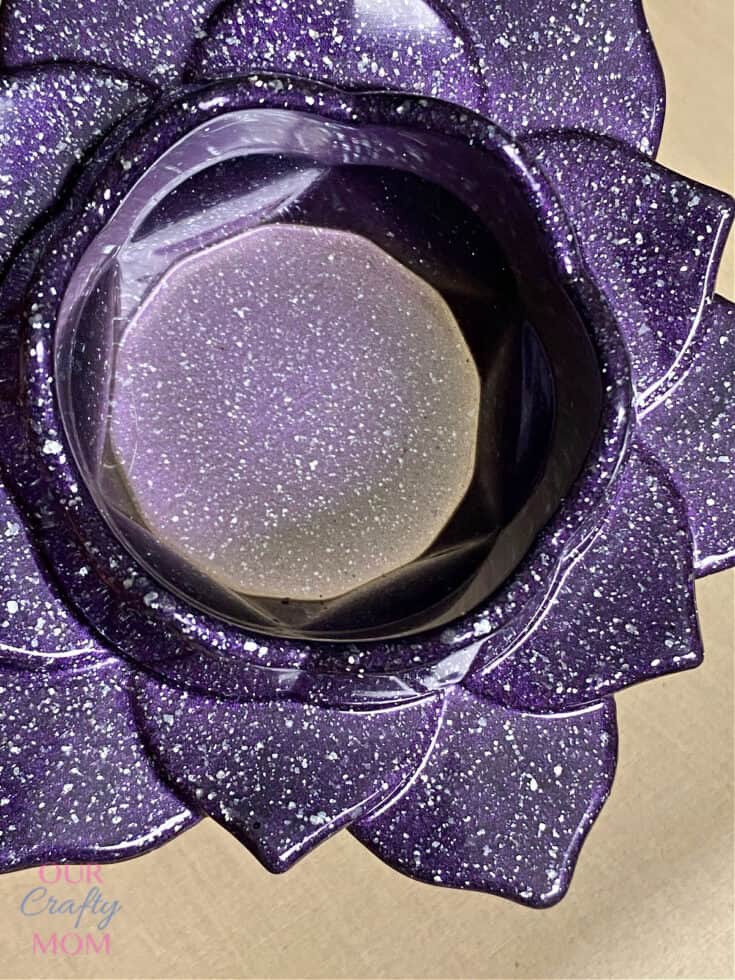
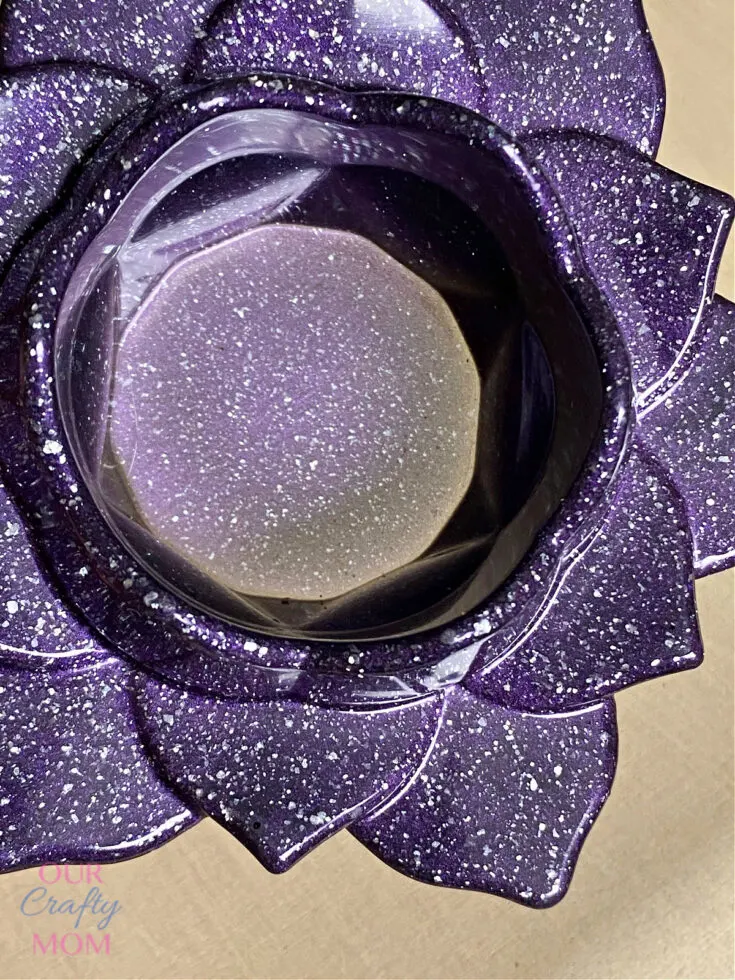
Close up of resin candle holder…

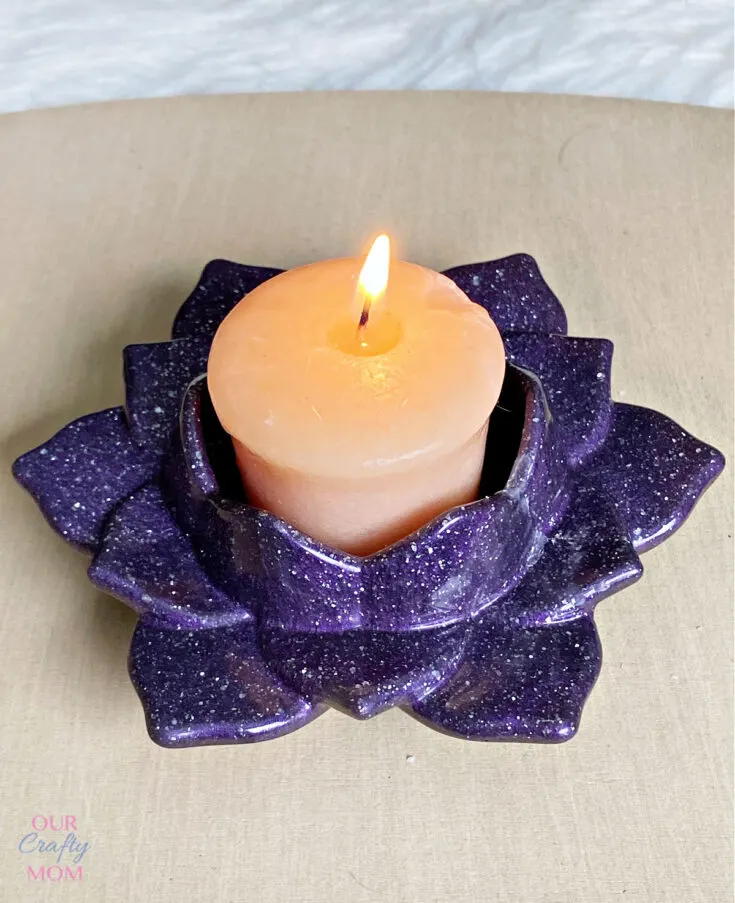
This lotus flower resin mold is large enough to hold a votive candle too:
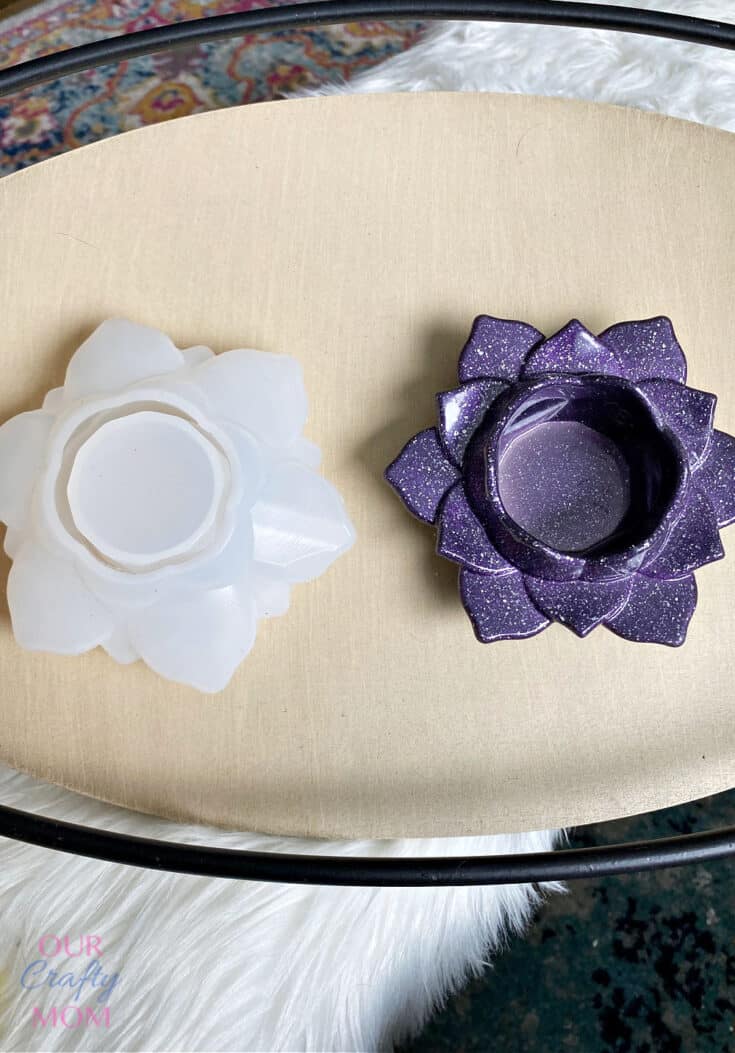
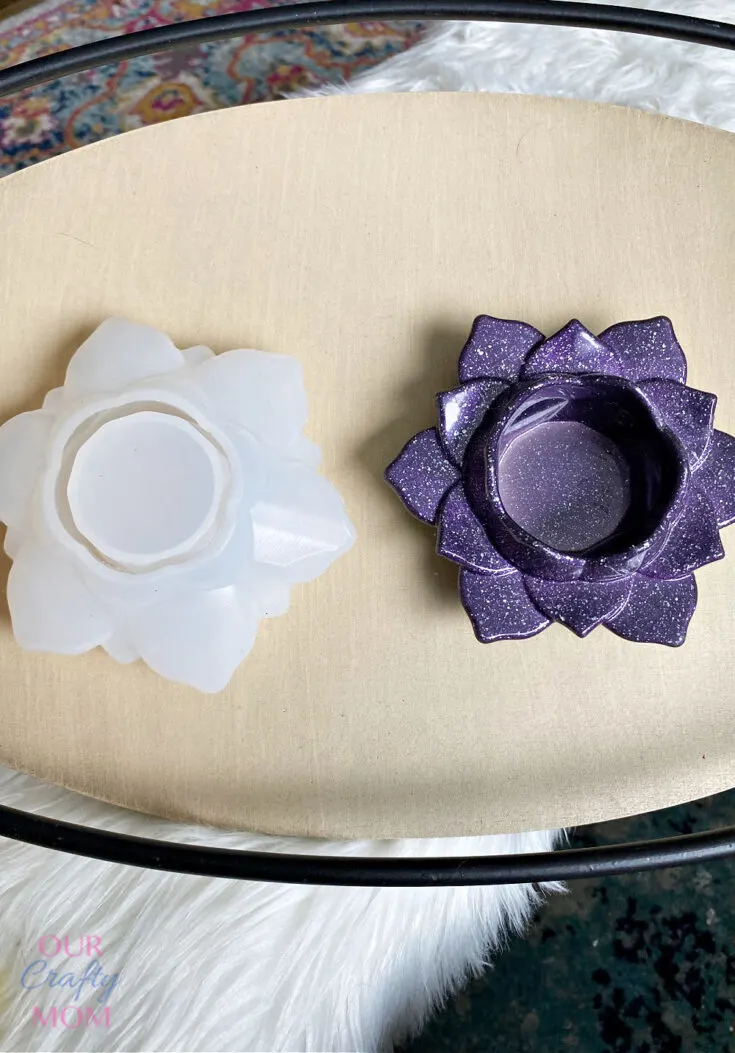
Here is a view of the mold next to the finished candle holder:
Before you go, I’d love for you to subscribe to my email. It’s a great way to stay current on all the fun crafts, easy recipes, and home decorating ideas.
I really hope you enjoyed this resin tutorial. Have fun making one of these at home with friends or family members. You can even give them away as gifts during holidays such as Mother’s Day and Valentine’s day.
For Christmas, I bundled a resin candle holder with a 12 pack of scented tea lights and a matchbox for a sweet gift idea.
If you do make this resin craft project, be sure to share photos of your finished projects. I’d love to feature them on Facebook or Instagram.
Sharing is caring…please PIN the below image:

Thank you for visiting. Happy crafting!
You can find me on social media below:
See even more resin crafts below:
Mermaid Tail Straw Topper Resin Mold
Alexandra
Tuesday 28th of December 2021
Wow! This is gorgeous!!
Gail @Purple Hues and Me
Tuesday 28th of December 2021
Your lotus flower resin candle holder looks fabulous, Michelle! And of course I love the color, too! I've never worked with resin and look forward to trying it one day! It seems to be a fun and beautiful new craft technique for me to try! Thanks for sharing your awesome tutorial!