
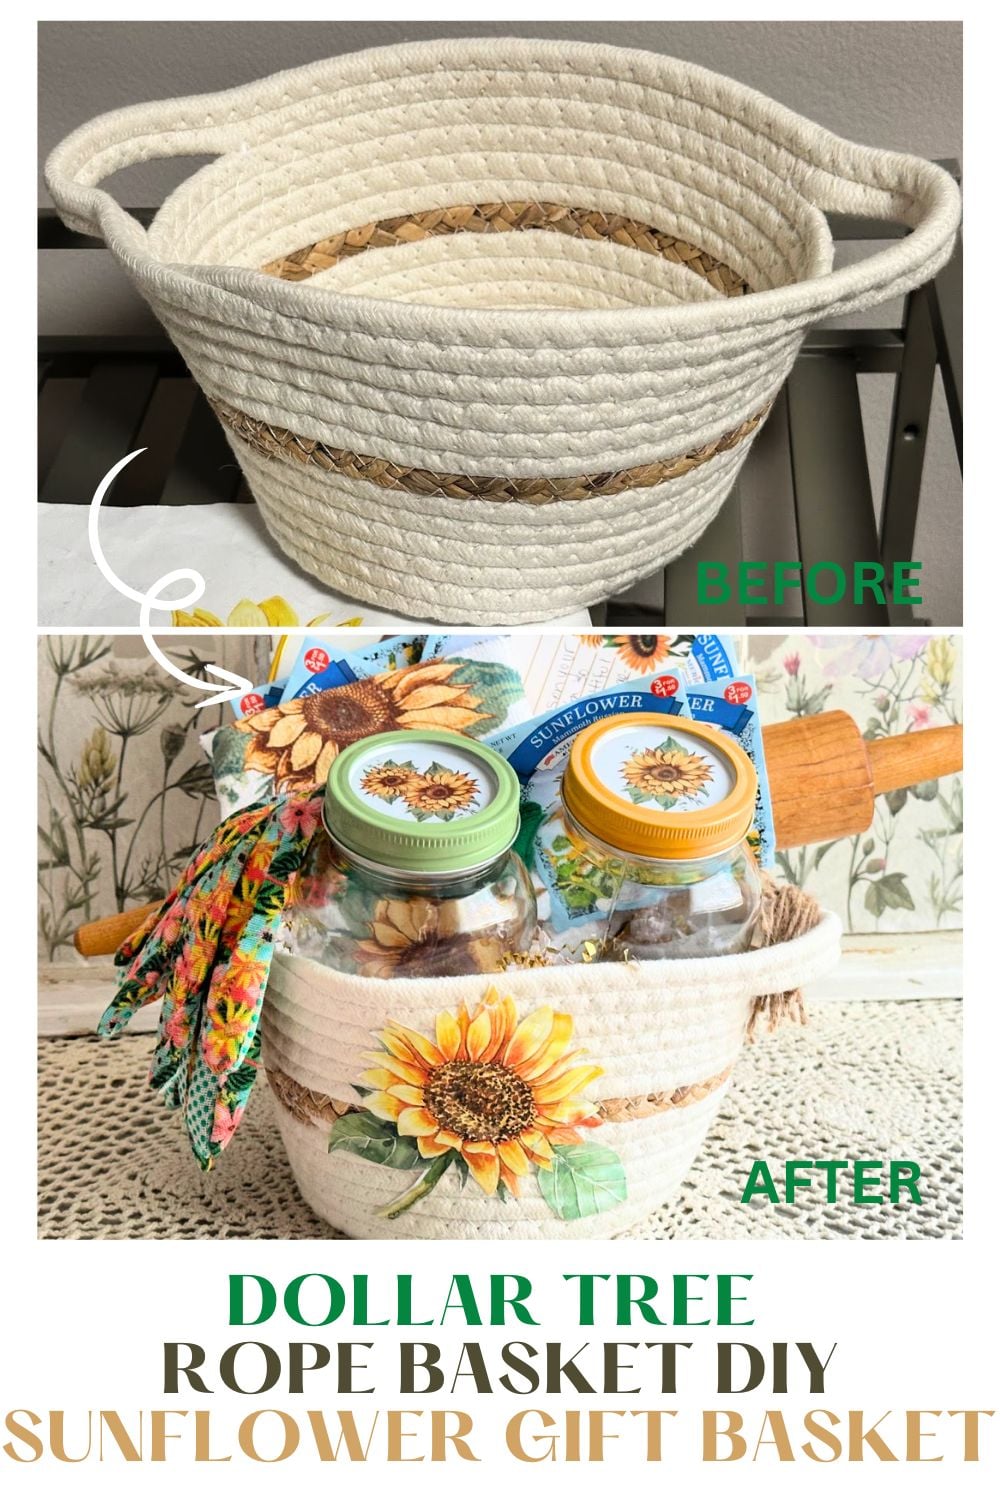
Learn how to decoupage a Dollar Tree rope basket with cheerful sunflowers for a beautiful DIY gift basket that’s easy and budget-friendly.
This post contains affiliate links. If you shop the links in this post there is no additional cost to you, but I may earn a small commission. Please see my full disclosure here.
It’s the second Wednesday of the month. You know what that means! It’s time for our thrifty friends to share their new DIY projects with you.
Visit all of the talented bloggers at the bottom of this post for some budget-friendly inspiration.
Sunflower Gift Basket
Table of Contents
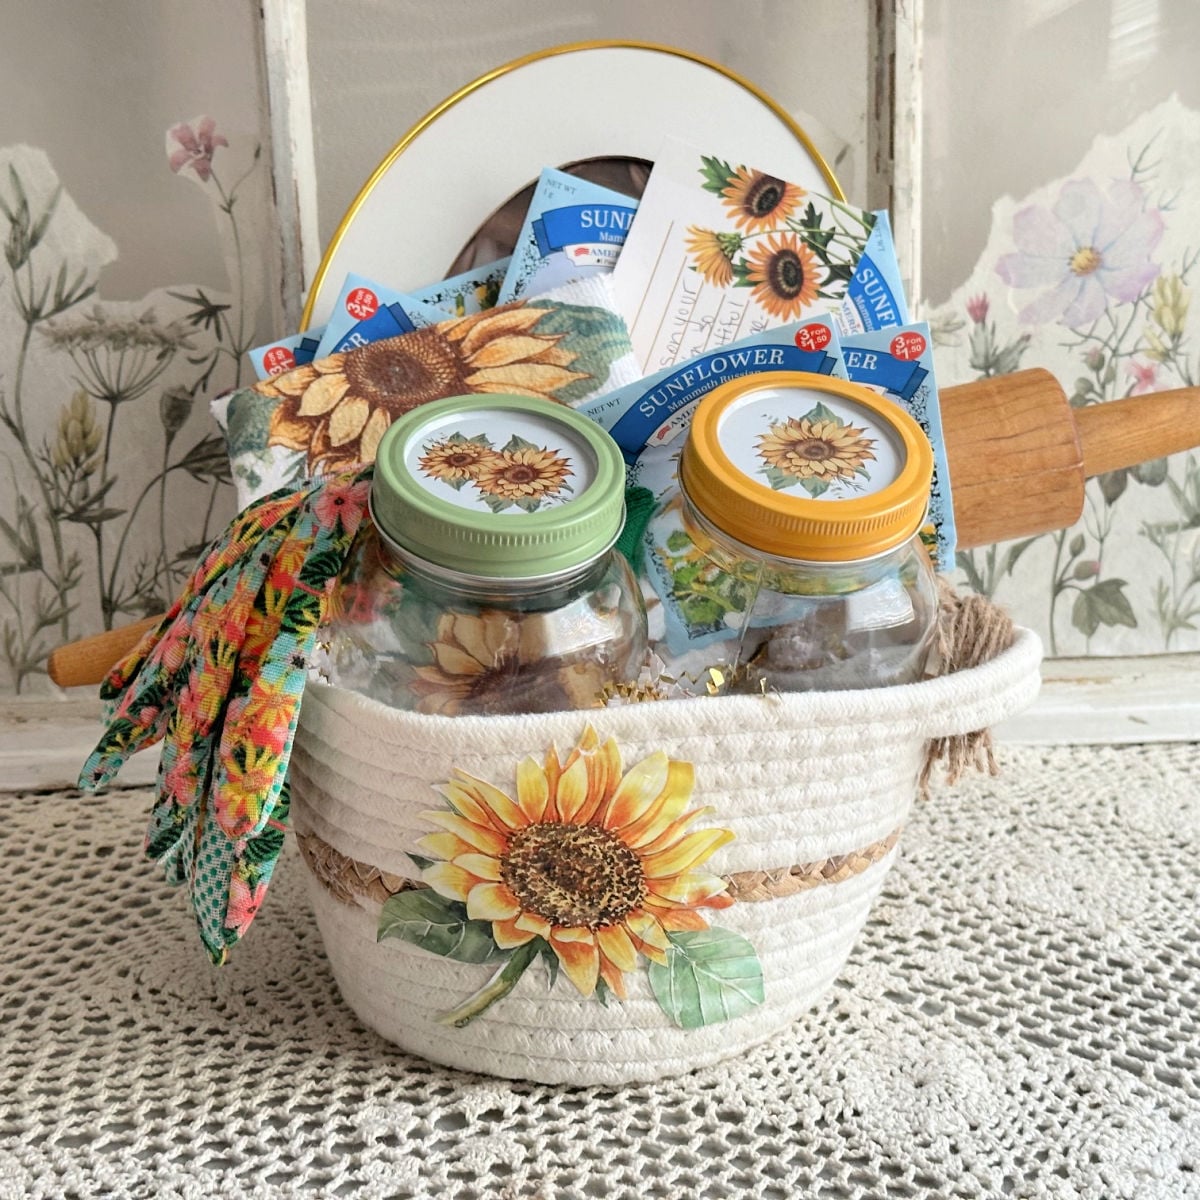
This is a housewarming gift for my daughter and her boyfriend, who just moved into their first apartment.
I was inspired to put together this sweet basket after finding a collection of beautiful sunflower-themed items at Dollar Tree.
My daughter has always loved sunflowers (just like her mama!), so it was the perfect theme. Of course, I had to include a sentimental touch as well.
Supplies for Dollar Tree Basket Makeover
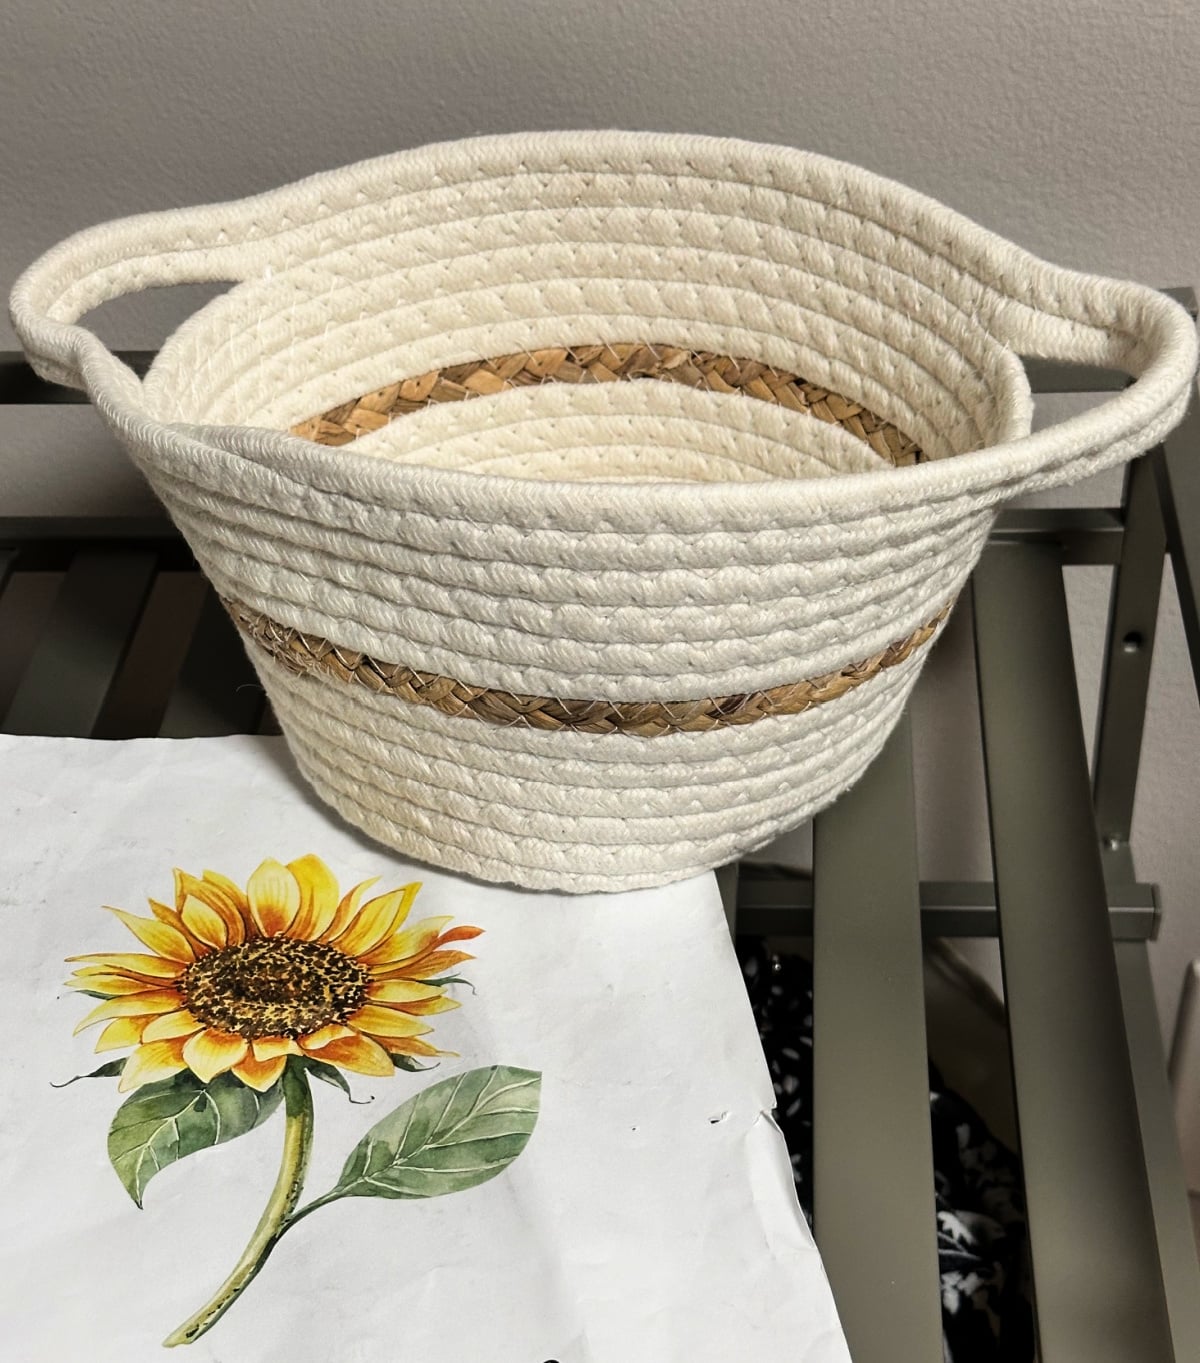
Here is what you need to update the Dollar Tree rope basket. There are only a few supplies needed. Everything, except the printable, is from Dollar Tree.
- Cotton Rope Basket – I paid $3 at my local store, however, their link is showing $5.
- Sunflower Printable – You can download this half sunflower from my blog and I also have a set of fall sunflower printables that would work great.
- Craft Scissors
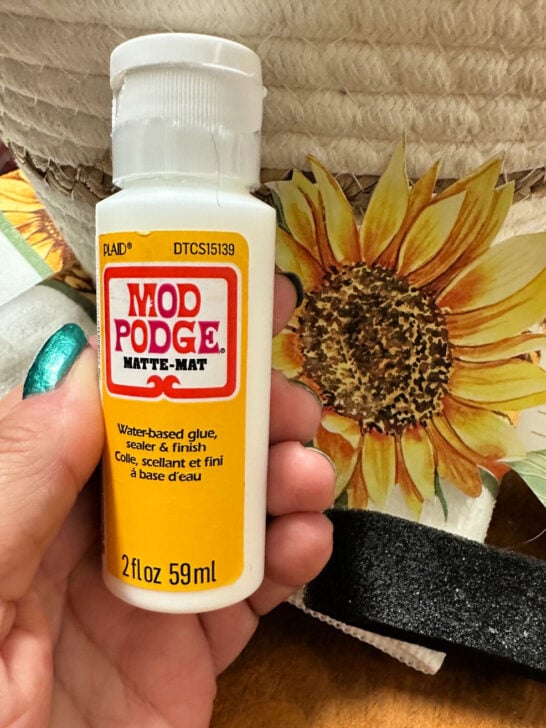
- Mod Podge – I chose a matte finish, but you can also choose a gloss if you prefer.
- Foam Brush
Gift Basket Accessories
Feel free to add whatever gift items that you would like. You can customize the basket for any season or theme and fill it with items that go with the theme.
- Paper Sheds
- Sunflower Towel
- Picture Frame – they are expecting their first baby, so this will be perfect!
- Sunflower Mason Jars – There wasn’t a link for these on their website, however, I did purchase them at Dollar Tree last week at $1.25 each.
- Garden Gloves
- Sunflower Seed Packets
- Antique Rolling Pin – I’ve been wanting to gift my daughter my husband’s antique rolling pin. It was from his bakery days and is over 30 years old. We have fond memories of the kids rolling out sugar cookies with him during the holidays.
How to Decoupage on a Rope Basket
If you are a return visitor here, or follow me on Facebook, you know I am a huge decoupage fan.
To make it easier for you to find the tutorials, I will be putting together a post with all of my decoupage crafts.
In the meantime, you can explore these decoupage projects for some inspiration!
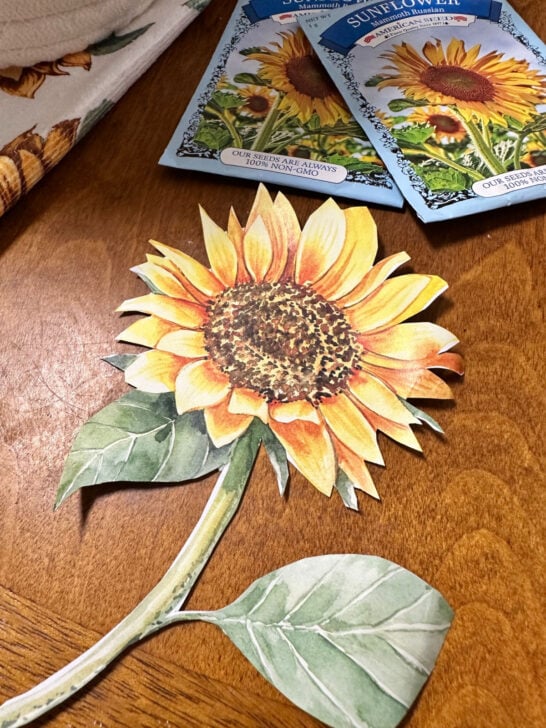
Step 1. Cut Image
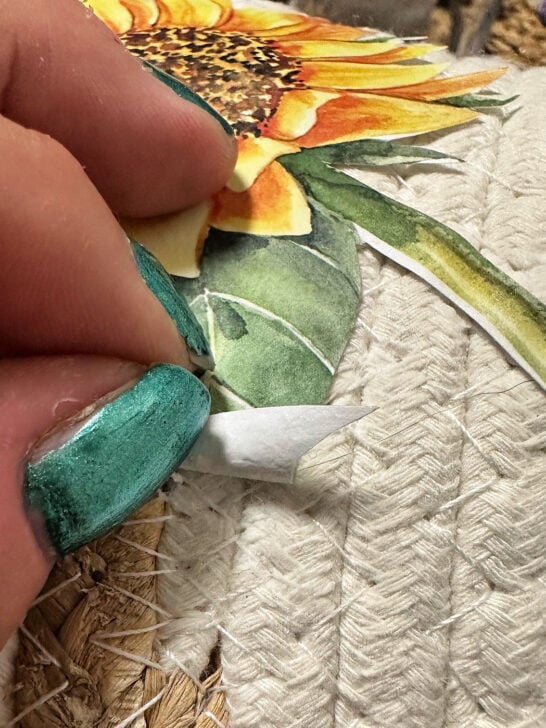
Starty by cutting your image using what is called a “fancy cut”. This basically means to trim out the details, such as the points of the sunflowers.
Determine placement of the image on the basket.
Step 2. Add Mod Podge
Brush a layer of mod podge to the back of your image and secure the image to the basket.
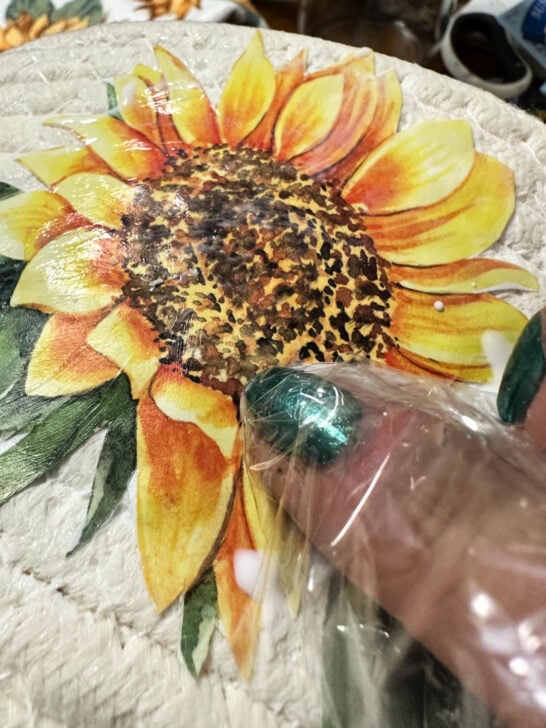
I love to use foam brushes for this. They are affordable and do a great job. Smooth it out to remove wrinkles.
Quick tip: my favorite tip is to use a plastic baggie or wrap to smooth out the image. This is especially helpful when using napkins as it helps prevent tears.
Step 3. Add a Top Coat
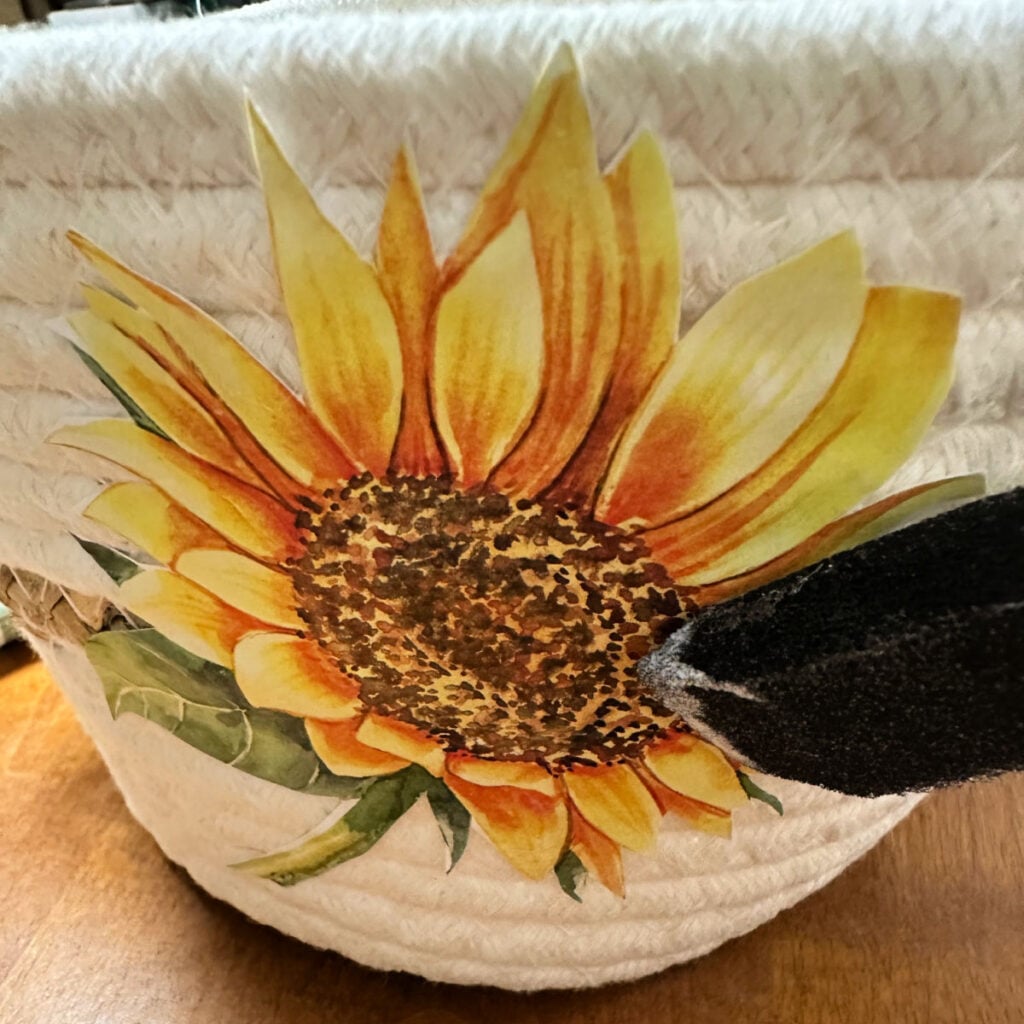
Cover with 2-3 coats of mod podge to seal the image. Let dry.
Fill Basket
Now for the fun part; filling the basket with whatever items you like. I’m thinking how pretty a Christmas basket would be with a poinsettia, or even this beautiful cardinal printable that is free on the blog.
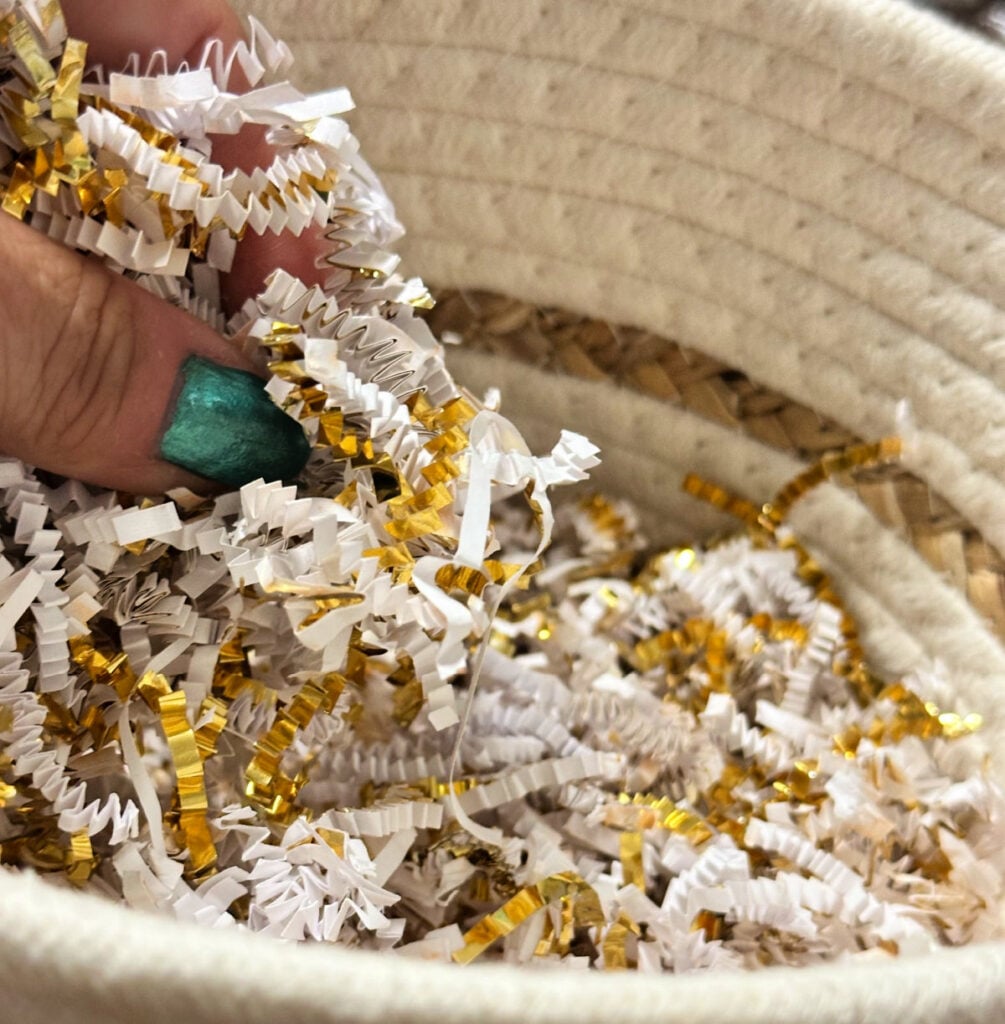
Paper shreds are a great way to start a basket. Next up, I added a pretty sunflower towel. It looks perfect with the basket sunflower.
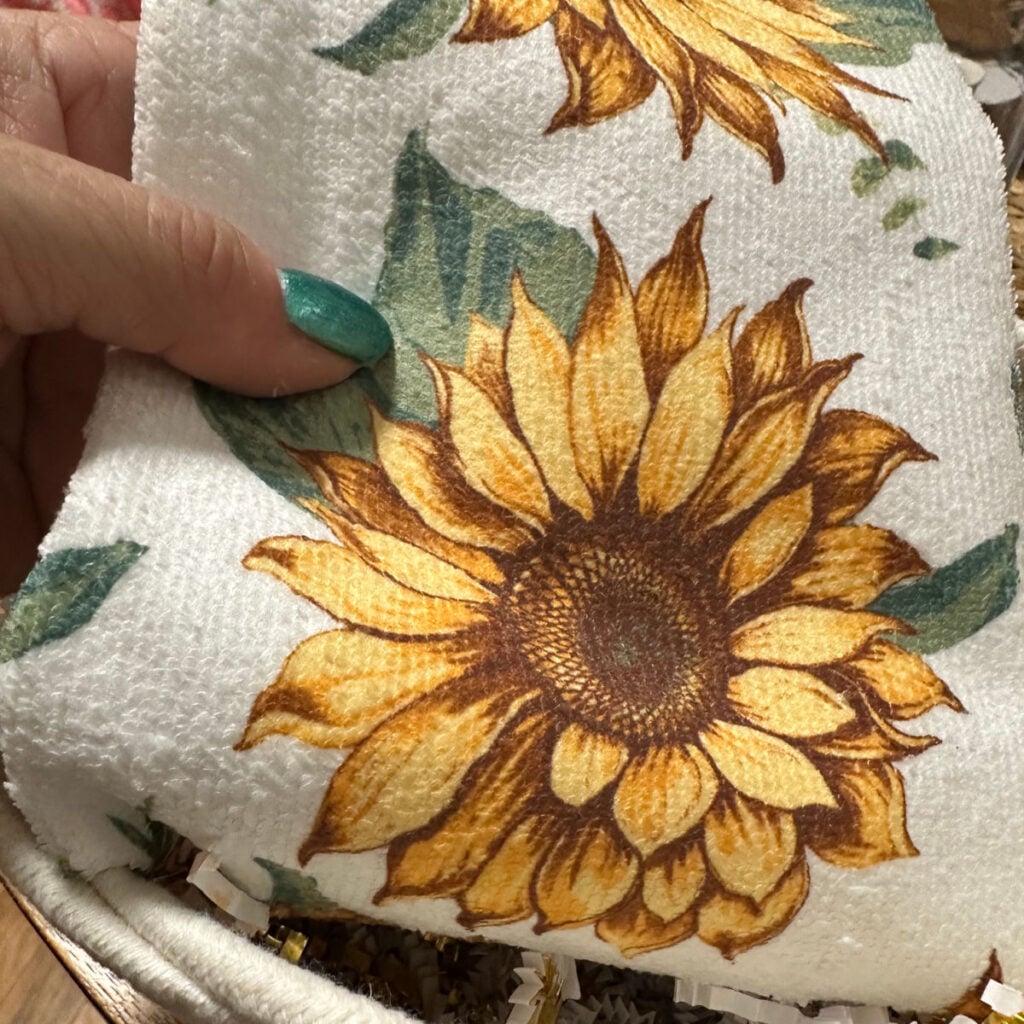
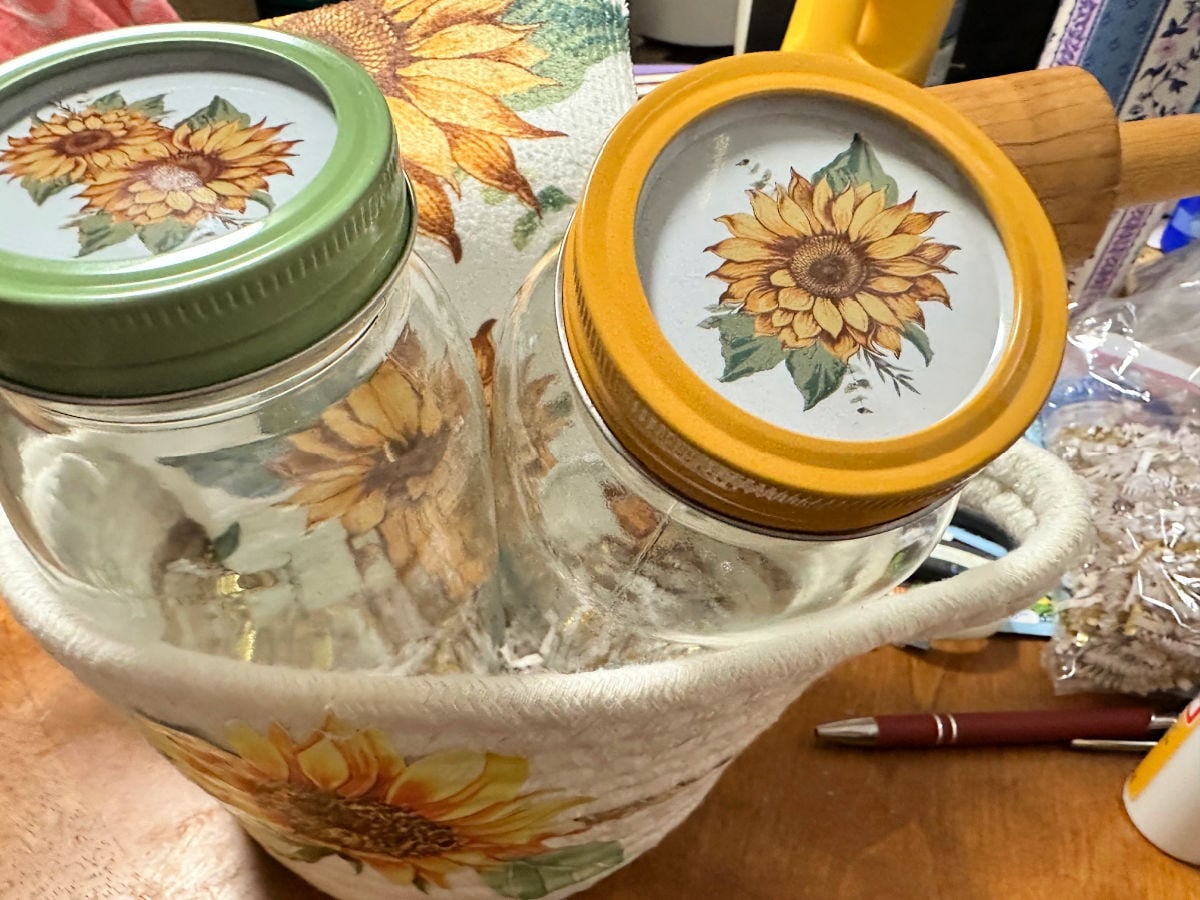
I continued adding the gift items including the picture frame, sunflower mason jars, seed packets and garden gloves.
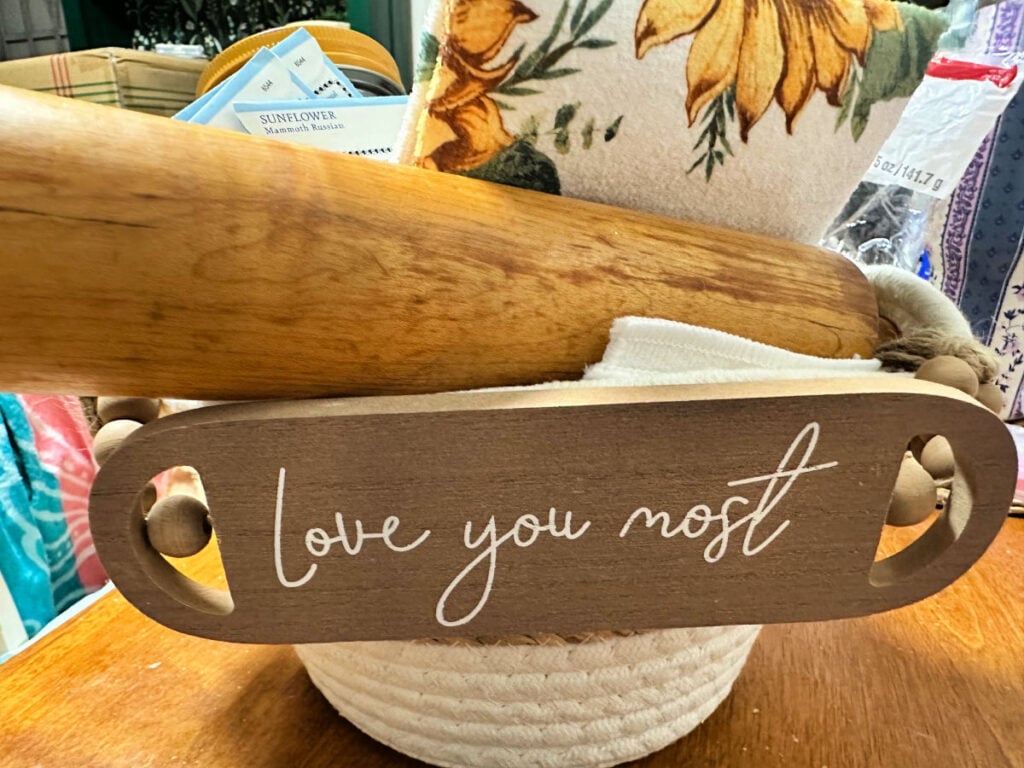
Finally, I added the rolling pin and a cute love you most wood sign that I also found at Dollar Tree. Doesn’t it make a great addition to the back of the basket?
There you have it, a beautiful and budget-friendly gift basket that you can easily customize for birthdays, Mother’s Day, Christmas or just because.
PIN FOR LATER
I’d love it if you would share this sunflower gift basket with your friends on Pinterest by pinning the below image.
It helps my blog grow and doesn’t cost a thing! 🙂


Here are even more thrift store DIY projects:
Check out these great makeovers from the Thrift Store Decor Team. You can get the tutorials by clicking the links below the “before” makeovers photo collage.
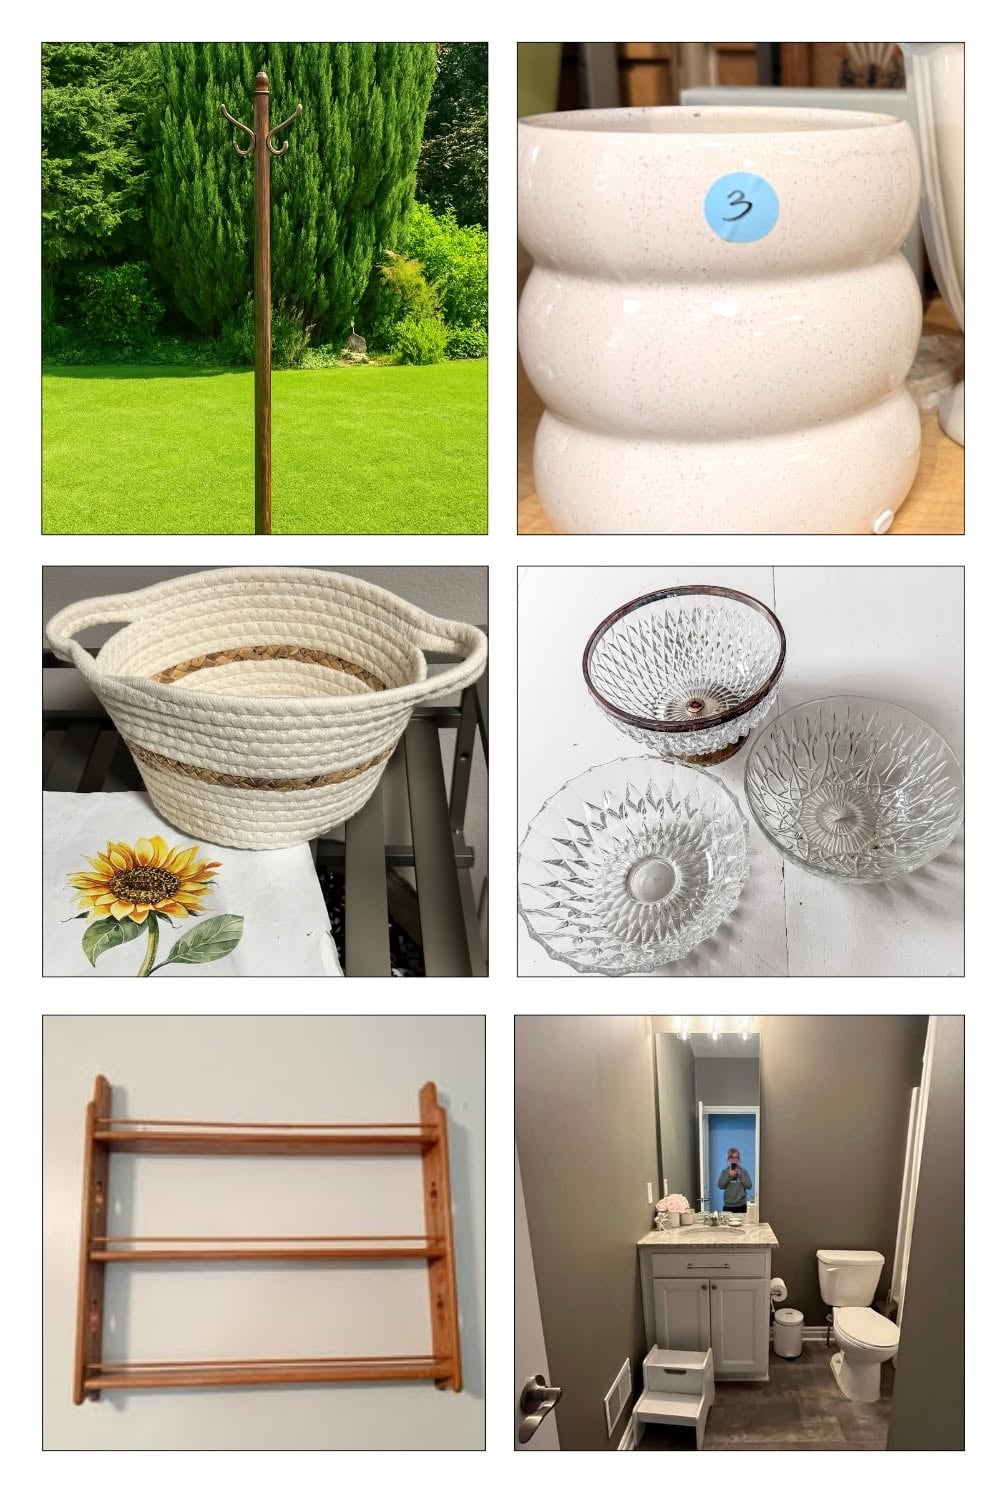
See how Funky Junk Interiors’ forgotten coat rack got a 2nd life as a charming DIY hanging plant stand. Perfect for an outdoor patio!
Kristin transformed a $3 glass vase into a high-end vintage crock with a simple napkin decoupage technique.
Learn how to update a Dollar Tree rope basket with Mod Podge and a sunflower printable to craft a budget-friendly gift basket from Our Crafty Mom.
Songbirds is showing us how easy it is to make elegant glass domes from thrift store crystal bowls!
See how you can update a wood stain finish to match your favorite wood tone on an Oak Plate Rack from Shop at Blu.
Redhead Can Decorate is showing us how black paint can make a stunning impact in a small space!
Thanks so much for stopping by. Happy thrifting!


Follow me on social media below:
Marianne Songbird
Friday 10th of July 2026
That looks like such a cute gift! I am sure your daughter is thrilled with it. And thanks for the tip on how to decoupage on a basket, I would never have guessed that was possible.
Julie
Thursday 9th of July 2026
What a beautiful gift this would make, Michelle! Our son, Bo, loves Sunflowers...hmmmmmm 😊 Maybe for his b day!!
kristin
Wednesday 8th of July 2026
Super cute Michelle; love the sunflower. It makes for the perfect gift basket!
Sue at Blu
Wednesday 8th of July 2026
Michelle, what a great way to personalize a gift! I never would have thought to try to Mod Podge onto a fabric basket. Great project. Pinned
Donna via Funky Junk Interiors
Wednesday 8th of July 2026
Your sunflower-themed basket is such a lovely way to gift! Right down to the careful curation of thoughtful additions that you know your daughter would love. There's something special about a gift that isn't hidden, but rather, every piece is embraced as part of the gift. No waste, and so much prettier while being completely useful. Love it!