Turn your home into a winter wonderland with a gorgeous wooden snowflake that can be used long after the Christmas decorations are put away!
When decorating for Christmas I like to incorporate some items that can also be used for winter decorating.
This serves a couple of purposes. The first being I love the white snowy look of most winter decorations.
The second reason is they fit right in with just about any Christmas color scheme.
Let me show you how to turn unfinished wooden snowflakes into glistening home decor pieces that can stay up all winter long!

This post is sponsored by DecoArt and contains affiliate links at no extra cost to you. I only promote products I believe in. Please read my full disclosure HERE.
Wooden Snowflakes
I’m all about quick, easy, and inexpensive crafts. This large wooden snowflake checks all the boxes.
This year I decorated my Christmas tree and mantel with a pink and gold color scheme.
You can see how the glittery white snowflakes blend perfectly with this color palette.


They are also great with the snowy look of a flocked tree.
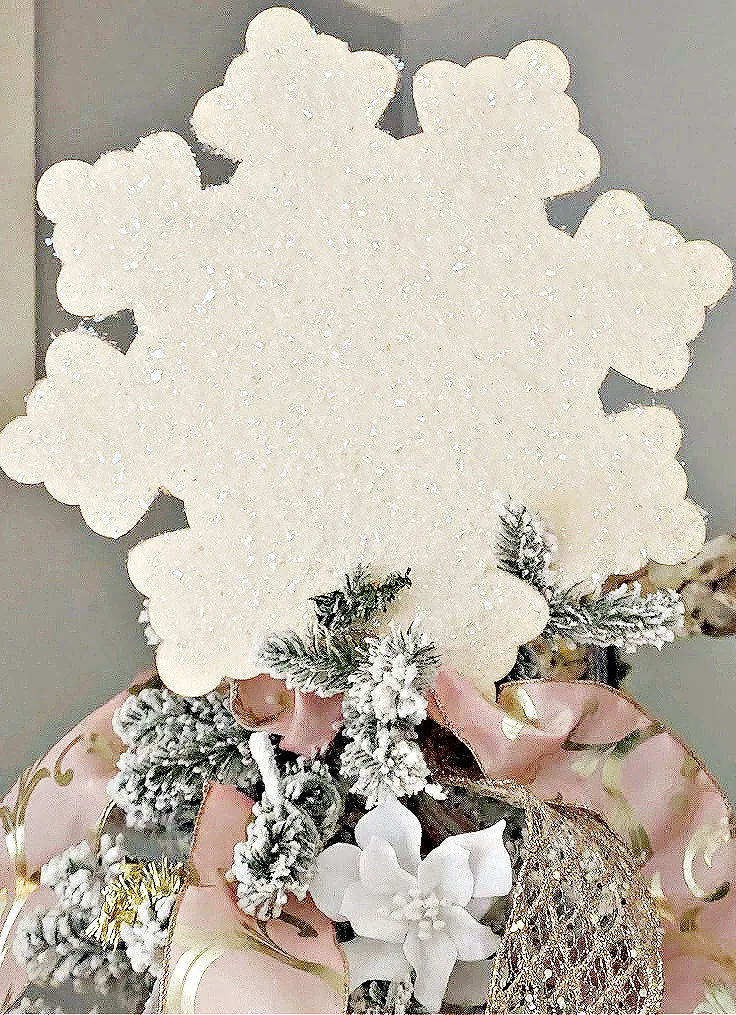
Here you can see how I used an oversized wooden snowflake from Dollar Tree as a Christmas tree topper:

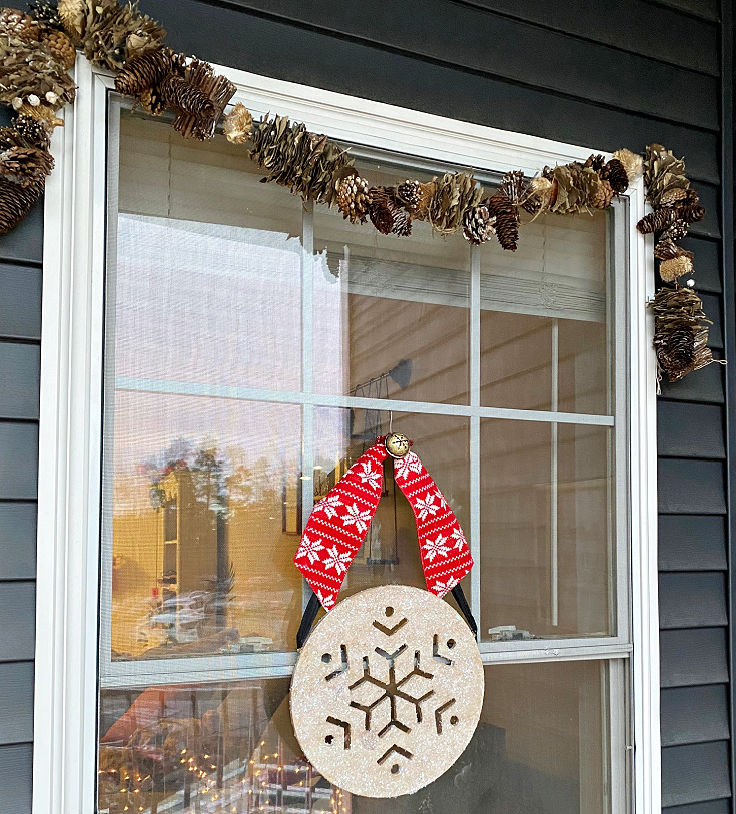
My favorite is how the large wood snowflake looks on my decorated balcony:


I can leave the snowflakes up all winter long. Isn’t the snowman pillow the cutest?
He can stay up all winter too. See how to make your own Pottery Barn-inspired snowman pillow HERE.
While I used premade wooden snowflakes, you can certainly make your own with scrap pieces of wood, a hot glue gun or wood glue, and wood screws.
Large Wooden Snowflake Supplies
- Wooden Snowflakes – I used different sizes from the dollar store and a large snowflake from the Decocrated Winter Subscription Box.
- DecoArt Dimensional Effects
- Foam Brush
- Artificial Glitter Snow
- Clear Acrylic Sealer


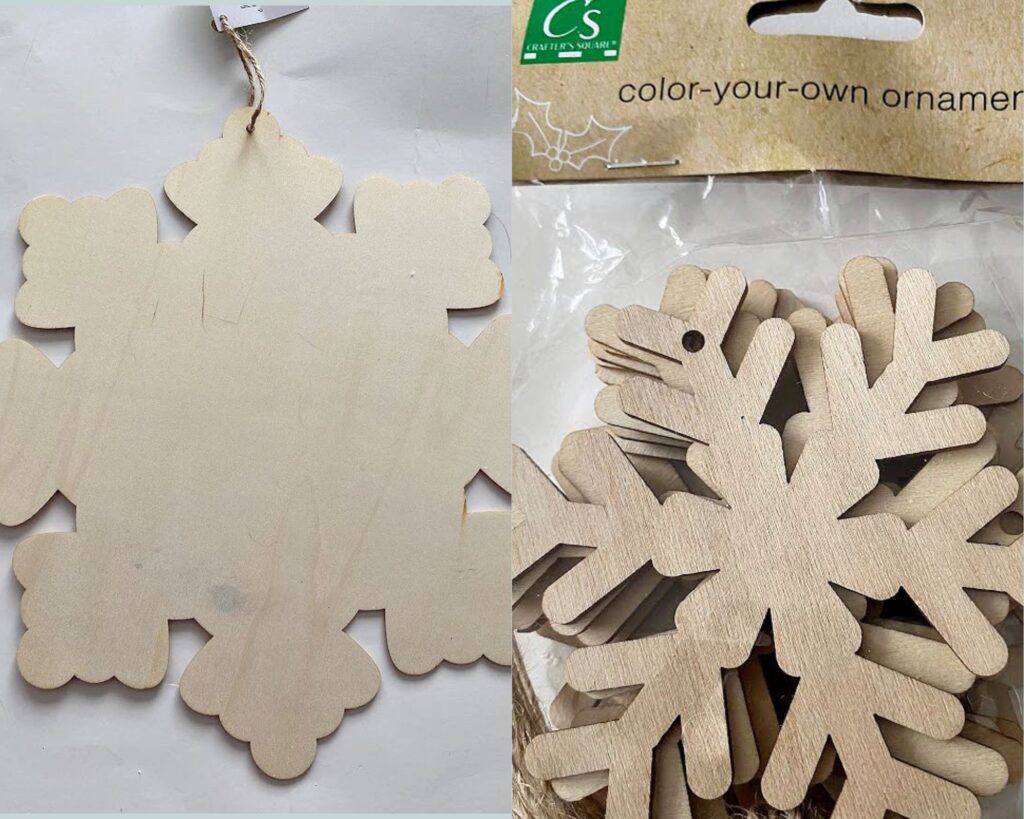
These are the unfinished wood snowflakes I picked up at Dollar Tree:

How To Decorate A Wooden Snowflake
Snowflakes are the perfect decorating piece because they can stay up basically from December through February.
They are inexpensive to make and you can create a festive winter wonderland by hanging several mini snowflakes together.
That is my plan for my balcony.
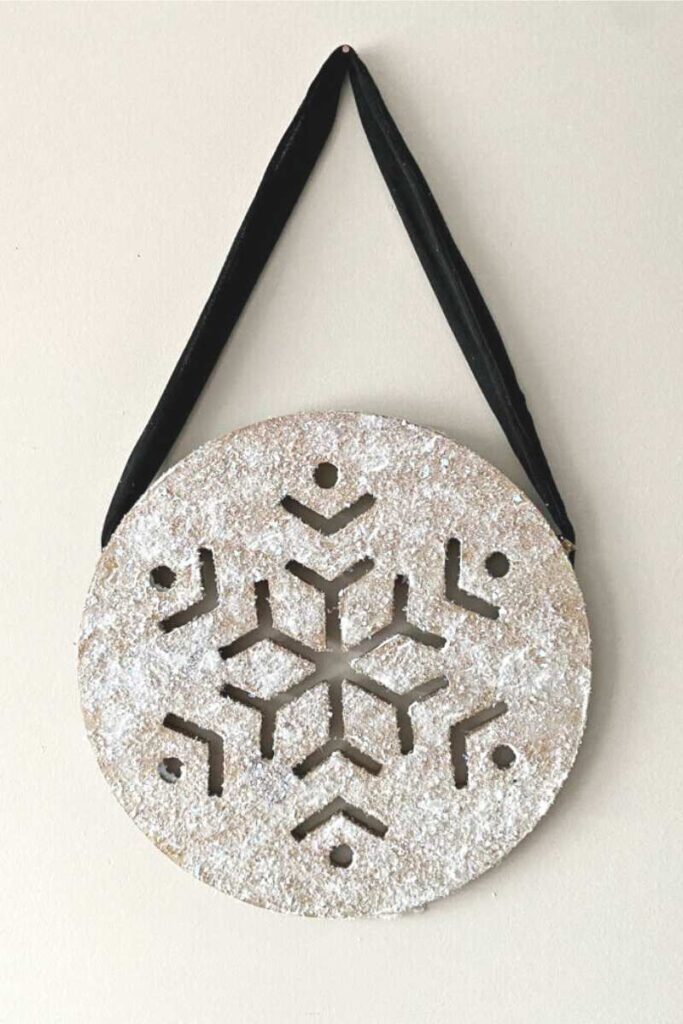
If you’re looking for some inspiration, why not start with a beautiful wooden snowflake sparkling with snowy glitter?
Another option is to use a chunky glitter found at Walmart, Amazon, and craft stores.
You can find unfinished wooden snowflakes at most craft stores like Hobby Lobby, Michaels, and Joann Fabric and Crafts.
Add color with acrylic paint or spray paint in any color that you like.
If you are using them outdoors I would seal them with a clear sealer to protect them from the elements.

Wooden Snowflake Decorations Tutorial
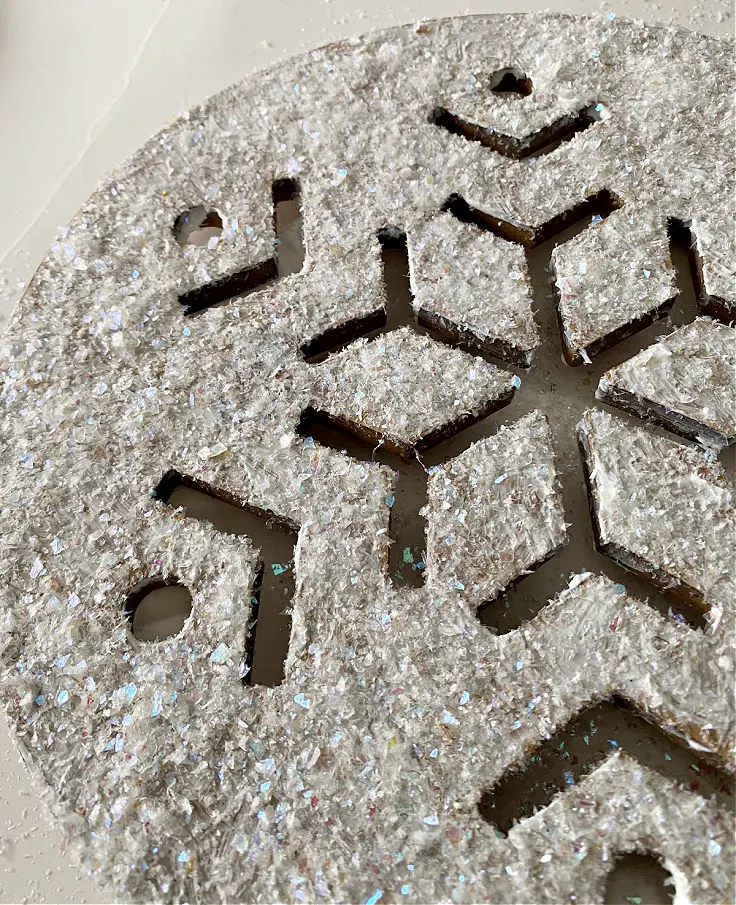
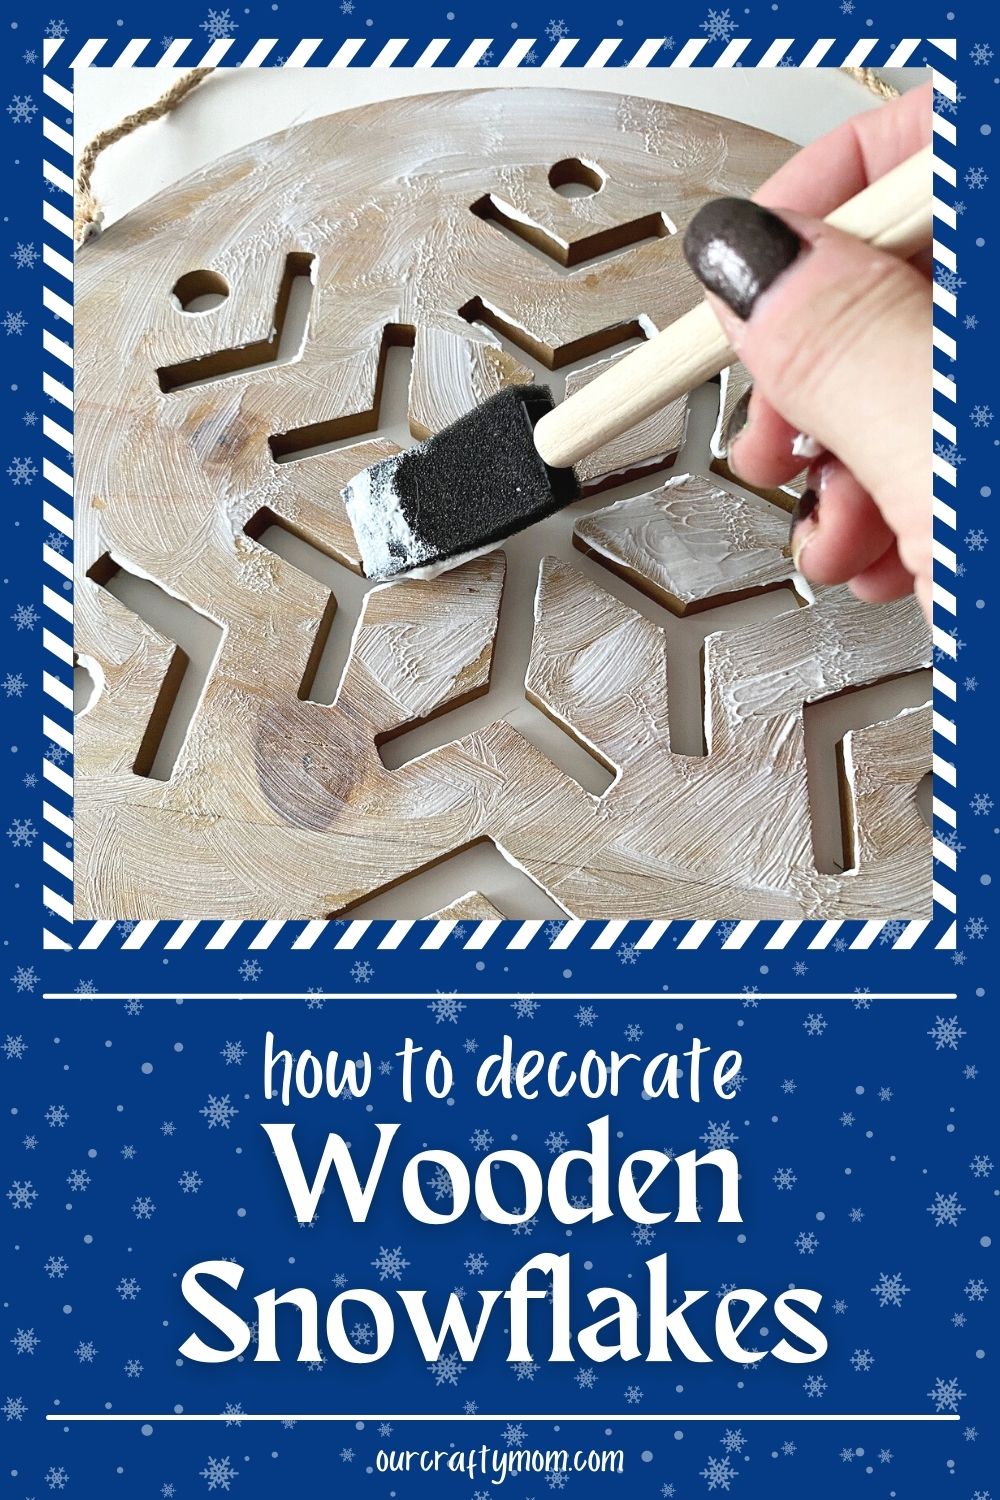
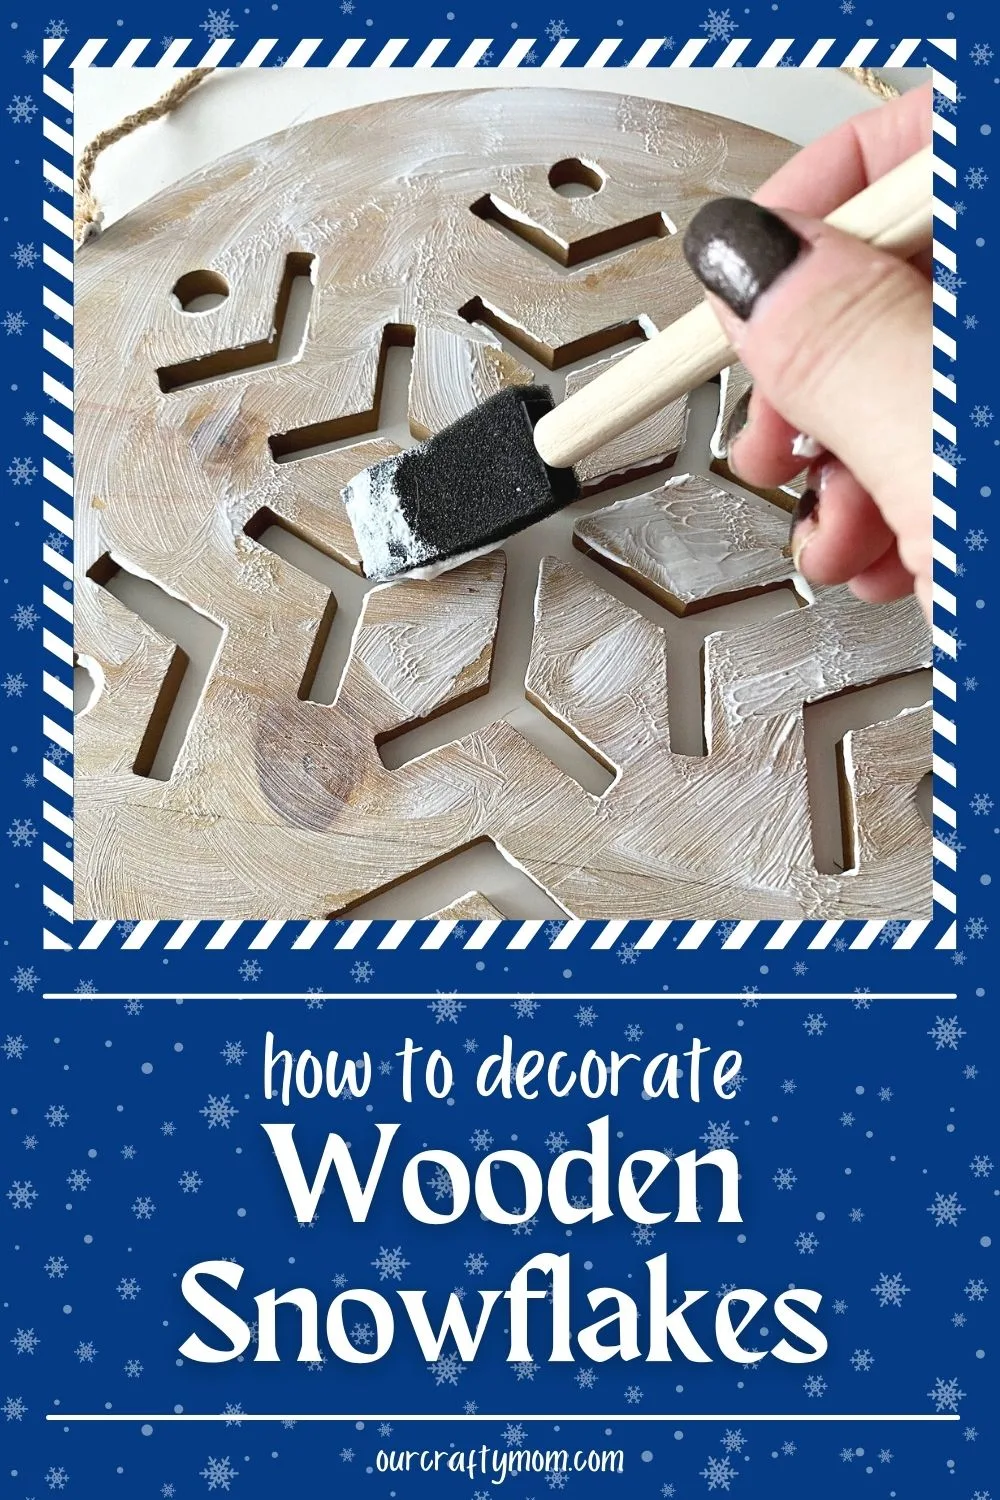
Step 1. Cover the snowflake with dimensional effect
The first step is to cover your entire snowflake with a coat of DecoArt dimensional effect. A foam brush works great for this.
Dimensional effect is a textured paste that creates a nice and thick backdrop. It can be used on wood, glass, styrofoam and more.
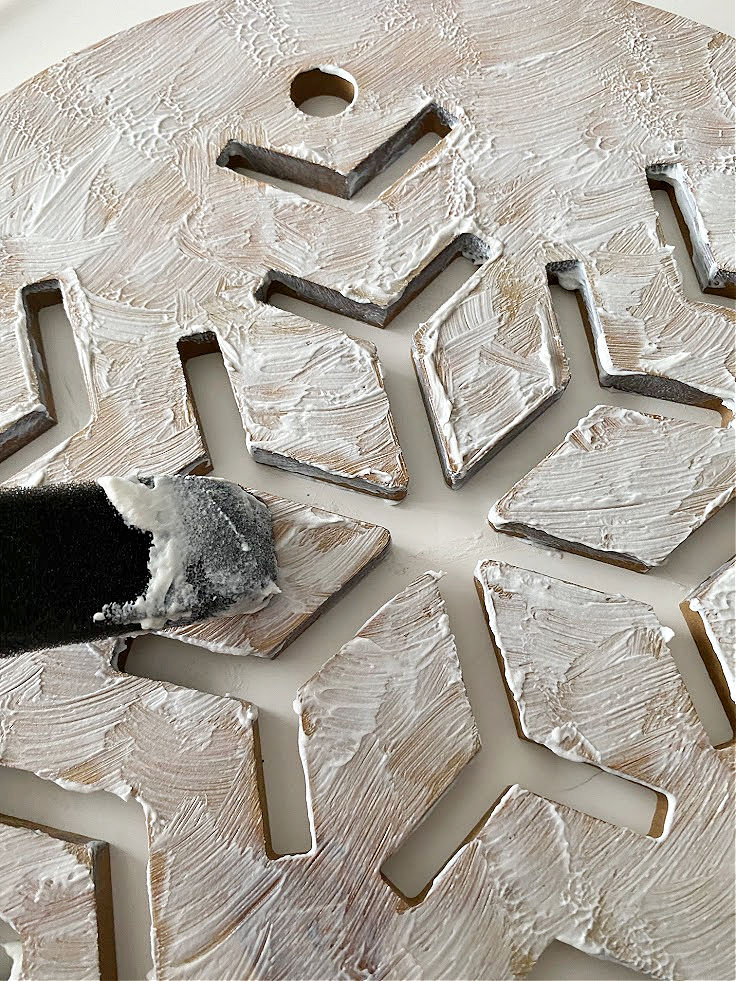
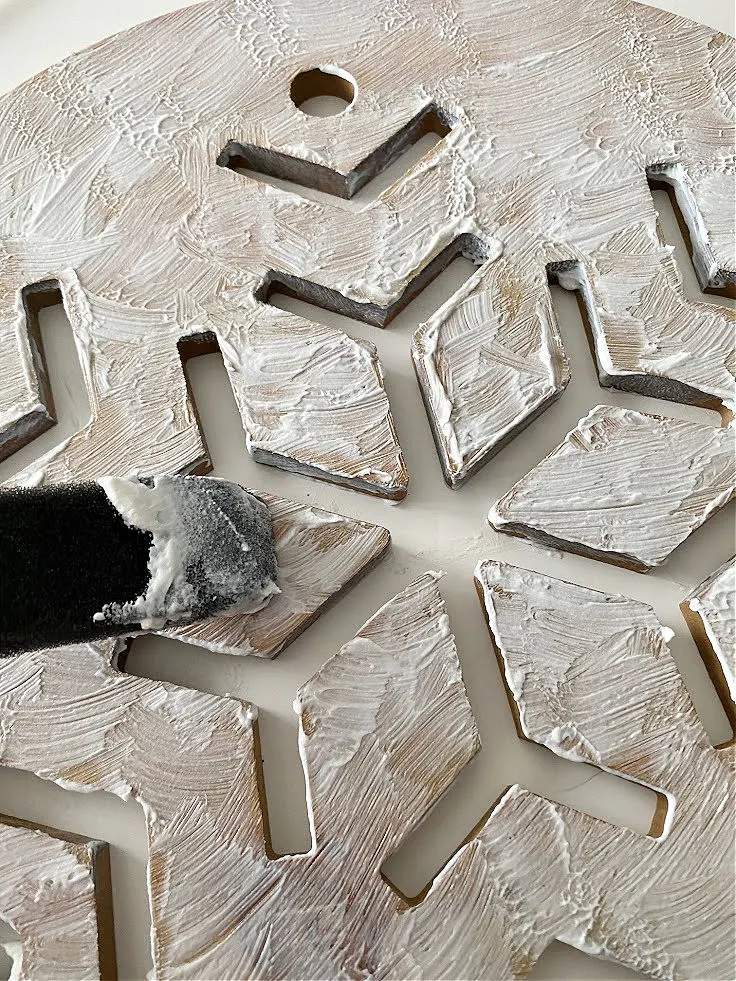
You will need at least 2 coats, but it does dry fast. Let it dry completely before adding the second coat.
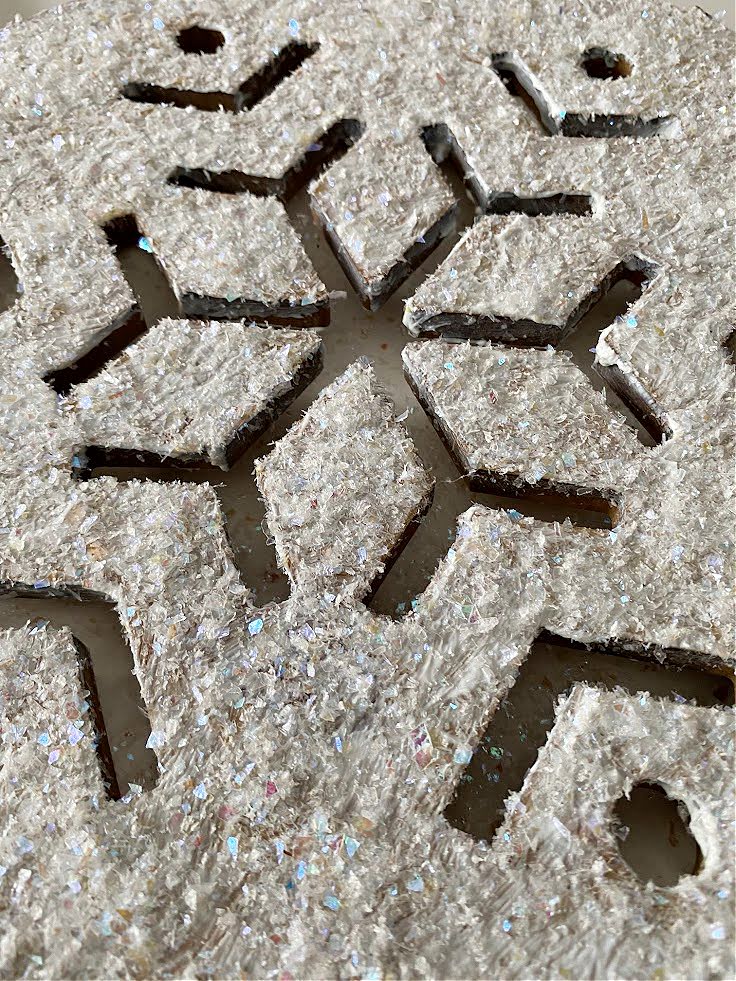
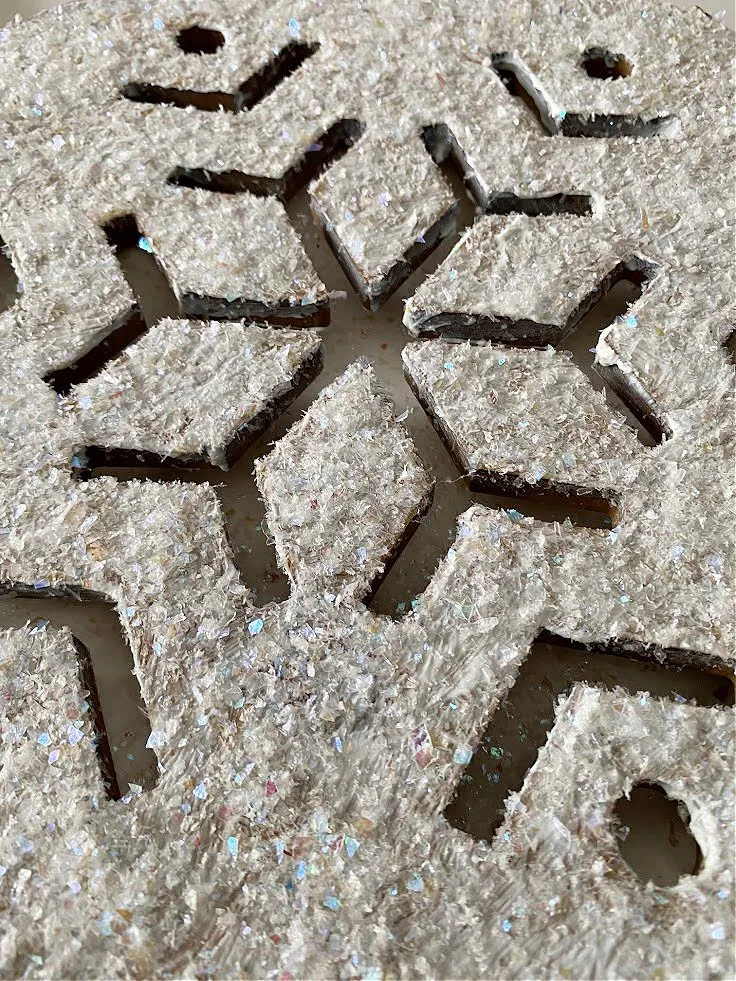
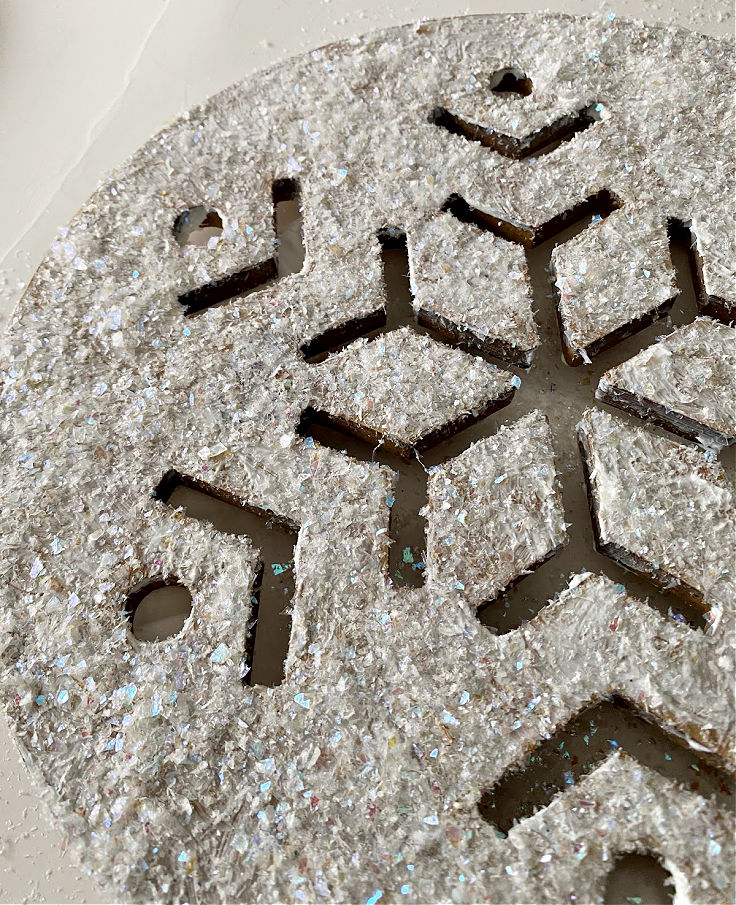
Step 2. Cover with snowflake glitter
While the snowflake is still wet from the second coat of dimensional effect, start adding the glitter.
Sprinkle it over a paperplate so you can pour the extra back into the bag.
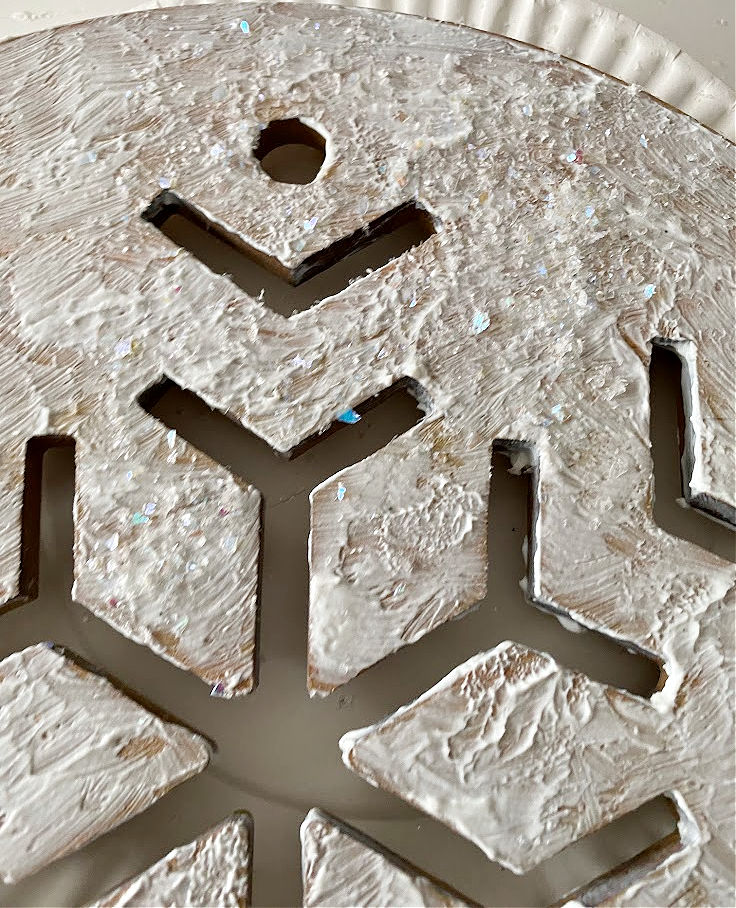
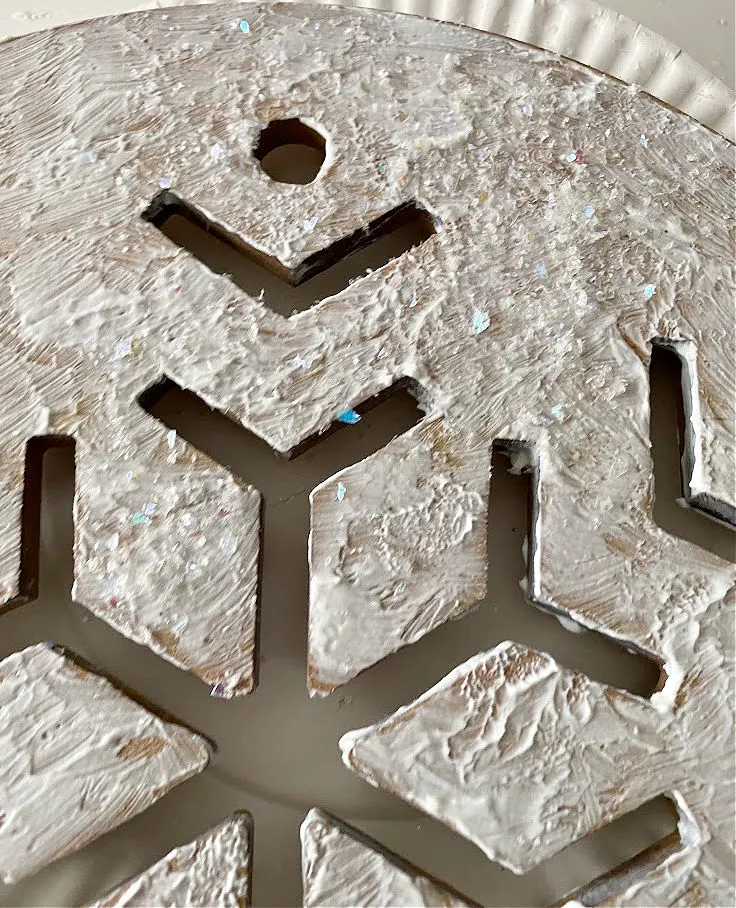
You can go as light or heavy as you want with the glitter. Also, experiment with colors, types of glitter, etc.
I LOVE the chunky buffalo snow that I used. It has an iridescent effect that looks great when the lights hit it on the tree.
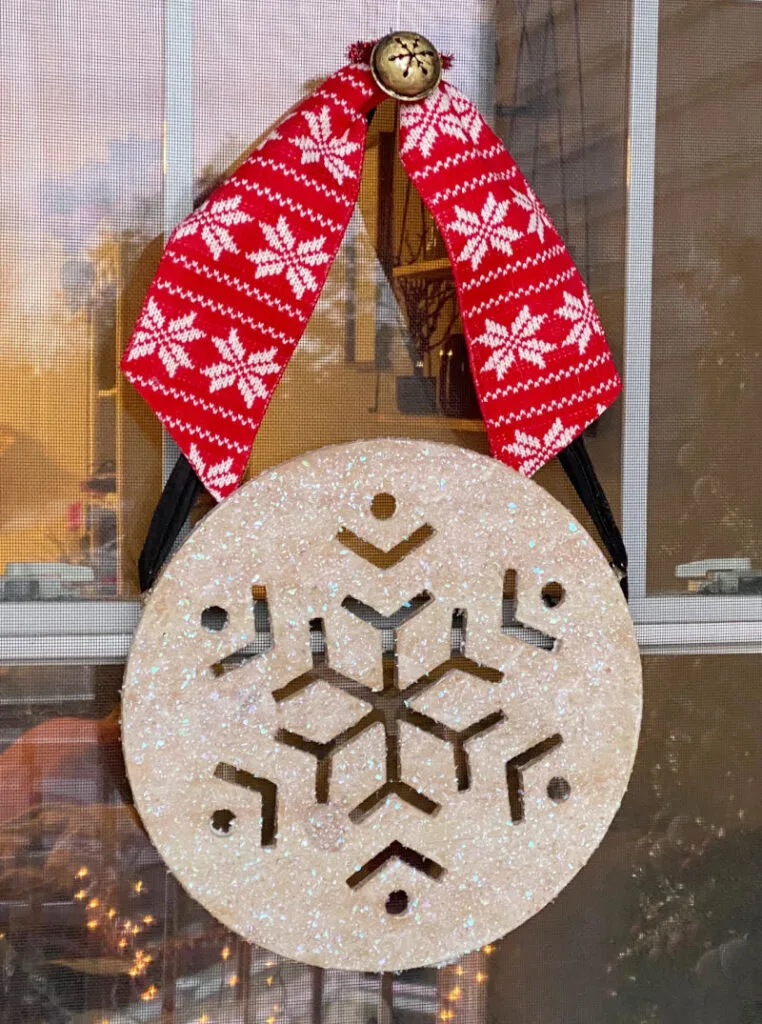
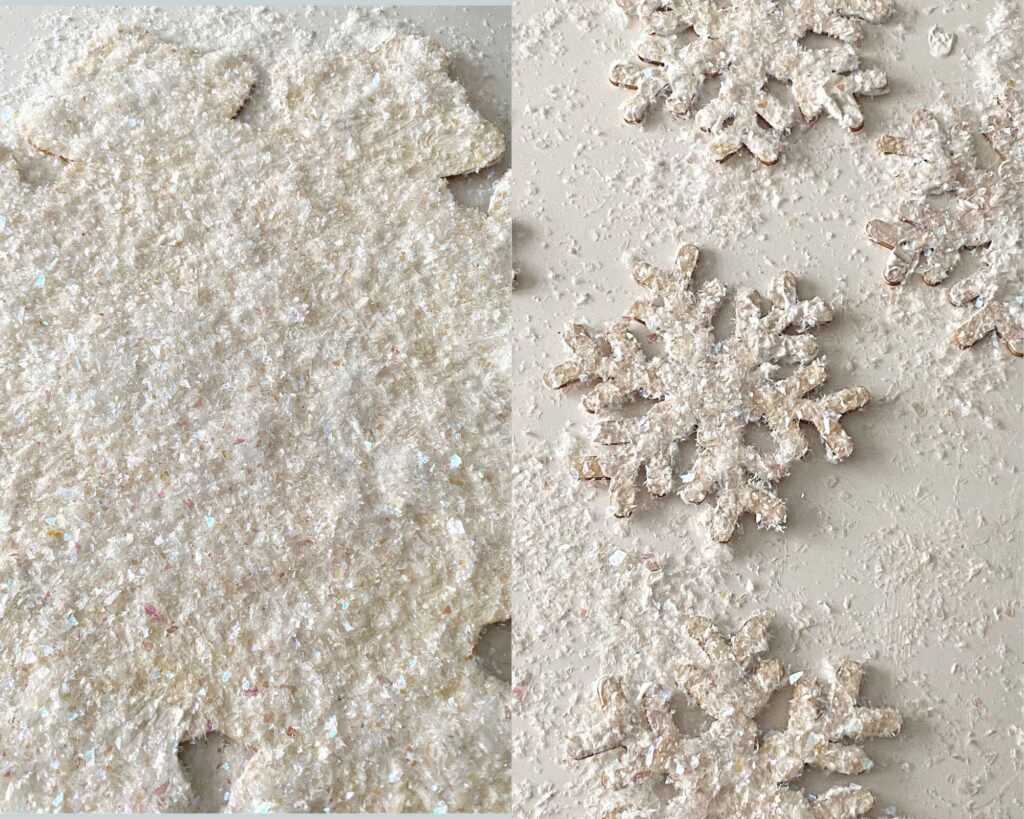
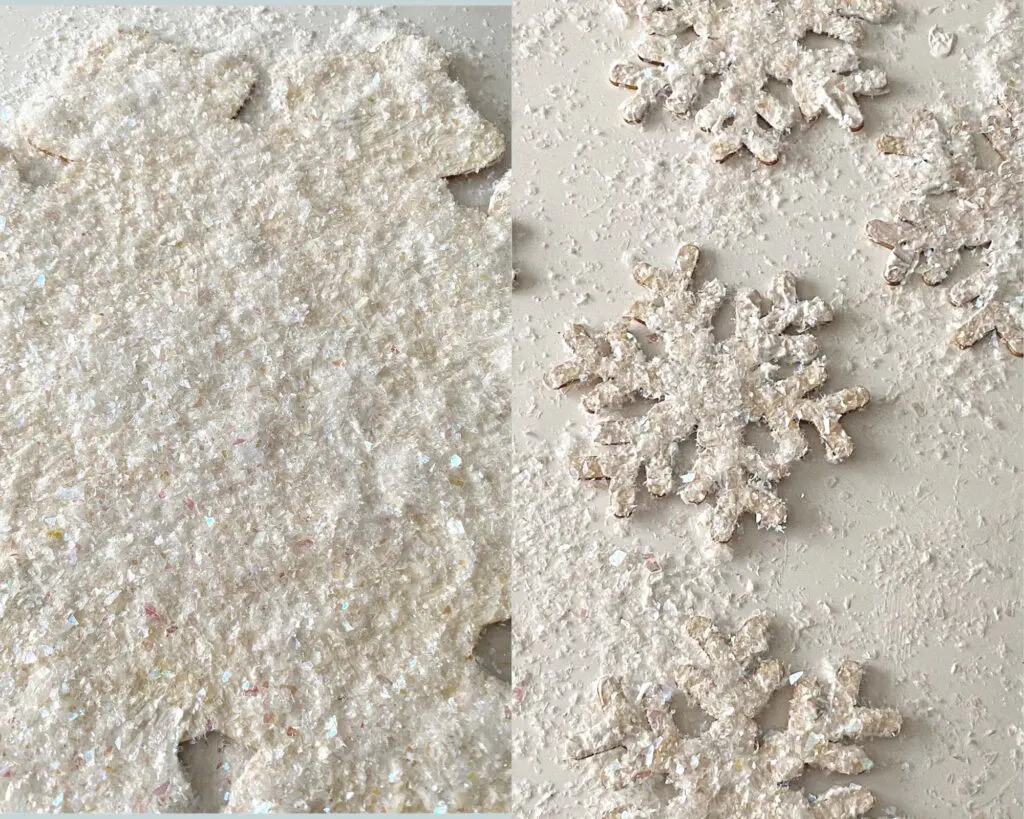
I followed the exact same technique for the Dollar Tree snowflakes:
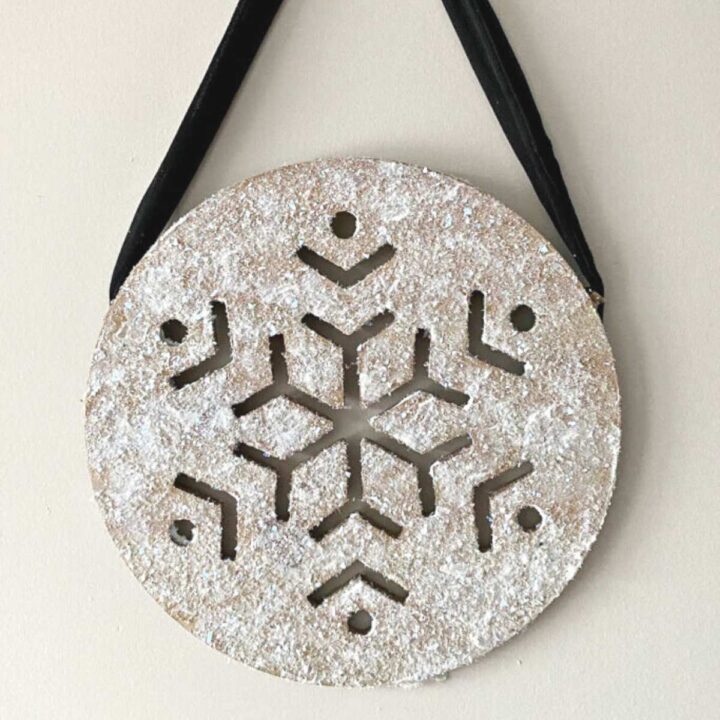
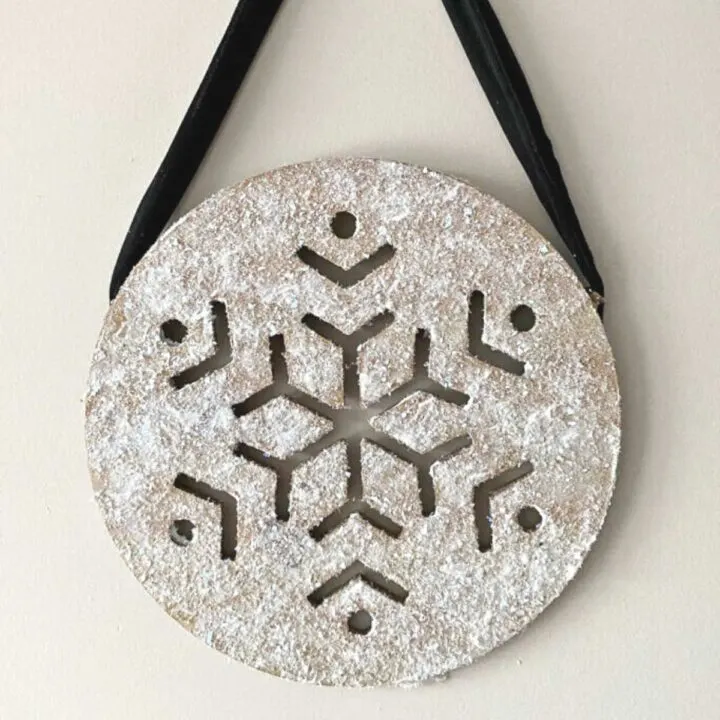
Step 3. Cover with clear sealant
Let the snowflakes dry overnight then spray them with 2-3 coats of clear acrylic sealer. I like this one from mod podge.
That’s all there is to it! Now you can decorate with your wooden snowflakes however you like.
The small ones are perfect for a banner and look great in garlands, on picture frames, to decorate a mirror and more!
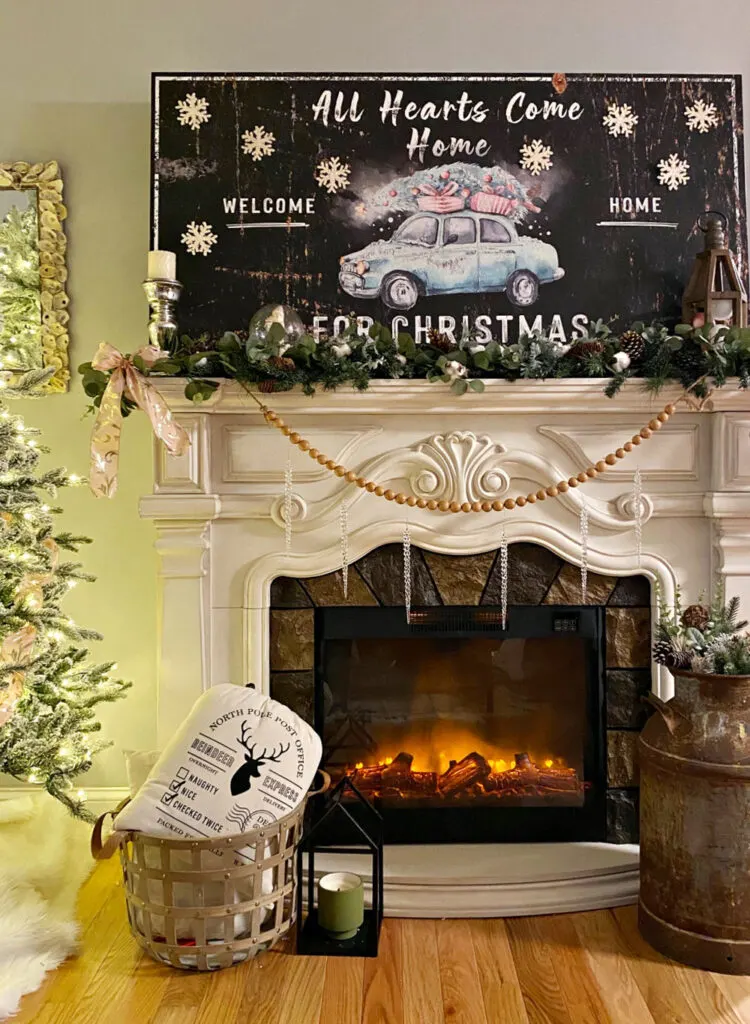
I used large glue dots to secure them to my oversized canvas that was the centerpiece for my Christmas mantel decor.

A few more snowflakes were also added to my garland:
I hope you enjoyed this quick and easy winter craft.
Another project I plan to make with DecoArt Dimensional Effects is to create winter snowballs to use in a dough bowl centerpiece. Stay tuned for that!

Let me know in the comments below if you give this project a try. Thanks for stopping by. Happy crafting!
Sharing is caring…please PIN the below image:
How to Make a Gorgeous Glitter Wooden Snowflake
Let me show you how to turn unfinished wooden snowflakes into glistening home decor pieces that can stay up all winter long!
Materials
- Wooden Snowflakes
- DecoArt Dimensional Effects
- Foam Brush
- Artificial Glitter Snow
- Clear Acrylic Sealer
Instructions
- Cover the snowflake with dimensional effect. Let dry. Add a second coat.
- While the snowflake is still wet from the second coat of dimensional effect, start adding the glitter.
- Let the snowflakes dry overnight then spray them with 2-3 coats of clear acrylic sealer.
- Decorate with your wooden snowflakes however you like.
Recommended Products
As an Amazon Associate and member of other affiliate programs, I earn from qualifying purchases.
-

 24 Pcs Foam Brush Set, Foam Paint Brushes, Wood Handle Sponge Brushes for Painting, Foam Brushes Sponge Paint Brush for Staining, Varnishes, and DIY Craft Projects (1'', 2'' and 3'')
 -
 Christmas Artificial Flake Fake Snow Twinkles Fake Snow Powder Filler Xmas Snow Decoration Craft Sparkling Snow for Christmas Party Decoration Supplies, 3.8 Ounce
 -
 DecoArt DS109C-10 Dimensional Effects, 4-Ounce
Tommy Adams
Thursday 30th of November 2023
Would this work for an outdoor project. I have made the Grinch and Santa Claus with his reindeer hanging on a fence. Just wanted to see if I could spray the base for outdoor use
Many thanks