Make a fun and festive DIY Christmas Wood Porch Sign with this easy tutorial.
Hello! It’s week 3 of Deck the Home and this week’s challenge is wood signs. Signs are one of my favorite things to make.
You can literally whip up a beautiful wood sign in about 20 minutes.
This wood serving tray that I made last year would also make a great Christmas Gift.
This post contains affiliate links at no extra cost to you. Please see my full disclosure here.
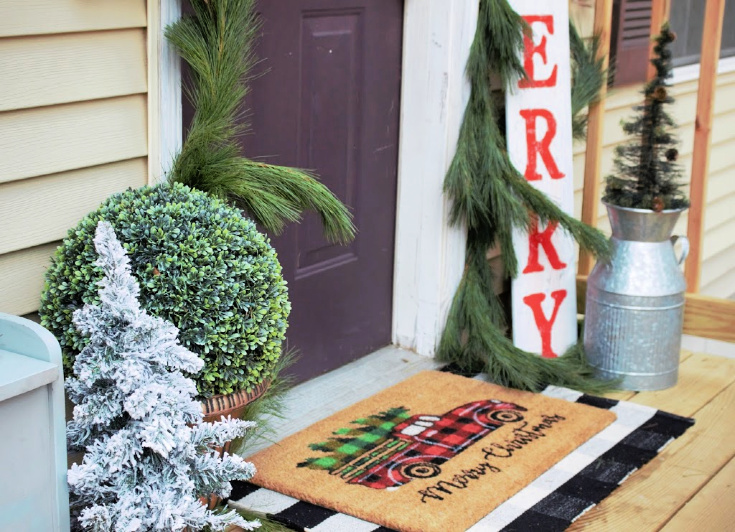
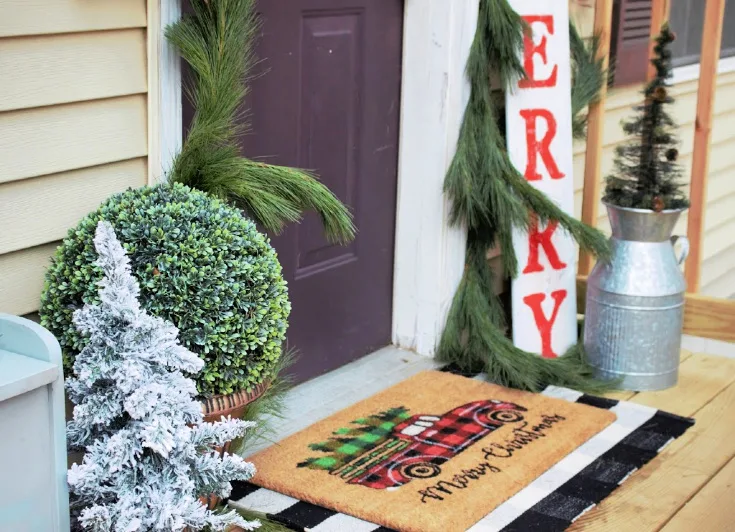
I participated in a fun Christmas Porch Blog Hop this year and went with a traditional Christmas look of red and white.
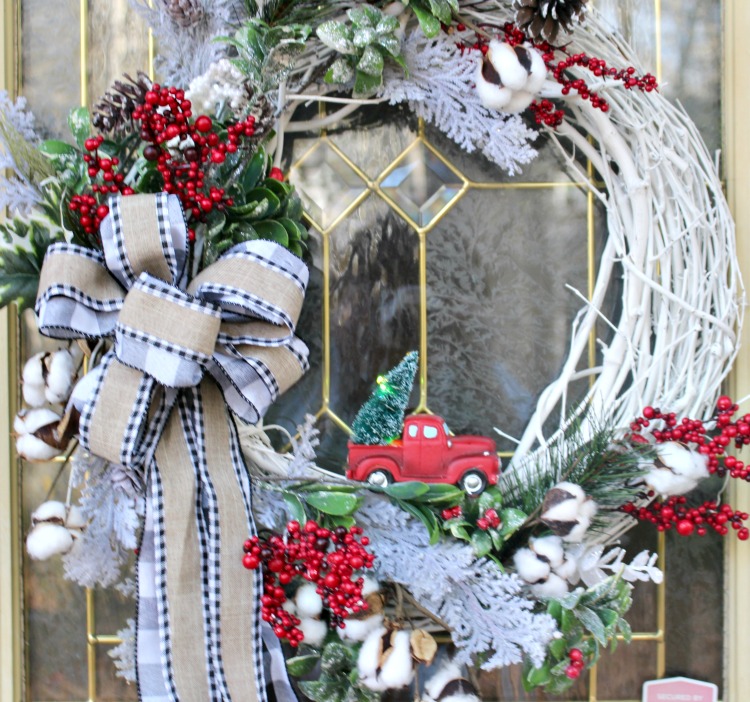
The first thing I made was this red truck wreath for the front door:

It set the stage for a bright and festive porch with lots of buffalo check:
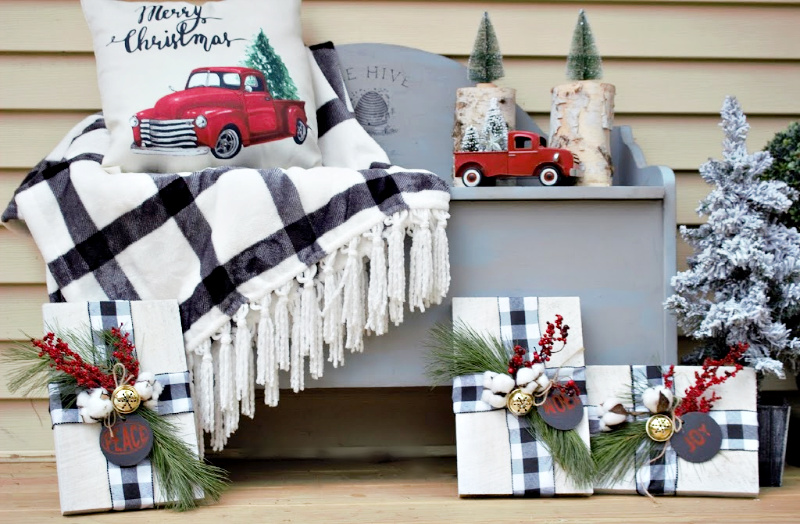
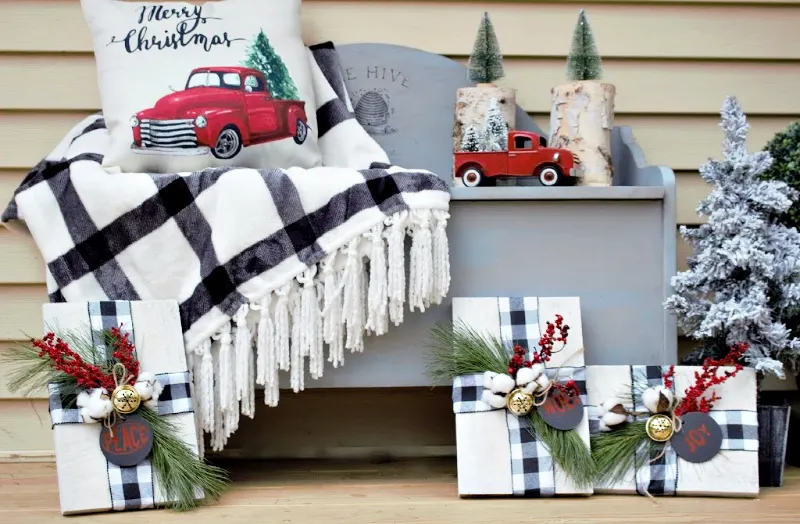
Do you see those “presents” in front of the bench?
They are actually made from scrap wood and are super simple to make.
The only thing missing from my holiday porch was a porch sign! 🙂
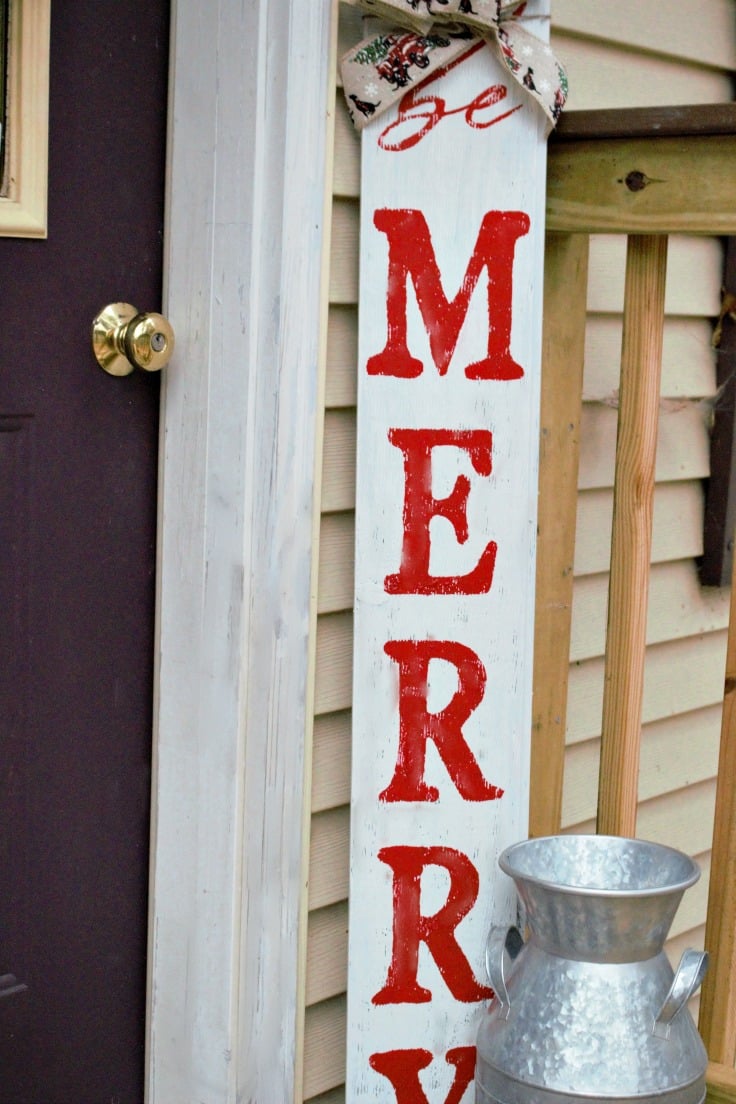
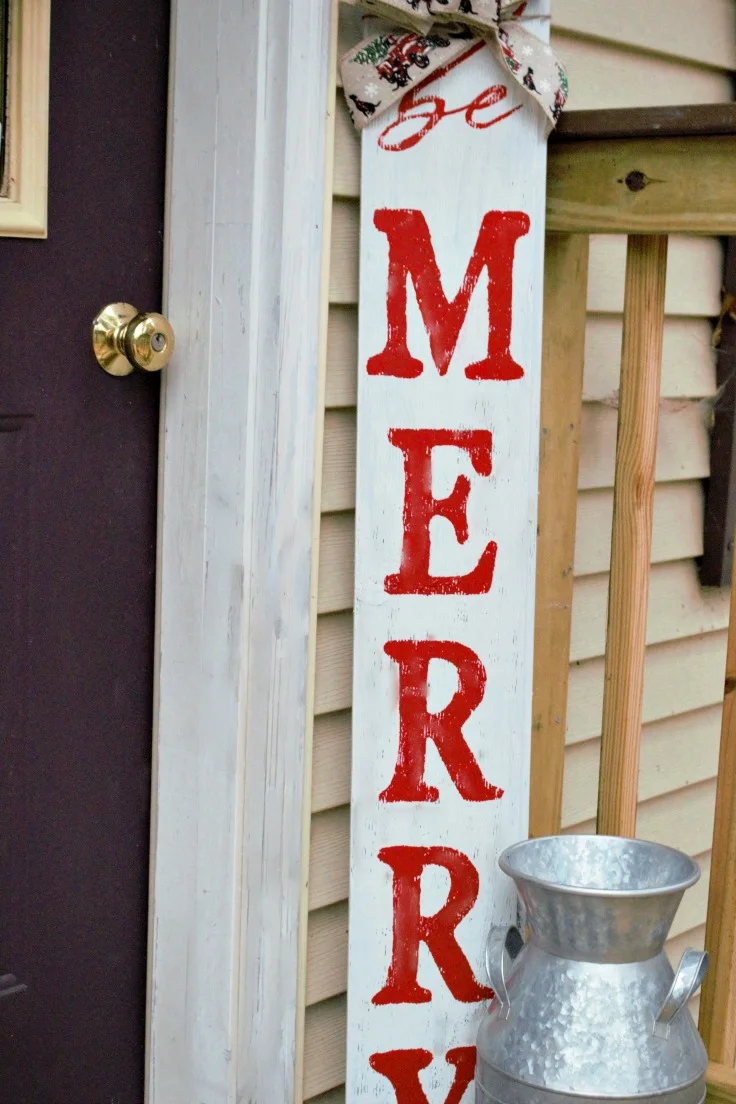
So for this wood sign challenge, I decided to make a red and white Be Merry sign.
Let me show you how easy this is to make.
Supplies Needed For DIY Christmas Porch Sign
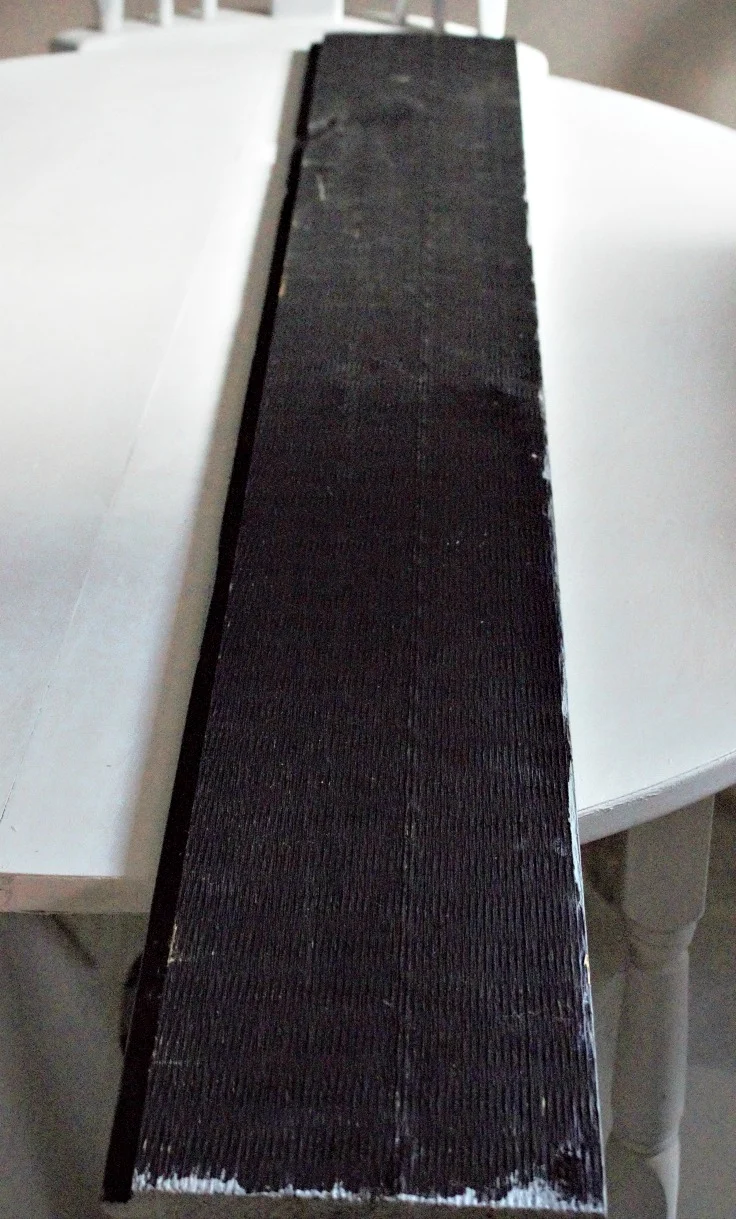
- A Long Wood Board – 10″ x 54″ – You can use any type of wood you like for the sign. I used a scrap piece of wood from my Dad’s stockpile.
- Deco Art Americana Chalky Finish Paint – Everlasting
- Be Merry Reusable Stencil (similar)
- Chalk Paste Red (similar)
- Chalk Paste Squeegee (similar)
Instructions
Step 1.
Sand down the board and remove any rough spots. I like the rustic look, so I just gave it a quick sanding.
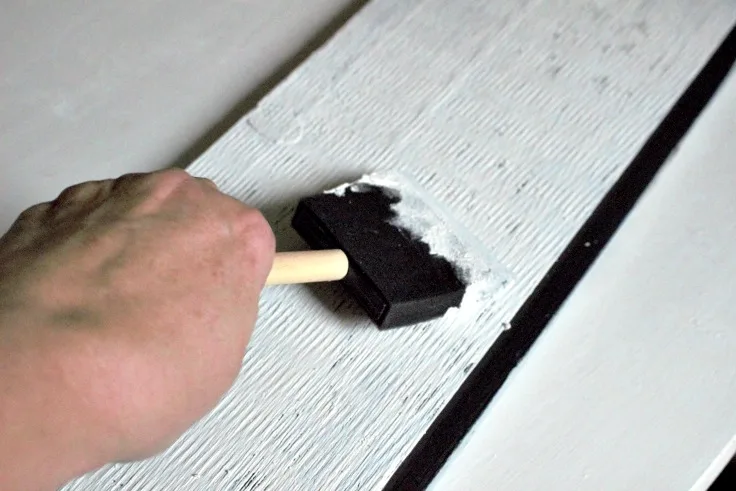
Step 2.
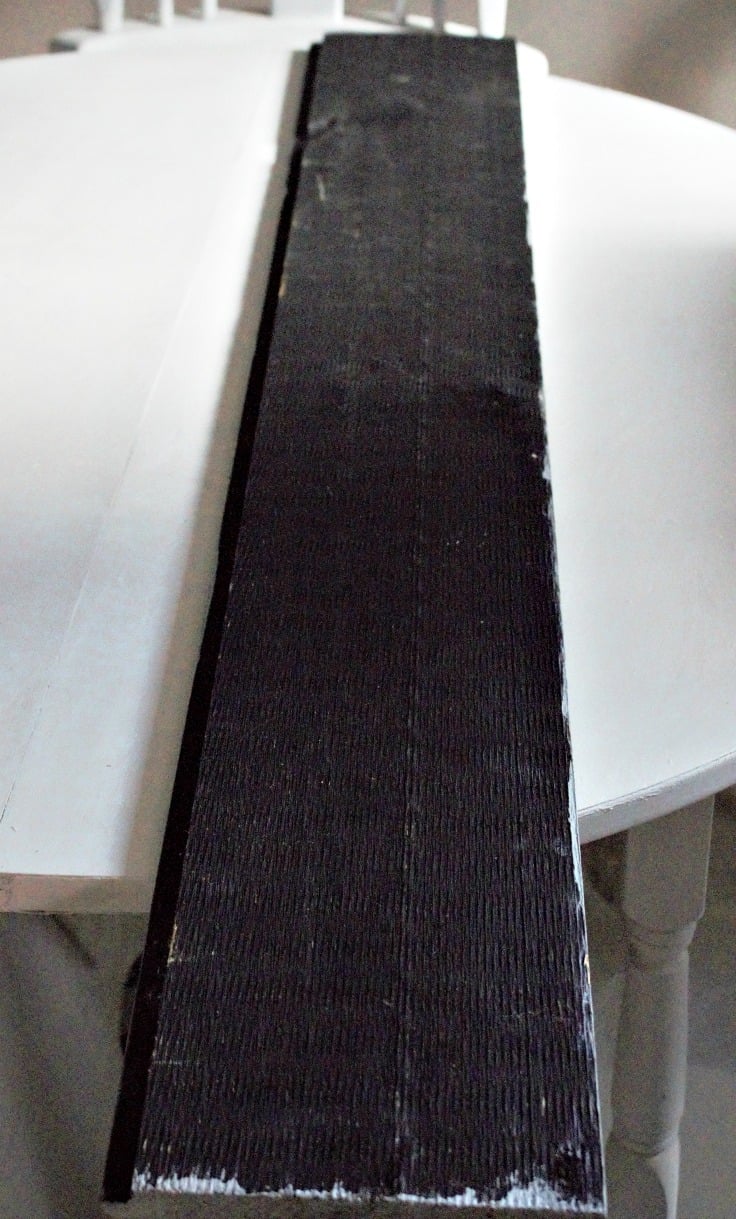
Paint the board with white paint. My board had been painted black previously, so I gave it a solid two coats. Let it dry in between coats.

Step 3.
Cut the Be Merry transfer to place on the wood sign.

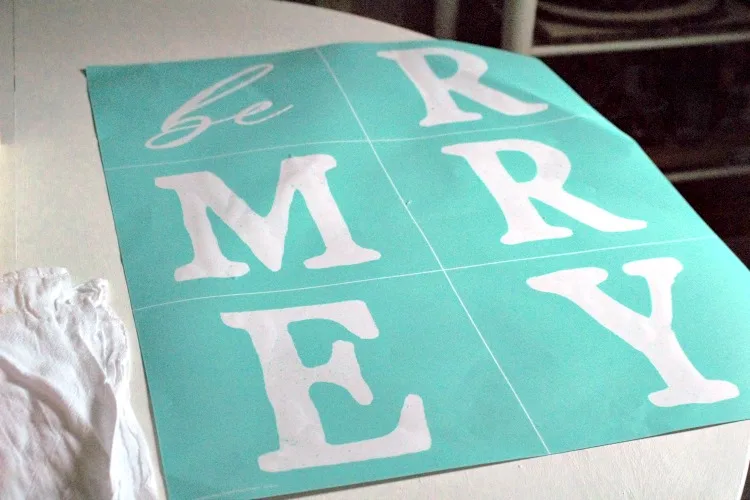
Step 4.
“Fuzz” the transfer before placing it on the wood sign.
If you have never used Chalk Couture, here is a printable which shows the four simple steps for applying a transfer:


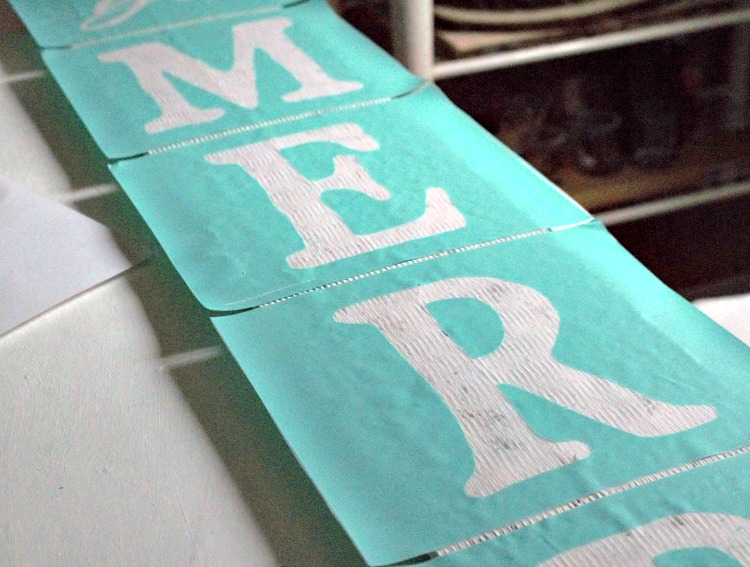

Step 5.
Use the squeegee to apply the red chalk paste to the transfer.

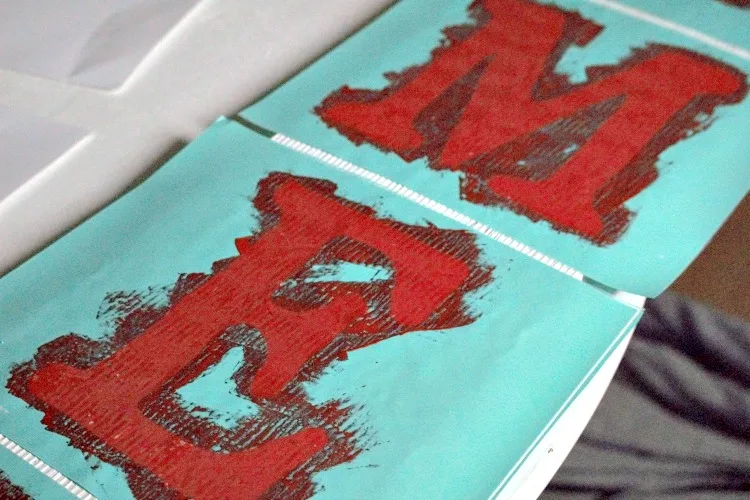
Step 6.
Remove the transfer and rinse them off with cold water.

WATCH THE VIDEO BELOW FOR THE EASY DIY
BE MERRY CHRISTMAS WOOD SIGN
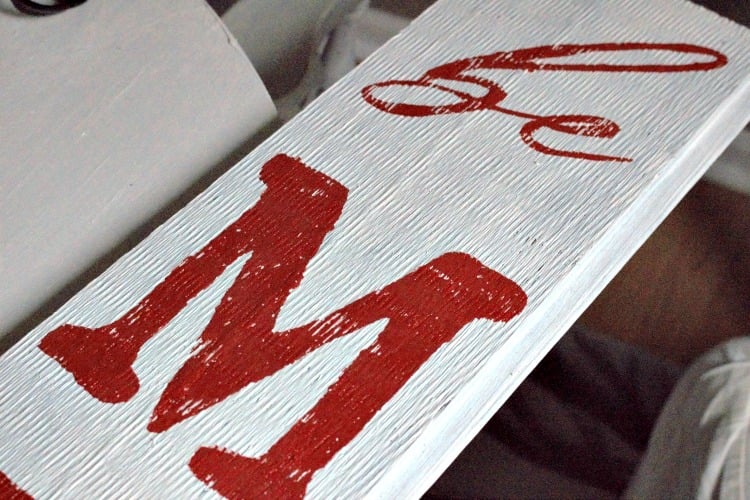
You can go back and touch up the letters if you like, but I had planned on sanding it anyway, so I left it as is.
I do plan to go back and seal it to protect it from the elements.
You can use wax or clear acrylic sealer.
This easy-to-make wood Christmas sign is the perfect addition to my front porch!
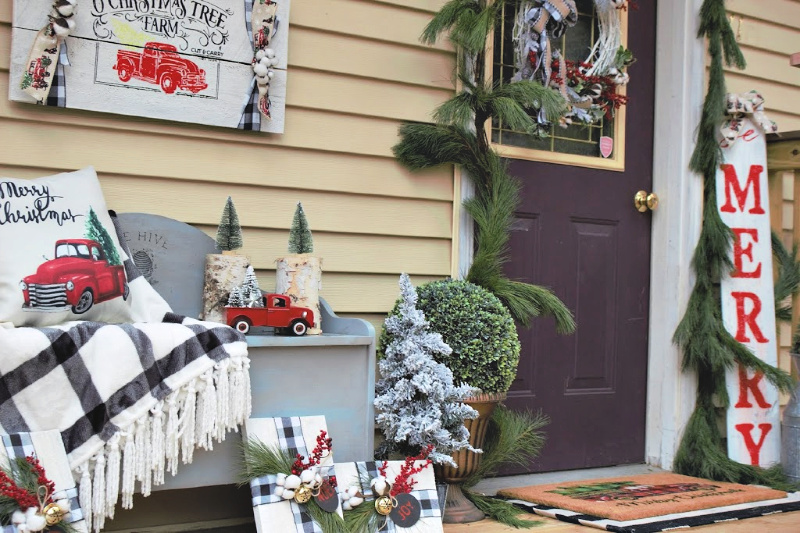

You can see the full reveal of the Christmas front porch HERE.
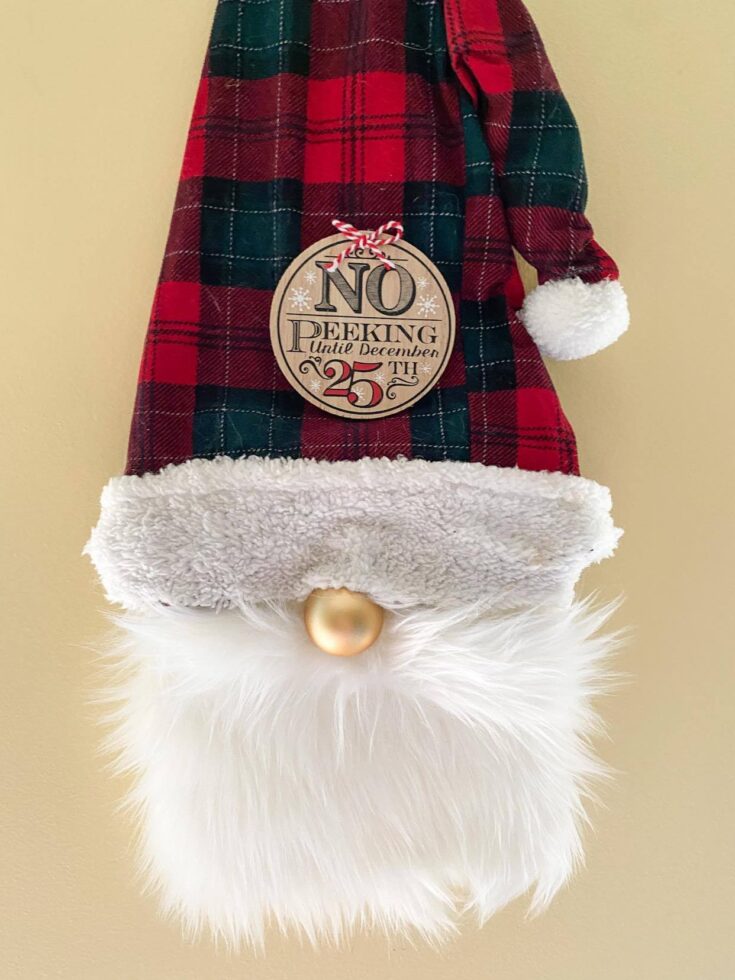
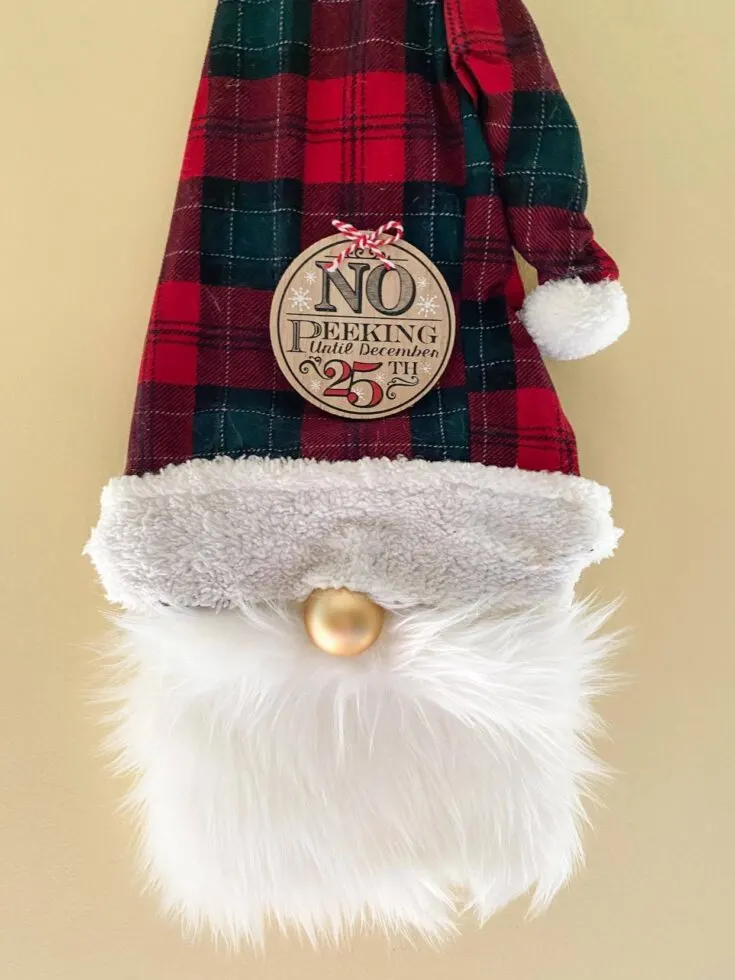
If you are a fan of red and white Christmas decor, you may like this Christmas gnome door hanger:
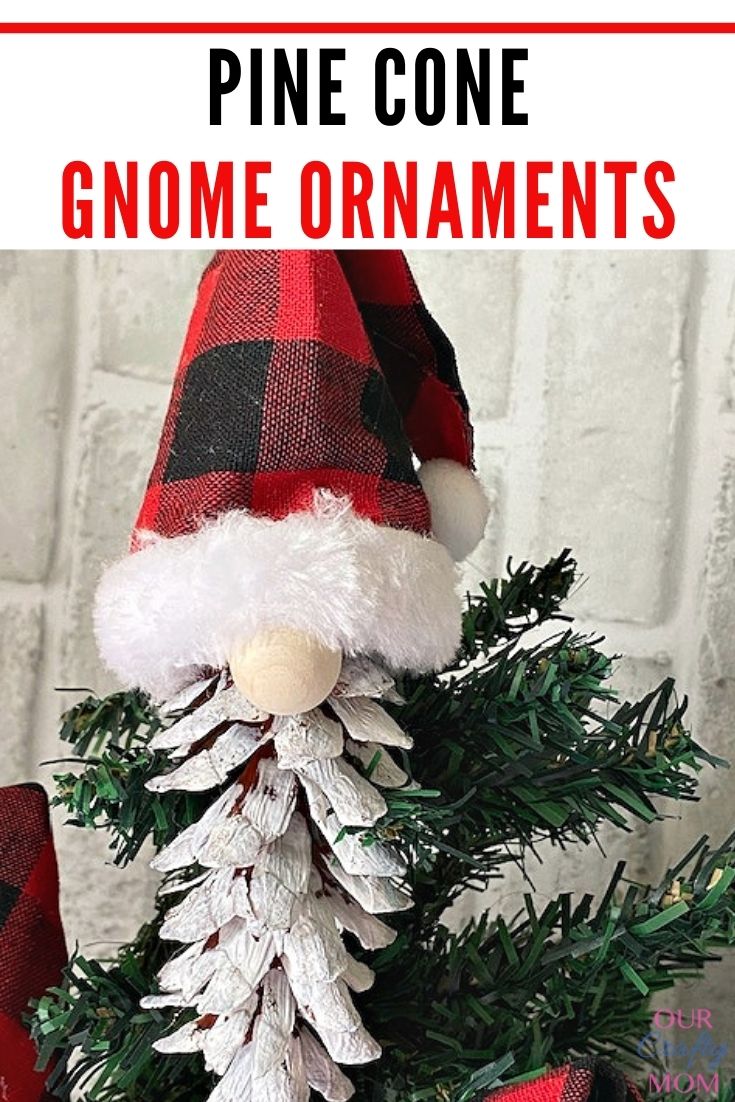
And these Pine Cone Gnome Ornaments:

Be sure to check out even more Christmas projects below:


You can also follow me on social media below:
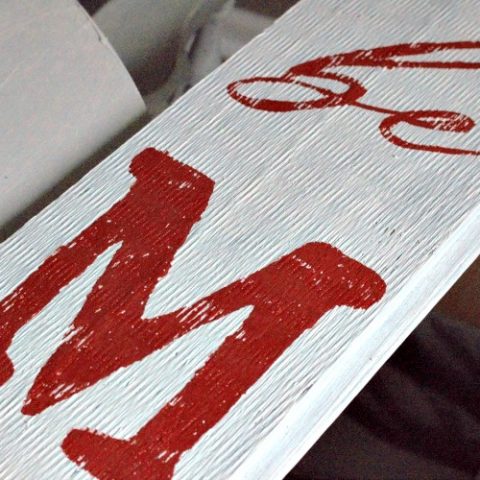

Be Merry DIY Christmas Wood Porch Sign Tutorial
Learn how to make a festive Christmas wood sign with this step-by-step tutorial.
Materials
- Wood Board
- Deco Art Americana Chalky Finish Paint
- Be Merry Reusable Stencil
- Chalk Paste Red
- Chalk Paste Squeegee
Tools
- Paint Brush
Instructions
- Sand down the board and remove any rough spots.
- Paint the board with white paint. Let dry.
- Cut the Be Merry transfer to place on the wood sign.
- Use the squeegee to apply the red chalk paste to the transfer.
- Remove the transfer and rinse them off with cold water.
- Touch up the letters if desired.
Recommended Products
As an Amazon Associate and member of other affiliate programs, I earn from qualifying purchases.
-

 Umytransfer Pack of 10 Mini Squeegees - Screen Printing Tools for Applying Transfer Paste or Ink - Self-Adhesive Screen Stencil Printing Chalk Based Paint Squeegees Turquoise
 -
 JAJADO Chalk Paste Ink Silk Screen Stencils Paste, Christmas Red Screen Printing Stencil Paint, Chalk Paint for Painting on Wood, Furniture Transfers, Chalkboard, Home Decor Chalk Art Paste Supplies
 -
 Barn Star Be Merry Christmas Porch Sign Stencil Kit, Reusable, Paint Your Own Wood Sign
 -
 Americana Décor Acrylic Chalky Finish Paint: Everlasting White, 8 oz
The Best DIY Christmas Décor Projects ~ Southern Yankee DIY
Sunday 16th of February 2020
[…] The front porch got some lovin from Our Crafty Mom […]
Use Scrap Wood For These Easy Christmas Present Crafts
Sunday 24th of November 2019
[…] Week 3 – Christmas Wood Porch Sign […]
Meegan
Thursday 21st of November 2019
I really like your tutorial, Michelle. I haven't tried Chalk Couture. But I am excited to try after seeing your tutorial.
Katrin
Tuesday 19th of November 2019
My porch needs this sign!! Love it!!
Christine
Tuesday 19th of November 2019
I love the porch sign! I need to make one for my front porch! Such a great step by step tutorial!