Create a unique book vase with this easy book page folding tutorial. Learn how to upcycle an old book into DIY home decor with vintage charm.

This post contains affiliate links at no extra cost to you. Please see my full disclosure here.
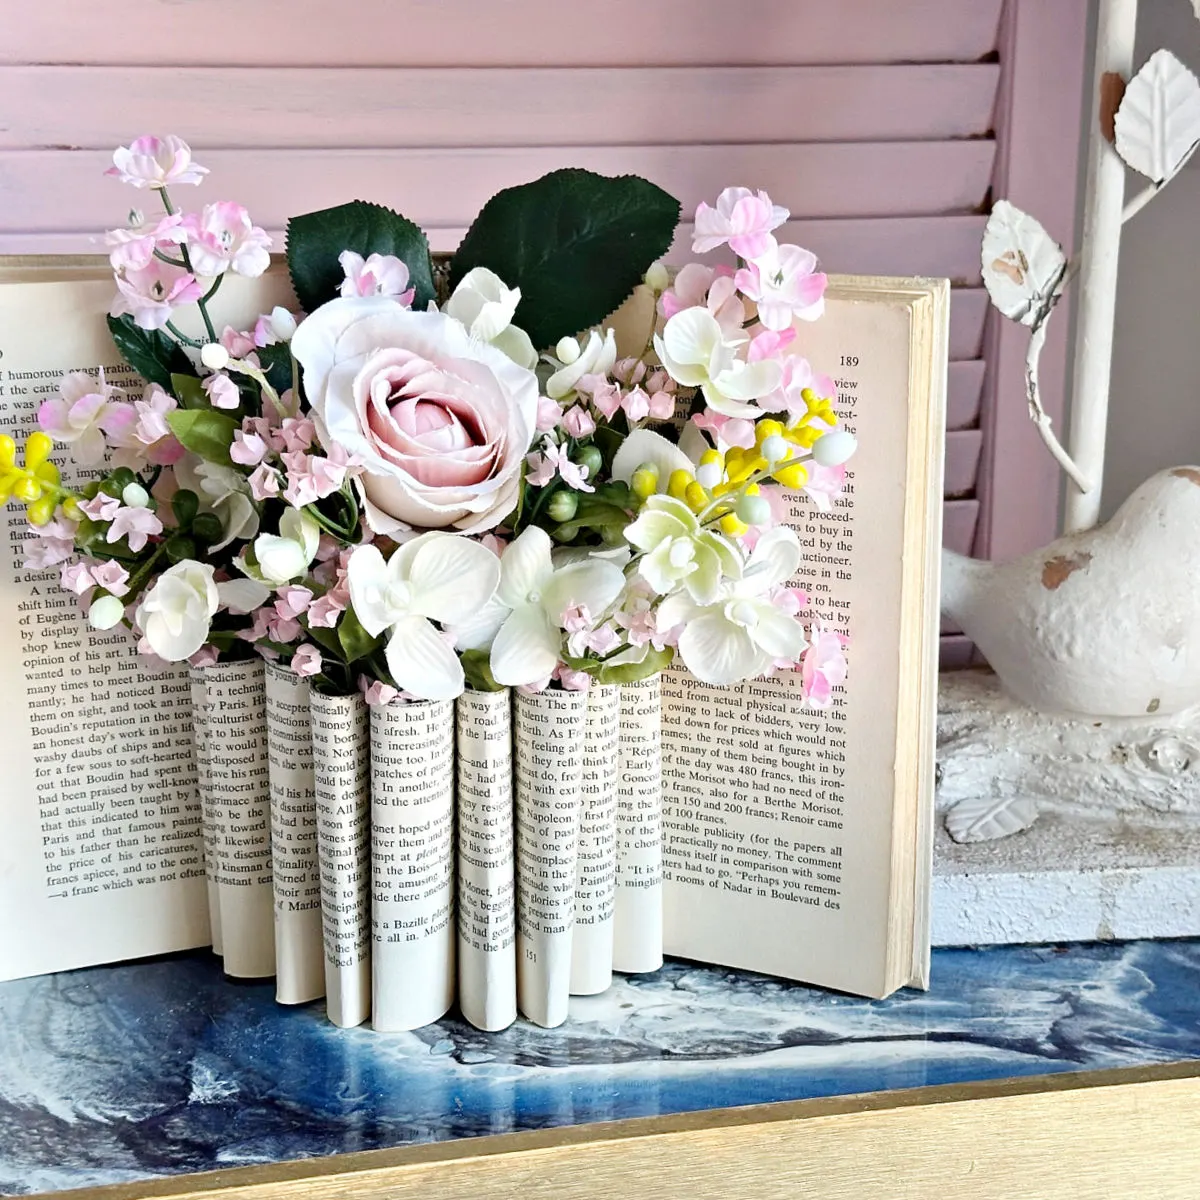
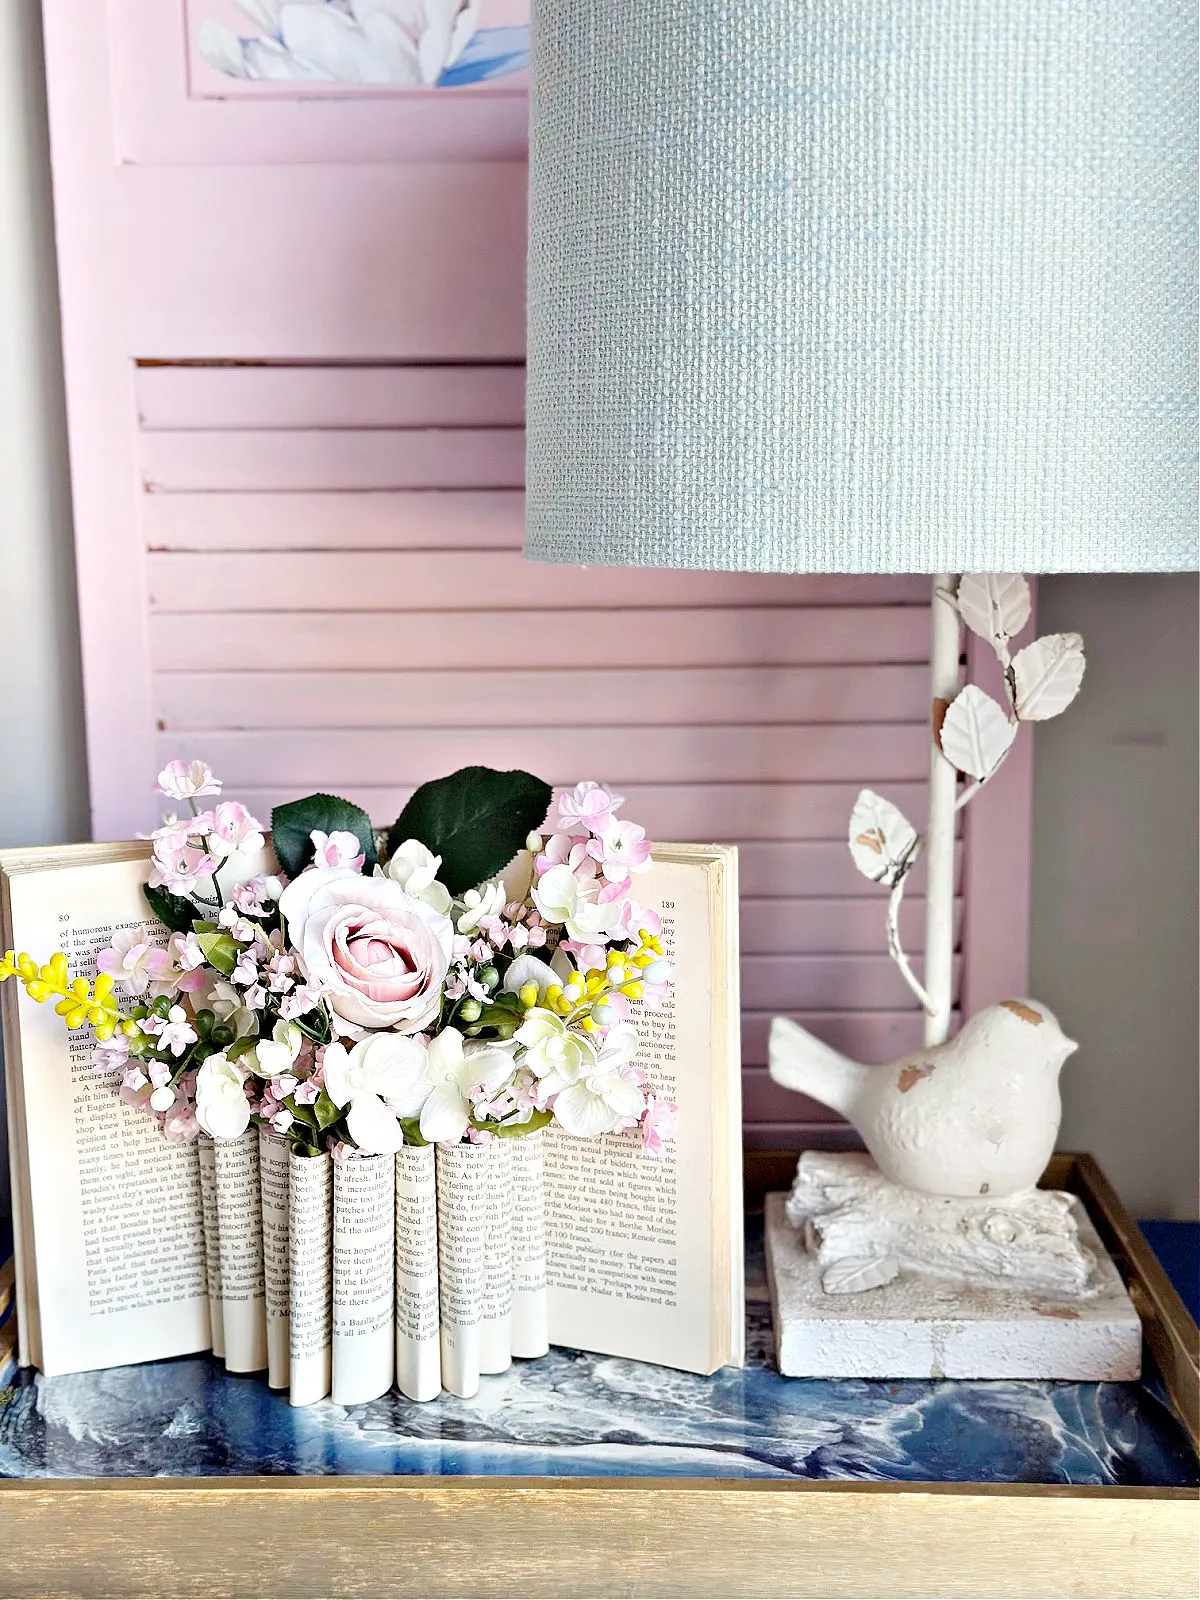
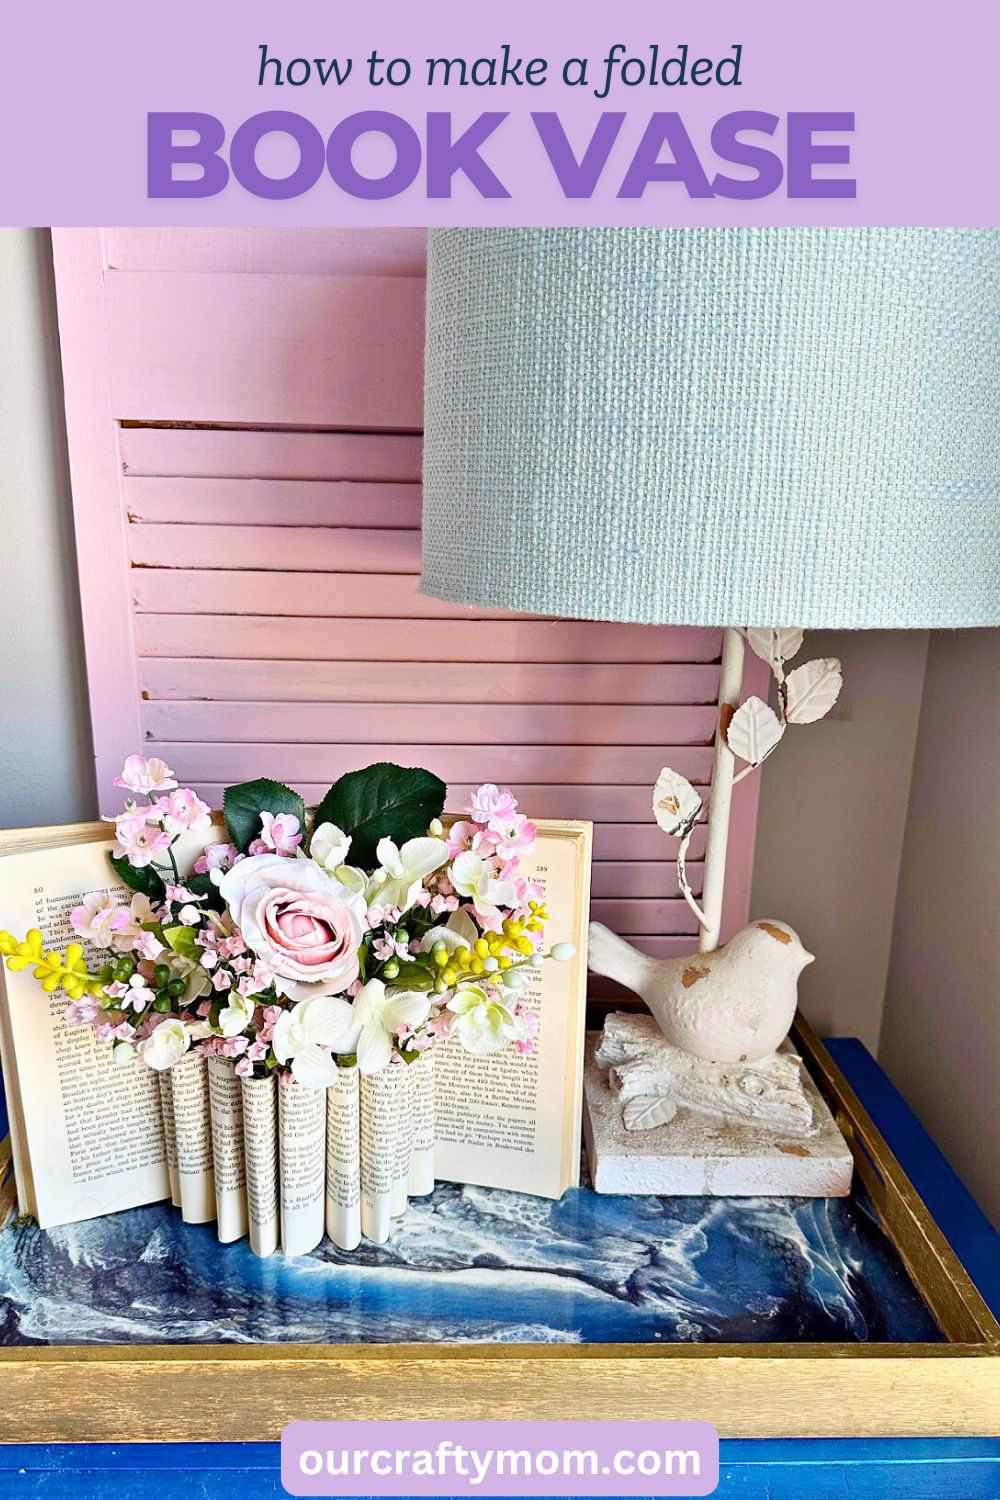
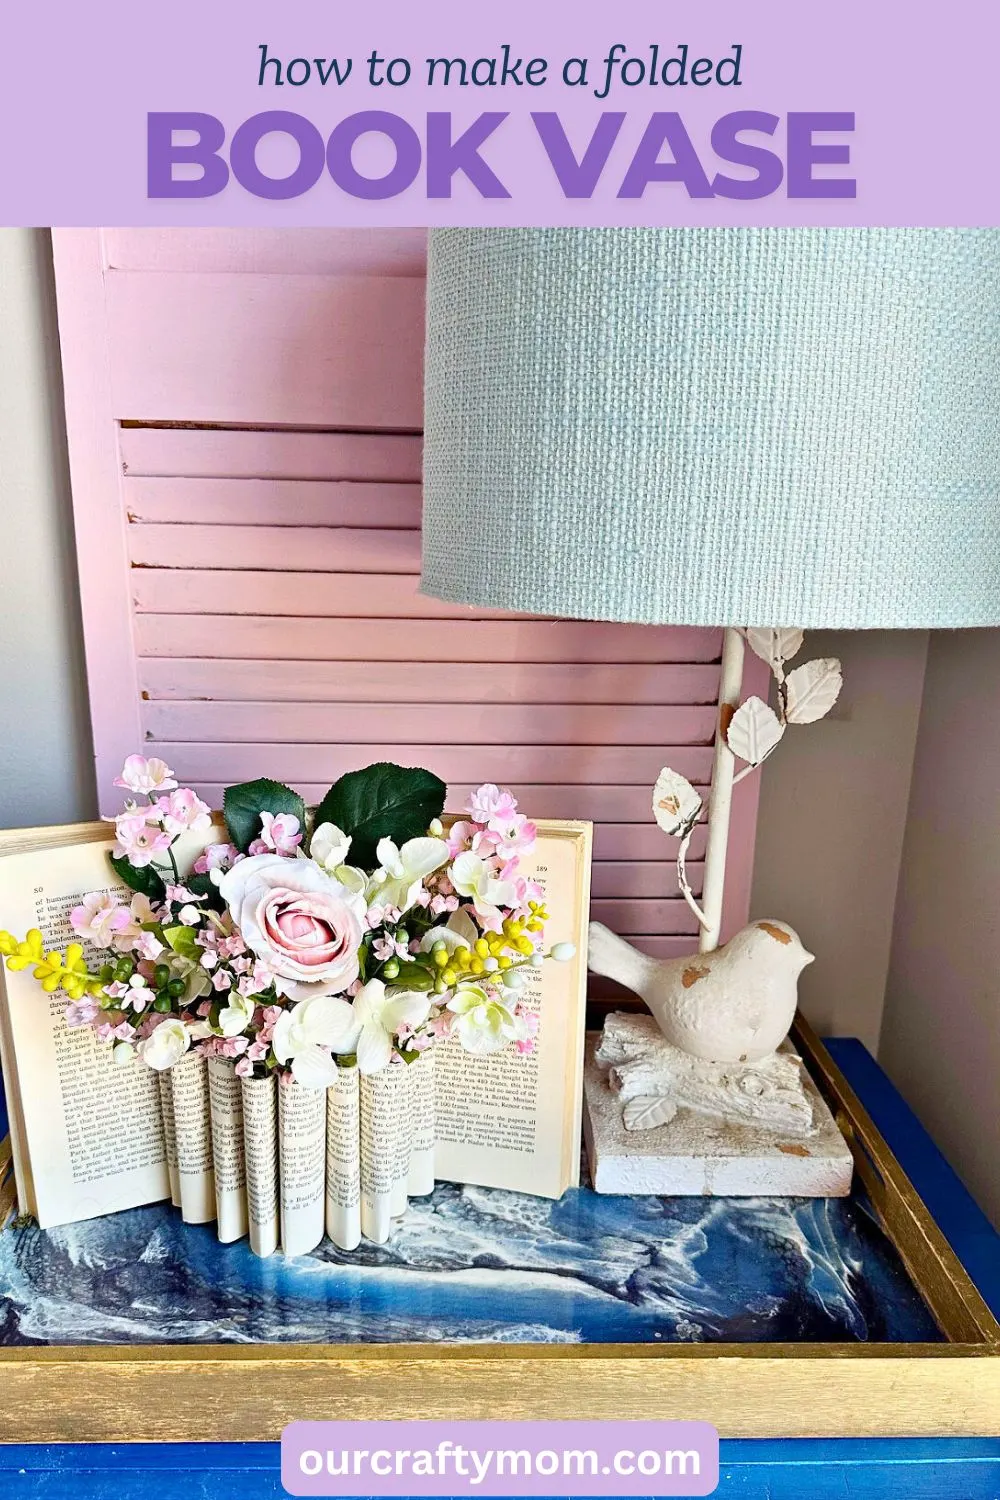
DIY Folded Book Vase
All you need is an old hard cover book and a craft knife to create a unique folded book vase. Add your favorite flowers for a beautiful centerpiece that brings that wow factor.
This is a beginner-friendly craft that can be completed in under 30 minutes! I’ll show you how to make your own with a step-by-step tutorial.
There is a printable craft card at the bottom of this post to make it even easier!
Supplies
- Hardcover Book – check out thrift stores, yard sales, flea markets or even your basement.
- Craft Knife or X-Acto Knife – I love my Cricut craft knife.
- Double-Sided Tape Roller
- Faux Flowers – be sure to check out seasonal flowers on clearance at Hobby Lobby or Michael’s. You can also check the dollar store.
You may also like this folded book art tutorial and this book page wreath.
Easy Tips for Folded Book Vase Craft
1. Select a book
The first thing you want to do is choose a hardcover book with about 300 pages that is 9-12″ tall.
You can also look for a book cover that is the color you like. But, if it’s not-no worries! I’ll share a quick fix for that in the steps below.


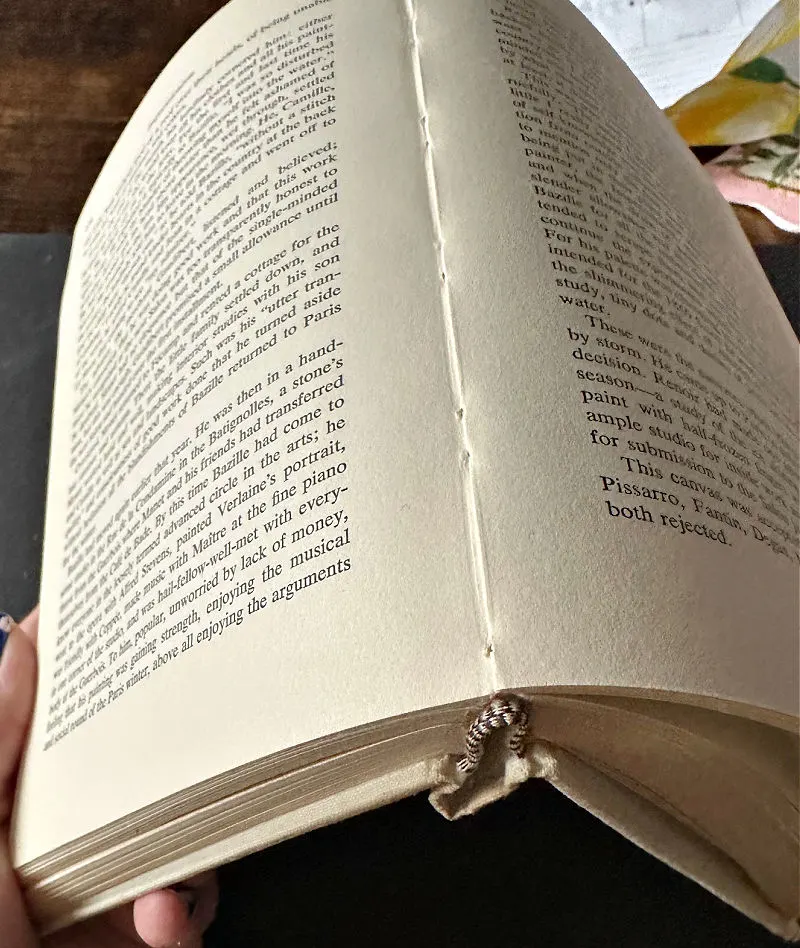
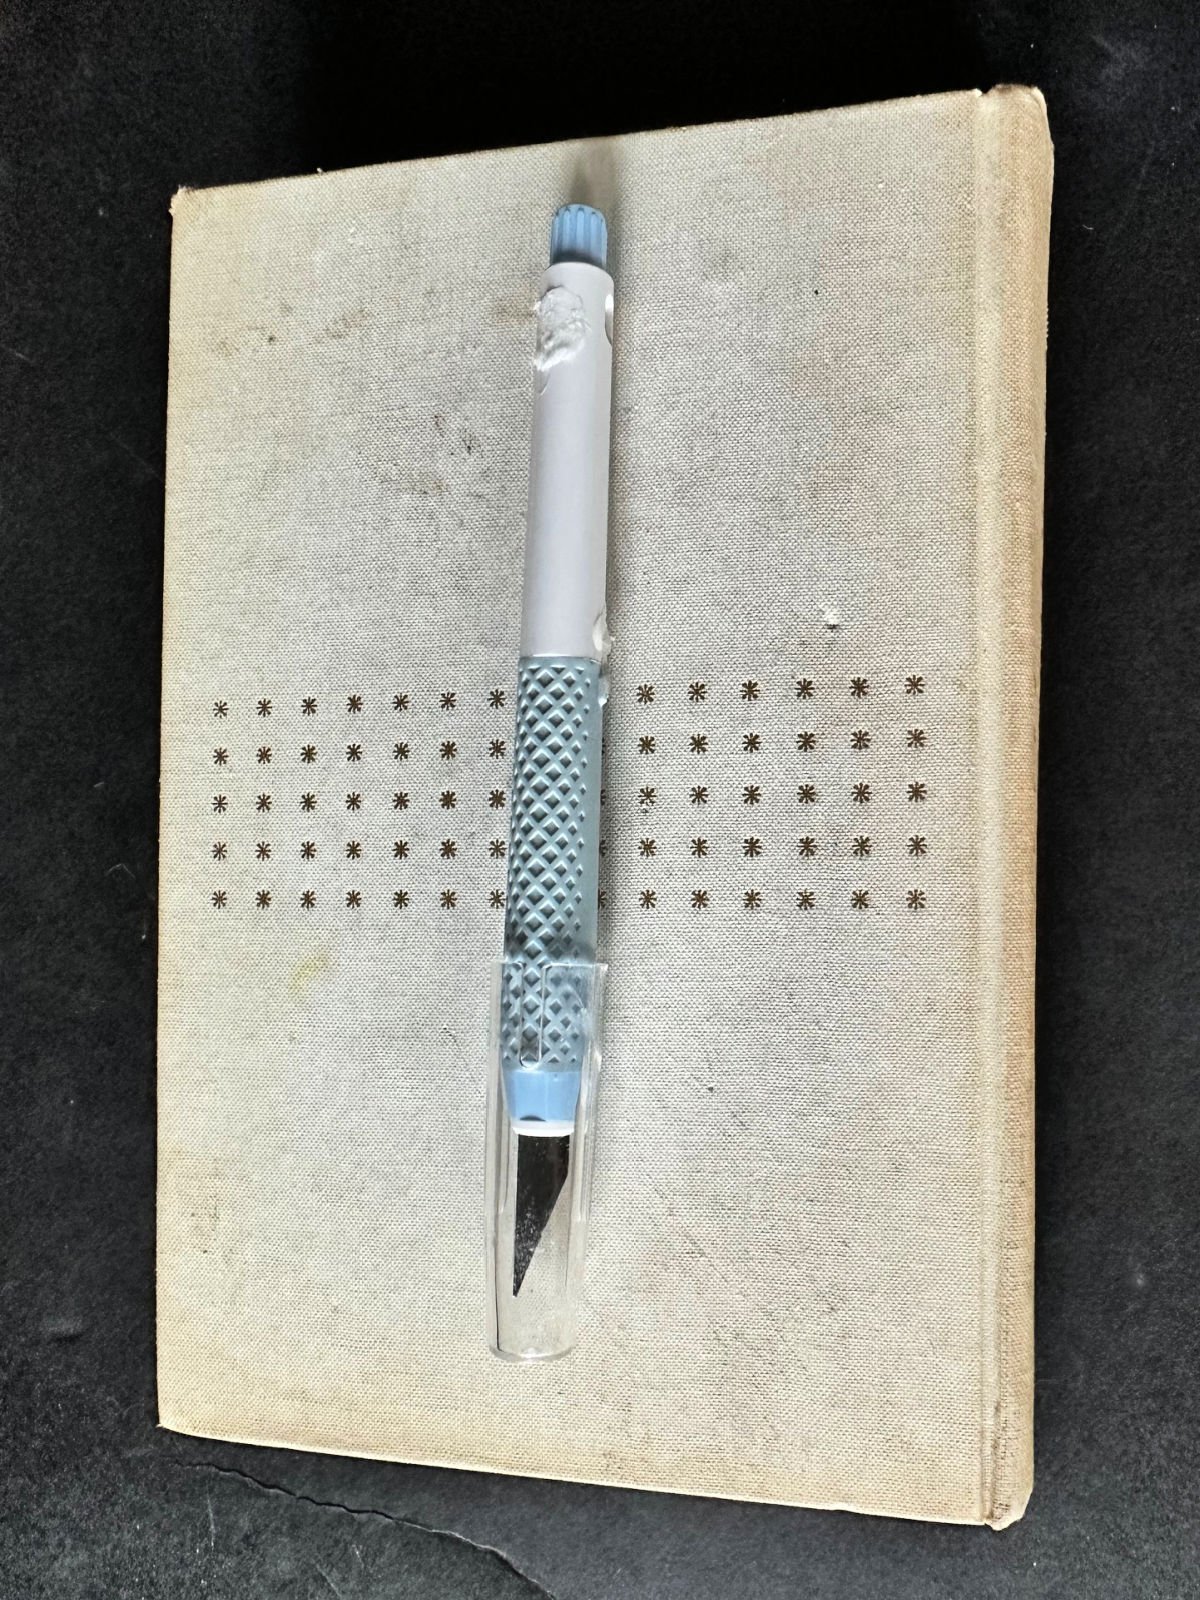
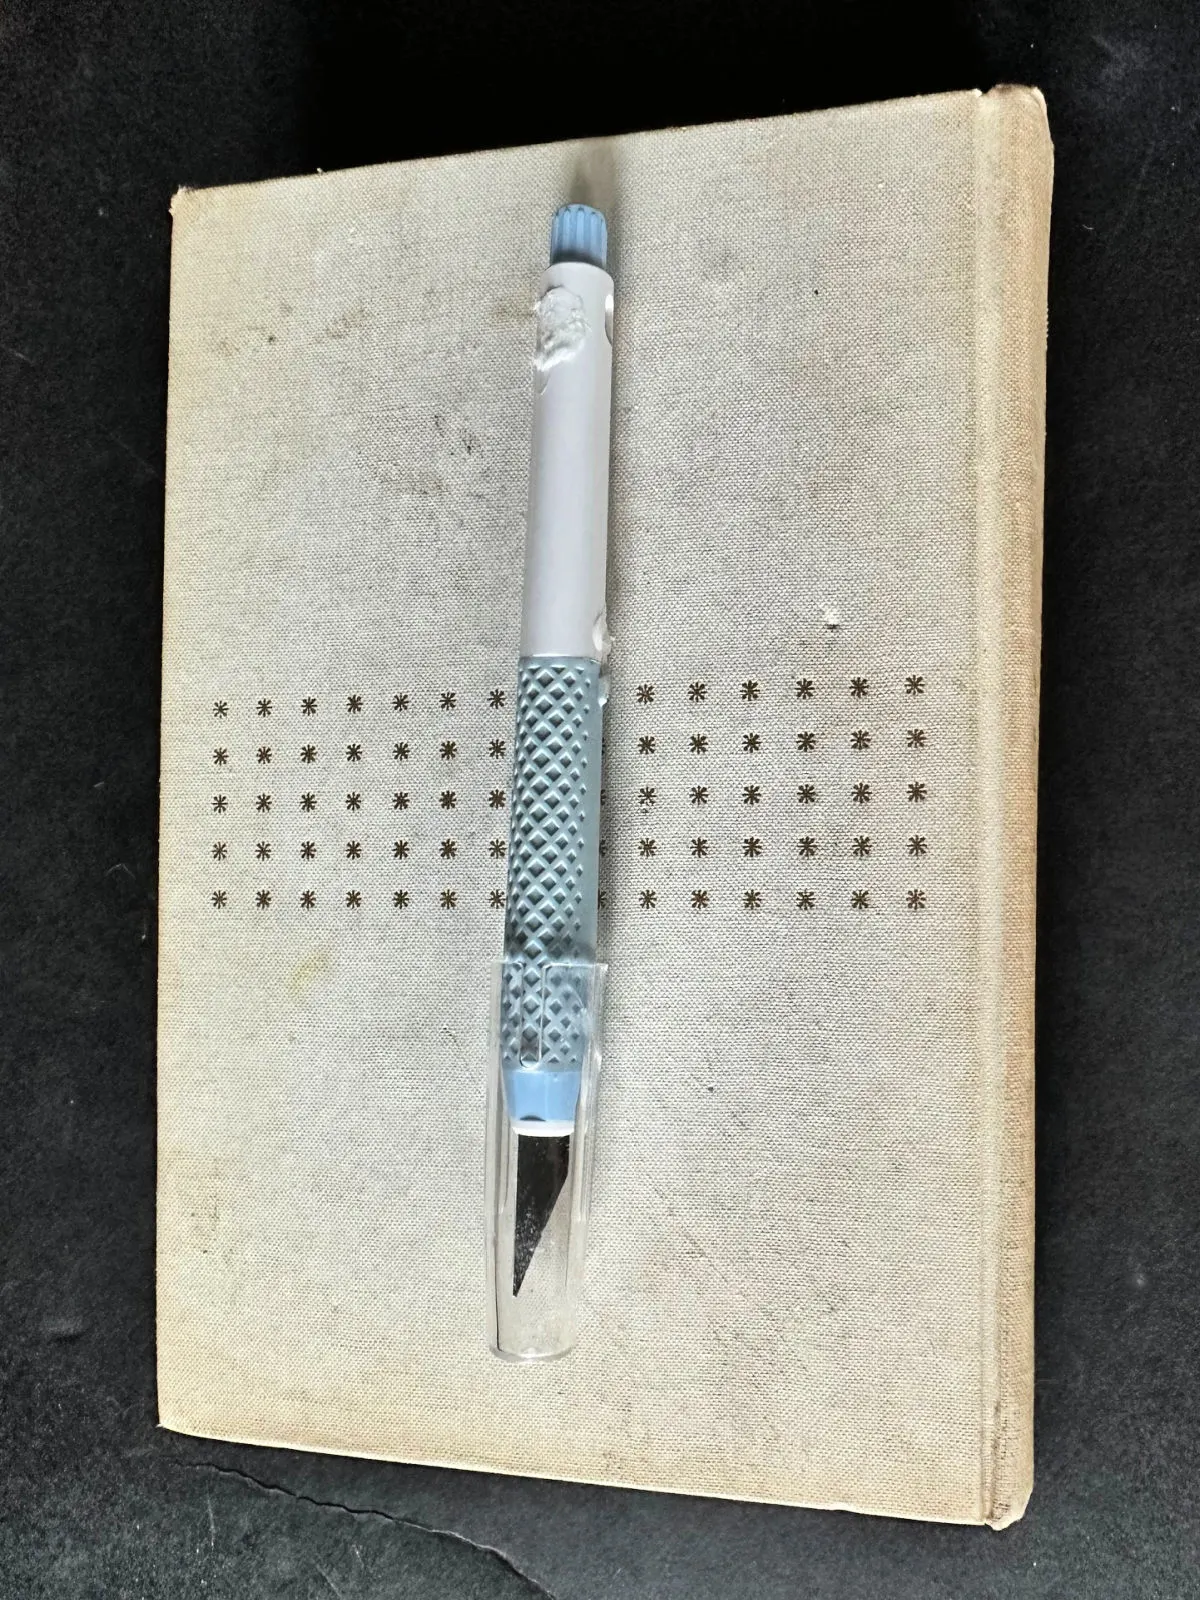
2. Find the center of the book
Go to the middle of the book and open it extra-wide to break the spine. This will make it easier to remain open once the pages are folded.
Mark 50 numbered pages from the center of the book to the end of the book and 50 numbered pages to the beginning of the book.
For example, if your book has 300 numbered pages the center will be number 150. You want to mark numbers 100-200 as the pages that will be folded for your vase. This will actually be 50 book pages.
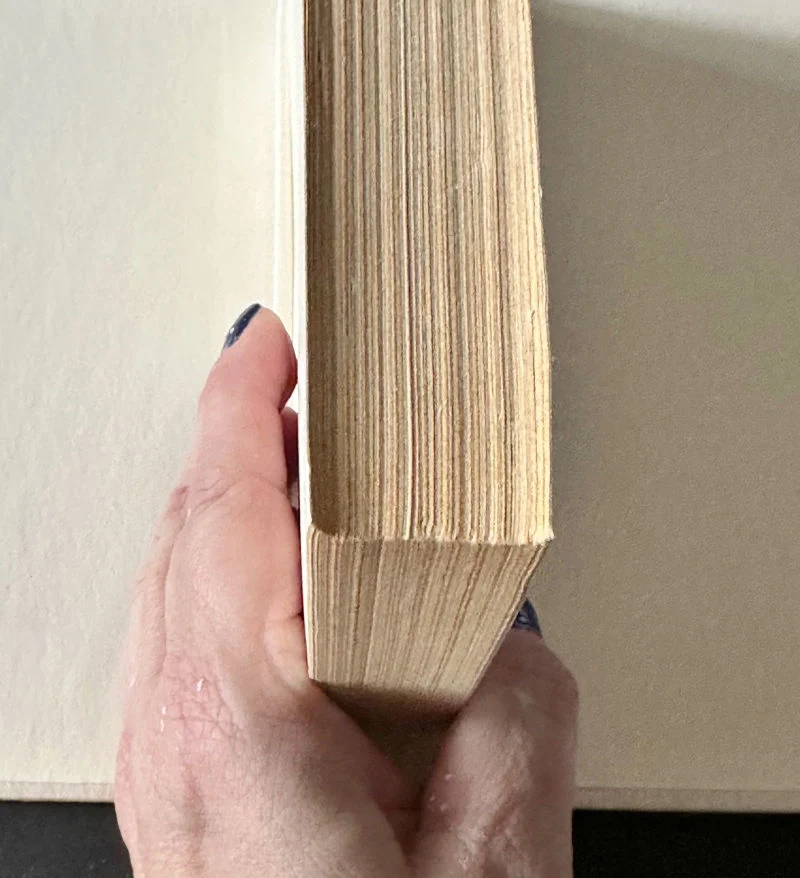
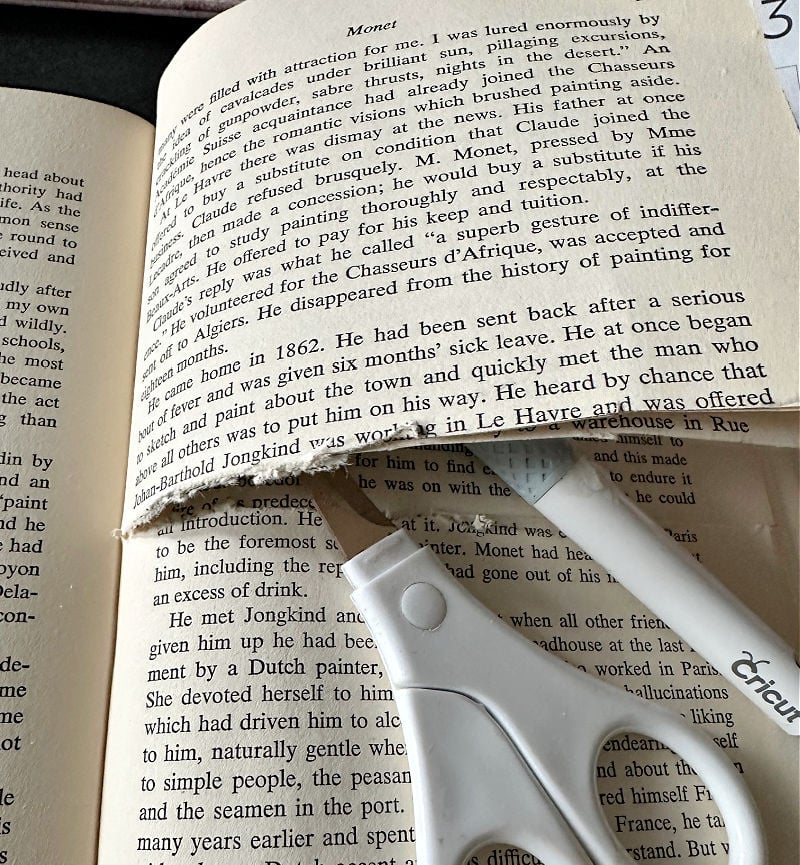
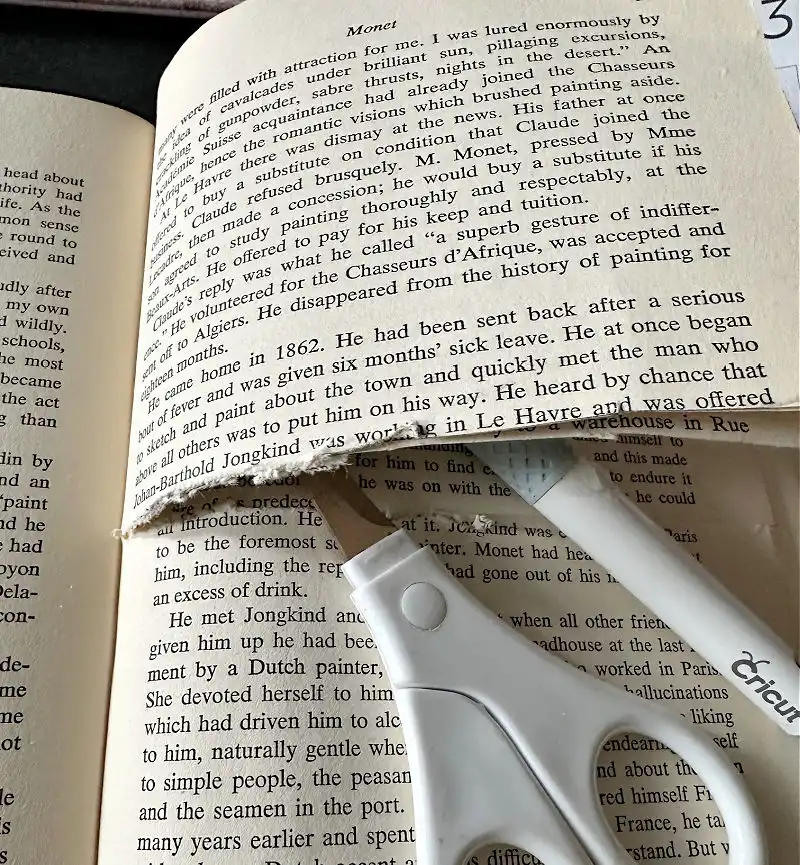
3. Cut the center pages in half
Find the halfway mark of the pages and use your craft knife or scissors to cut the top half of the pages. You should be able to cut through several pages at a time to make it faster.
Don’t worry if your pages are not perfectly cut. You won’t see that once the flowers are added. But, if you want everything to be straight you can use a ruler.
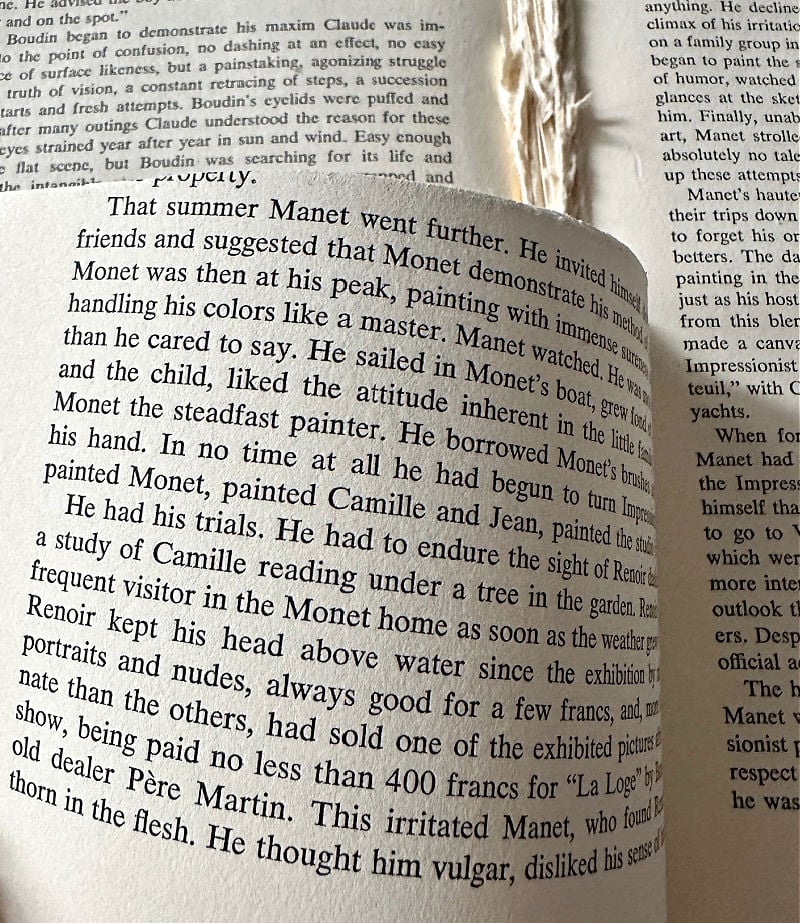
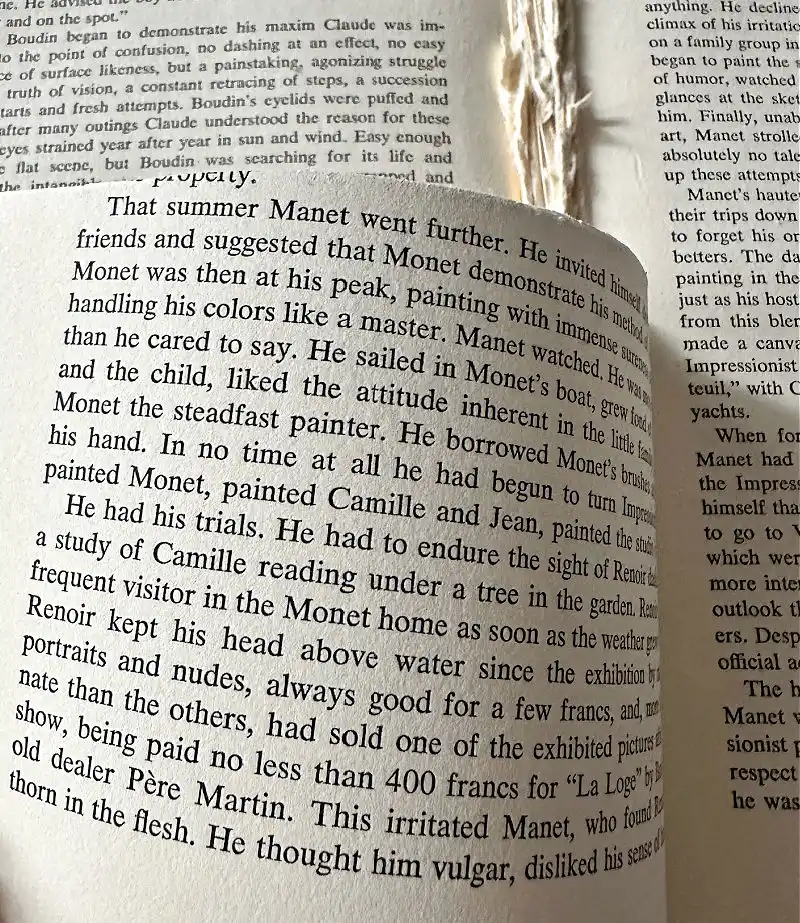
Finish cutting all 50 pages and set them aside. You can use them for more book page crafts.
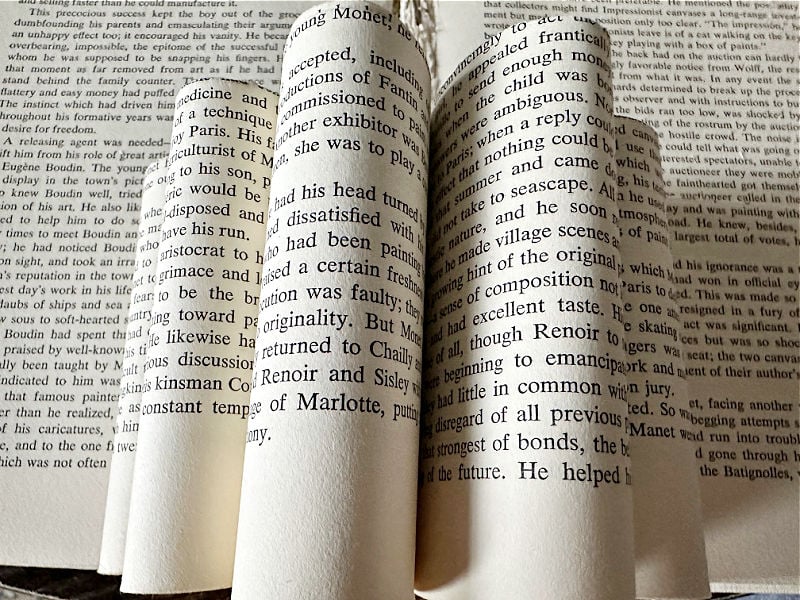
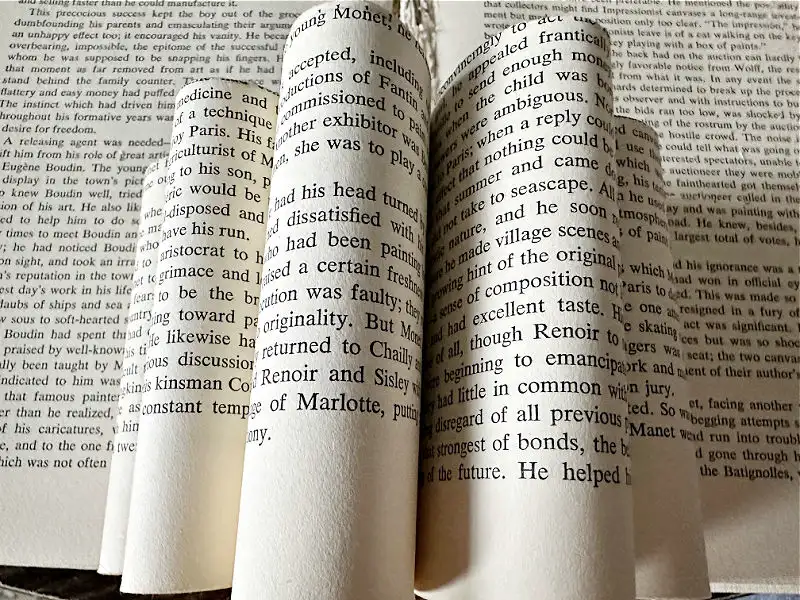
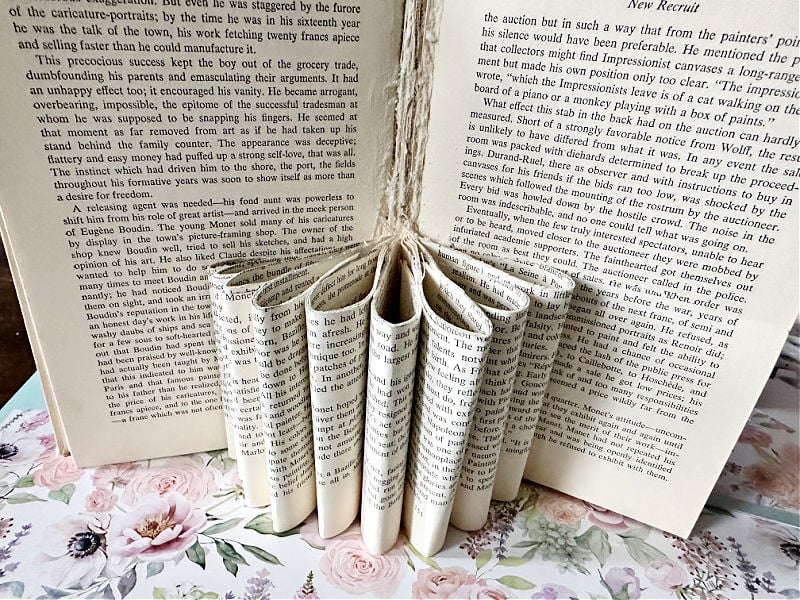
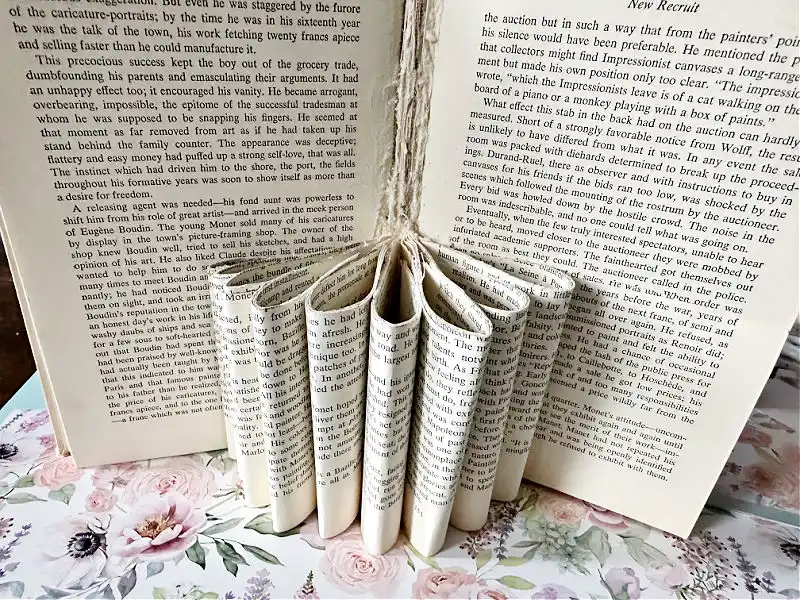
4. Fold book pages
Begin folding 5 pages at a time to the center of the book spine. There will be 10 folds total of 5 pages each. The good news is you don’t even need any adhesive.
Once you have a couple of folds the pages will stay rolled. However, you can use a bit of adhesive on the corner of each section if you want.
5. Add faux flowers
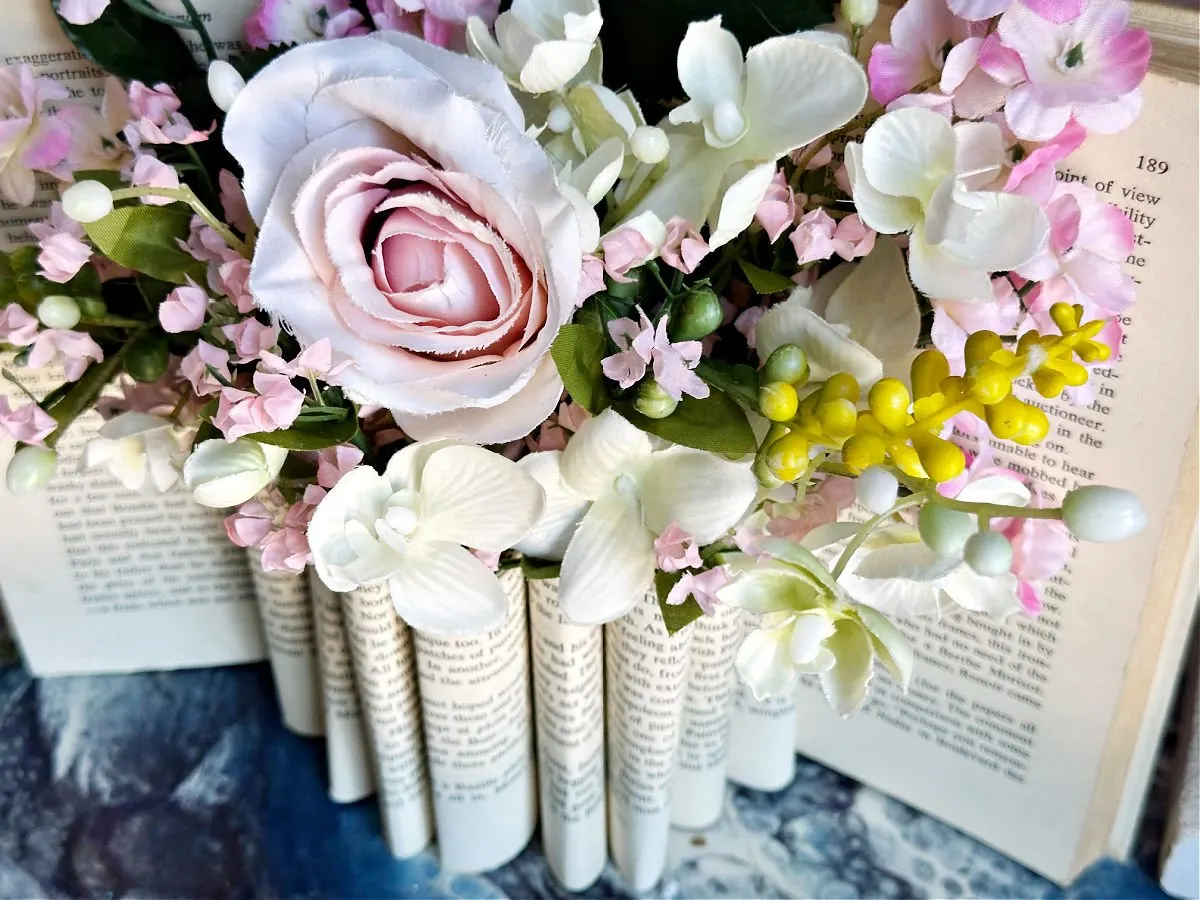
Now for the fun part; adding your faux flowers! This is where you can get really creative and mix and match greenery with flowers in different styles.
I chose to go with pretty pink and white flowers for my bedroom. These were leftover from my empty can wall planters.

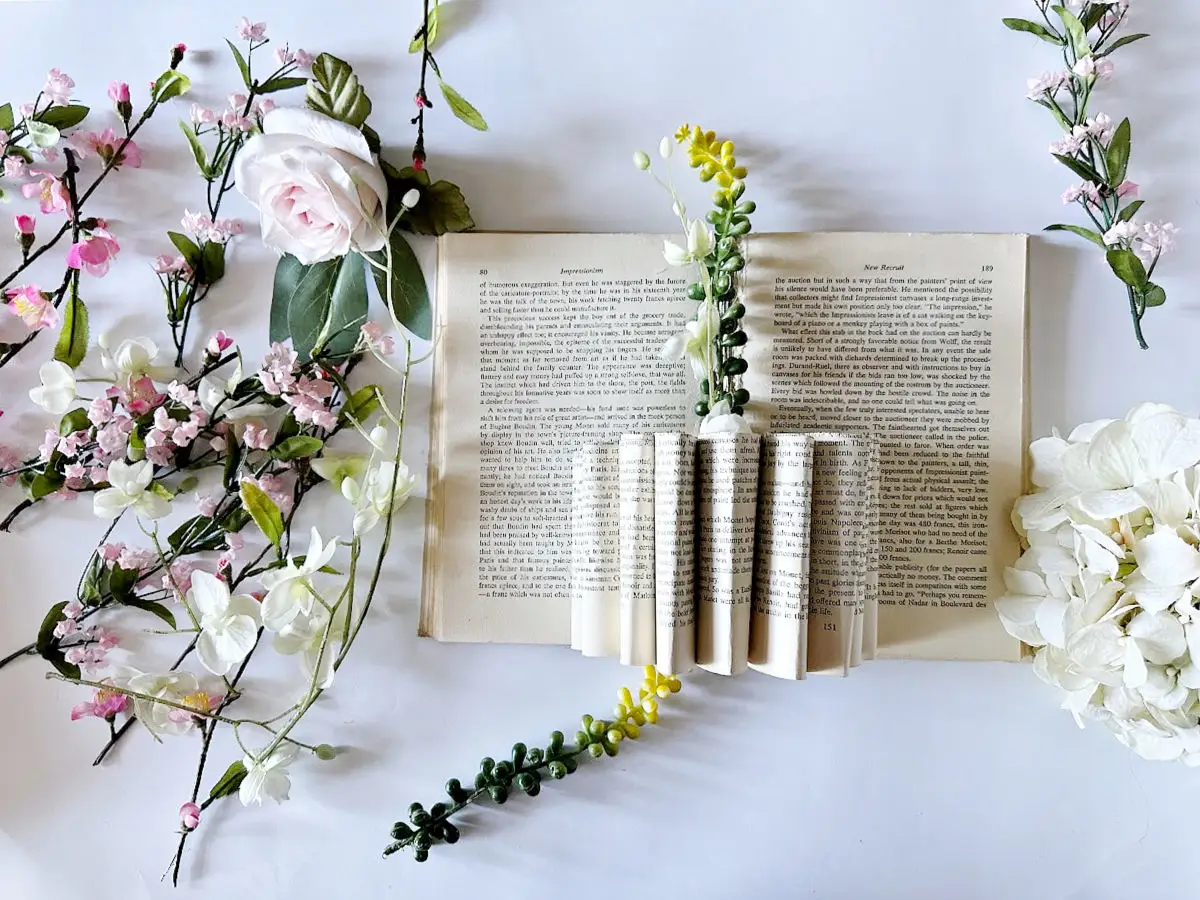
Start with tall flowers first to cover up the center of the book spine. Simply place them into the rolled pages of your vase. Trim the length of each flowers as needed.
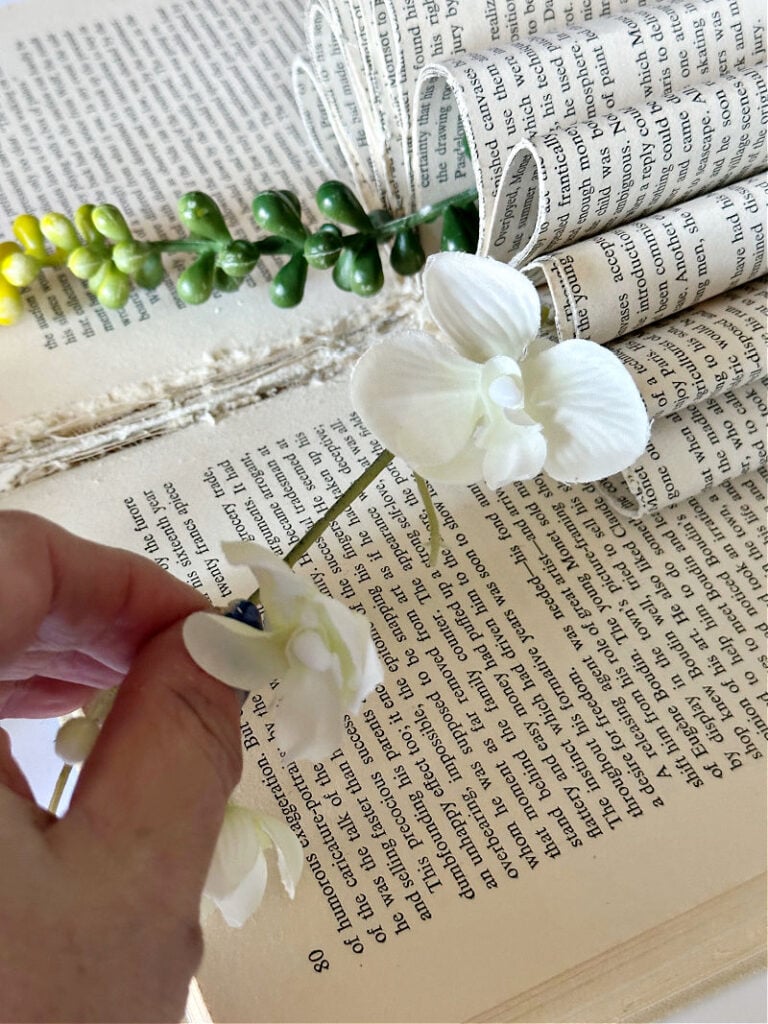
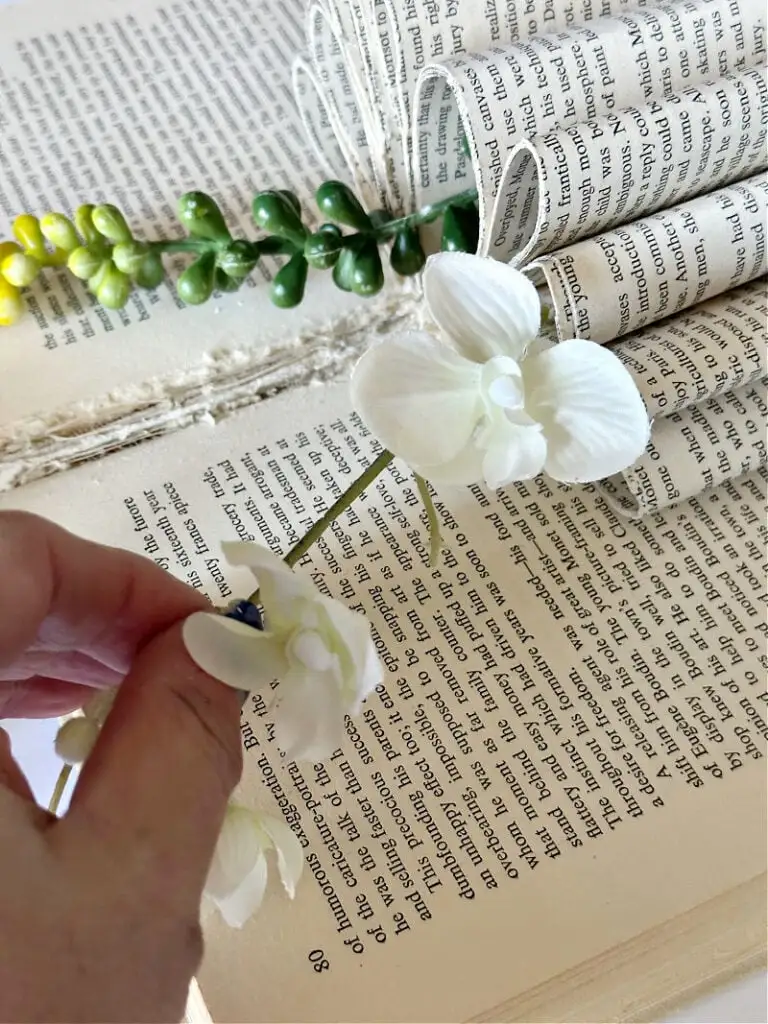

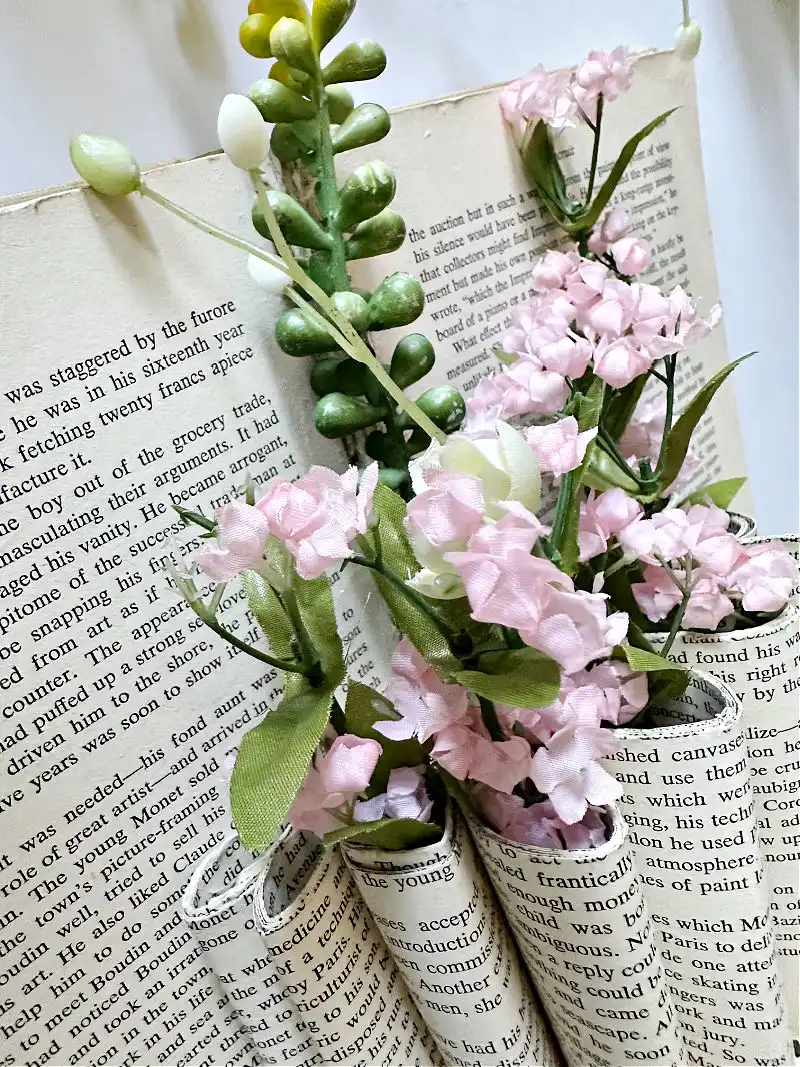
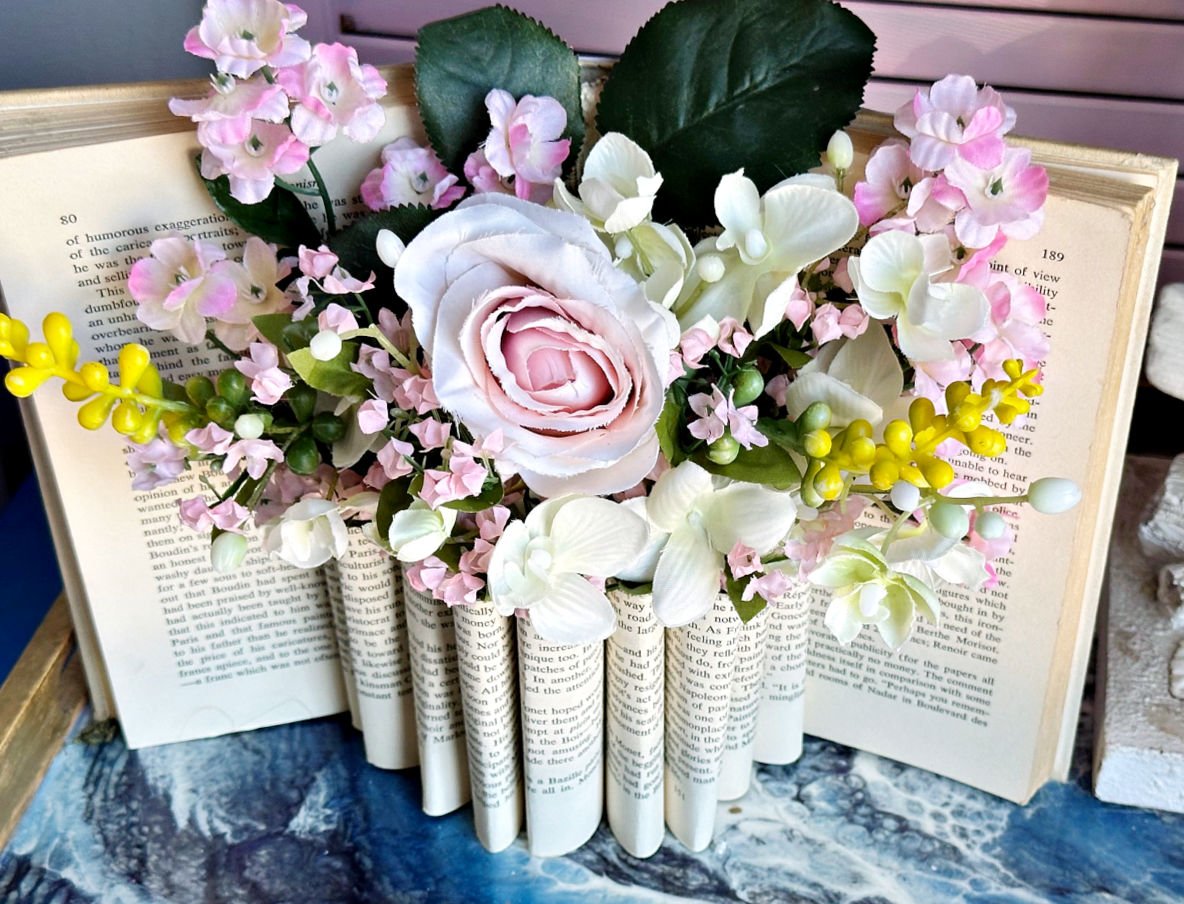
Continue adding flowers until you are happy with the placement. Look at how pretty!

Now, you can stop here or continue to the next step to decorate the book cover.

6. Decorate the book cover
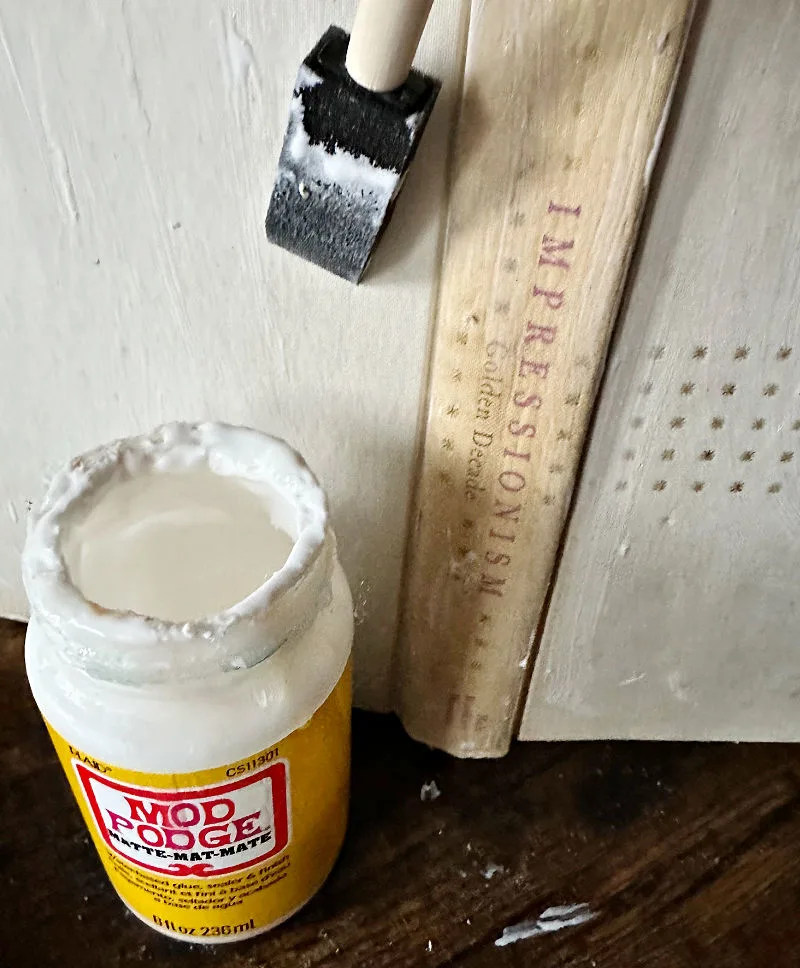
If you want to take your DIY book vase to the next level, decoupage the book cover with pretty paper and mod podge.
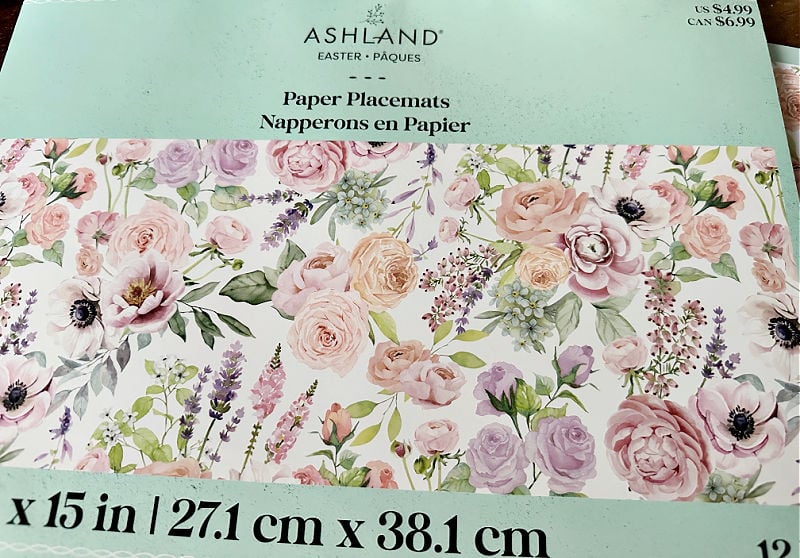
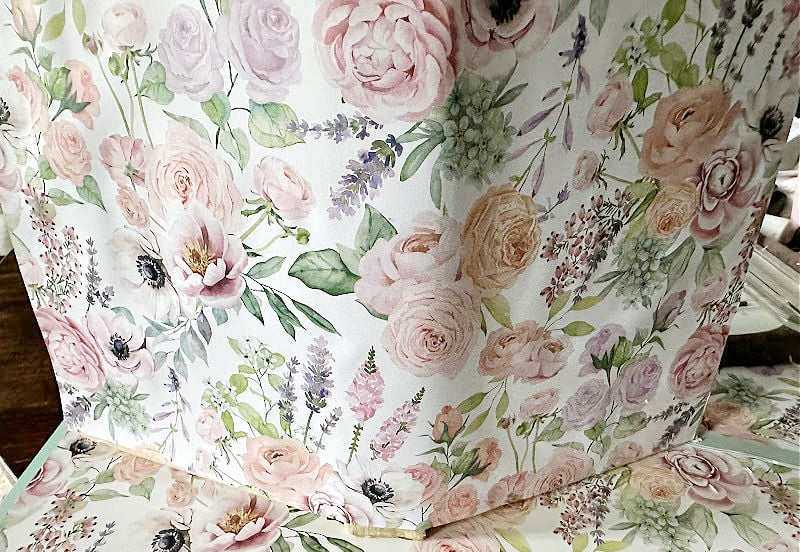
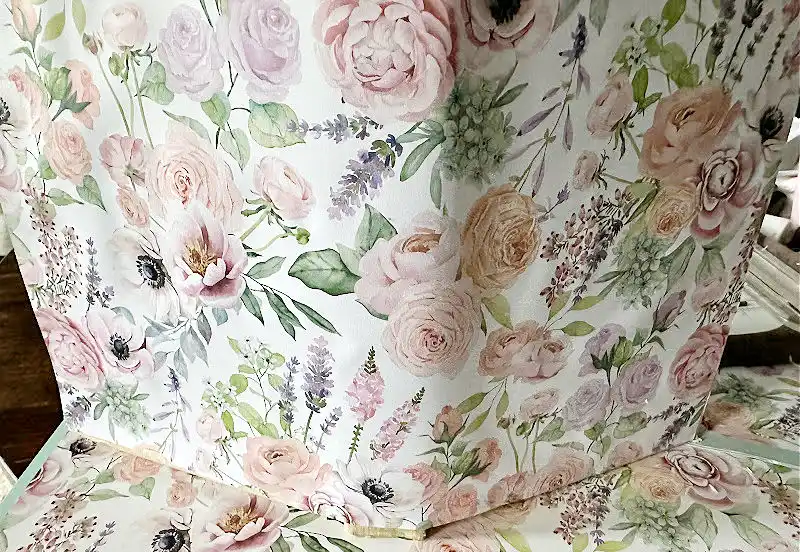
I used lovely floral paper placemats that I picked up on clearance at Michael’s. But, you can use napkins, wrapping paper, tissue paper or decorative cardstock.


Check out my gallery of decoupage crafts for tons of inspiration!
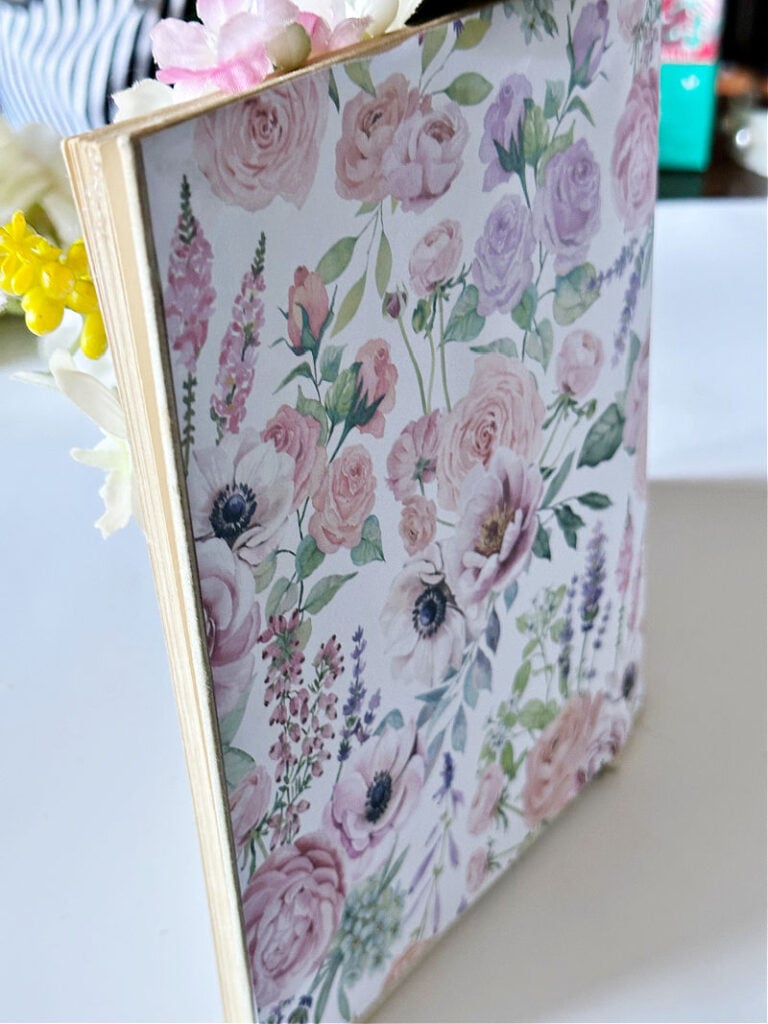
Simply add a light coat of mod podge to the book cover and cut your paper to size. Secure it to the book and smooth out any wrinkles.
This really adds a finishing touch and allows it to be displayed anywhere!

There you have it! A beautiful, inexpensive home decor floral centerpiece that can be enjoyed for years to come!

This would make a wonderful gift for Mother’s Day, birthdays, or to display on a bookshelf or nightstand.
Because no hot glue was used, you can easily remove the flowers and change them out for different seasons and holidays.
Share this article with your friends on Pinterest by pinning the below image.
It helps my blog grow and doesn’t cost a thing! 🙂
Thanks so much for stopping by. Happy crafting!


Folded Book Vase
Materials
- Hardcover Book
- Faux Flowers
Tools
- Craft Knife or X-Acto Knife
- Double-Sided Tape Roller
Instructions
- Select a hardcover book with about 300 pages that is 9-12″ tall.
- Go to the middle of the book and open it extra-wide to break the spine.
- Mark 50 numbered pages from the center of the book to the end of the book and 50 numbered pages to the beginning of the book.
- Find the halfway mark of the pages and use your craft knife or scissors to cut the top half of the pages.
- Finish cutting all 50 pages and set them aside.
- Begin folding 5 pages at a time to the center of the book spine.
- There will be 10 folds total of 5 pages each.
- Add your faux flowers by placing tall flowers first to cover up the center of the book spine.
- Place them into the rolled pages of your vase. Trim as needed.
- Continue adding flowers until you are happy with the placement.
- Optional: decoupage the book cover with pretty paper and mod podge.
Recommended Products
As an Amazon Associate and member of other affiliate programs, I earn from qualifying purchases.


You may also like these home decorating and craft ideas:
- 19 DIY Pressed Flower Crafts
- 17 DIY Spring Centerpieces
- Old Window Decor Ideas
- Best Upcycled Wall Art Ideas
- Picture Light Hack No Hard Wiring
- 25 Spring Home Decorating Tours
- 17 DIY Painted Hutch Ideas
- 27 Outdoor Living Spaces
- Cozy Mid-Century Modern Living Room Ideas
- 75+ Easy Spring Crafts for Adults
Follow me on social media below:
Barb
Friday 13th of March 2026
I have made this project for myself - and intend to display it with my Easter/spring decor. Thanks you so much for sharing this. I love book/book page projects. I will be making these with residents aat our local assisted living facility - they will be able to do this easy craft themselves. Happy Easter to you and yours!
Michelle James
Monday 6th of April 2026
Thanks for taking the time to comment Barb. I apologize for not seeing this sooner. I love that you will be making this at your local assisted living facility. I have thought about volunteering now that spring is here. This would be a great craft to make. Also, I have 3 new book page projects coming up this spring, including a little bird house! Hope you had a nice Easter. Michelle
Dana
Wednesday 28th of May 2025
looking for the printable craft card
Michelle James
Sunday 1st of June 2025
I apologize for that. I updated the post and you can find it here: https://ourcraftymom.com/book-vase/#mv-creation-470-jtr