Create adorable DIY fabric carrots and a pom pom bunny garland to add sweet Easter charm to your spring mantel and home decor.
This post contains affiliate links. If you shop the links in this post there is no additional cost to you, but I may earn a small commission. Please see my full disclosure here.
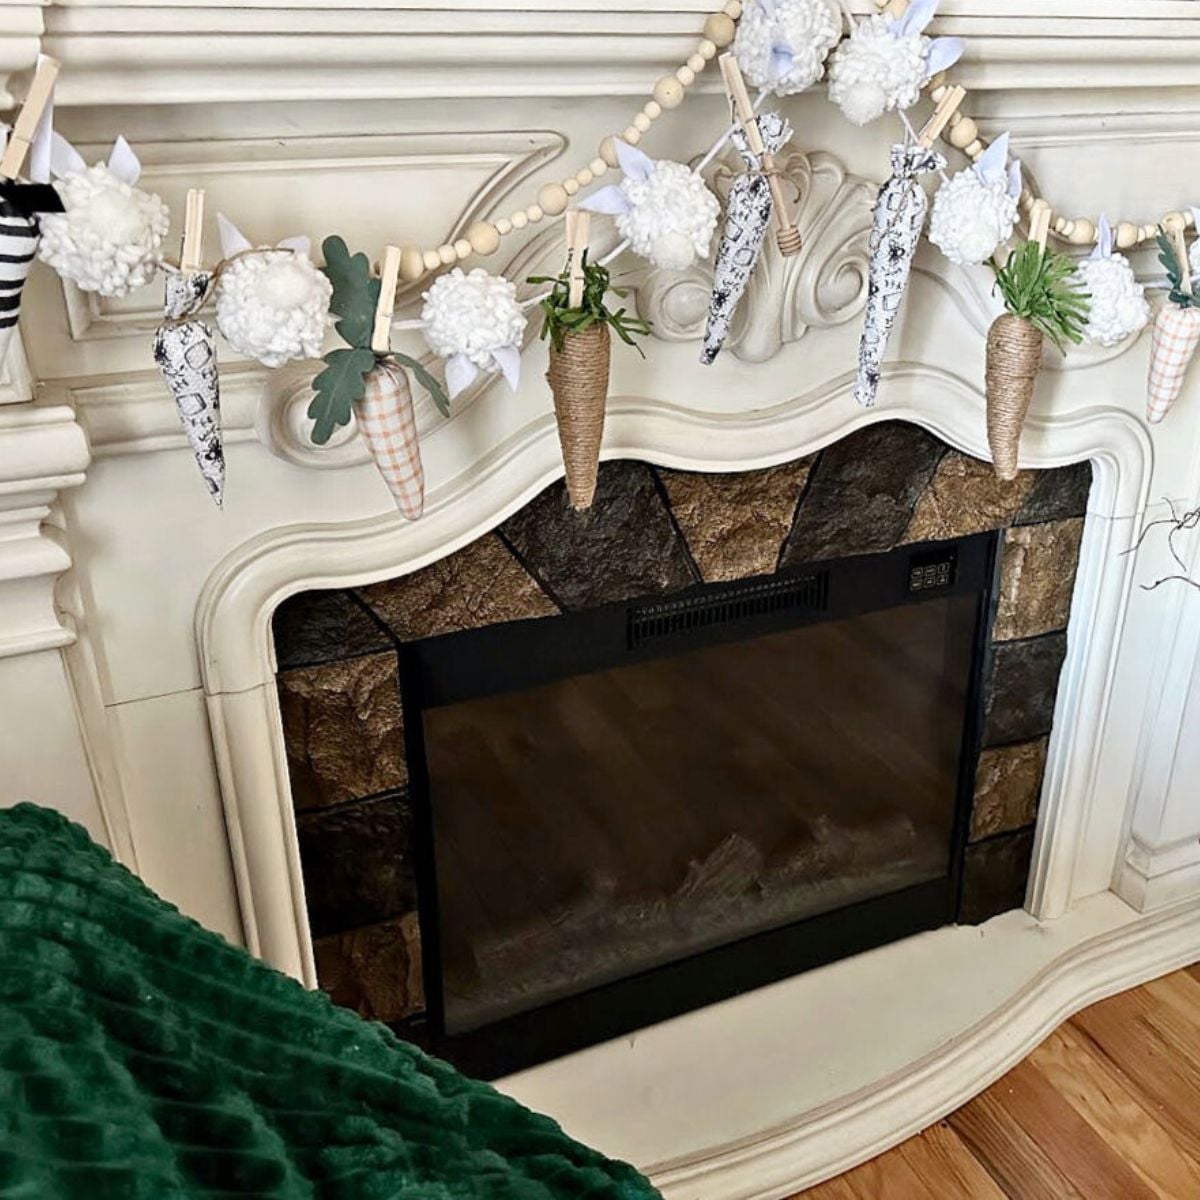
Bunny Garland
The spring decorating and crafting continues indoors! For every holiday and season, I challenge myself to create on a budget using items I already have in my craft stash or shopping frugally when needed.
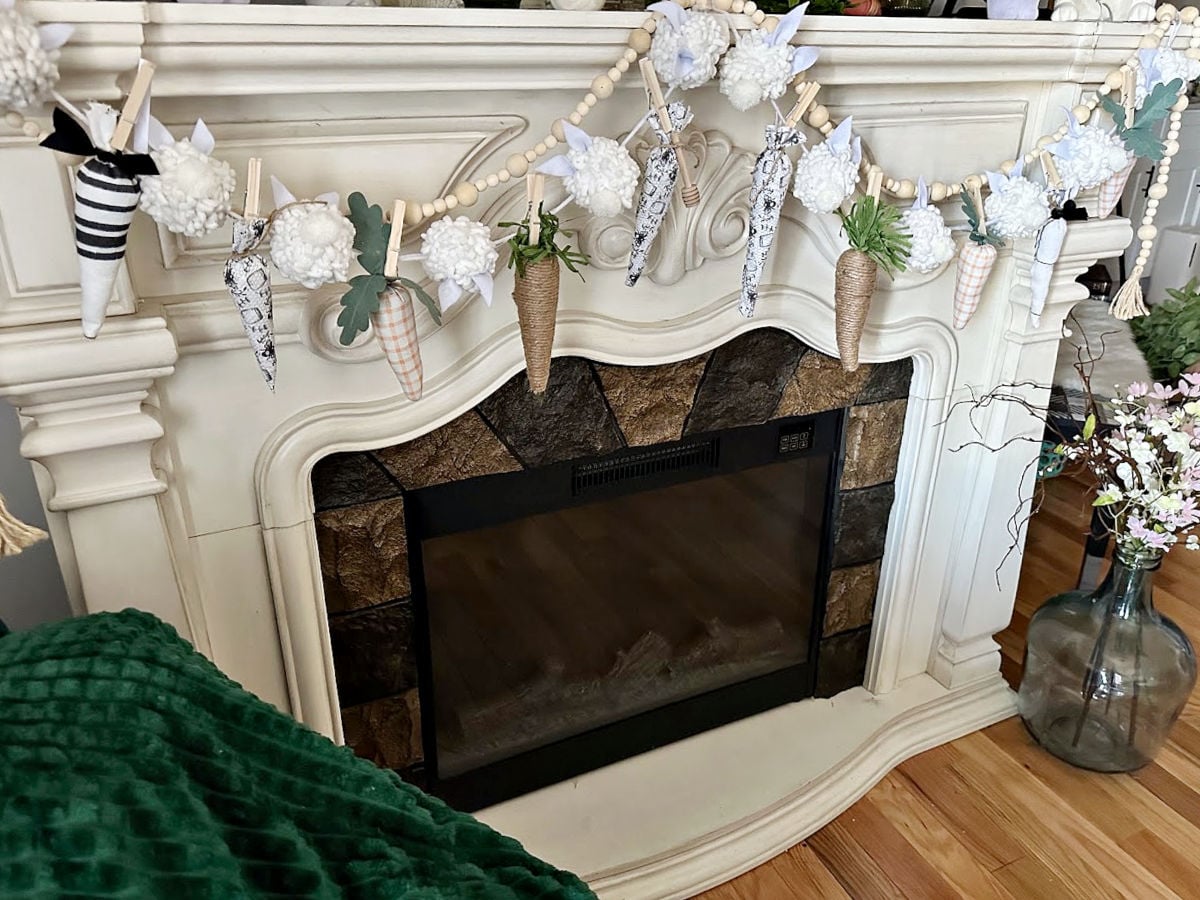
One of my favorite spots to decorate is my fireplace mantel. It’s a focal point in my small living room and sets the stage for our open living and dining area.
This year, I decided to make a cute Easter bunny garland using pom poms and felt, then finished it off with DIY fabric carrots.
Supplies for Pom Pom Bunny Garland
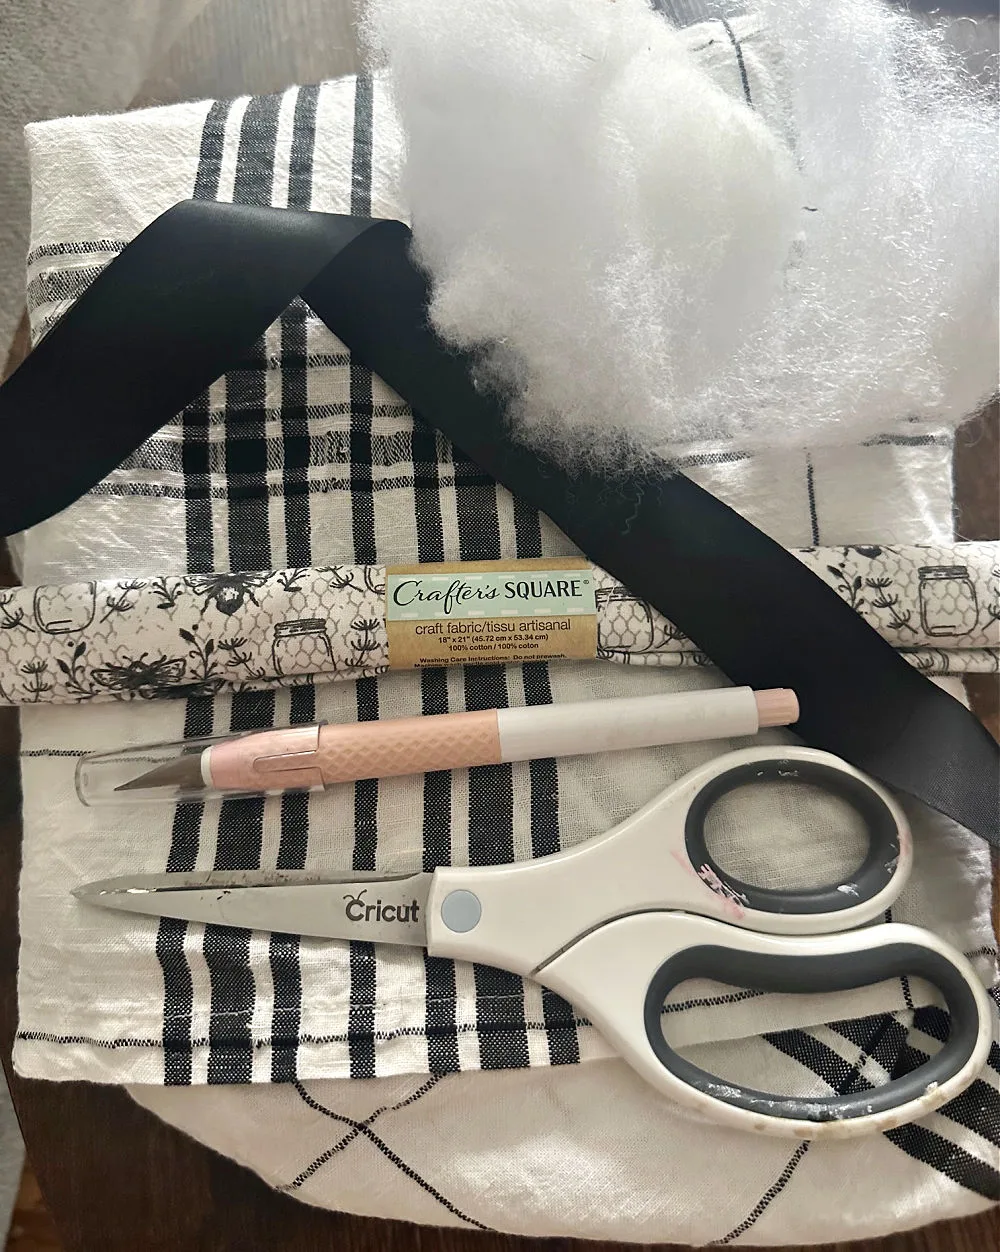
Here is what you need:
- White Felt – check Dollar Tree for felt. I had 1/2 yard left from a prior craft.
- White Pom Poms – use pre-made pom poms, or make your own as shown in this pom pom tutorial. You will need 2 sizes, one for the bunny and a small one for the bunny tail.
- Rotary Cutter or Fabric Scissors
- Hot Glue Gun and Glue Sticks – this is my favorite and it’s cordless!
How to Make a Bunny Garland
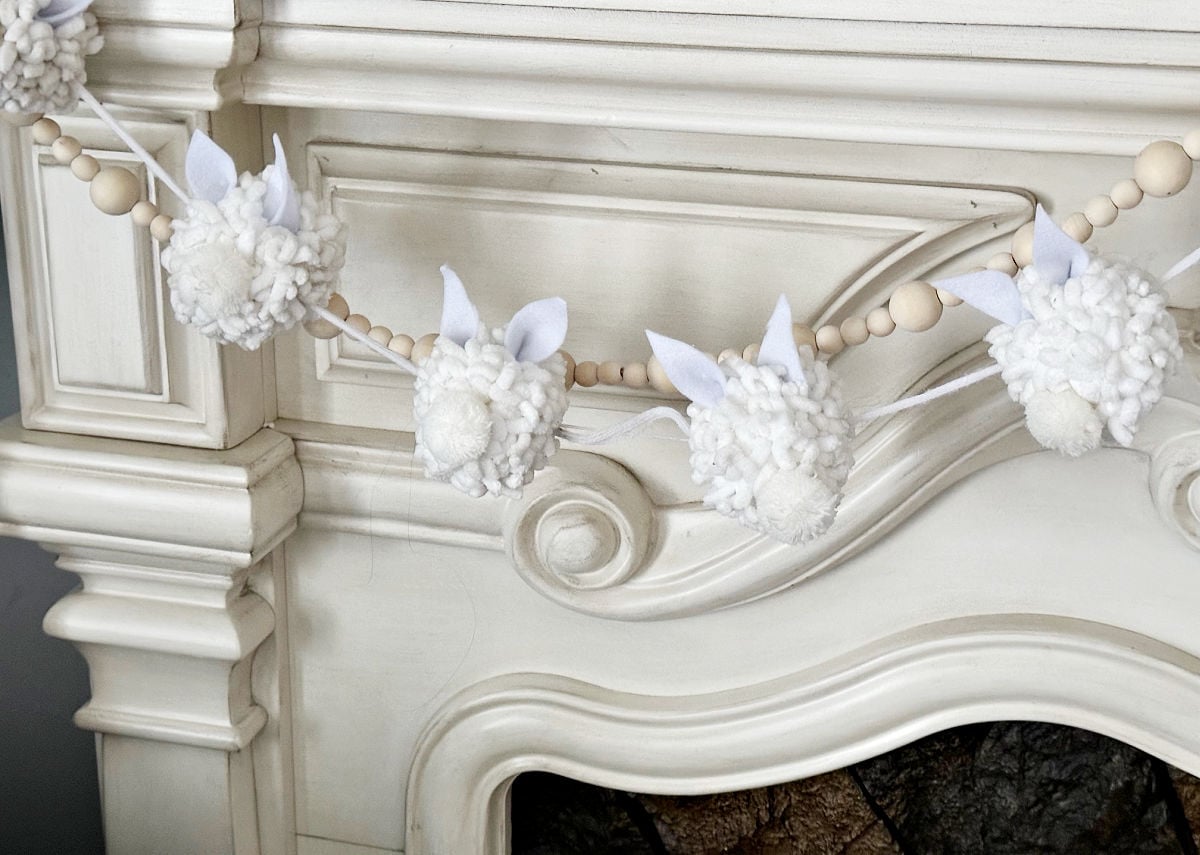
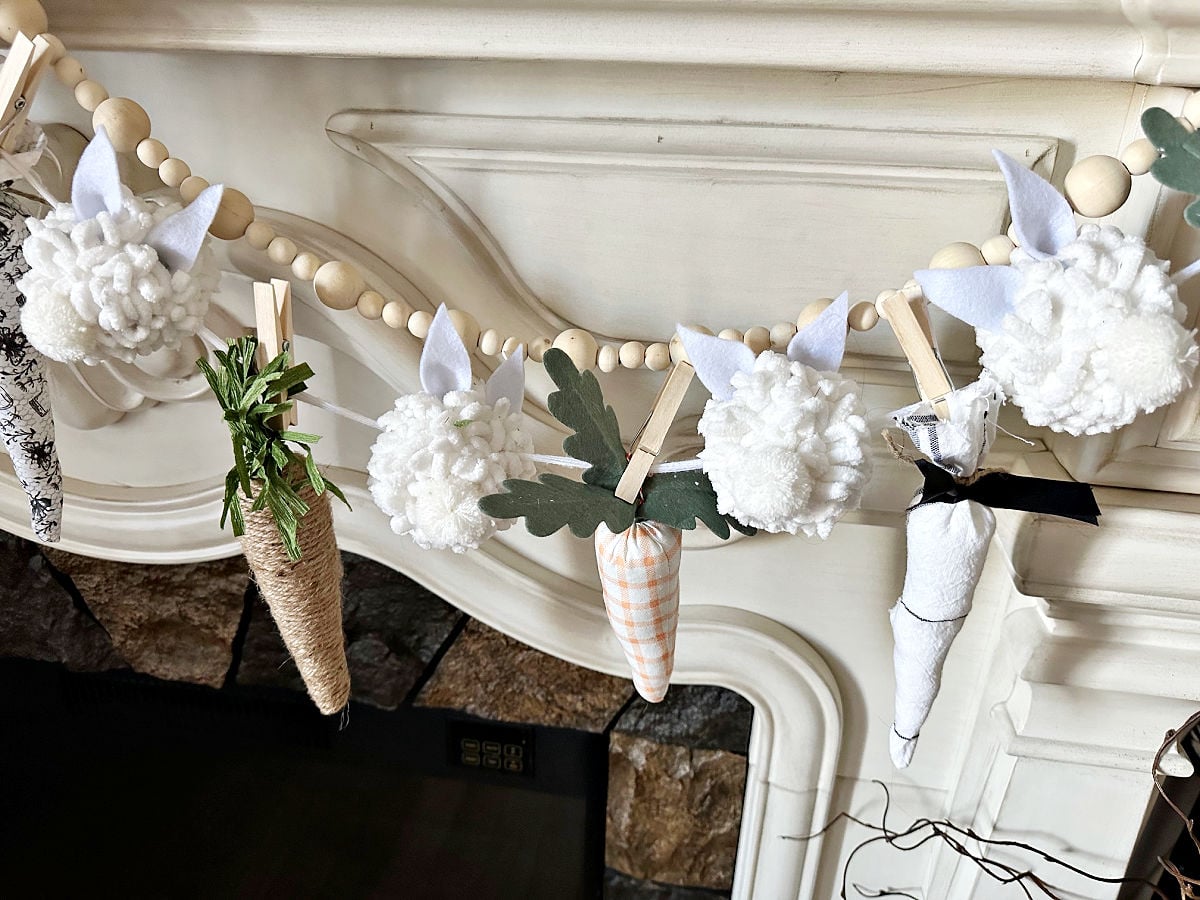
The great thing about this cute bunny garland is how simple it is to make. I chose to create a bunny butt garland, which means no face is needed.
It is supposed to be the back of the bunny with just the ears and the tail. Of course, you can change it to the front of the bunny and add whiskers and a nose if you like.
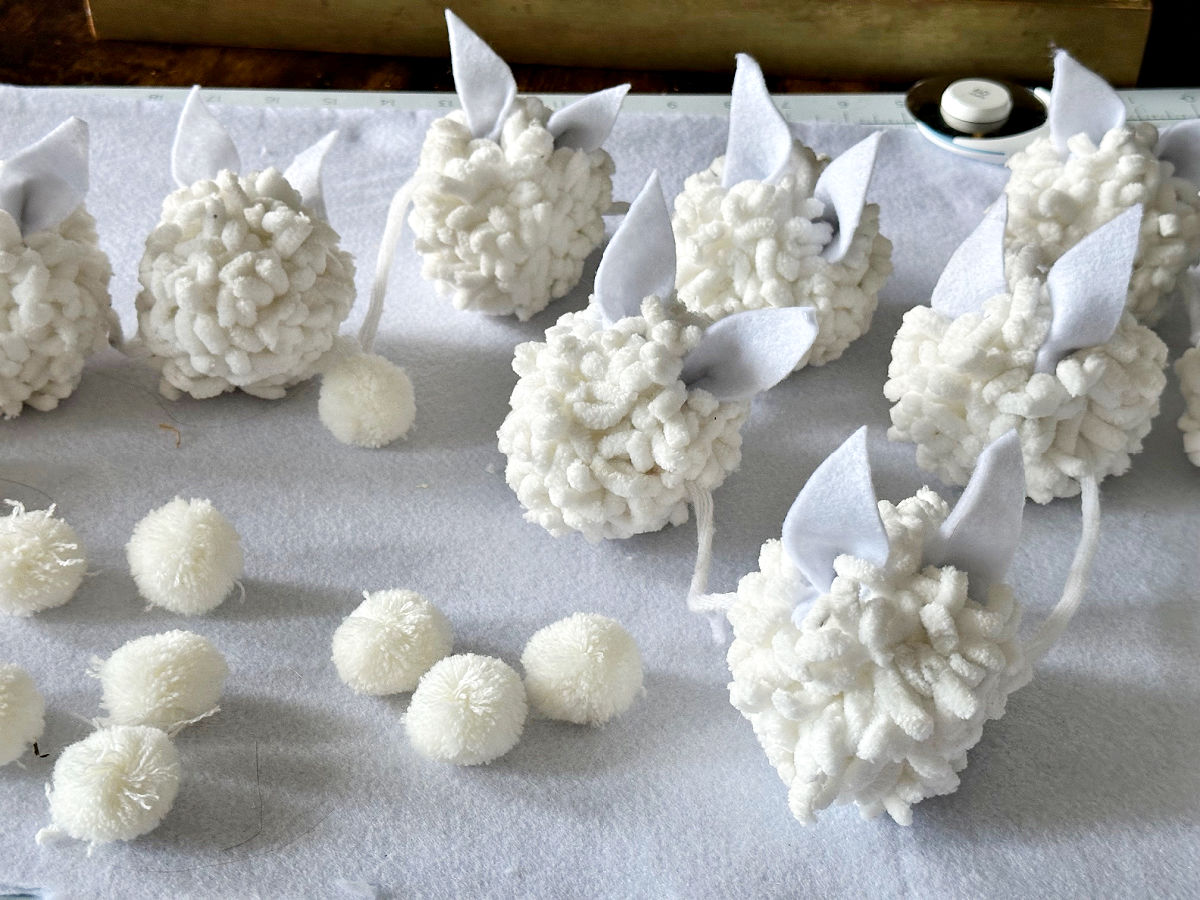
Step 1. Gather 12 Pom Poms
I used 12 white pom poms for this bunny banner. The size of the bunny ears will be determined by the size of your pom poms.
Measuring is not my strong suit (impatient crafter here) but this is very versatile. Make the pom poms as large as you like as I show in this Dollar Tree bunny craft.
Step 2. Cut Felt
Use a rotary cutter or scissors to cut out 24 bunny ears.
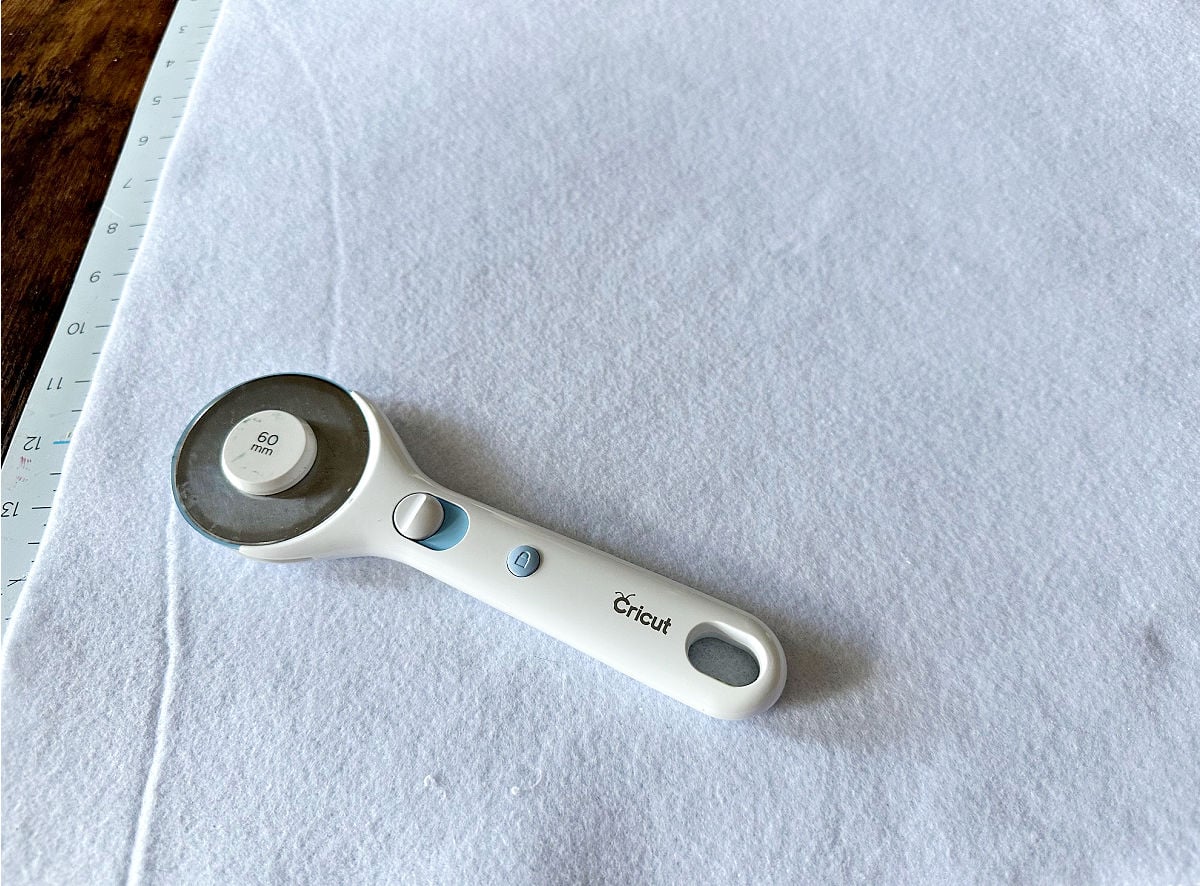
I folded the felt in half so I only needed to make 12 cuts. To make it easier to get a bunny ear shape, I simply cut a triangle and rounded off the top.

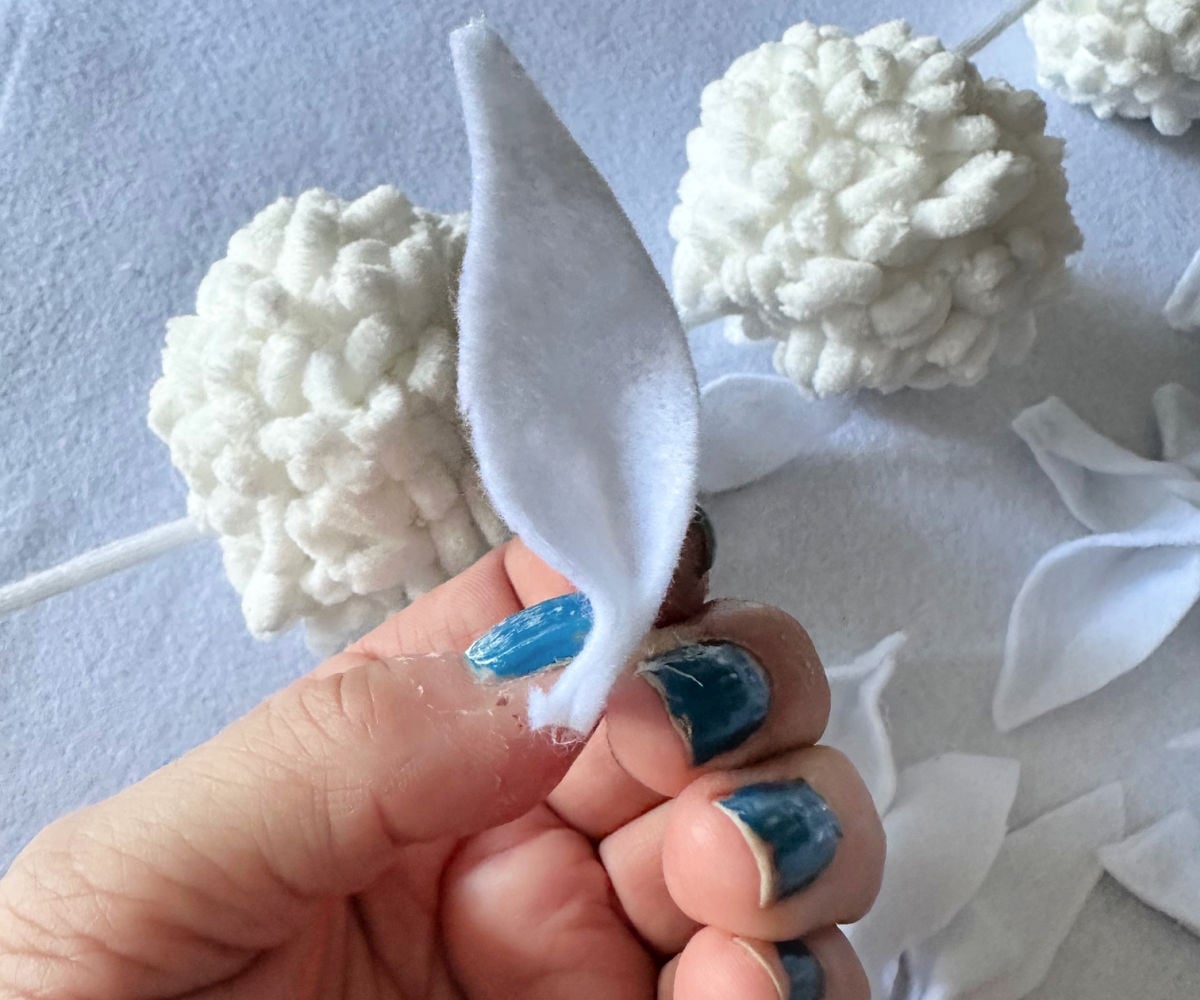
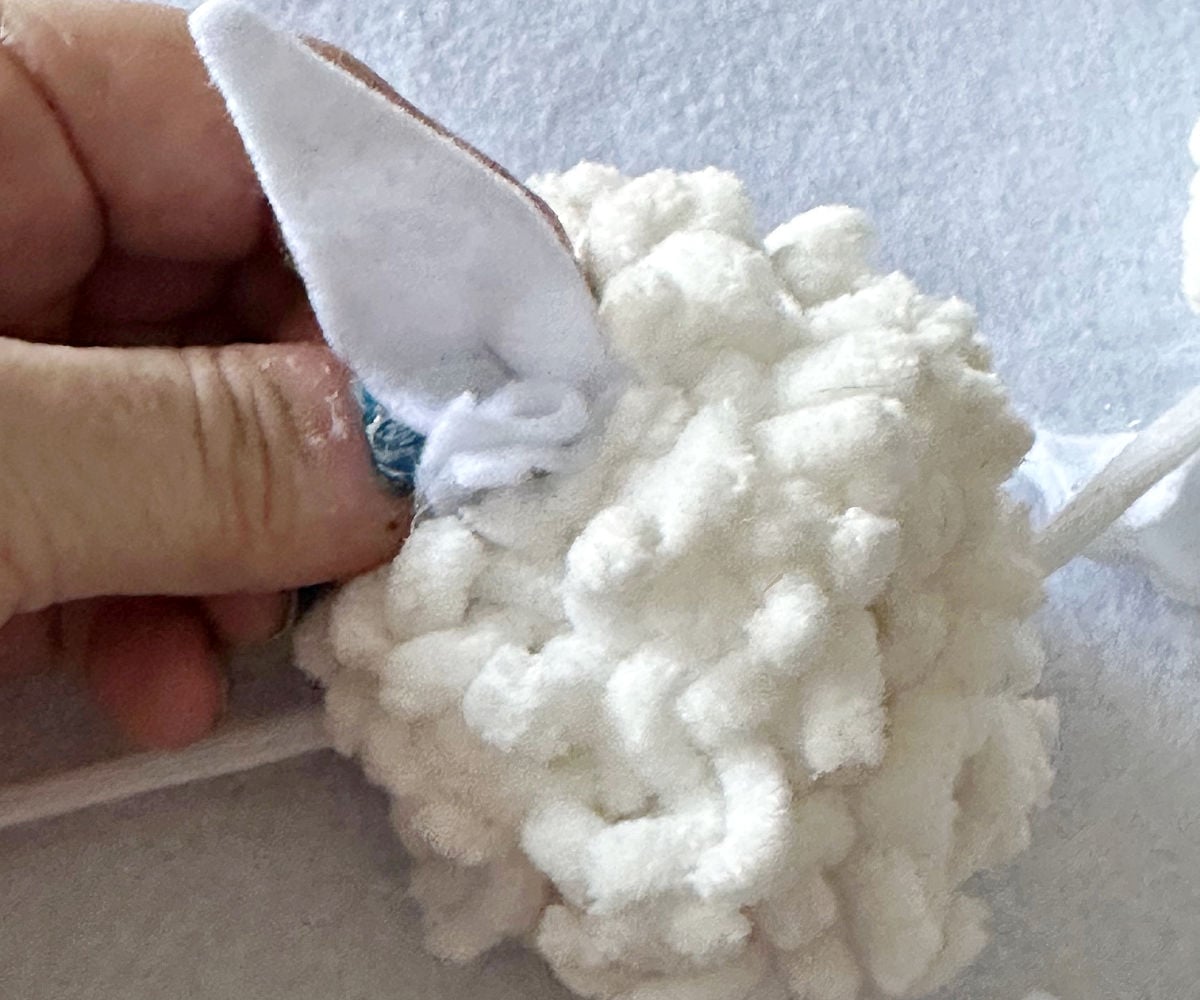
Step 3. Hot Glue Ears
Press the bottom of the triangle cuts at the bottom and hot glue to get the shape. Hot glue each ear to the top of the pom pom (bunny head).
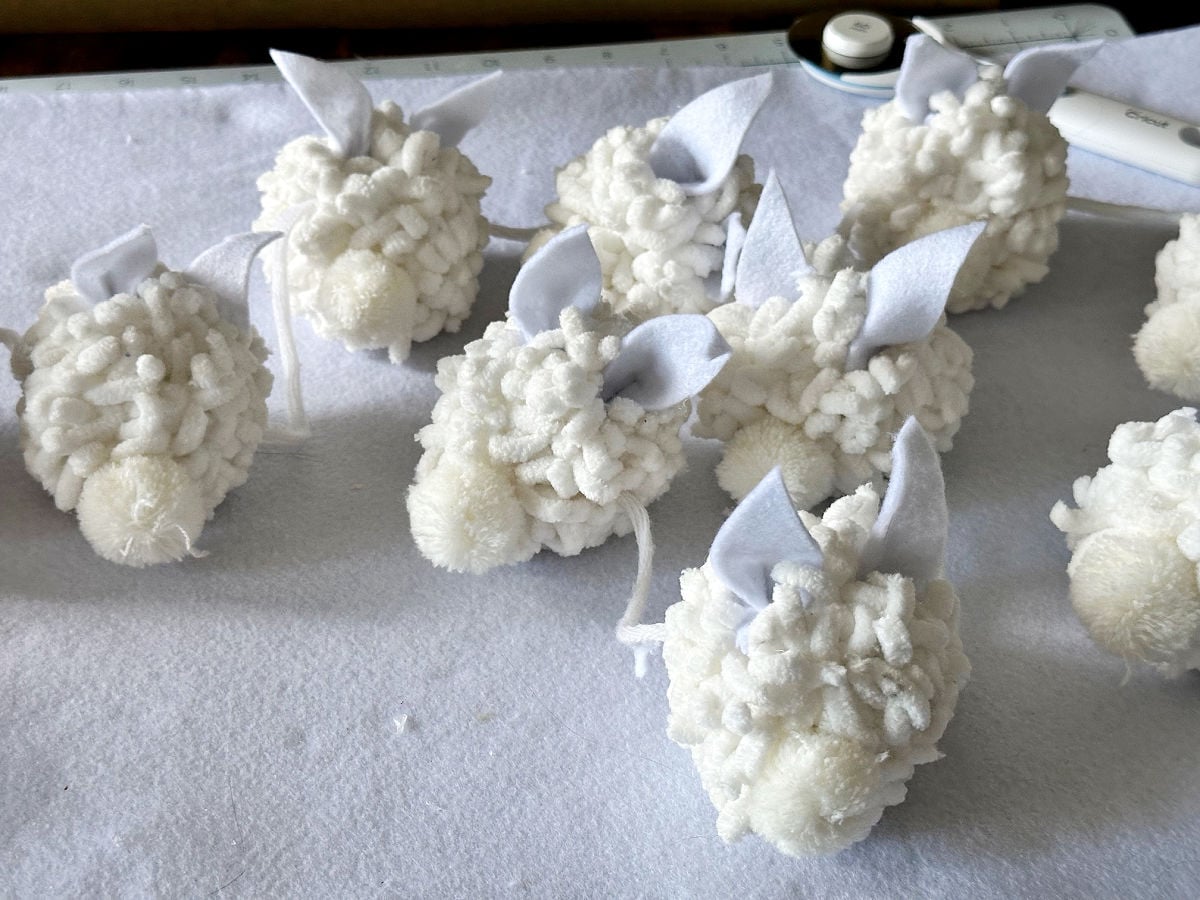
Step 4. Add Pom Pom Tails
Once all of the ears are added, add a dab of hot glue and a small pom pom for the bunny tails.
Step 5. String on Twine or Ribbon
All that is left is to string the pom poms to twine or ribbon for hanging. See how easy that was?
You can completely stop here and have a darling Easter garland, or you can add fabric bunnies as shown in the next step.
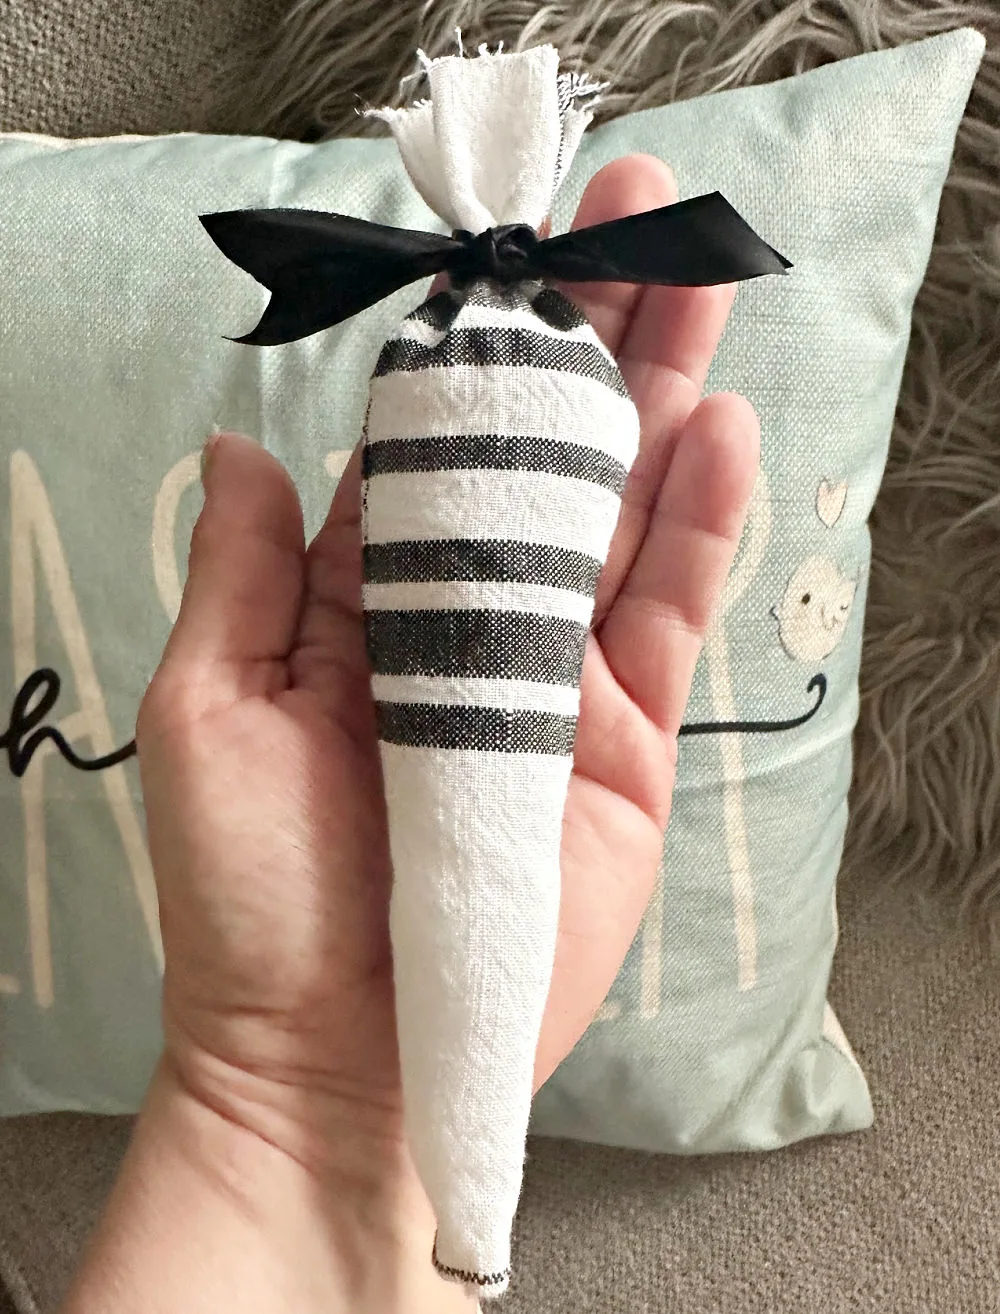
Fabric Carrots for Bunny Garland
If you missed the full tutorial, check out my DIY fabric carrots here. It’s a super simple no-sew project with just 5 steps:
- Cut fabric into a triangle.
- Hot glue fabric.
- Turn fabric right side out.
- Stuff with poly-fil.
- Glue top of the carrot closed and add ribbon.


To attach the carrots to the garland I used clothespins, but you can also use twine or ribbon. The twine and fabric carrots add more texture, color and dimension to the garland.
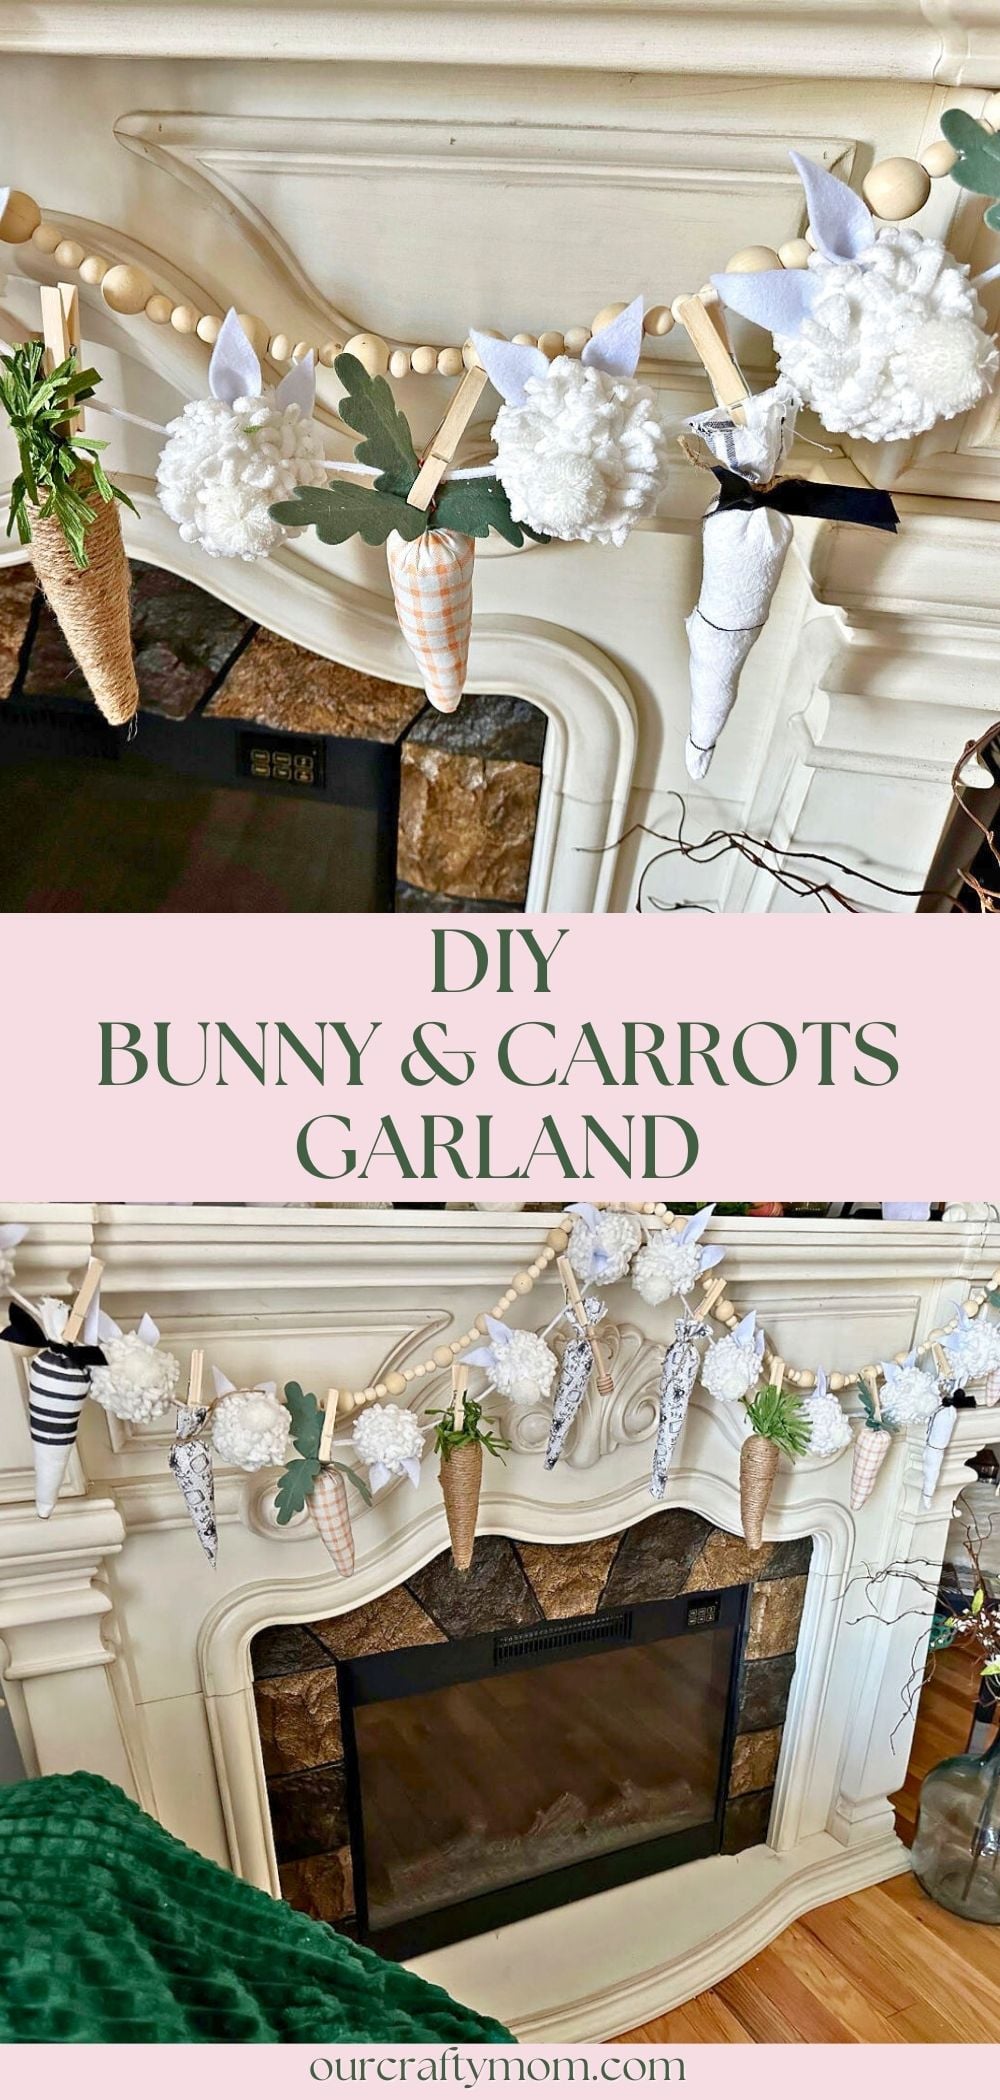
PIN FOR LATER
I’d love it if you would share this article with your friends on Pinterest by pinning the below image.
It helps my blog grow and doesn’t cost a thing! 🙂
Thanks so much for stopping by. Happy decorating!


You may also enjoy these spring home decor and craft ideas:
- Dollar Tree Easter Crafts
- Dollar Tree Bunny Craft
- Decoupage Candles with Chinoiserie Bunny Napkins
- Bunny Bathroom Printable Wall Art
- Free Printables Easter Wall Art
- 101 DIY Easter Decorations
- Fluffy Bunny Wreath
- Martha Stewart Inspired Floral Easter Basket
Follow me on social media below: