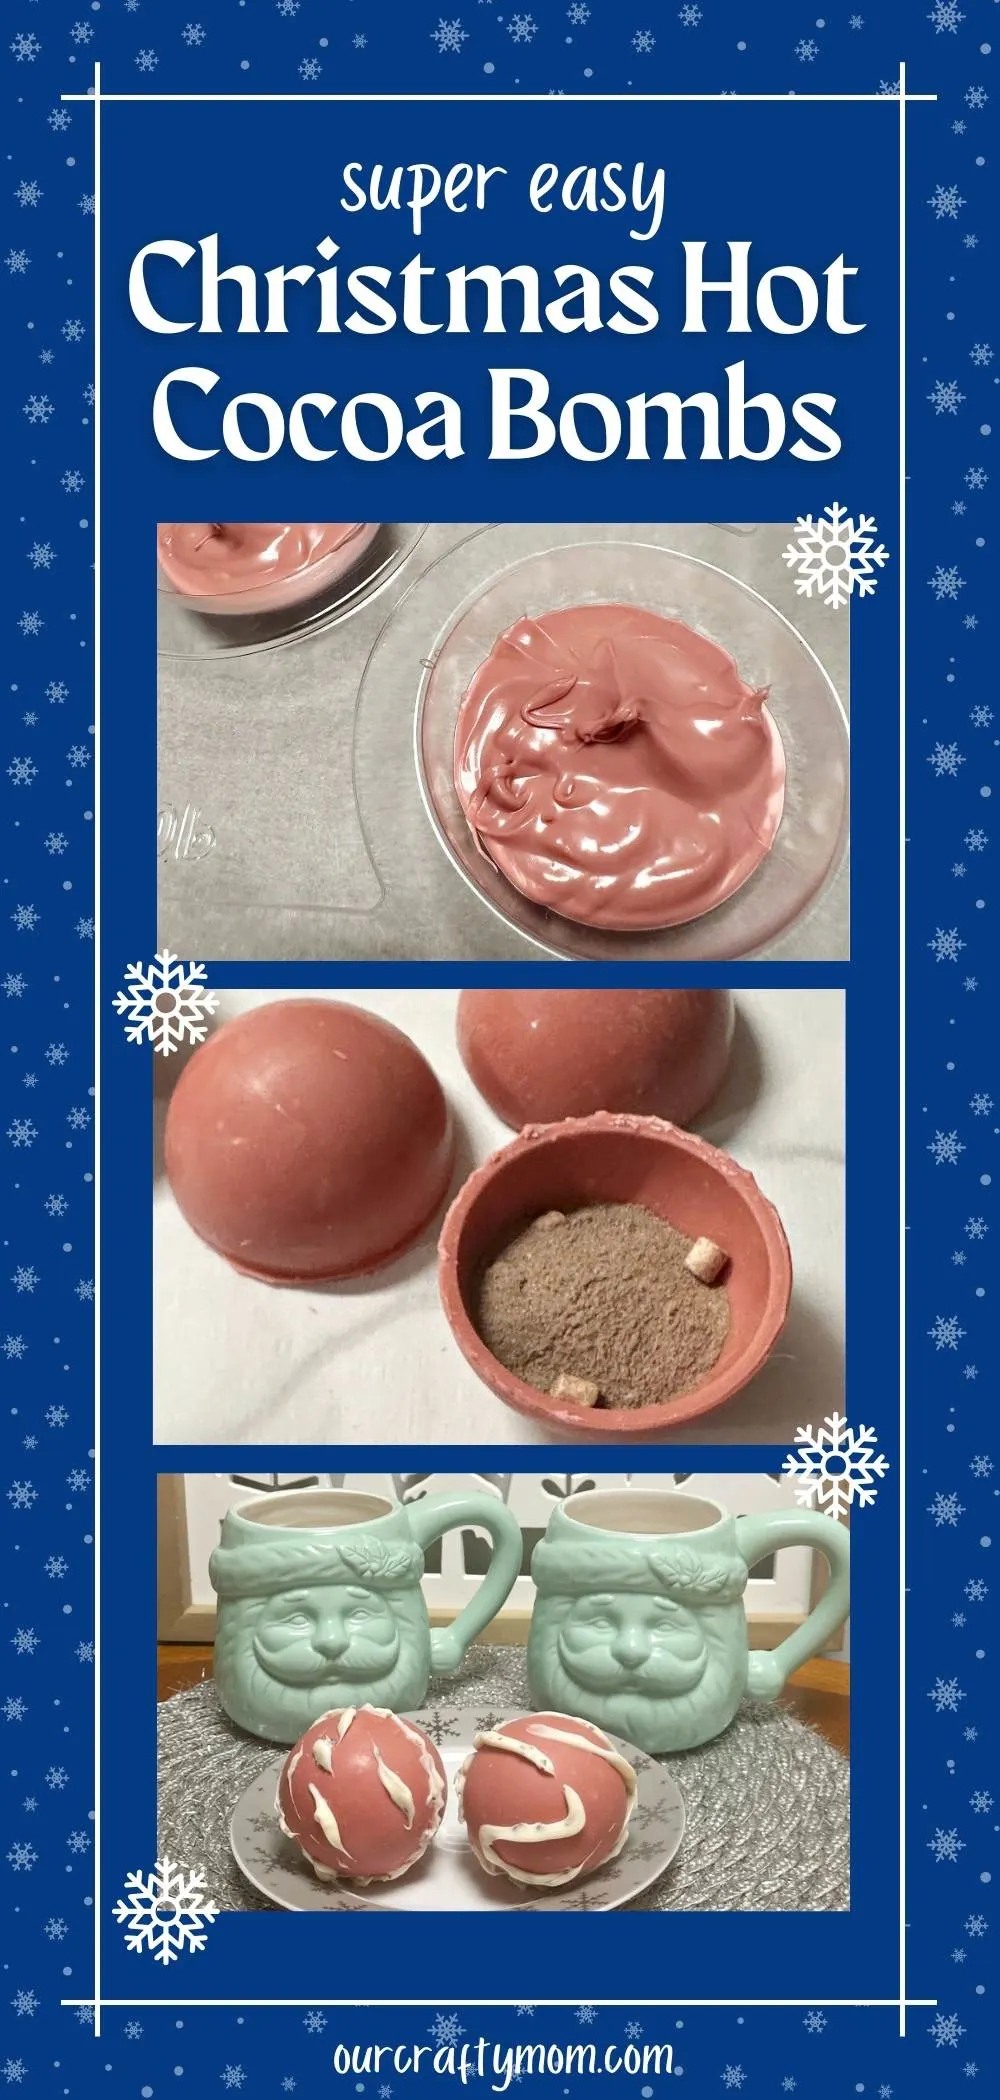
Looking for a fun holiday activity? Try making Christmas hot cocoa bombs with our super easy recipe and printable gift tags.
These yummy red velvet chocolate spheres are perfect for gift gifting, or enjoying with the kids while watching your favorite holiday movie!
Keep reading for the easy recipe and tips on how to gift Christmas hot chocolate bombs with a free printable gift tag.
This post contains affiliate links at no extra cost to you. Please see my full disclosure here.
Hot Cocoa Bombs
If you haven’t made hot cocoa bombs yet, you are in for a treat.
There are several ways to make them and after a bit of trial and error, I found the absolute easiest, and best way, to make cocoa bombs with perfect results every single time!
When I made Halloween hot cocoa bombs I used silicone mold made for hot cocoa bombs.
While they worked perfectly fine, there were some inconsistencies in the melted chocolate.
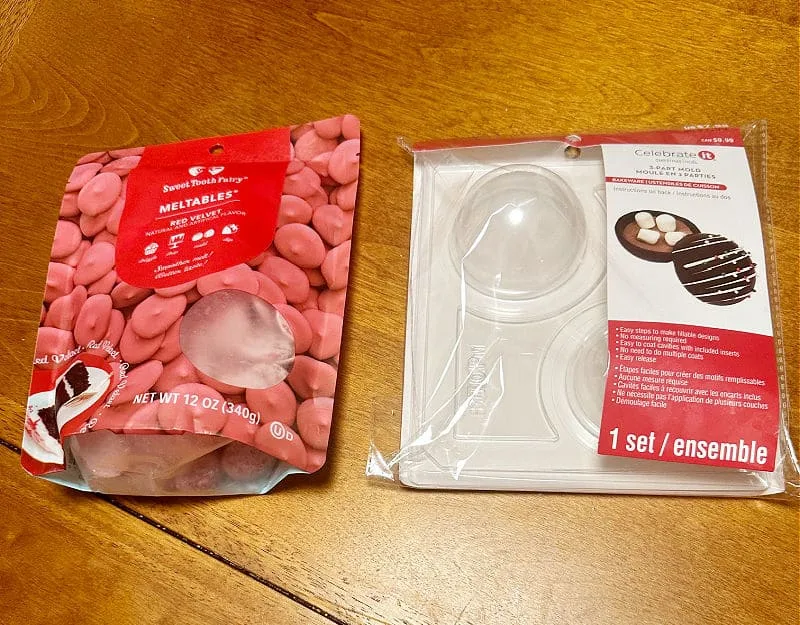
After doing some research, I found these 3 part hot chocolate bomb molds that had good reviews.

Even better, they were on clearance at Michaels!
Be sure to check your local store first as they are quite a bit cheaper than Amazon.
There is also a printable recipe card at the bottom of this post to make it easier for you.
Here is what you need to make these super cute Christmas hot cocoa bombs.
Ingredients for Hot Cocoa Bombs
- hot chocolate mix – store bought or homemade hot chocolate
- mini marshmallows
- milk chocolate chips, dark chocolate chips, white chocolate chips or wafer melts
- hot milk or water – I definitely recommend hot milk
Kitchen Supplies for Hot Cocoa Bombs
Melt the Chocolate
Start by placing the chocolate melts, or chocolate chips, in a microwave-safe bowl.
You can use a double boiler if you want, but I’ve always used the microwave without issues.
A very important tip is to start by melting the chocolate at 30-second intervals.
Chocolate chips, especially white chocolate chips, can burn very quickly.
The last thing you want to do is melt the chocolate in one round.
The red velvet chocolate I used took 3-30 second intervals.
Stir the melted chocolate until it is smooth.
How to Use 3-part Hot Cocoa Bomb Mold
Slowly add your melted chocolate to each cavity mold.
The top and bottom mold are labeled and there is a fill line to make it easy.
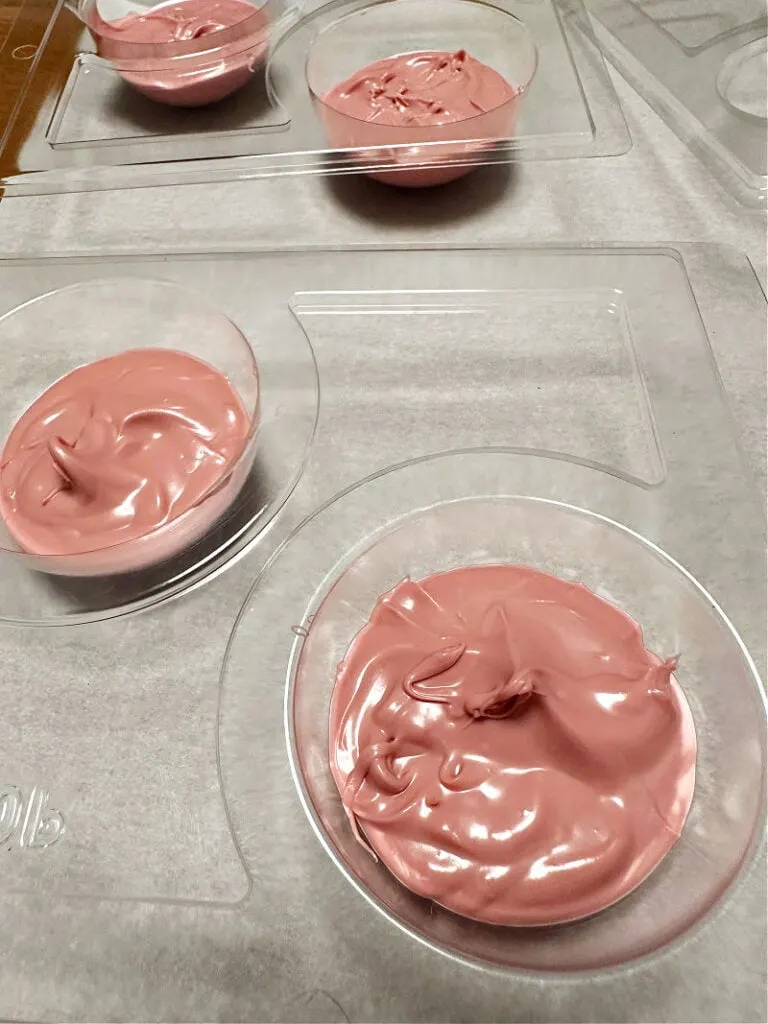
Here is the cool part! What really makes this mold get great results is it has a a round plastic mold that you press into the melted chocolate.
When you press it down the chocolate spreads to the sides to create a perfect chocolate shell!
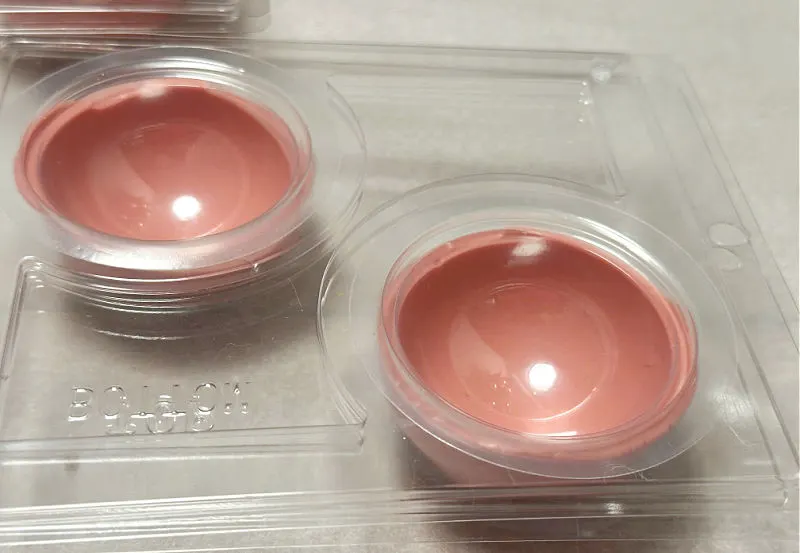
The final step is to place the top mold onto the bottom mold so it is nice and snug.
This creates a 3-part “sandwich” to make an even layer.
With the silicone molds you use a spoon to spread the chocolate into the sides. It doesn’t get even.
Refrigerate the Hot Cocoa Bombs
Once each cavity is filled, place them in the refrigerator for about 20 minutes.
Carefully remove the top layer, then press on the bottom layer to remove the cocoa bombs.
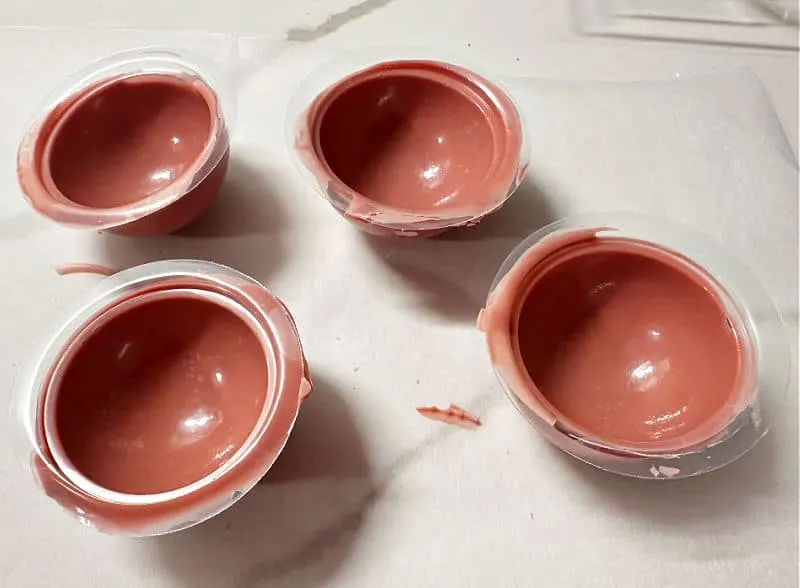
Remember I mentioned the fill line? I went over just a bit on a couple which is what you see above.
It is easy to fix just by scraping the excess. But, look at how smooth the chocolate shell is? Very impressive!
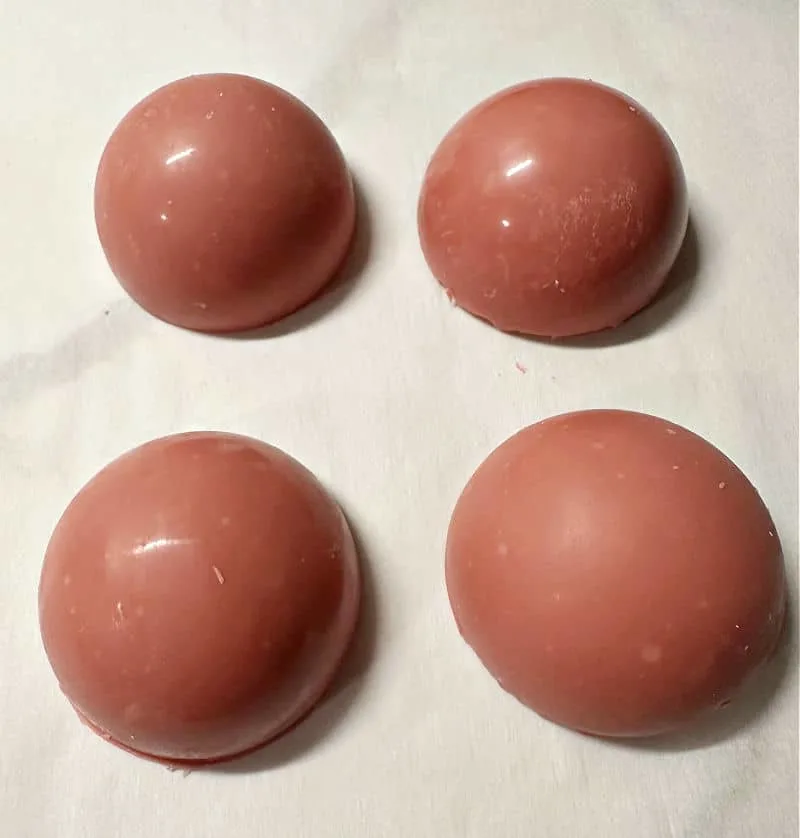
Fill with Hot Cocoa
Fill the chocolate bomb about 3/4 of the way with your favorite hot chocolate mix and marshmallows.
This is my go to homemade hot chocolate recipe from The Pioneer Woman.
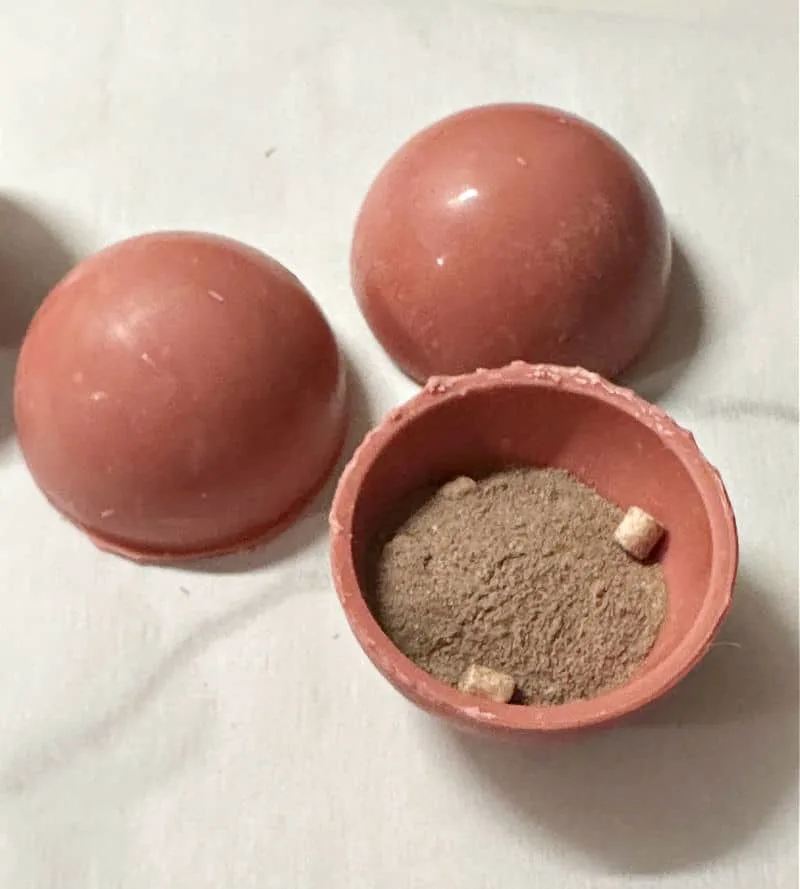
Seal Two Pieces of Chocolate
To get the two pieces to stay together, place an empty plate in the microwave and warm it up for about 30-45 seconds.
Take one of the cocoa bombs and press it onto the warm plate until it is slightly melted.
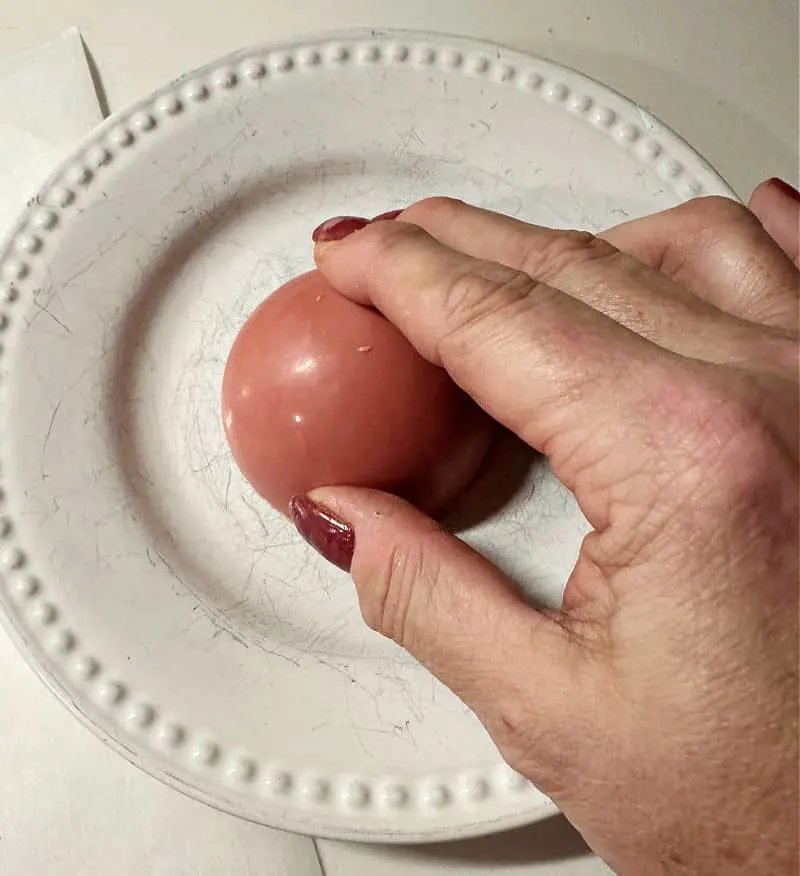
This will create a chocolate “glue” to seal the chocolate bombs.
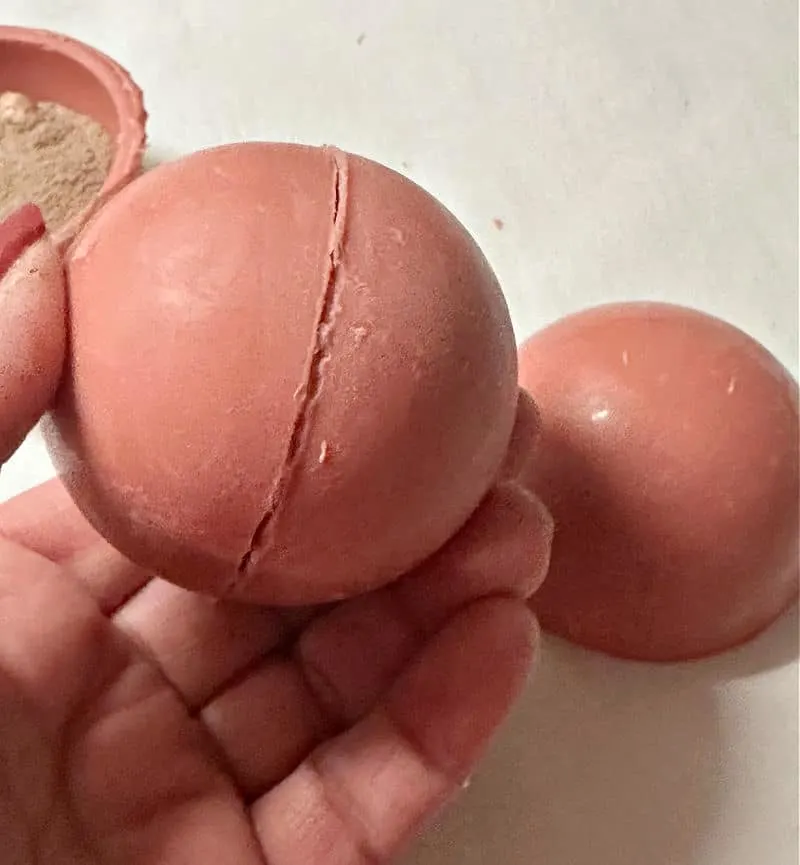
These cocoa bombs are big! They do hold one regular packet of hot cocoa so they are made for a single serving.
But, for the kiddos I definitely wouldn’t go too crazy with additional sugar toppings. 🙂
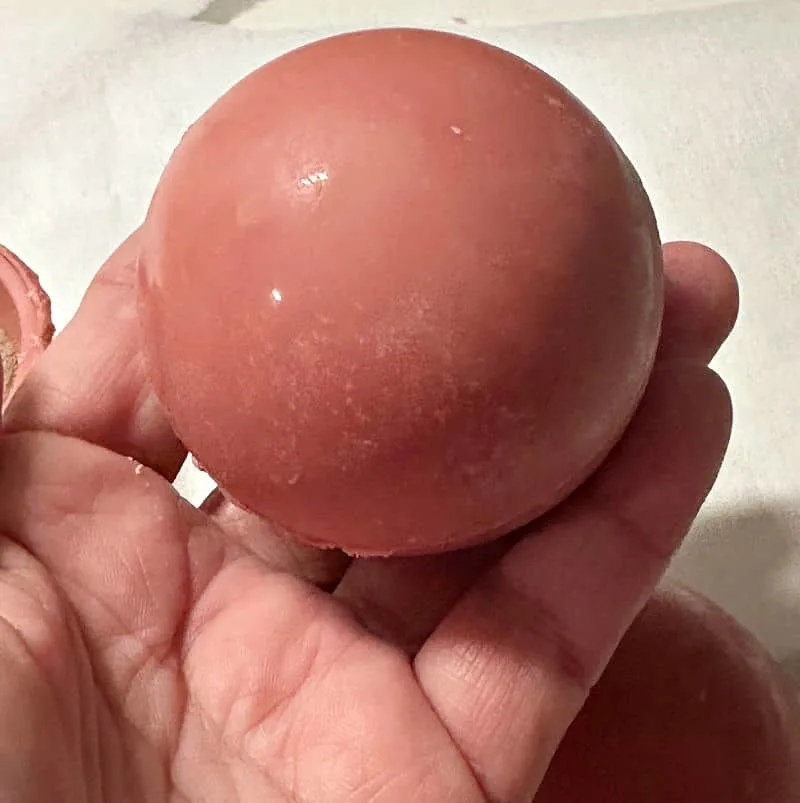
Decorate The Hot Cocoa Bombs
Now just decorate your hot cocoa bombs however you like.
You can use sprinkles, mini marshmallows, or extra melted chocolate in another flavor.
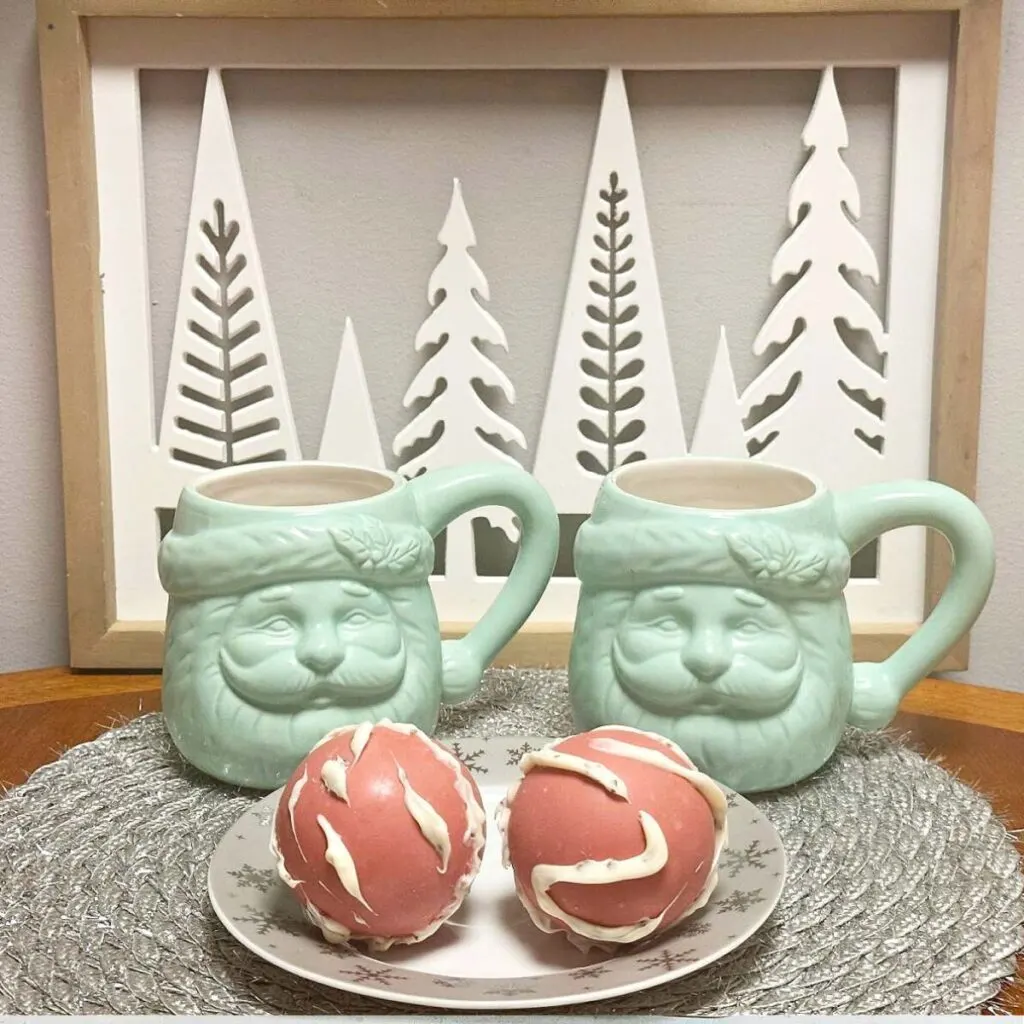
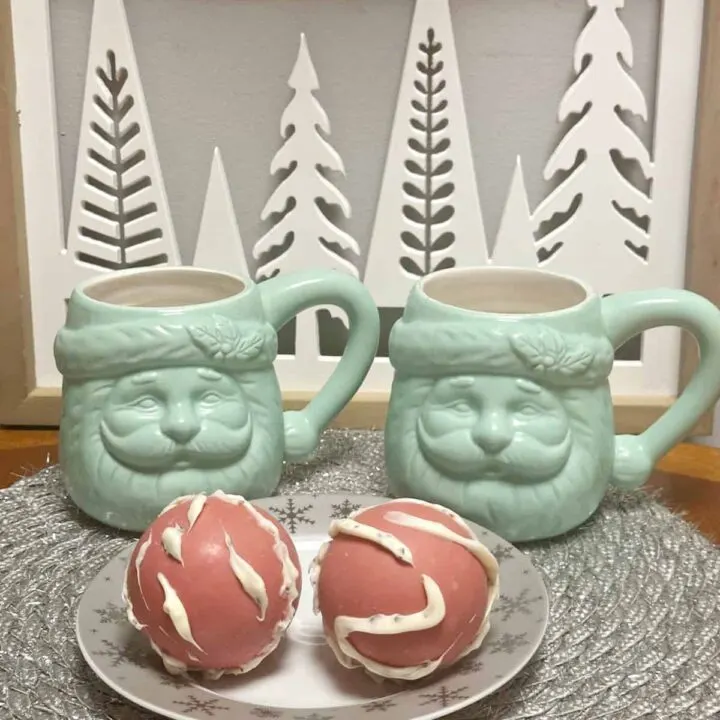
For Christmas I used red velvet chocolate with melted white chocolate on top.
It helps to use melted chocolate or sprinkles across the edges where the two pieces meet.
Not that the kids will care!
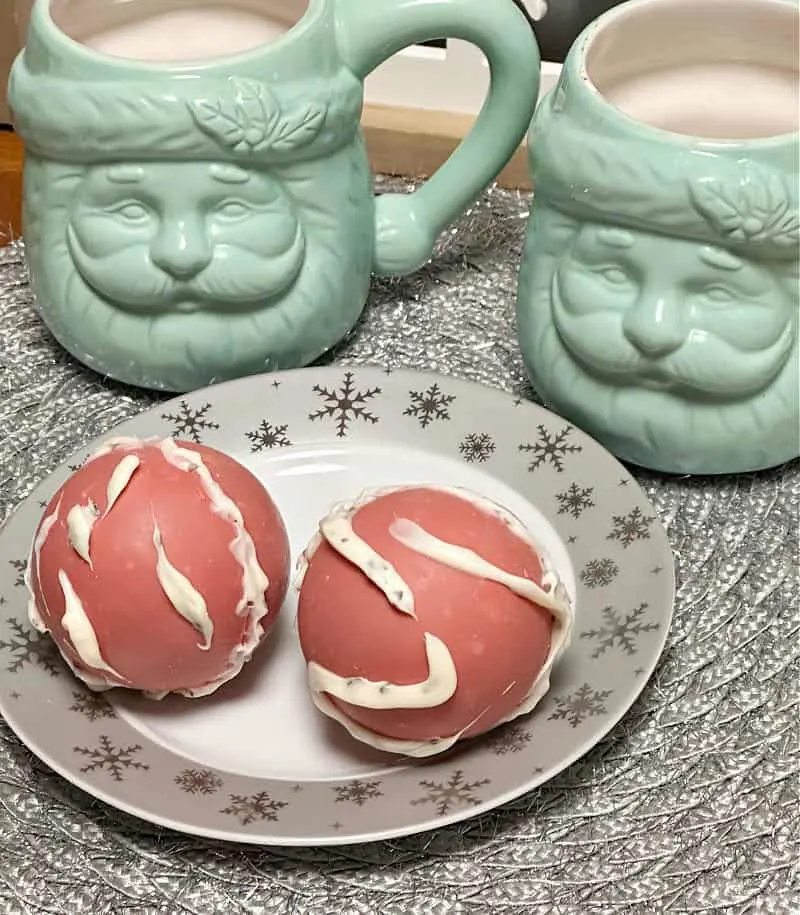
I’m so happy with how these turned out. The chocolate finish is so smooth and I love the red velvet color for Christmas or Valentine’s Day.
Be sure to check out the outdoor hot chocolate bar I just shared. These are perfect for that!
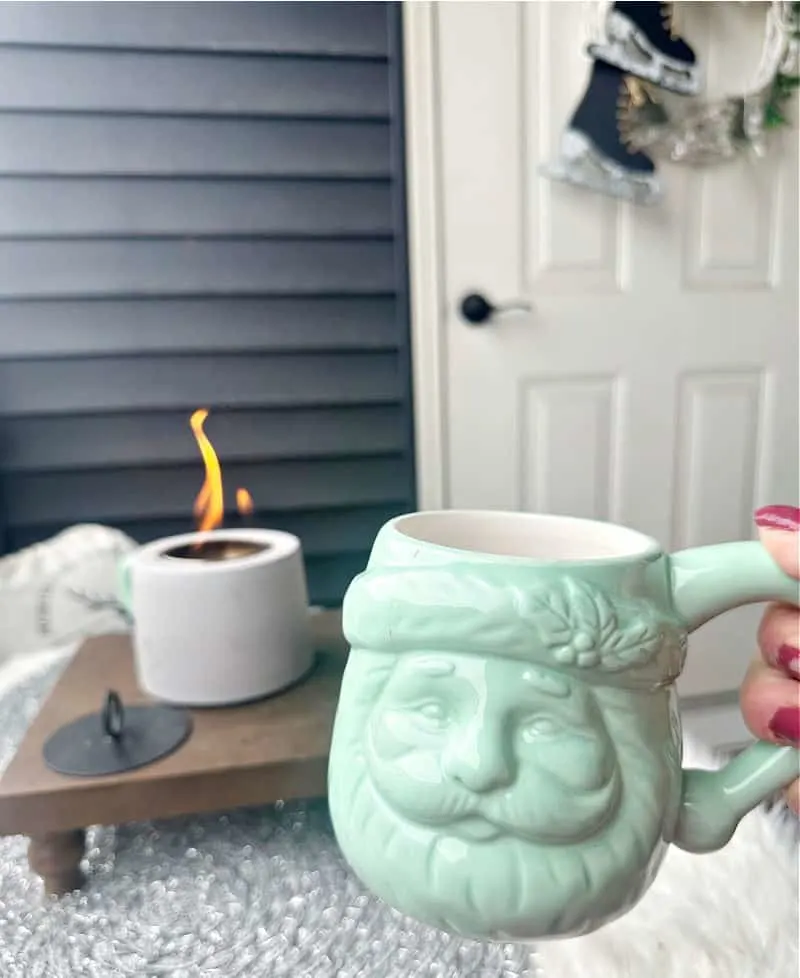
The adorable mint Santa mugs were an after Christmas find at Hobby Lobby last year.
Unfortunately, I couldn’t find a link for them.
They do have some on Mercari or Poshmark but are quite pricey. Definitely check your local Hobby Lobby if interested.
Free Printable Hot Cocoa Bomb Gift Tag
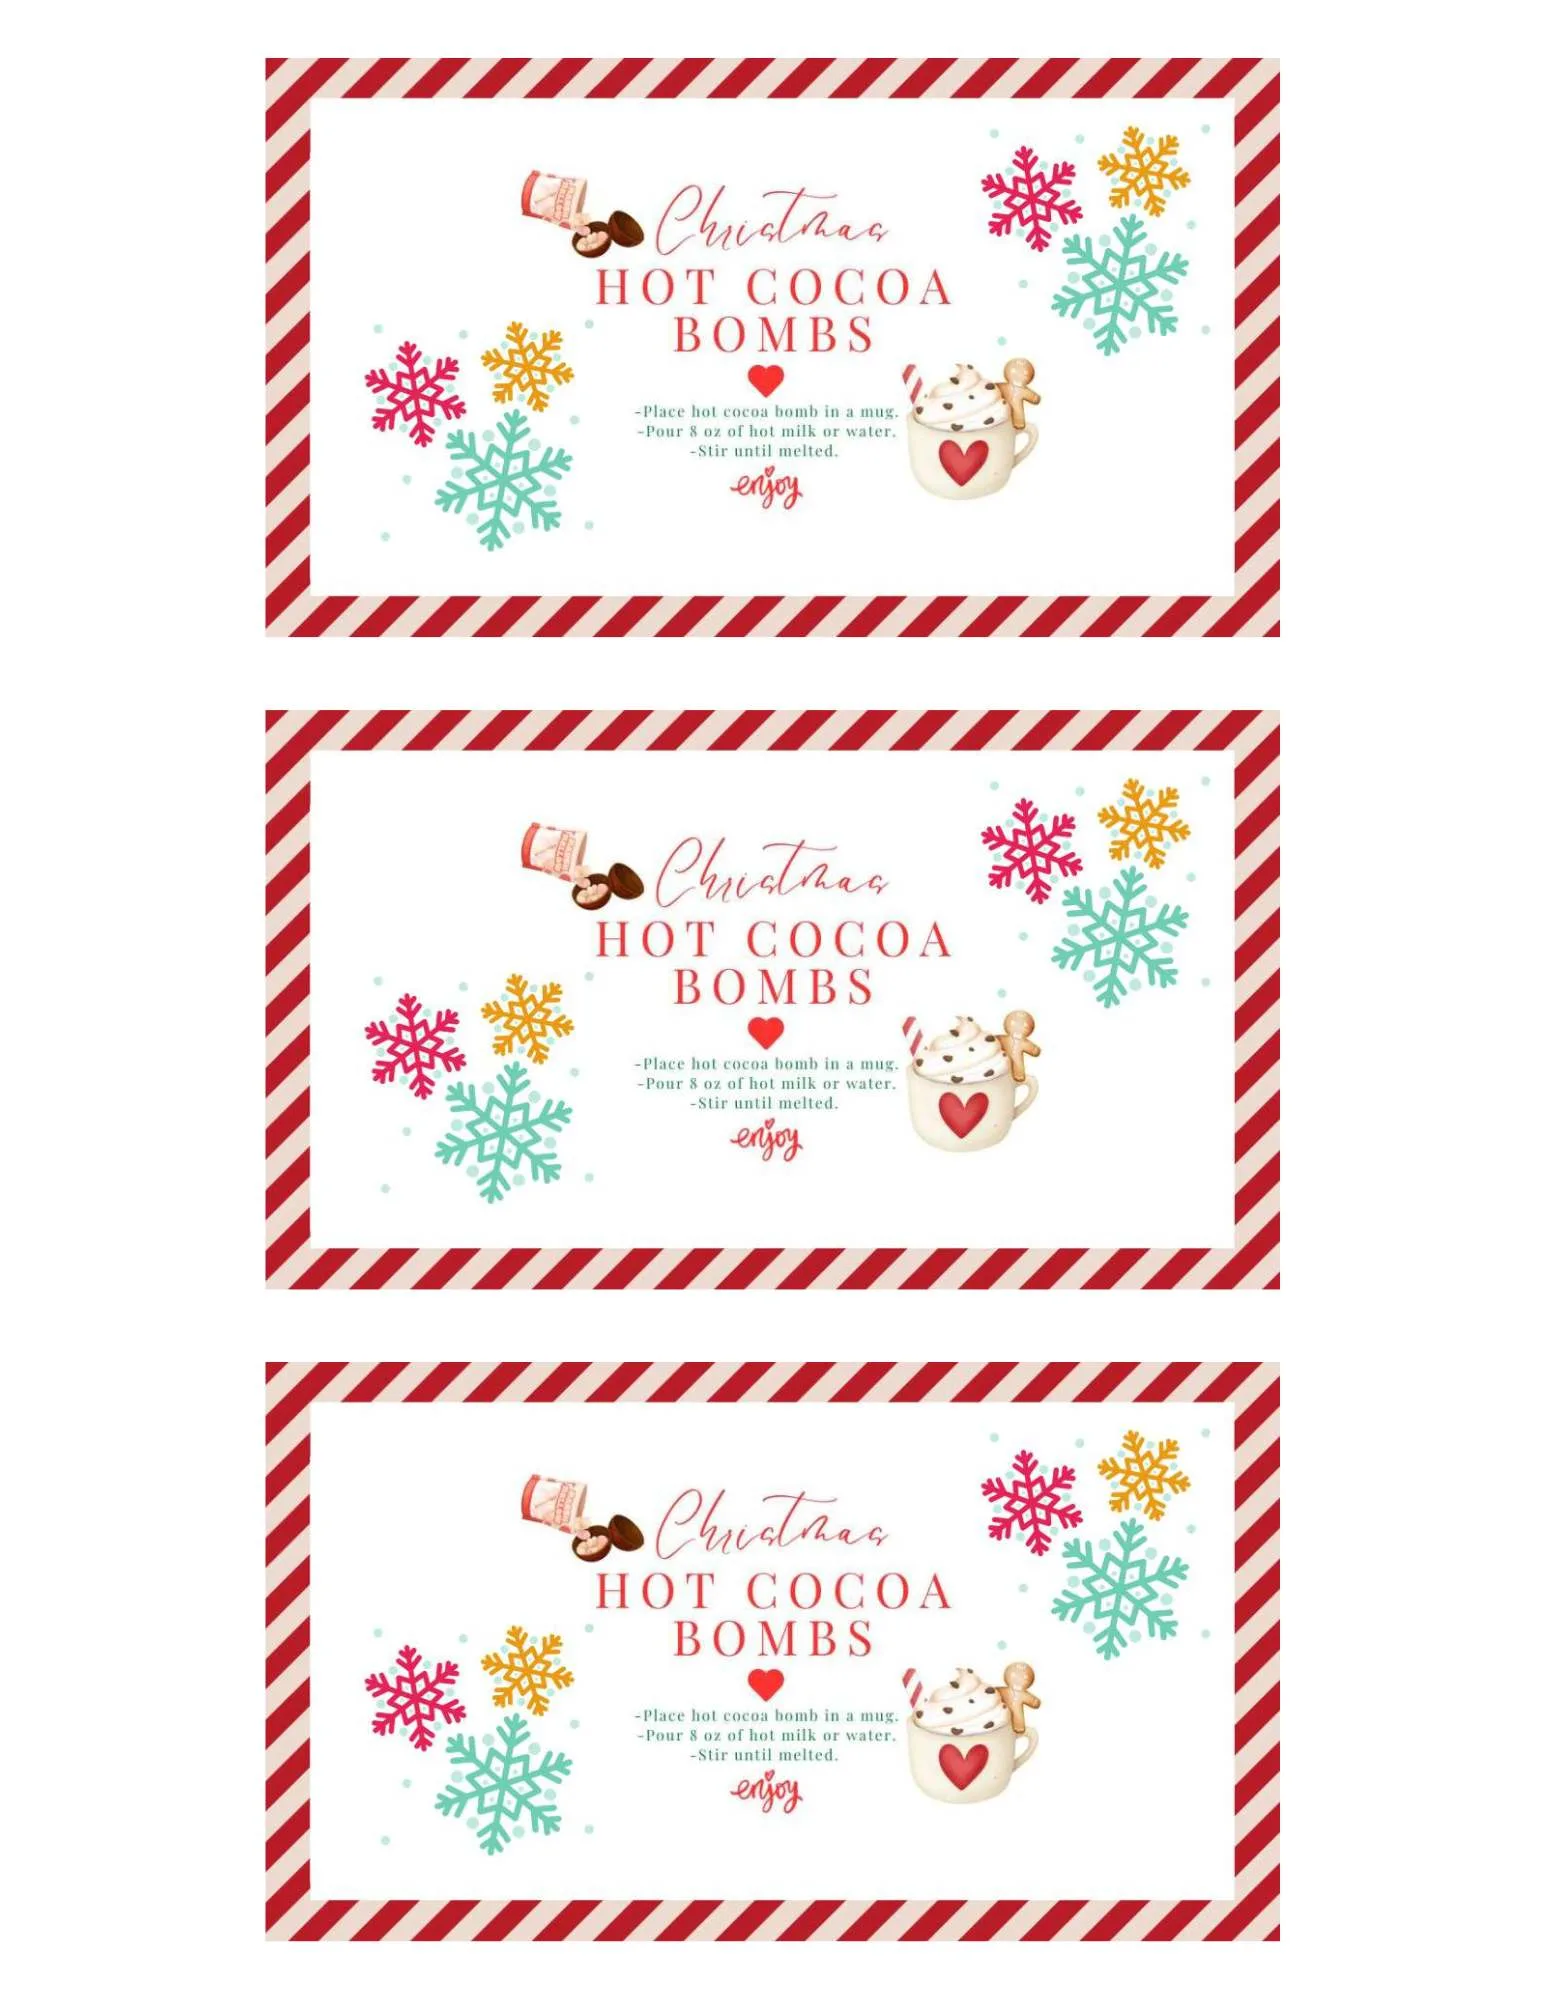
Christmas hot cocoa bombs placed in a clear cellophane bag make a great gift for teachers, neighbors, co-workers or anyone you want to acknowledge during the holiday season.
Gift them with a sweet Christmas mug with one of my free printable gift tags and you have a quick, easy and sweet gift idea!
Just click the download button below the image and you can save it to your computer for printing.
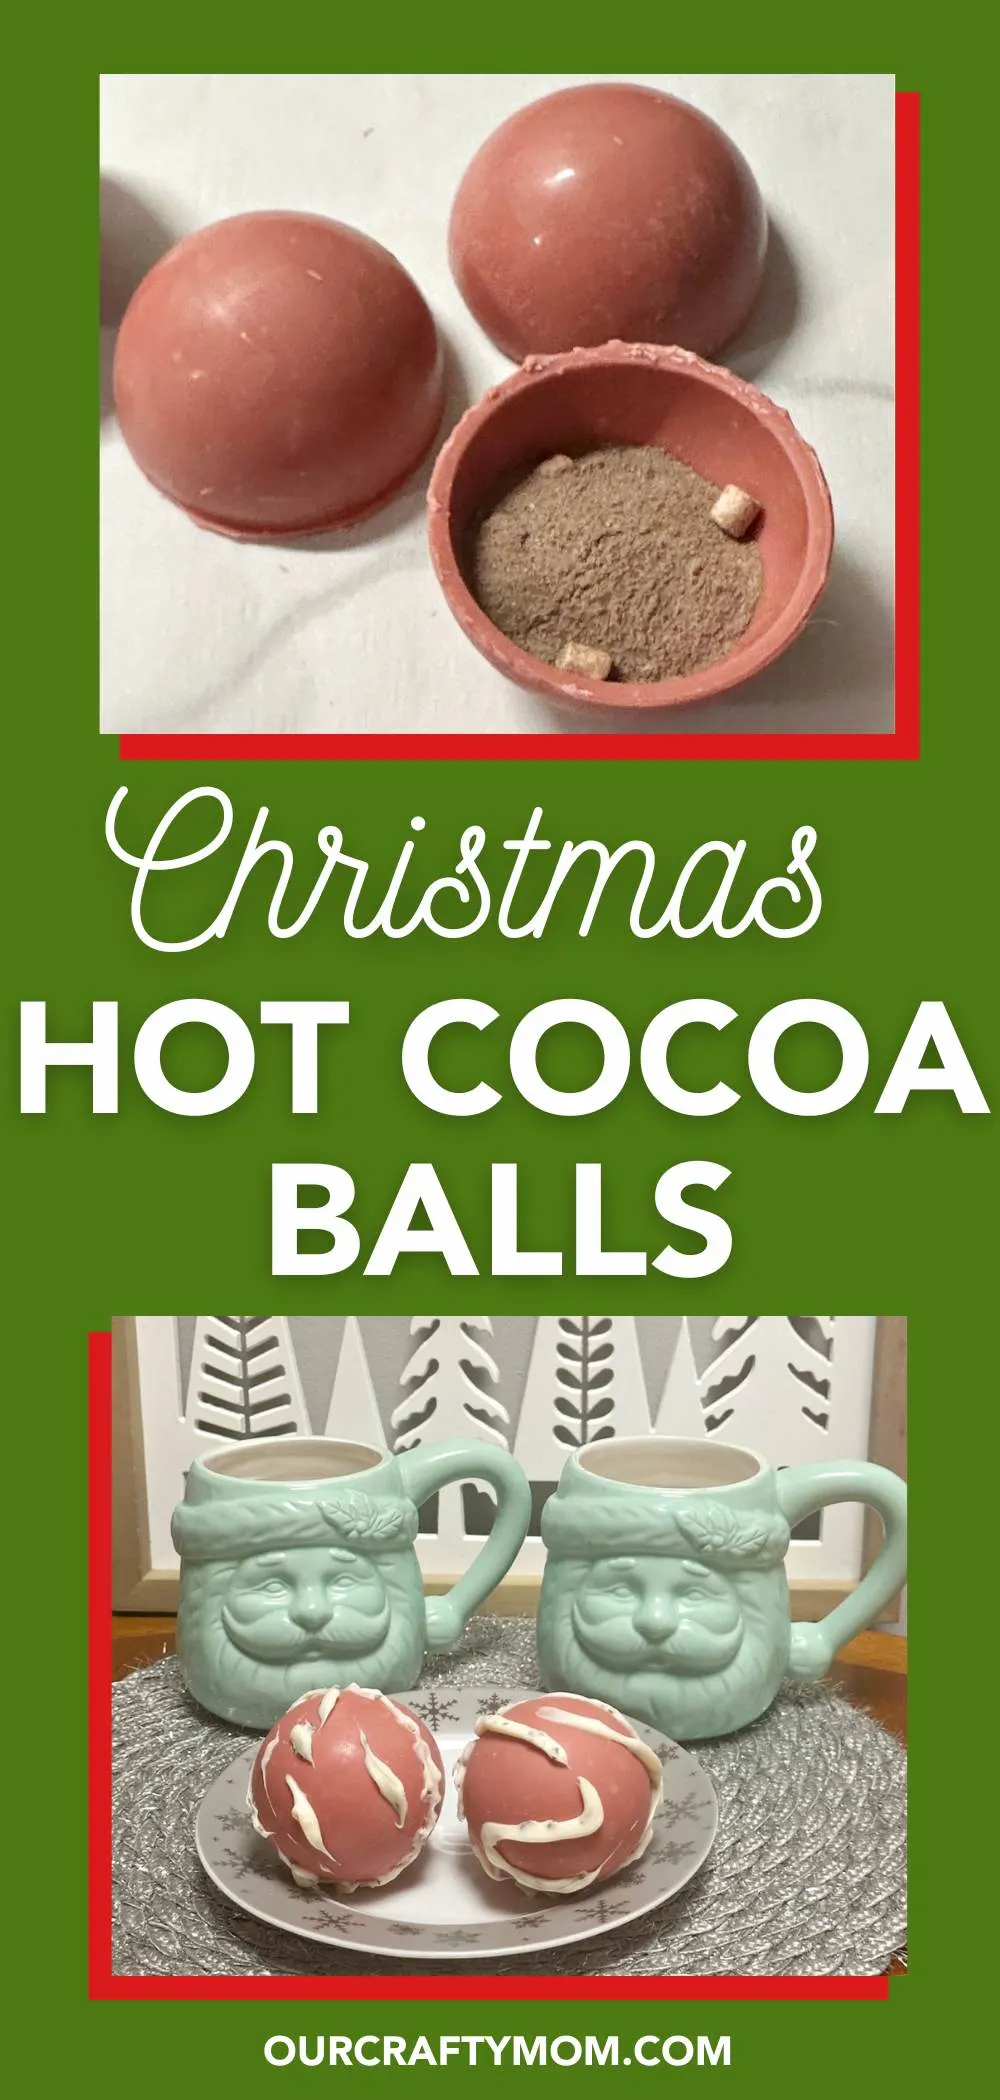
Pin this post to your favorite Christmas or home decorating board on Pinterest.

Thank you so much for stopping by. Wishing you a very happy holiday season!
How Do You Use Hot Chocolate Bombs?
Hot cocoa bombs are extremely popular and can be made in different flavors and color combinations.
Simply place a hot cocoa bomb inside a mug. Pour hot milk or hot water (milk is preferred) over the top to melt the hot cocoa bomb.
As the candy coating melts, the cocoa powder and marshmallows inside are revealed. Stir and enjoy!
How Do You Store Hot Cocoa Bombs?
Store chocolate bombs in an airtight container. Keep refrigerated. They’ll stay fresh for up to 1 week.
Easy Christmas Hot Cocoa Bombs
Follow these easy steps to make perfectly smooth hot cocoa bombs.
Ingredients
- 1 cup hot chocolate mix
- mini marshmallows
- melted chocolate
- hot milk or water
Instructions
- Melt the chocolate at 30-second intervals.
- Stir until smooth.
- Add your melted chocolate to each cavity mold to the fill line.
- Place the round disc into the chocolate.
- Press the top mold into the melted chocolate until it spreads evenly.
- Refrigerate for about 20 minutes.
- Carefully remove the top layer, then press on the bottom layer to remove the cocoa bombs.
- Fill the chocolate bomb about 3/4 of the way with your favorite hot chocolate mix and marshmallows.
- Seal the hot cocoa bombs by melting the chocolate disc on a warm plate.
- Decorate as desired.
- Place in a cup of hot milk and enjoy!
Recommended Products
As an Amazon Associate and member of other affiliate programs, I earn from qualifying purchases.
-
 Hot Chocolate Bomb Molds | Four Parts Special Mold made by BWB Embalagens in Brazil | Chocolate Molds that help you make a Viral Treat at home | Ideal Product in the Kitchen (60mm Sphere)
 -
 Bovado 1.5 Quart Glass Bowl for Storage, Mixing, Serving - Clear, Dishwasher, Freezer & Oven Safe Quality Glass, Easy-Clean (1.5 Quart)…
 -
 M KITCHEN Silicone Spatula Set - Heat Resistant & BPA Free - 4 Piece Nonstick Rubber Spatulas, Spoonula, Jar Scraper for Cooking, Baking, Mixing, Frosting - Dishwasher Safe Kitchen Utensils
 -
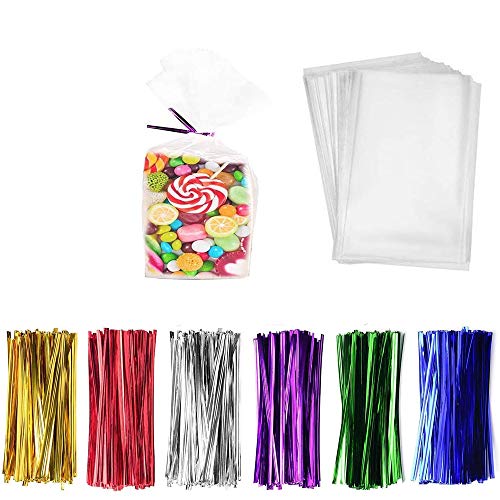
 300 Pcs Clear Candy Bags with Ties Clear Cellophane Bags 4"x6" Cookie Bags with 6 Mix Colors Twist Ties - 1.4mils Thickness OPP Plastic Bags for Wedding Birthday Cake Pop Gift Candy Buffet Supplies
More Holiday Recipes
- 3 Ingredient Christmas Cookies
- Christmas Dessert Charcuterie Board
- No Bake Peanut Butter Desserts
- Sweet Treats for Valentine’s Day
- Delicious Ice Box Cakes to Make
- 51 Red Velvet Recipes
- 47 Yummy Dump Cake Recipes
You can find me on social media below:


