Learn how to give a Crown Royal whiskey bottle a shabby chic makeover using napkins, paint, and mod podge in this stylish upcycling tutorial.

This post contains affiliate links at no extra cost to you. Please see my full disclosure here.
Crown Royal Whiskey Bottle
Save those empty whiskey bottles!
This empty Crown Royal whiskey bottle was too pretty to dispose of, so why not craft with it?
I’m all about easy, unique and inexpensive crafts and this one checks all the boxes!
The raised details are just perfect for some distressing and even the gold cap is pretty.
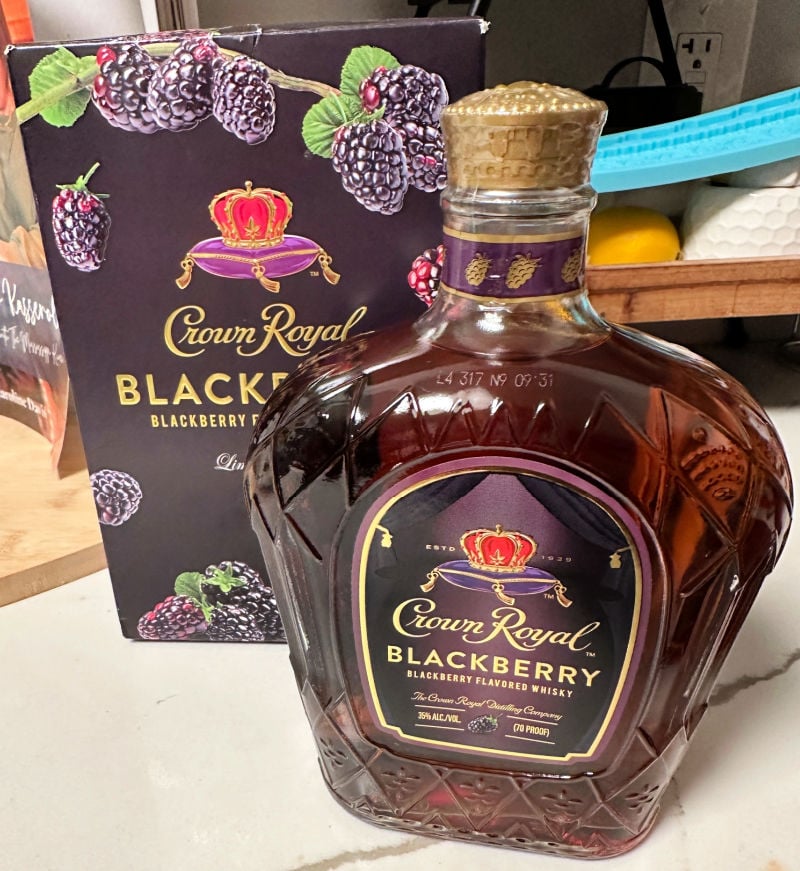
After making this Crown Royal blackberry sangria and Crown Royal blackberry lemonade, I had empty whiskey bottles that I knew could be upcycled into something pretty.
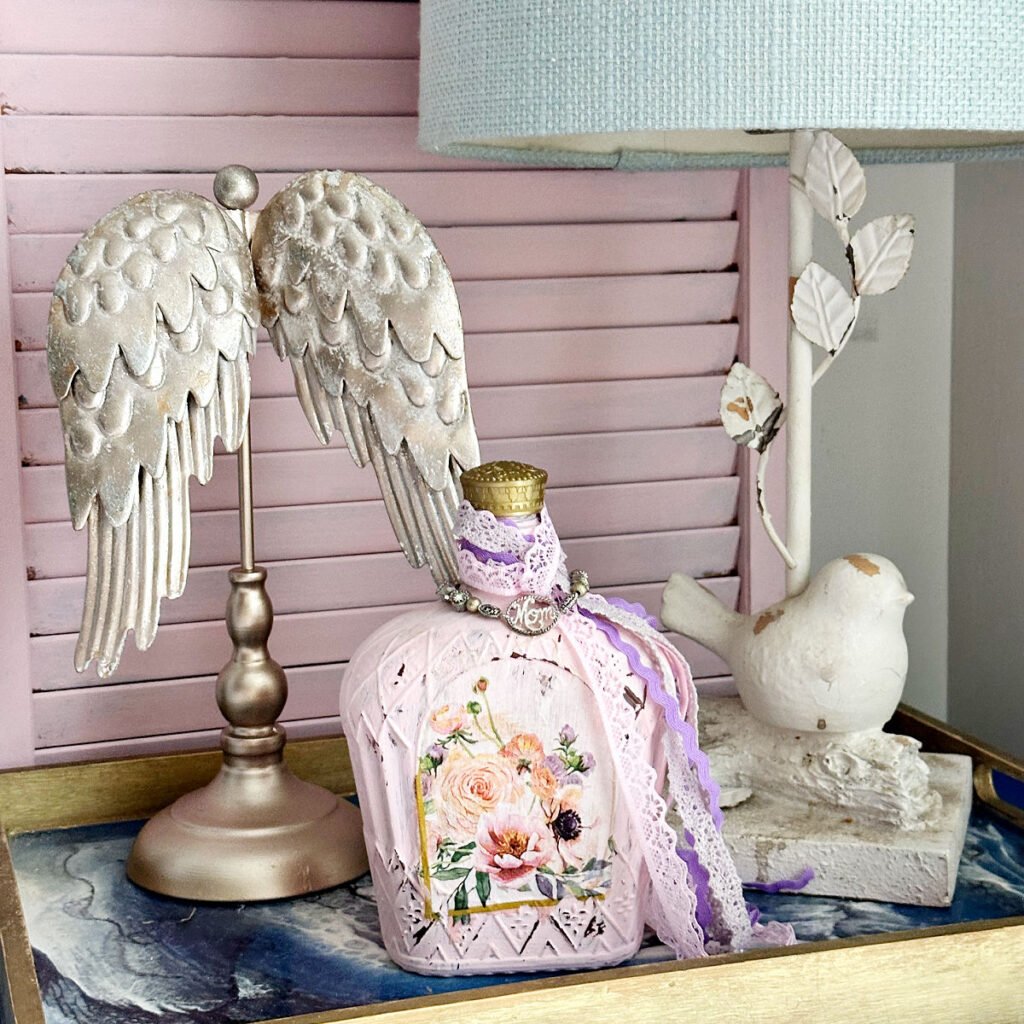
A little paint and my favorite decoupage with napkins technique and this baby is given new life to display in a pretty vignette on my nightstand.
Keep reading for all the details, including a printable step-by-step craft card at the bottom of this post.
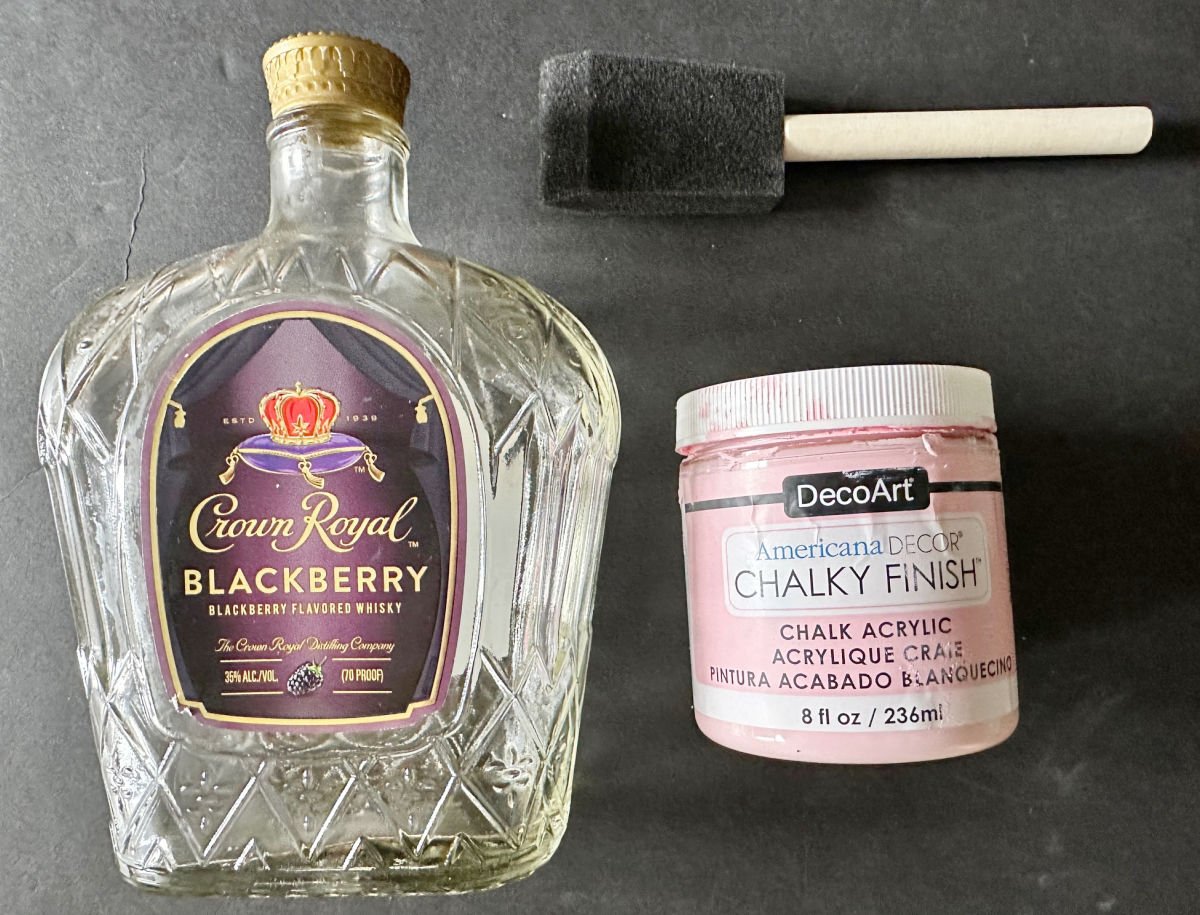
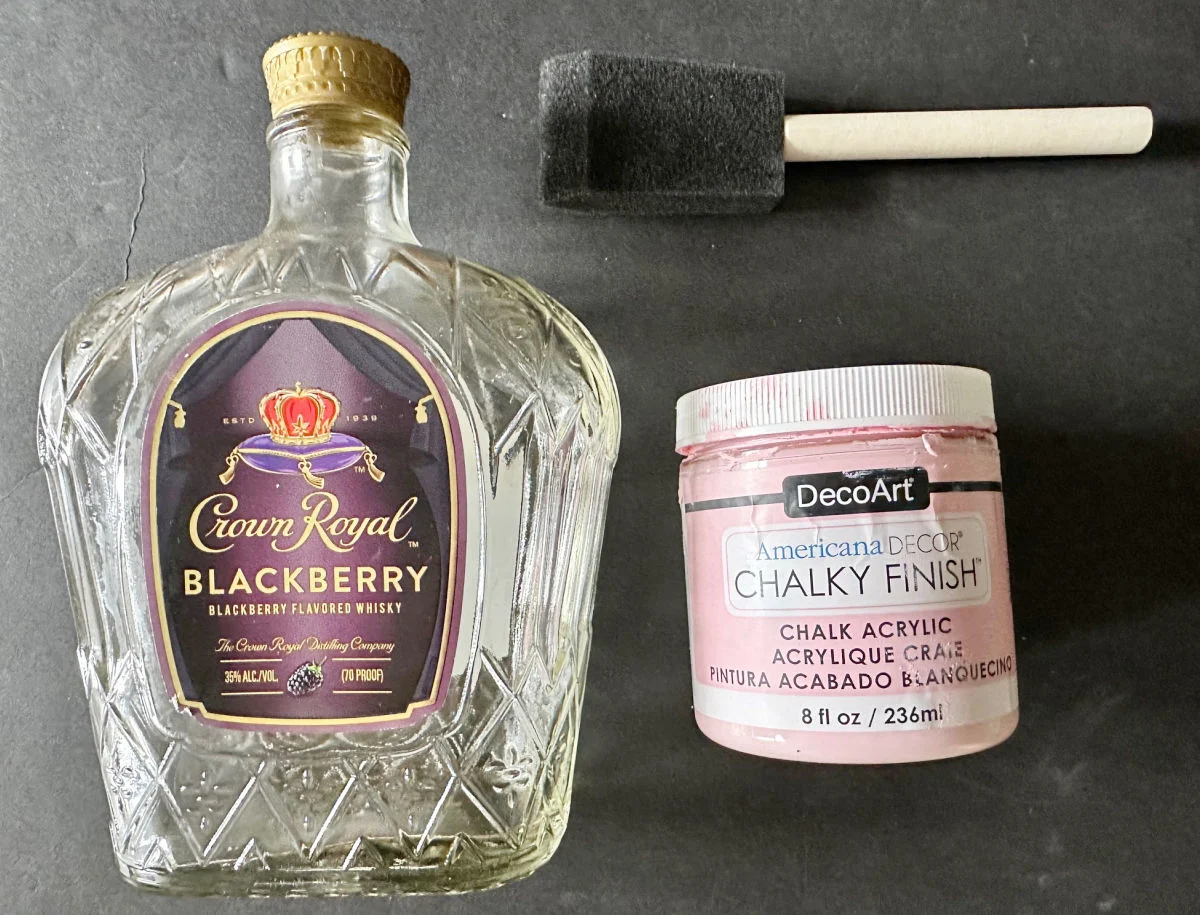
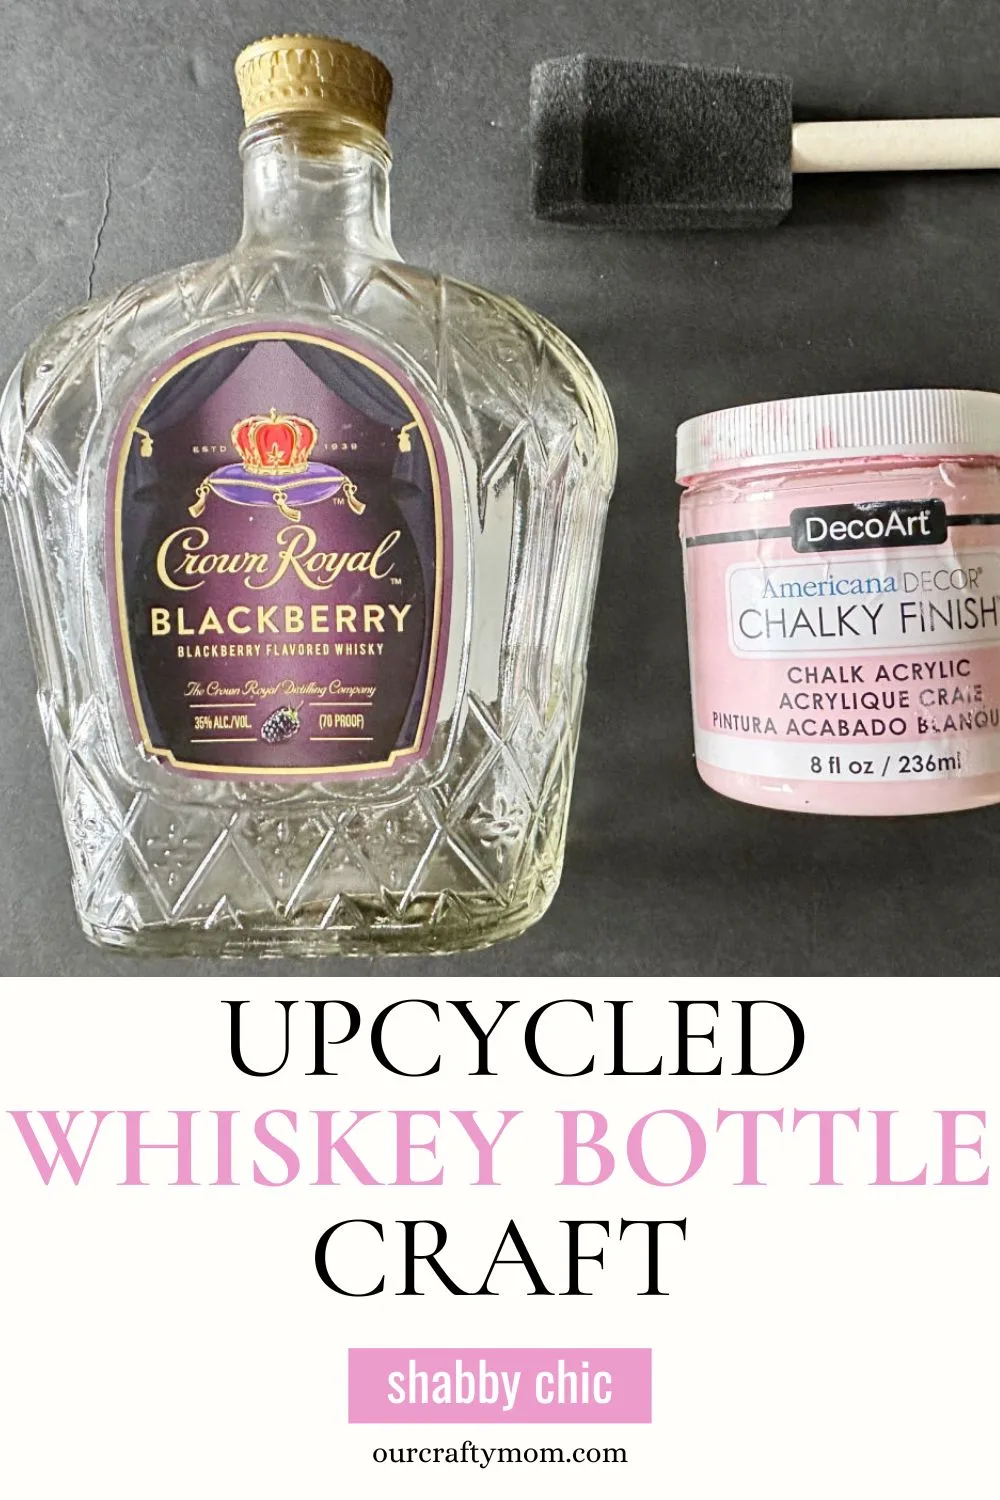
Supplies for Crown Royal Bottle Crafts
Here is what I used for this shabby chic whiskey bottle craft:
- Empty Crown Royal Bottle – If you don’t drink, ask a friend who does to save their empty bottles!
- Foam Paint Brush – I love the multipack with different size brushes.
- Chalk Paint – For a shabby chic look, I chose pink, but go with any color you like.
- Mod Podge – Check Dollar Tree for mini bottles.
- Mini Hand Sander – This Gator sanding tool is my new favorite #lowesfind!
- Goo Gone – This makes removing label residue a breeze.
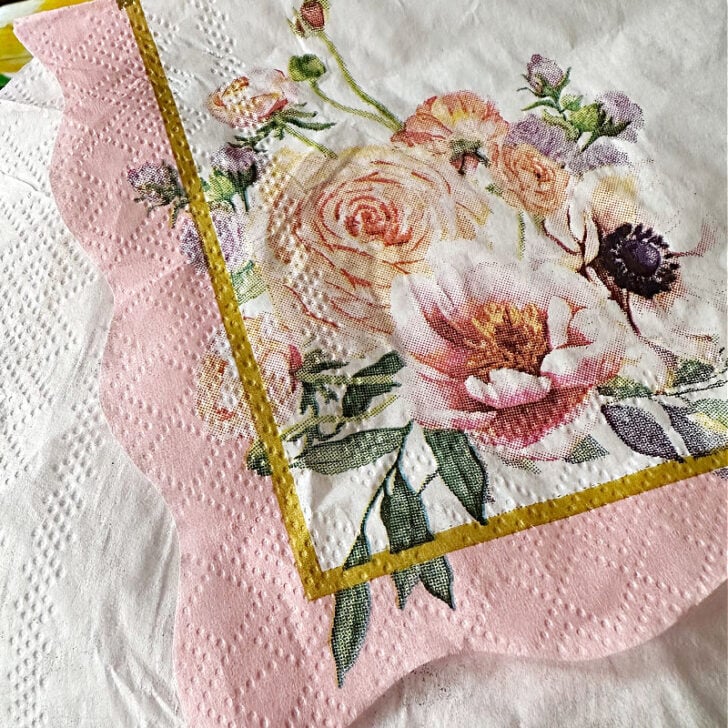
- Napkins – The pretty floral napkin was a fun find at Homegoods. You can also check Dollar Tree.
Instructions for Whiskey Bottle Craft
One of the best things about this empty bottle craft is how versatile it is.
Here are just a few creative ideas:
- Bottle Lamps or String Light Décor – Turn your whiskey bottle into a unique lamp or insert string lights for cozy, ambient lighting—great for bars or man caves.
- Soap or Lotion Dispensers – Upcycle bottles into functional bathroom or kitchen accessories by adding a pump top for stylish soap or lotion dispensers.
- Painted & Decoupaged Vases (this is what I chose) – Add color, patterns, or vintage charm using paint and decorative napkins with decoupage for a stunning shabby chic look.
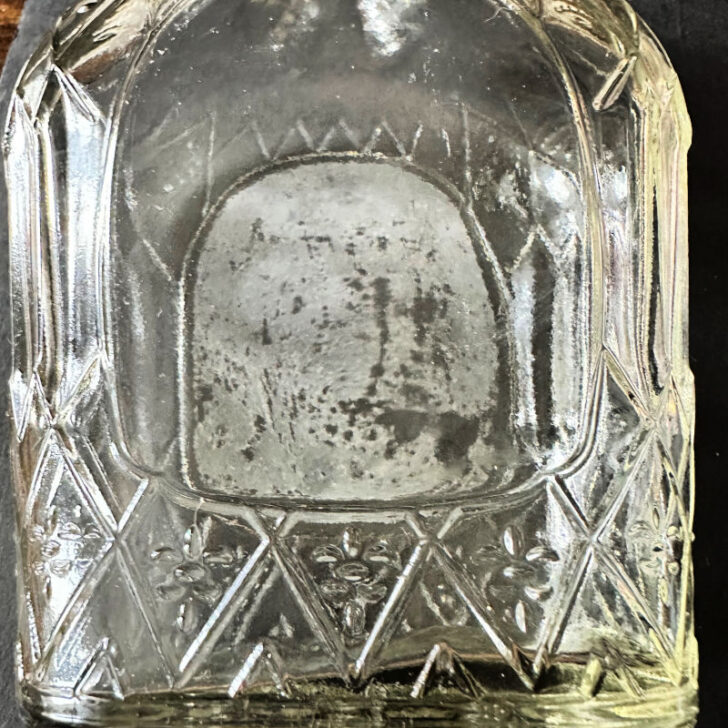
Step 1. Remove the Label
Removing labels from empty bottles is usually a pain, so I always use goo gone.
It makes it super easy. Simply peel the label and use a paper towel and goo gone to remove the residue.
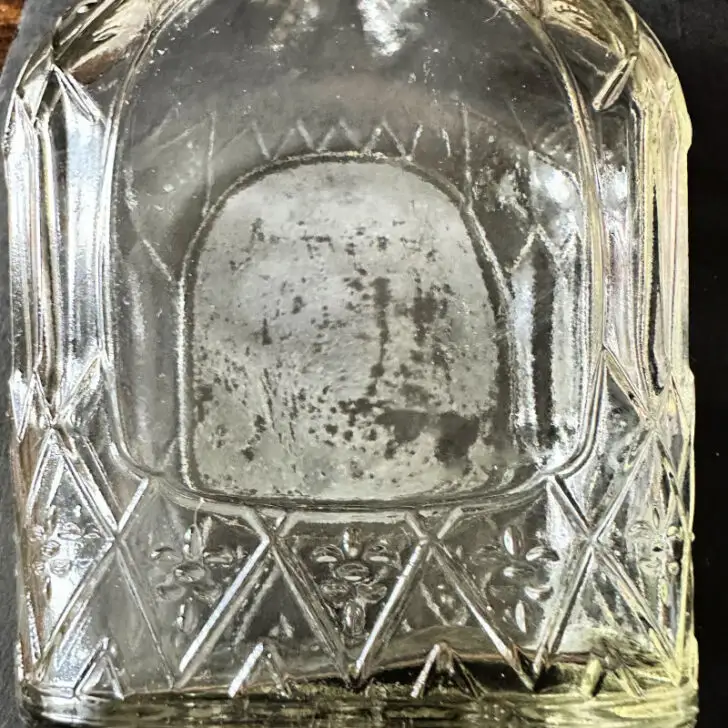

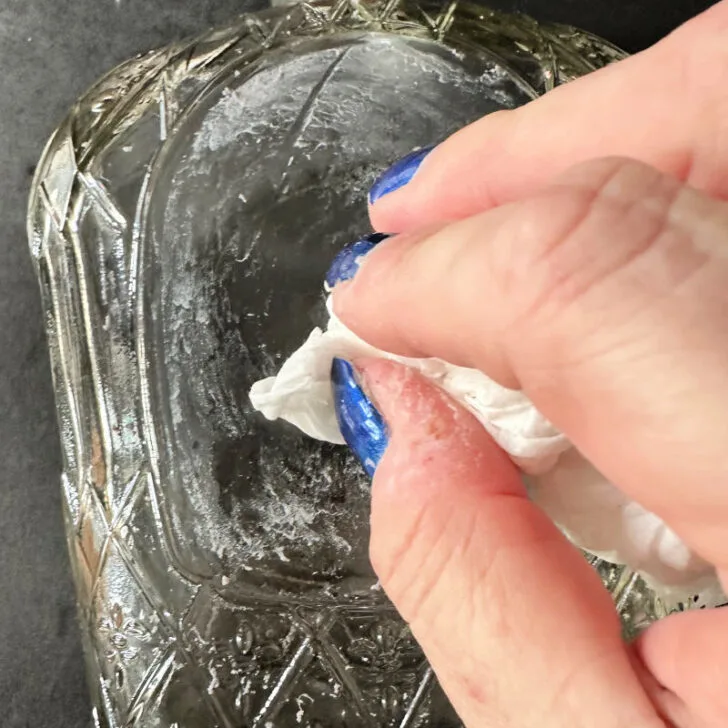
Once the residue is removed, use a bit the rubbing alcohol to remove any fingerprints.
Step 2. Paint the Empty Whiskey Bottle
Next up, start painting light, even strokes onto the empty bottle. It’s best not to put too much paint onto your brush at first.
Also, I chose to go with more of a whitewash paint finish for more of a distressed look.
Two coats did the job, but if you want a solid finish, you will need at least three coats.
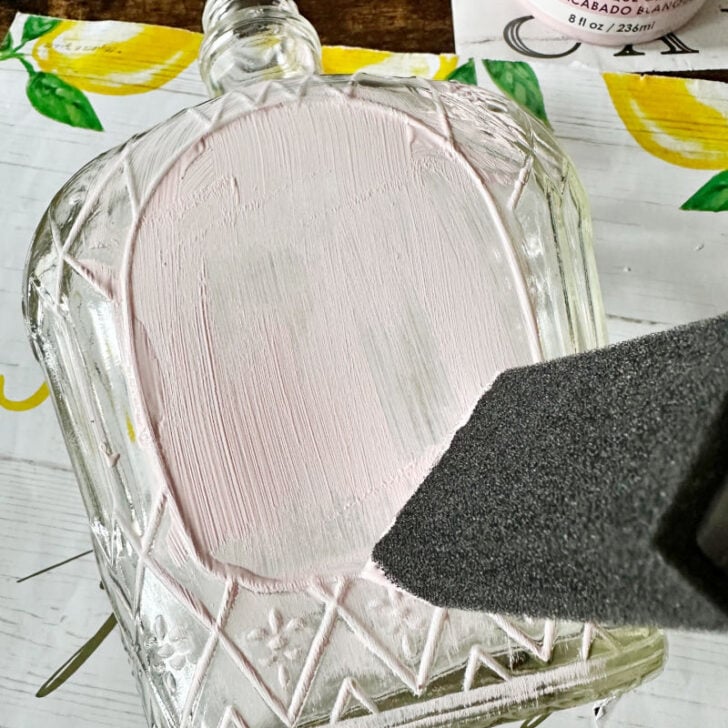


You can see the details pop already after one coat!
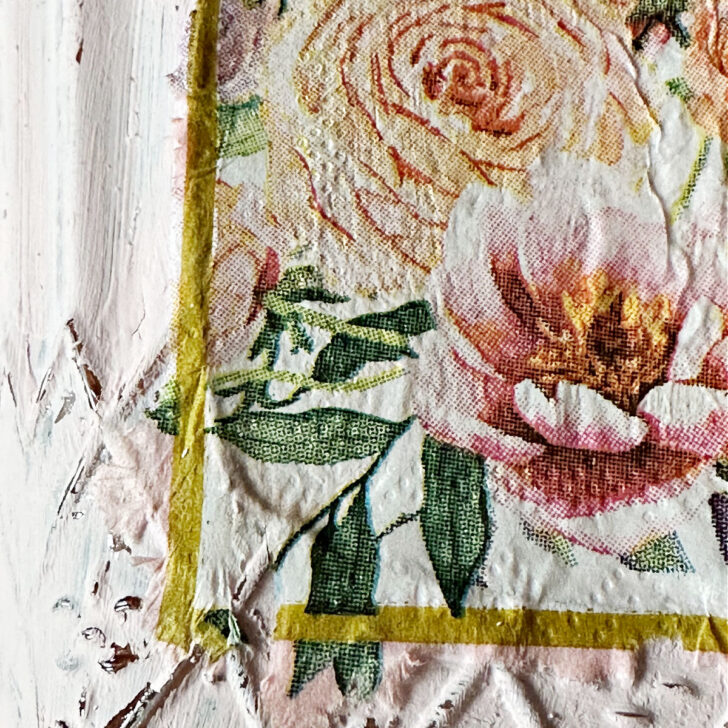
Step 3. Add Mod Podge and Napkin
Remove the top printed layer of your napkin and dispose of the second layer. Trim the napkin to fit the area you want to cover.
I chose to place it just in the center where the label was, so as not to cover the pretty detailing.


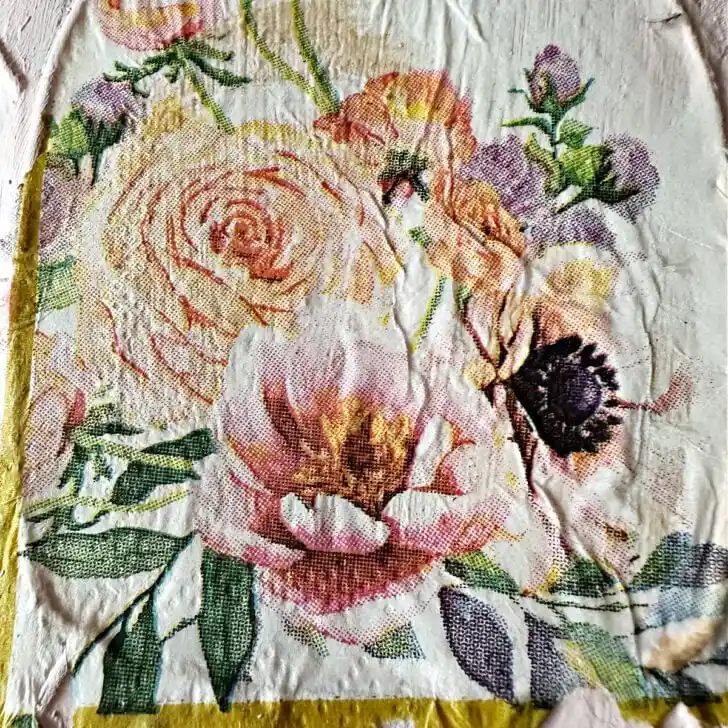
Place a coat of mod podge directly onto the glass bottle.
Step 4. Lightly Press with Plastic Wrap
Napkins are very thin and can tear easily. One pro tip I have is to press the napkin down with a sandwich bag or plastic wrap on your finger.
Lightly press and remove wrinkles. I liked the look of some wrinkles in the center to go with the shabby chic look, but that is a personal choice.


Here is a detailed tutorial on how to decoupage with napkins.
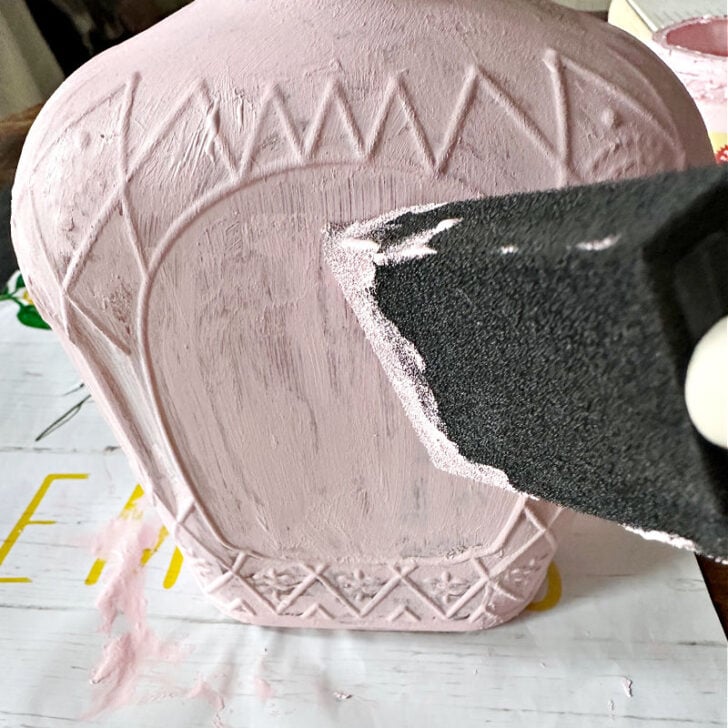
Step 5. Distress Painted Bottle
The next step is optional, but makes the details pop. Use your mini hand sander to distress the edges of the raised glass.
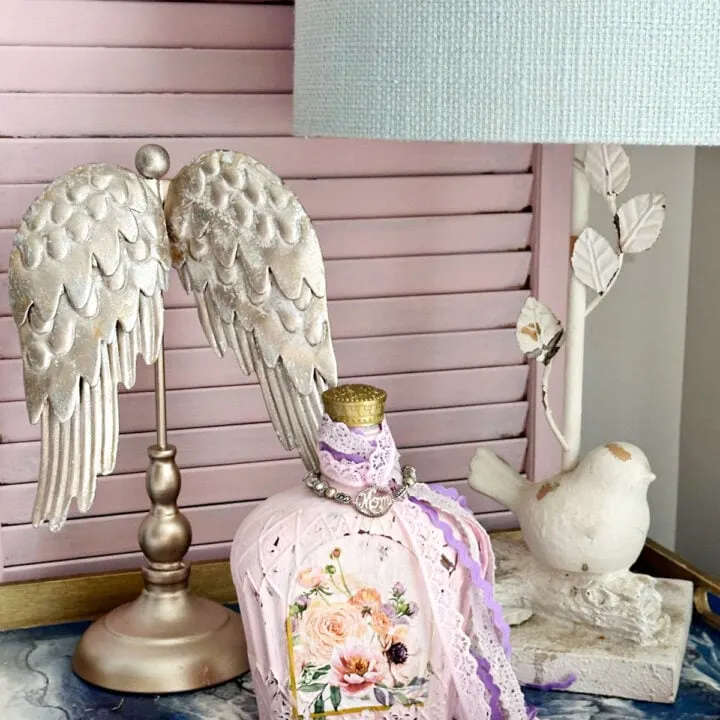
Decorate your bottle as desired! To add extra dimension and customize the piece, I added a few delicate ribbon pieces and a cherished mom bracelet that my children gave me many years ago.
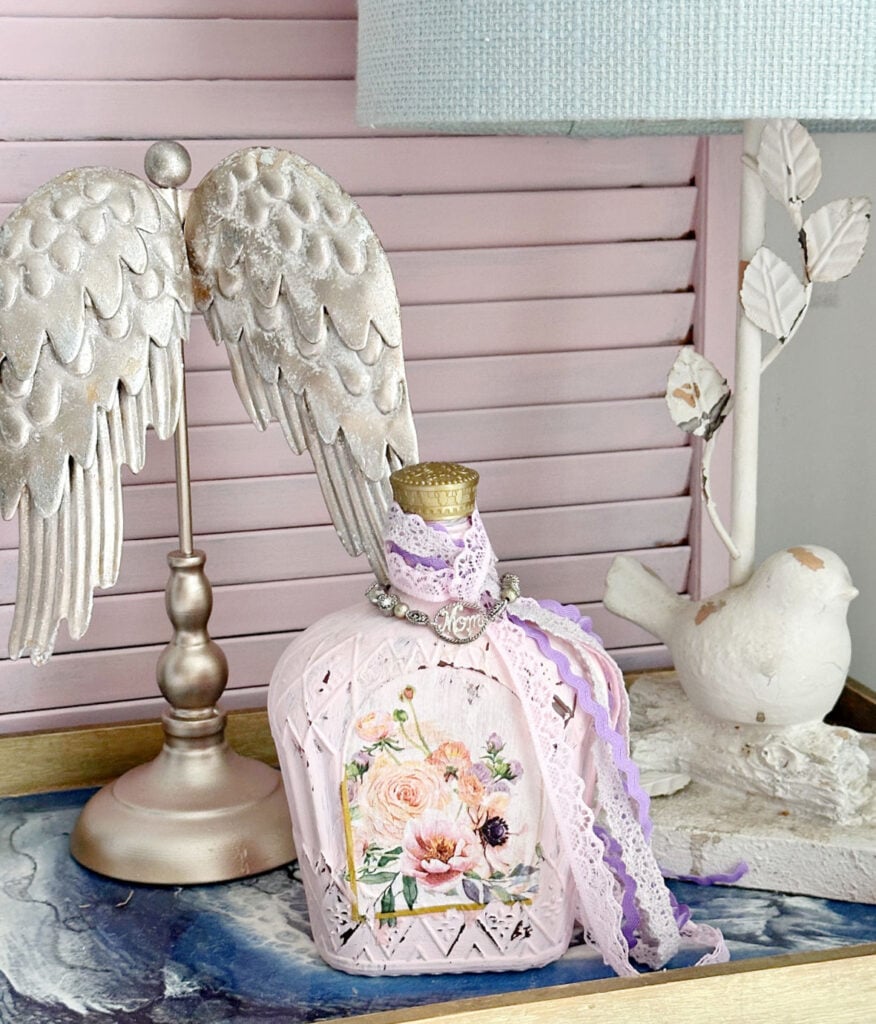
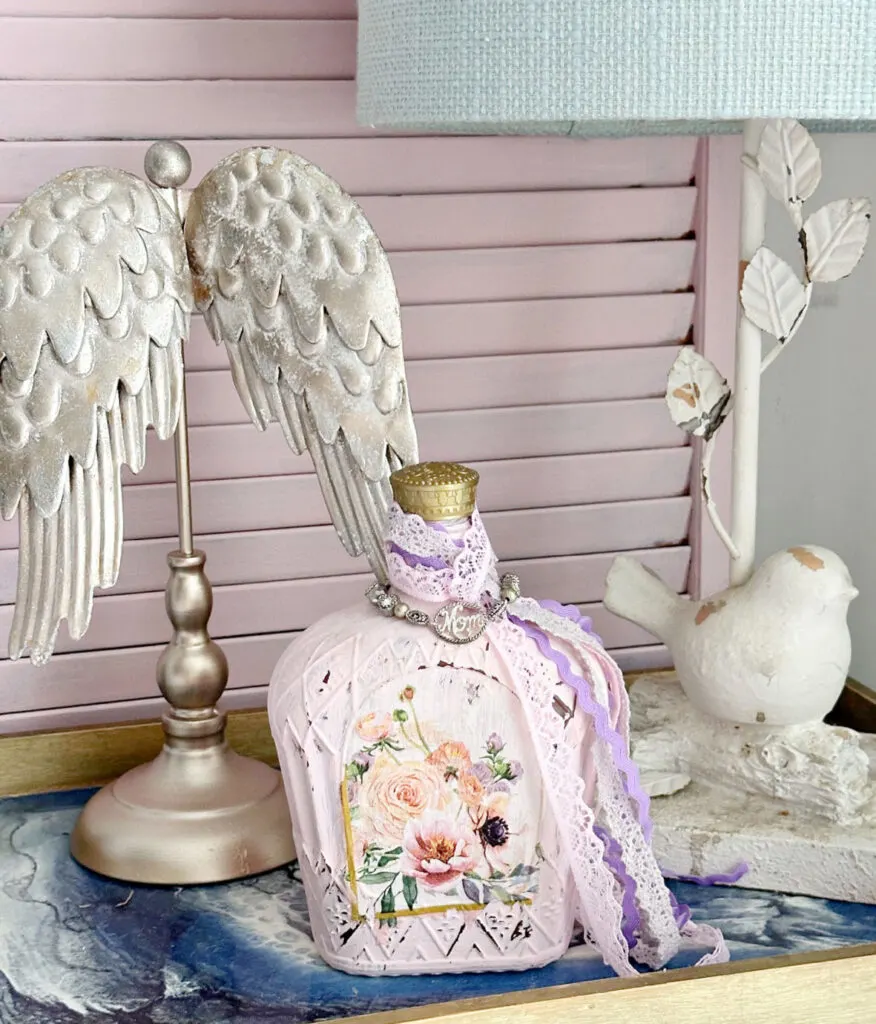
This beauty sits on my nightstand with a few other shabby chic pieces and makes me smile everytime I see it.
It would also look great displayed on a bookshelf or on a coffee table in a summer vignette. Add a couple of cut flowers if you like.
My friend Kathy, from Petticoat Junktion, upcycled an empty Crown Royal bottle using a hydro dip paint technique that is just gorgeous. I may try this with my next bottle!
Pin For Later
Share this article with your friends on Pinterest by pinning the below image.
It helps my blog to grow and doesn’t cost a thing! 🙂

Thanks so much for stopping by. Happy crafting!


Crown Royal Whiskey Bottle Craft
Materials
- Empty Crown Royal Bottle
- Chalk Paint
- Mod Podge
- Napkins
- Goo Gone
Tools
- Mini Hand Sander
- Foam Paint Brush
Instructions
- Peel the label and use a paper towel and goo gone to remove it along with any residue.
- Paint light, even strokes onto the empty bottle with your paint brush. You will need 2-3 coats for proper coverage.
- Remove the top printed layer of your napkin and dispose of the second layer. Trim the napkin to fit the area you want to cover.
- Place a coat of mod podge directly onto the glass bottle.
- Press the napkin down with a sandwich bag or plastic wrap on your finger to avoid tearing.
- Lightly press and remove wrinkles.
- Distress the edges of the raised glass with a hand sander or sandpaper.
- Decorate your bottle as desired.
Notes
**Cover with an additional top coat of mod podge if desired.
Recommended Products
As an Amazon Associate and member of other affiliate programs, I earn from qualifying purchases.
-

 Americana Décor Acrylic Chalky Finish Paint: Everlasting White, 8 oz
 -
 24 Pcs Foam Brush Set, Foam Paint Brushes, Wood Handle Sponge Brushes for Painting, Foam Brushes Sponge Paint Brush for Staining, Varnishes, and DIY Craft Projects (1'', 2'' and 3'')
 -
 Mod Podge CS11302 Waterbase Sealer, Glue and Finish, 16 oz, Matte
Here are even more easy upcycled crafts you may enjoy:
- 31 Wine Bottle Crafts
- Tin Can Wall Pocket Planters
- Wooden Carrots from Repurposed Spindles
- 35 Tin Can Crafts That You Must See
- 35 Gorgeous Mason Jar Crafts
- Old Window Decor Ideas
- Best Upcycled Wall Art Ideas
- 41 Affordable Container Gardening Ideas
- 19 DIY Pressed Flower Crafts
- Upcycled Thrift Store Art Tutorial
Follow me on social media below: