This DIY screen door kit is pet-friendly, apartment-friendly, and installs in minutes—no tools needed! Keep bugs out and fresh air in.

This post contains affiliate links at no extra cost to you. Please see my full disclosure here.
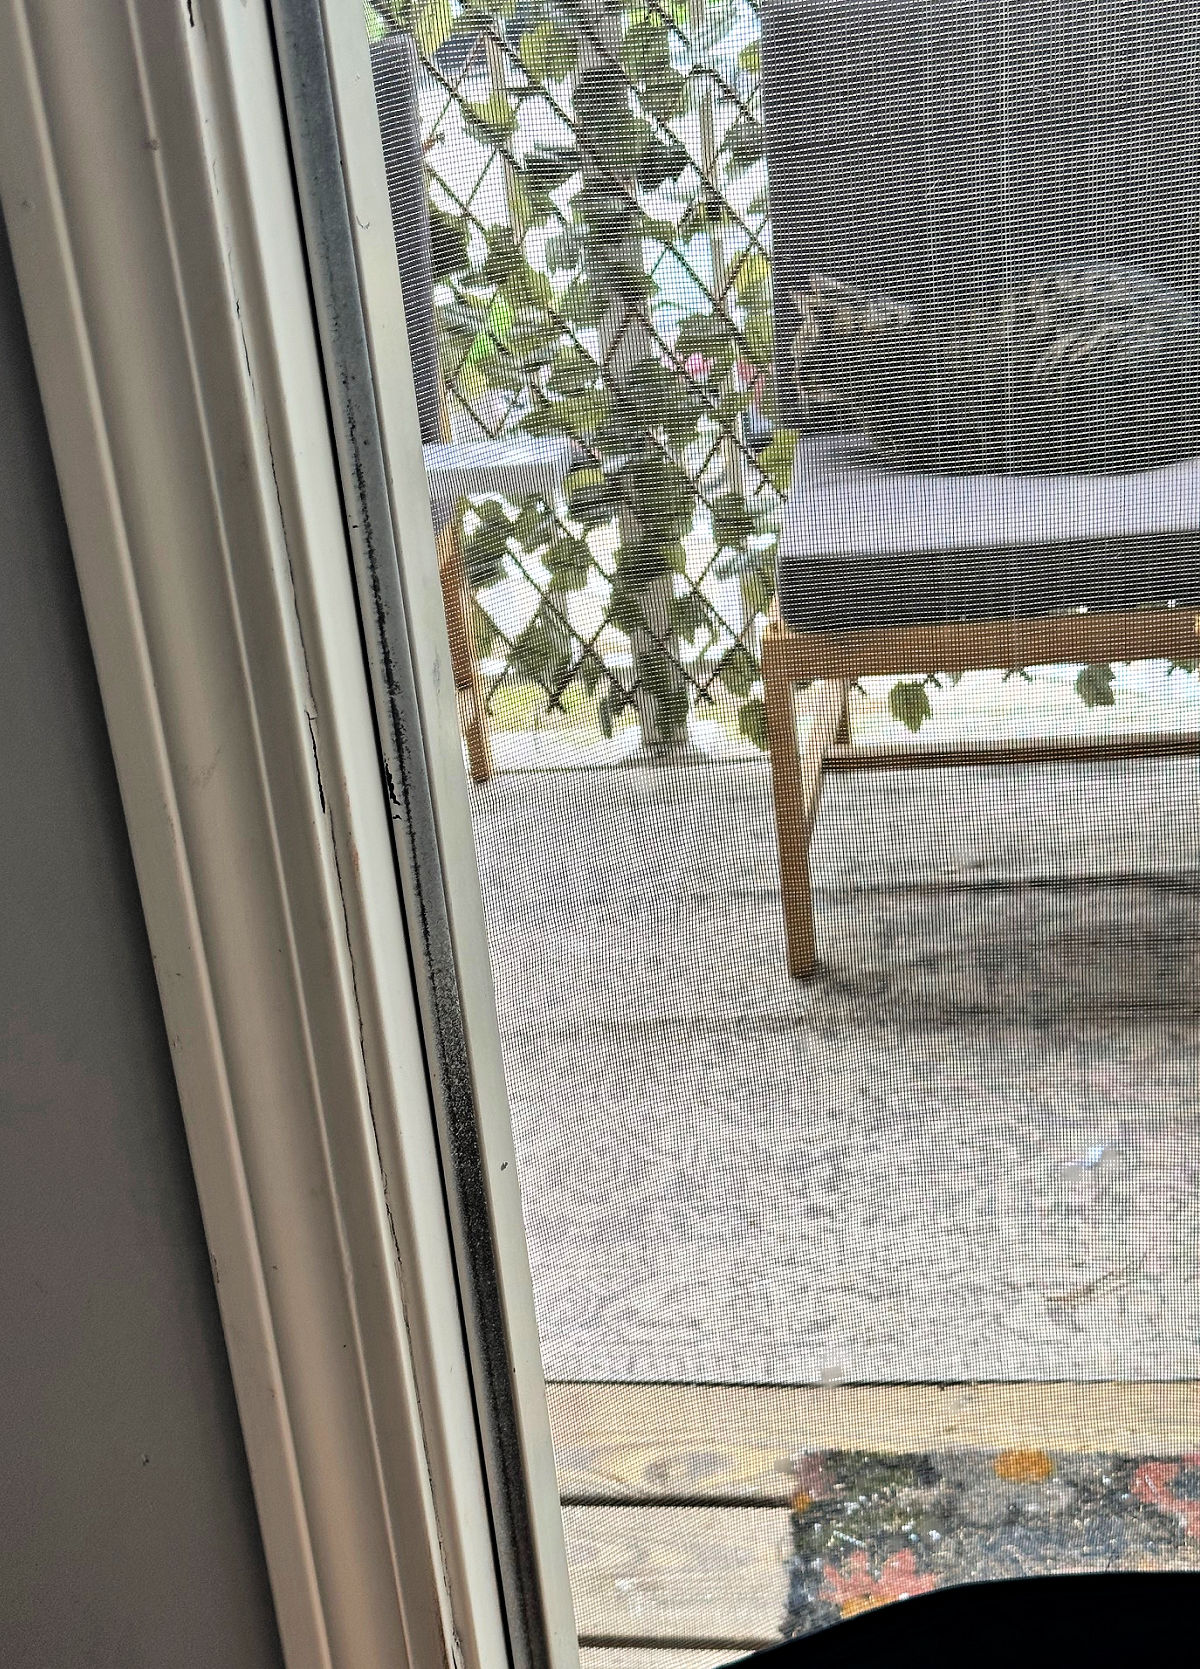
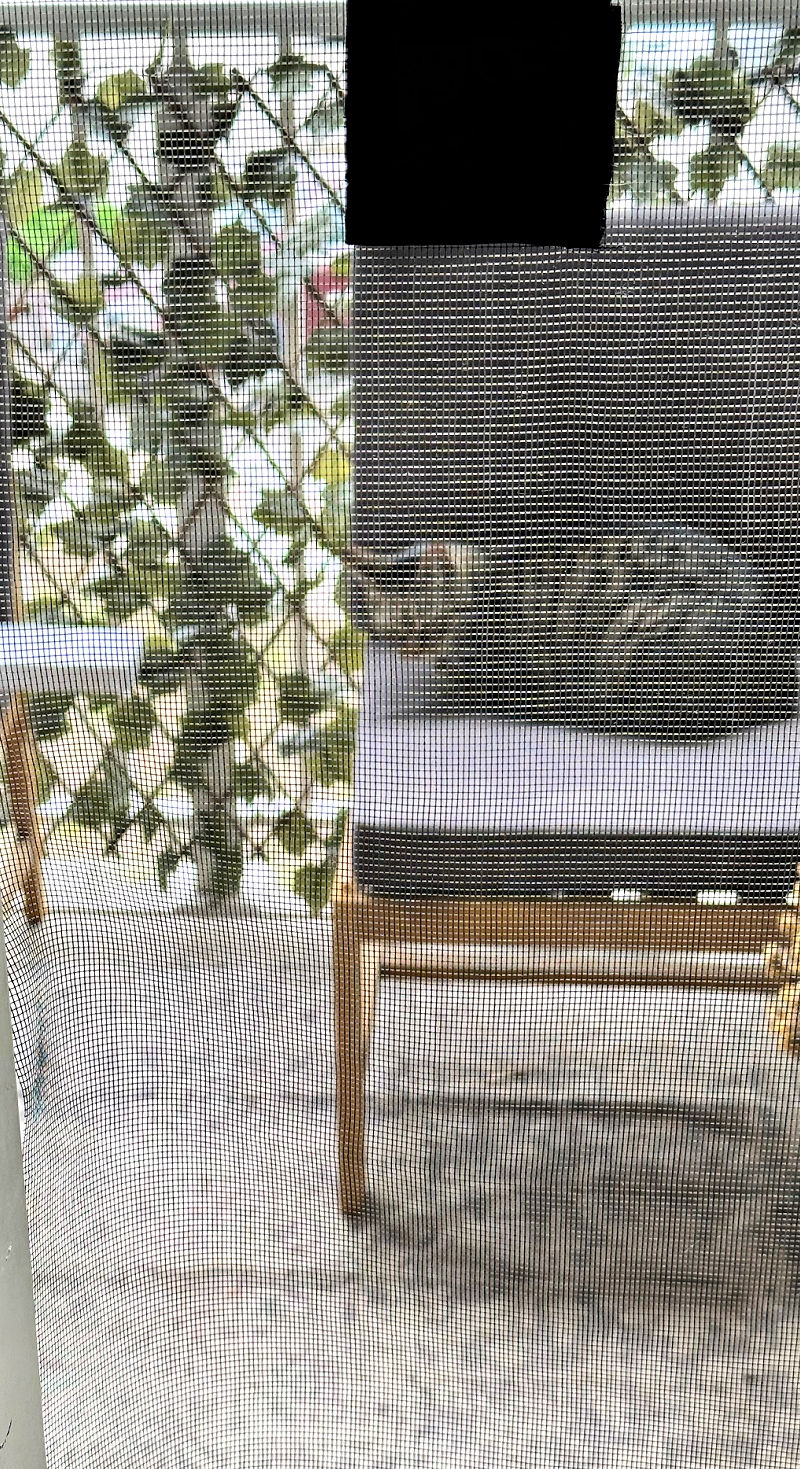
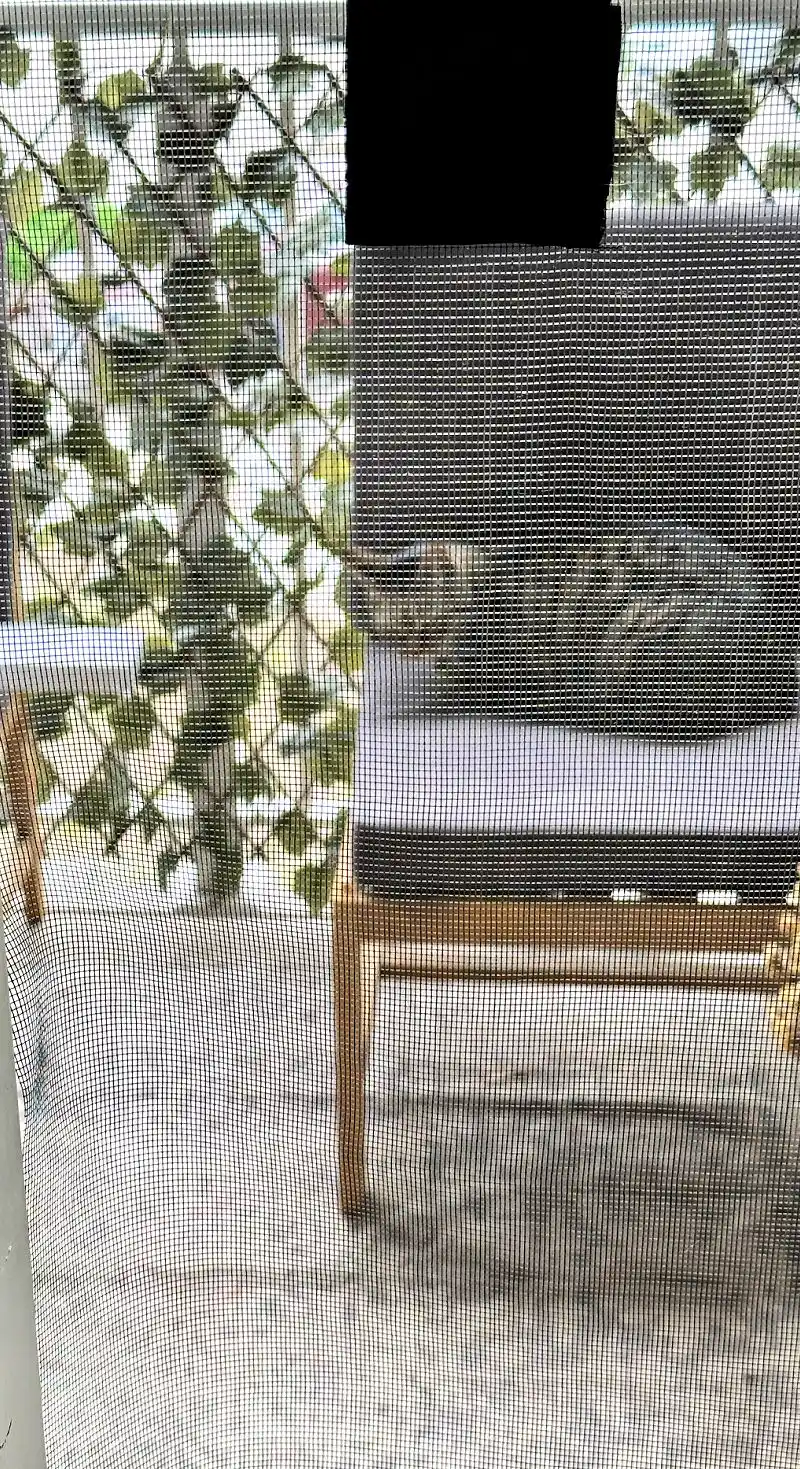
We have a French door in our living room that leads to our enclosed balcony. Our cats love to lounge outside weather permitting.
The problem is, they also like to come in and out frequently, so if I am in another room, I might not hear them.
So, I started leaving the door slightly open. That does not cause a problem until the bugs start coming out in May.


Because of the HOA, we are not allowed to install a screen door that requires drilling holes into the frame.
So I started looking for another screen solution that doesn’t require drilling.
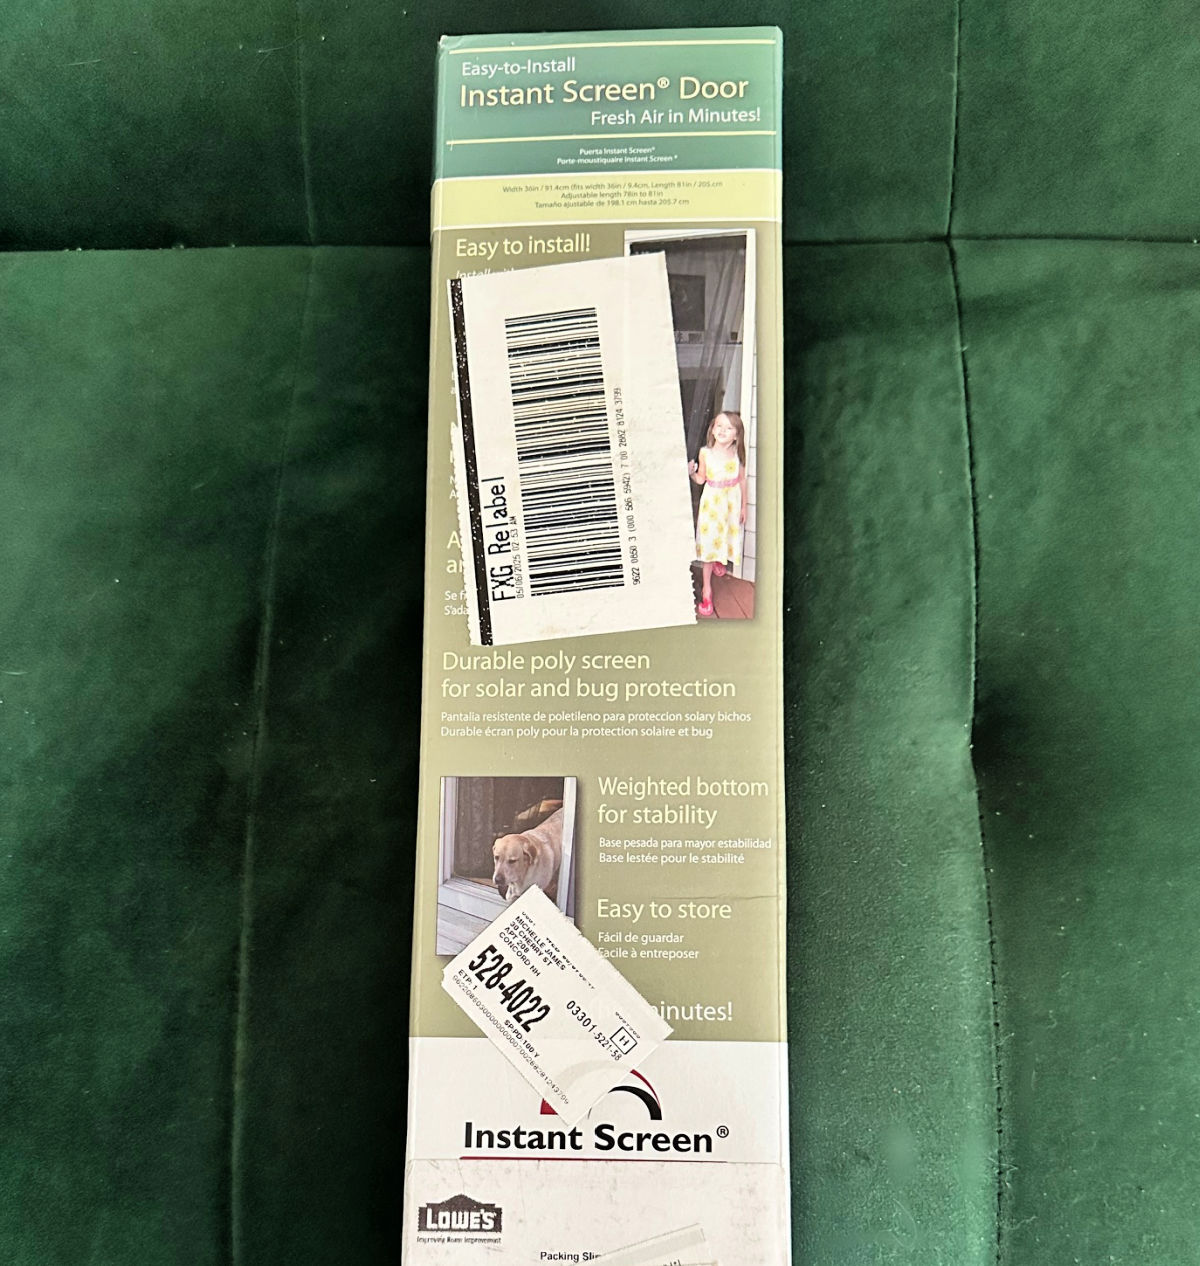
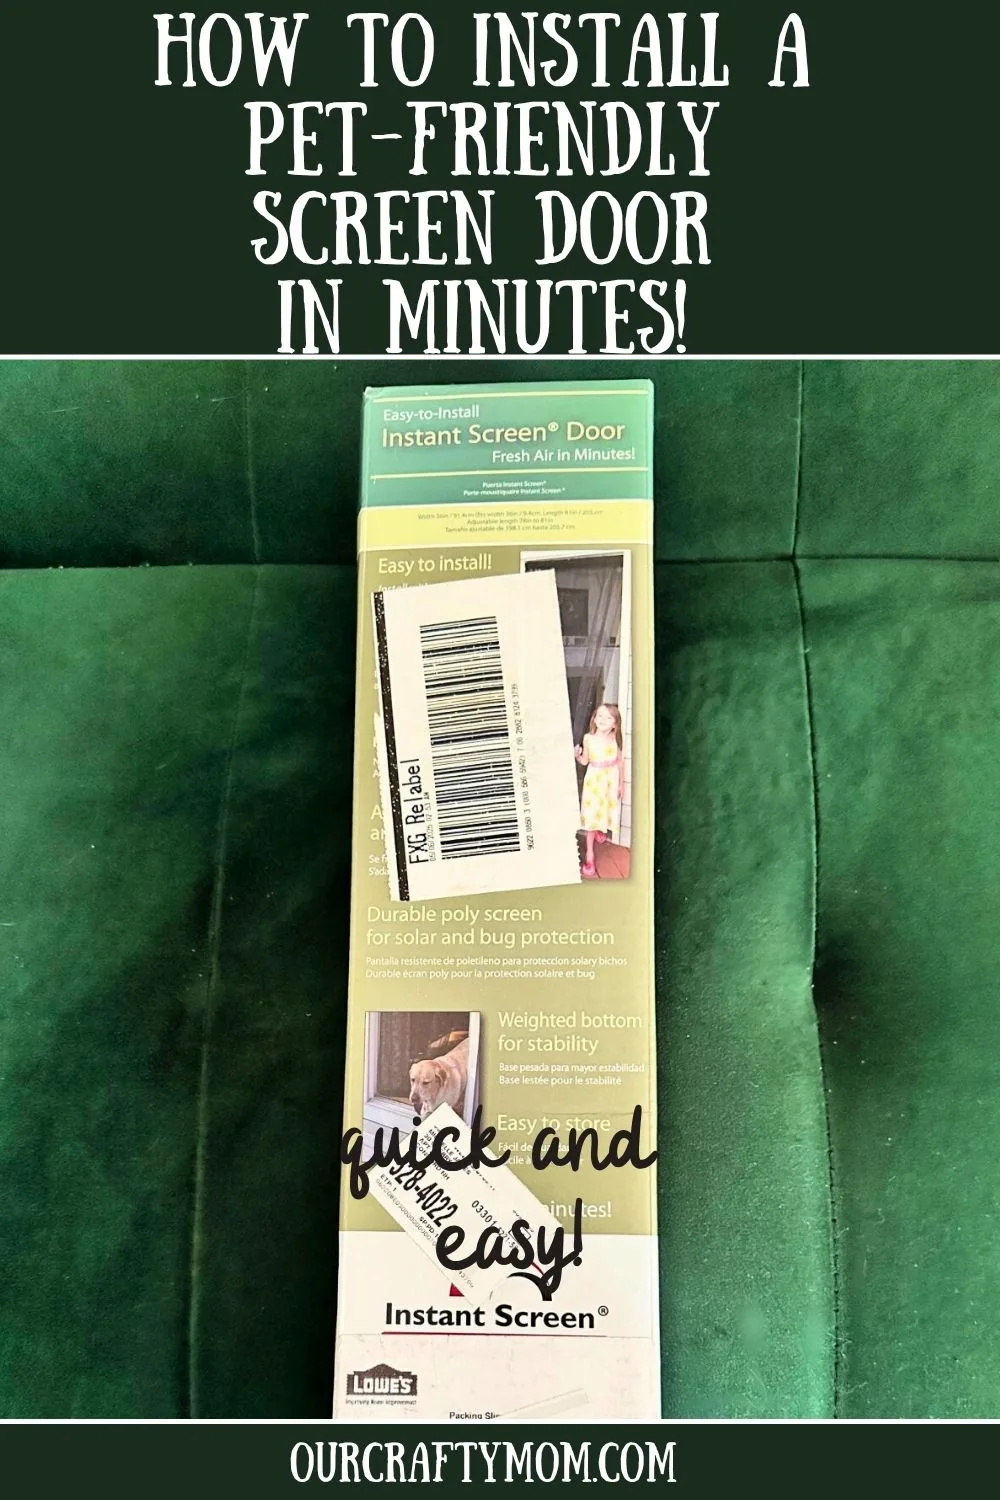
I was thrilled to find this Instant Screen Door Kit from Lowe’s. It checks all the boxes and is currently under $25.
This screen is a serious game-changer! The cats come and go as they please. It keeps the bugs out and let’s in fresh air.
DIY Screen Door Kit Features
Easy to install and uninstall, this screen door kit is both affordable and effective.
Made of durable fiberglass screen that is weighted at the bottom, providing a solid seal in your doorway. Can be installed by the included tension rod or included velcro.
- Easy to install with hook and loop or screw hooks
- Screen is a charcoal colored durable fiberglass-poly construction
- Screen has a weighted bottom and velcro tabs on side to keep screen closed
- Hardware is included
- Can roll screen to adjust height
- Durable quality screen
- Weighted bottom
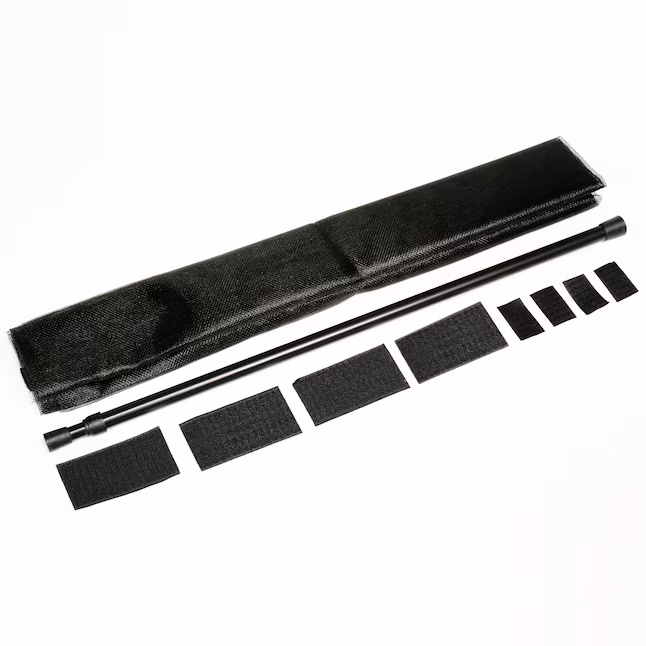
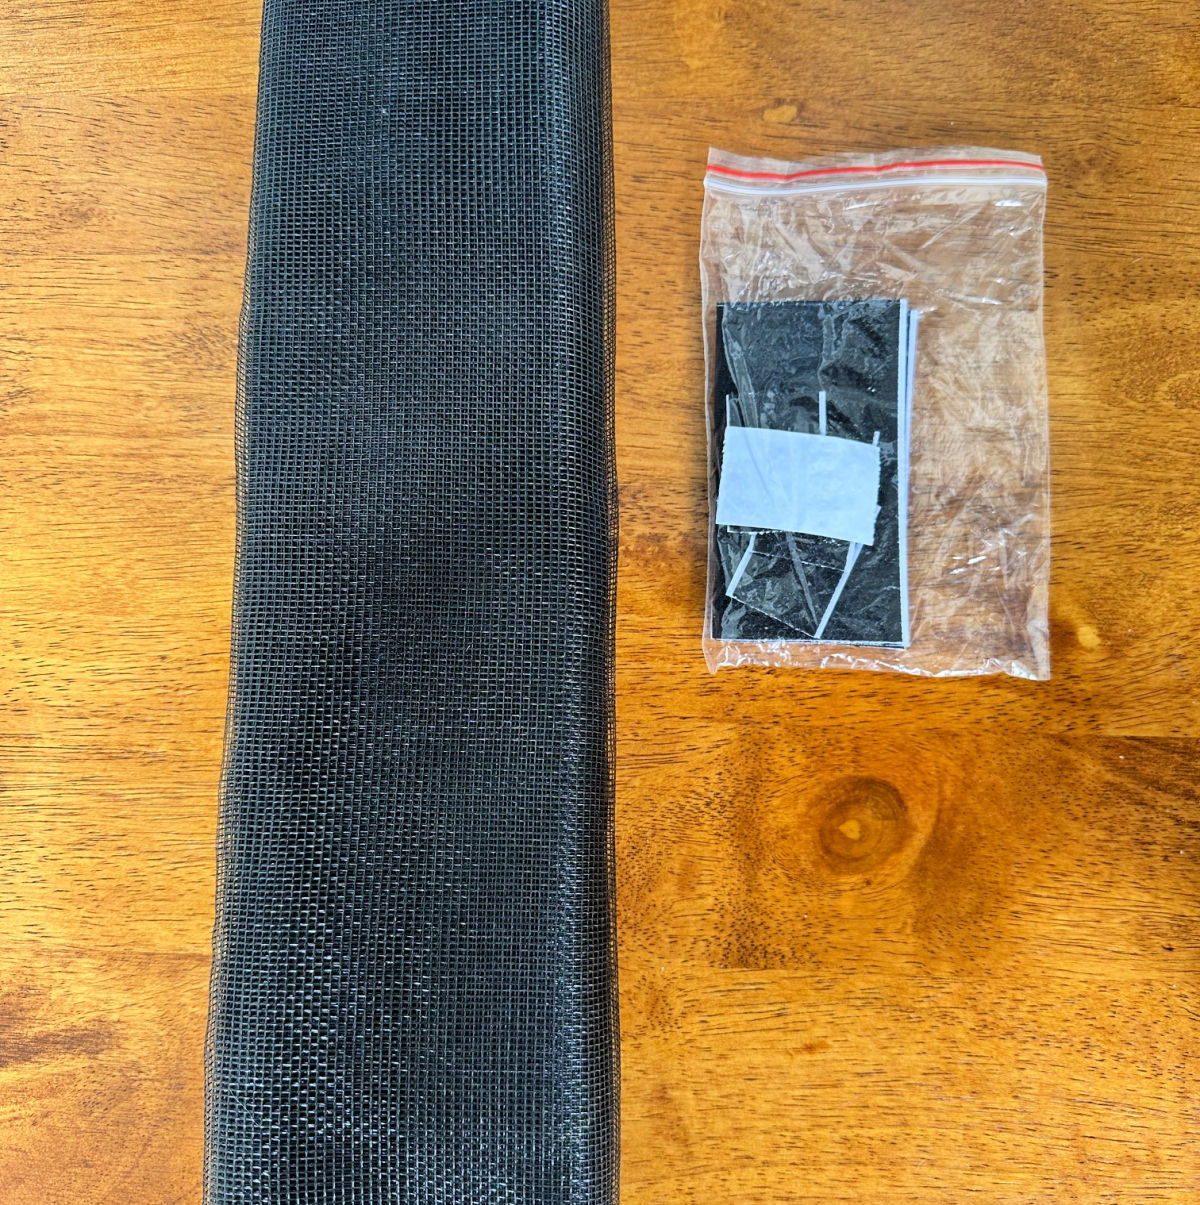
Supplies for Instant Screen Door
The great thing about this kit is it includes everything you need to install it right out of the box!
No tools needed, no holes made in your door frame.
You have the option to hang it with the included rod, or use the heavy-duty velcro that is also included.

How to Install an Instant Screen Door
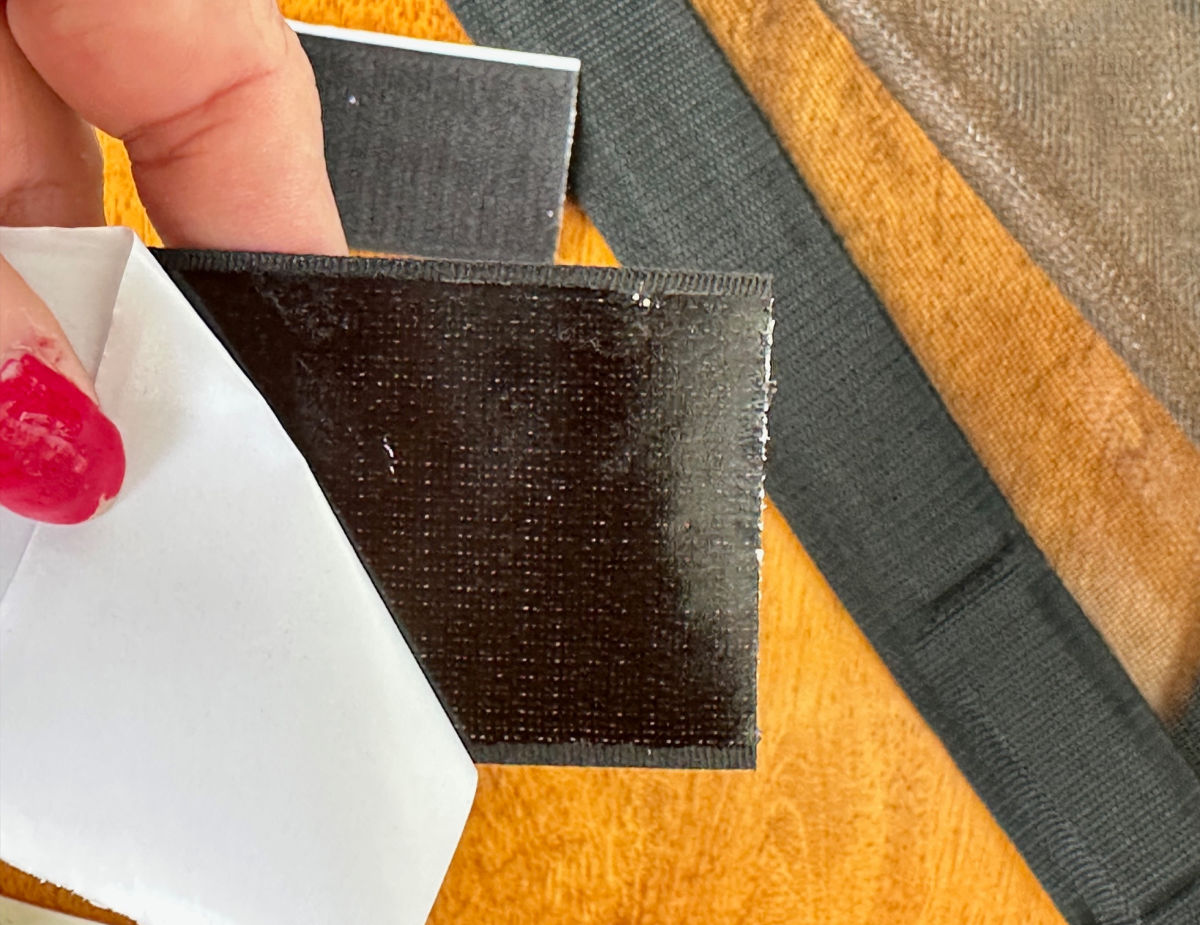
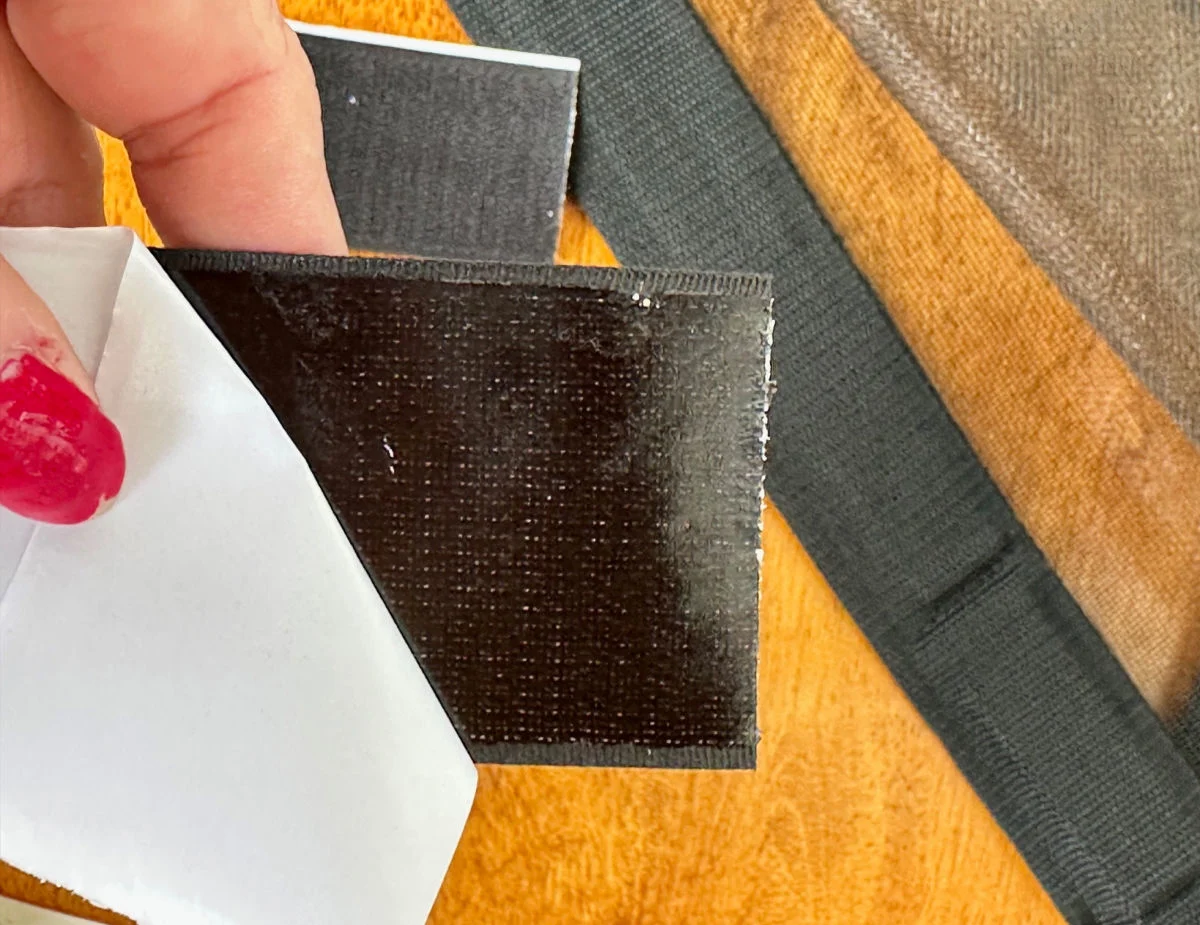
I chose to use the included velcro to hang my screen door. This is super heavy-duty velcro so you don’t have to worry about it coming off-unless you want to remove it.
Step 1. Attach the Main Velcro
Start by removing the backing from the large velcro piece and secure it to the top of the door frame.
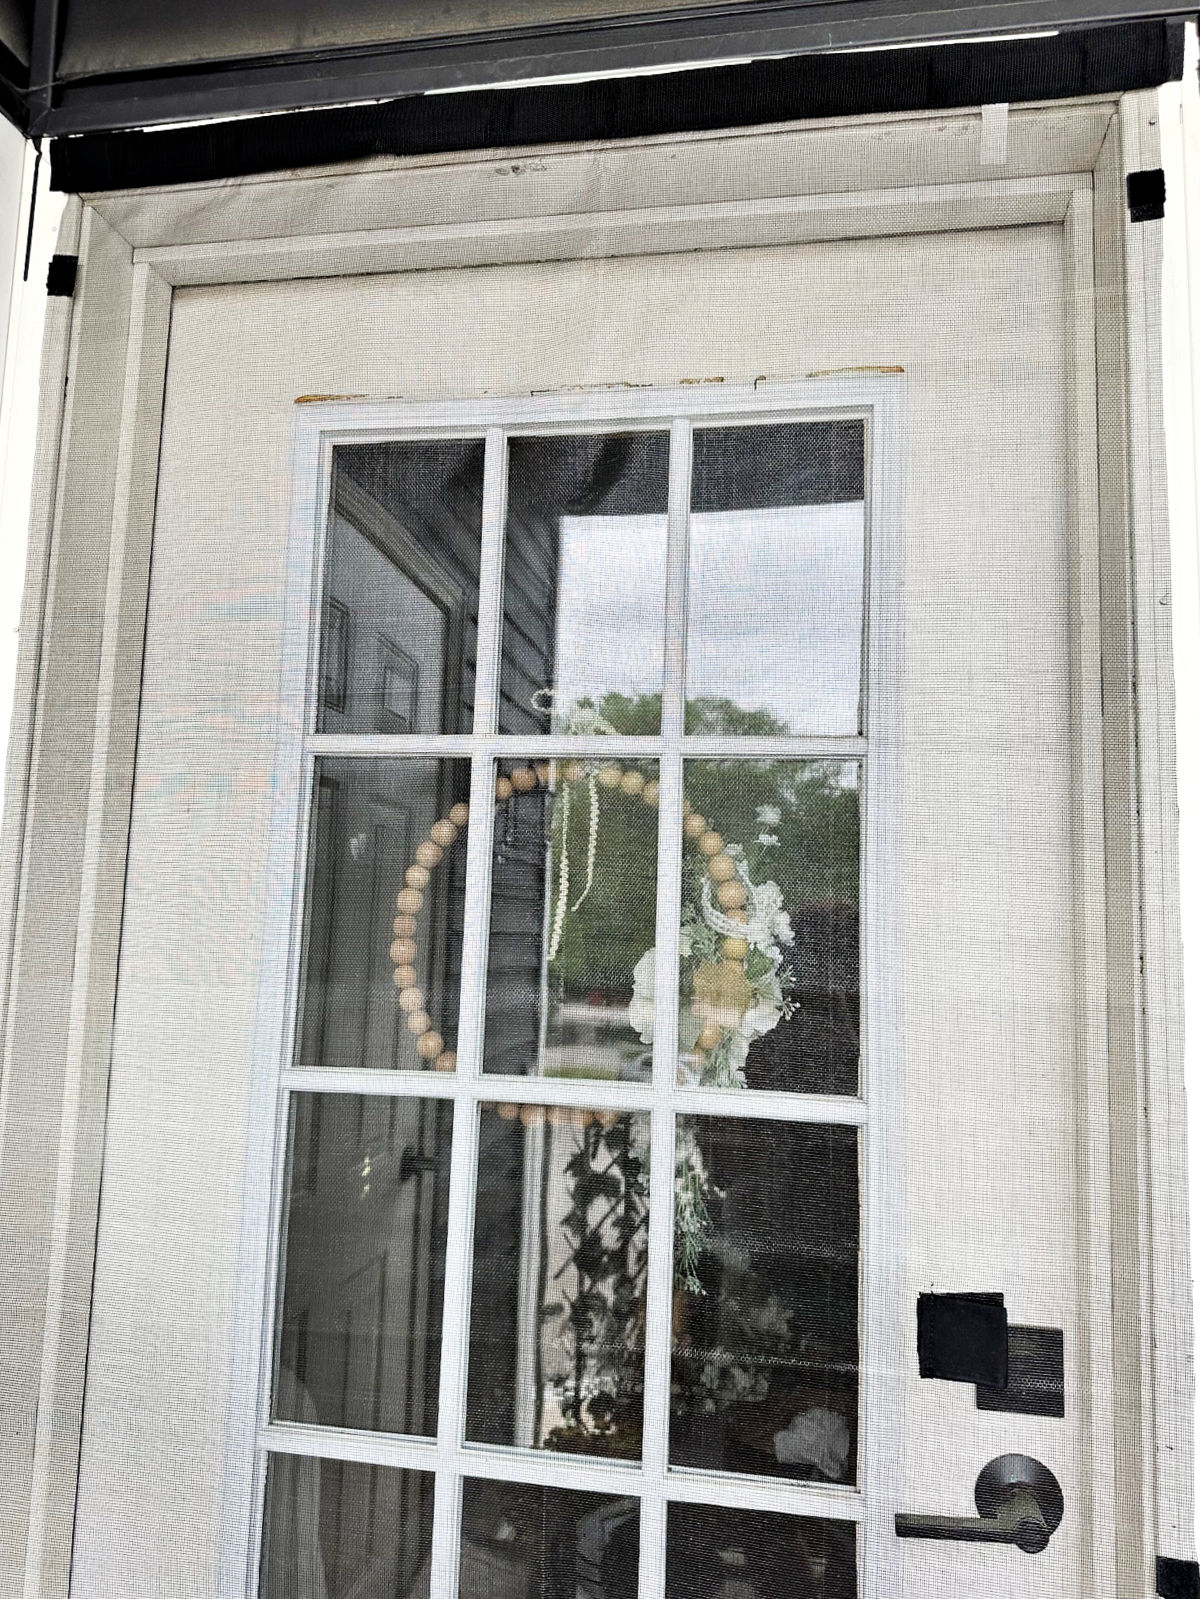
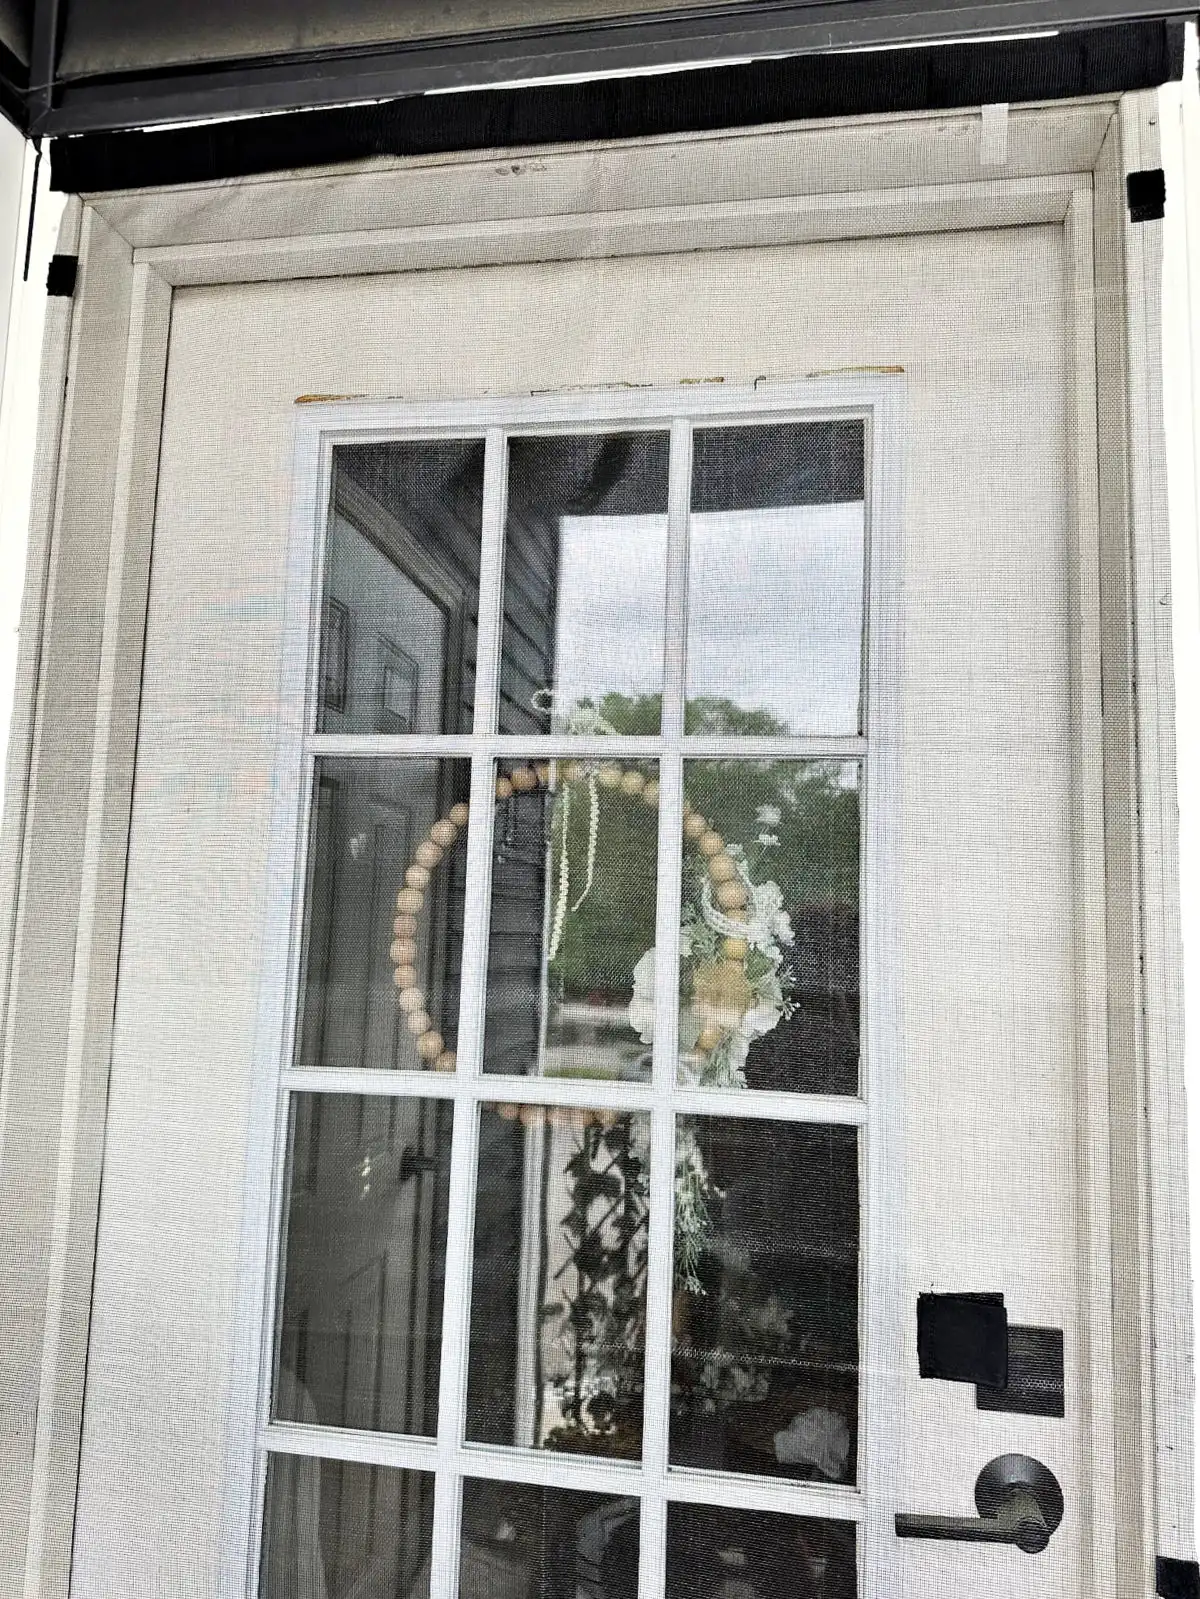
Step 2. Attach the Screen
Once the large velcro is in place, secure the screen to the velcro and press it down so it is connected.
Step 3. Secure the Side Velcro
Once the top velcro is secured to the door frame, with the screen attached, add the remaining small velcro pieces around the sides of the door.
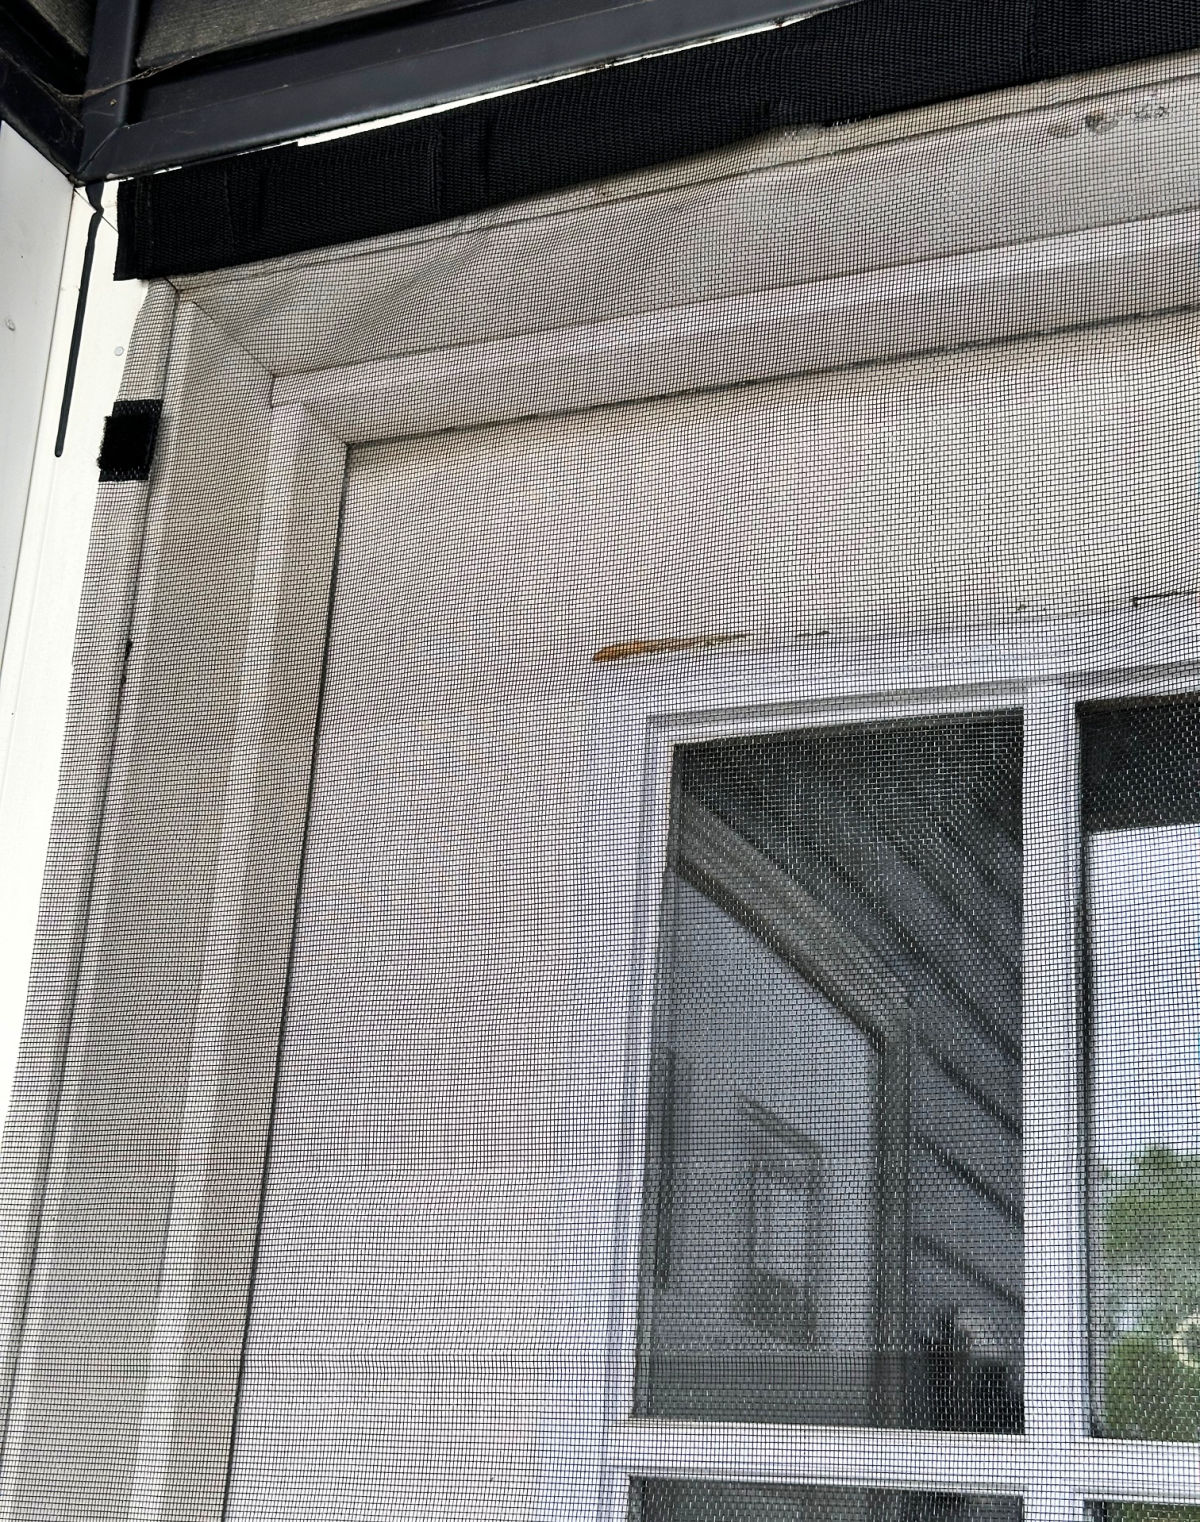
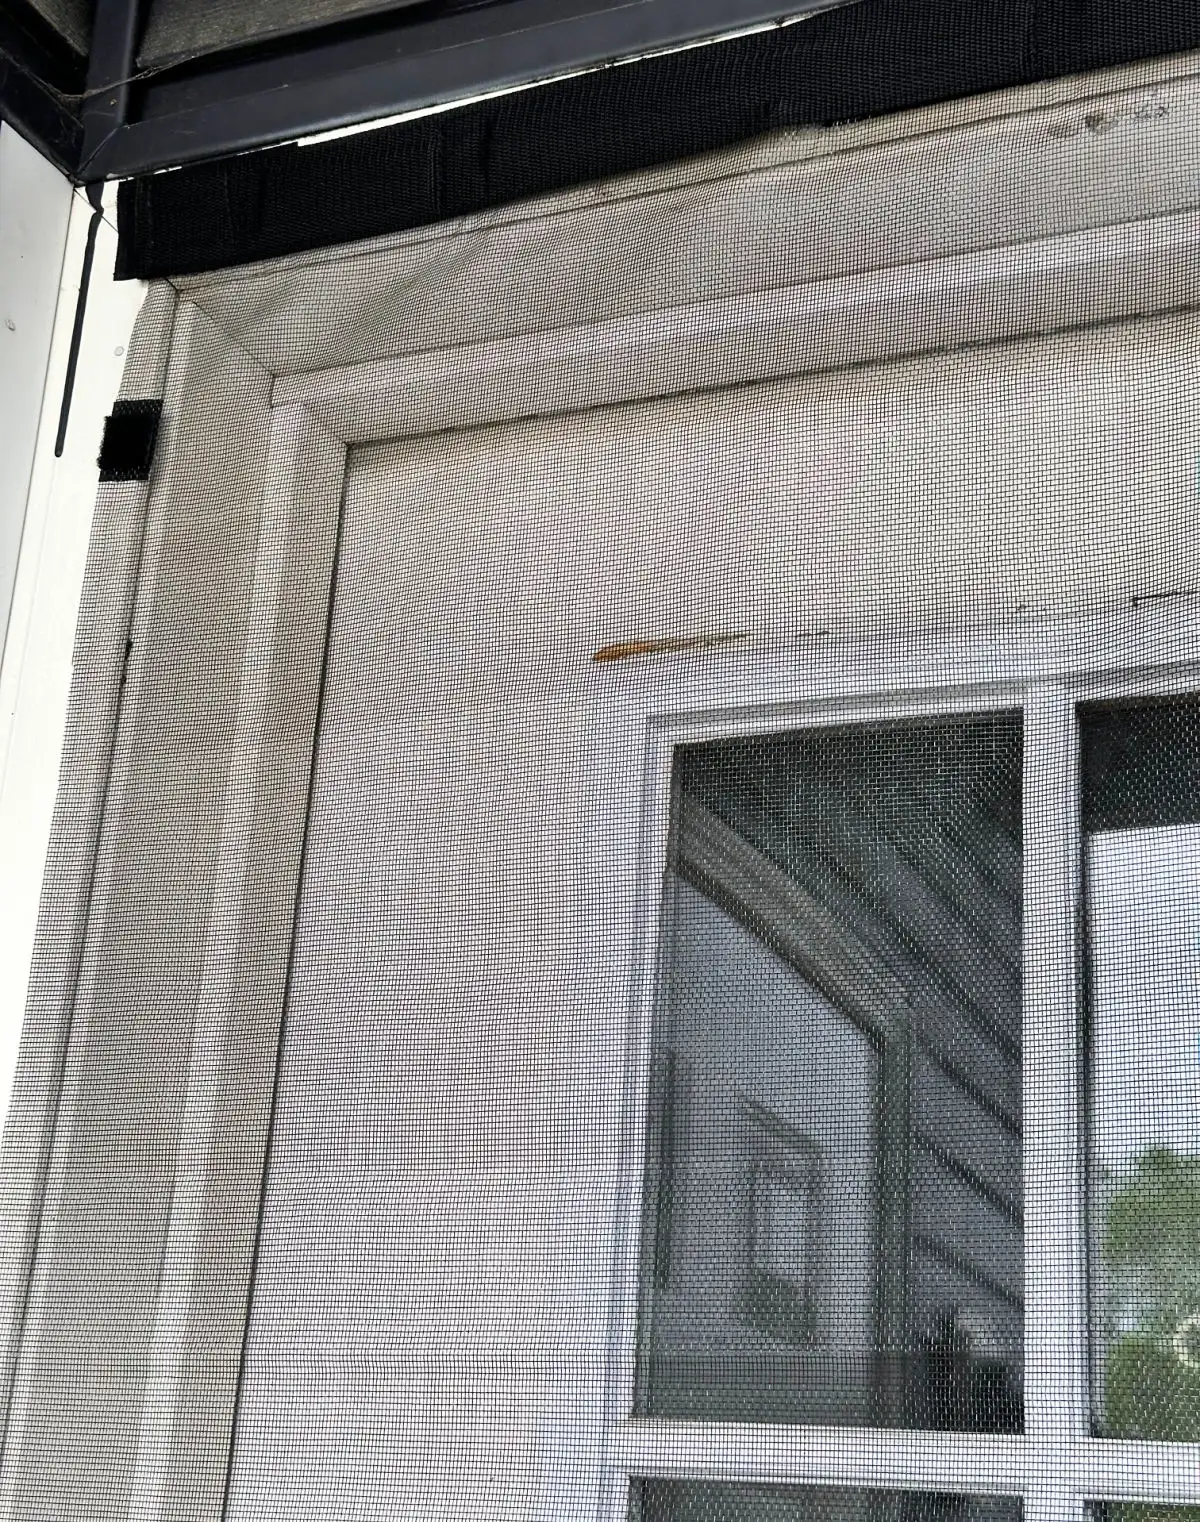
Press the velcro so it is secure.
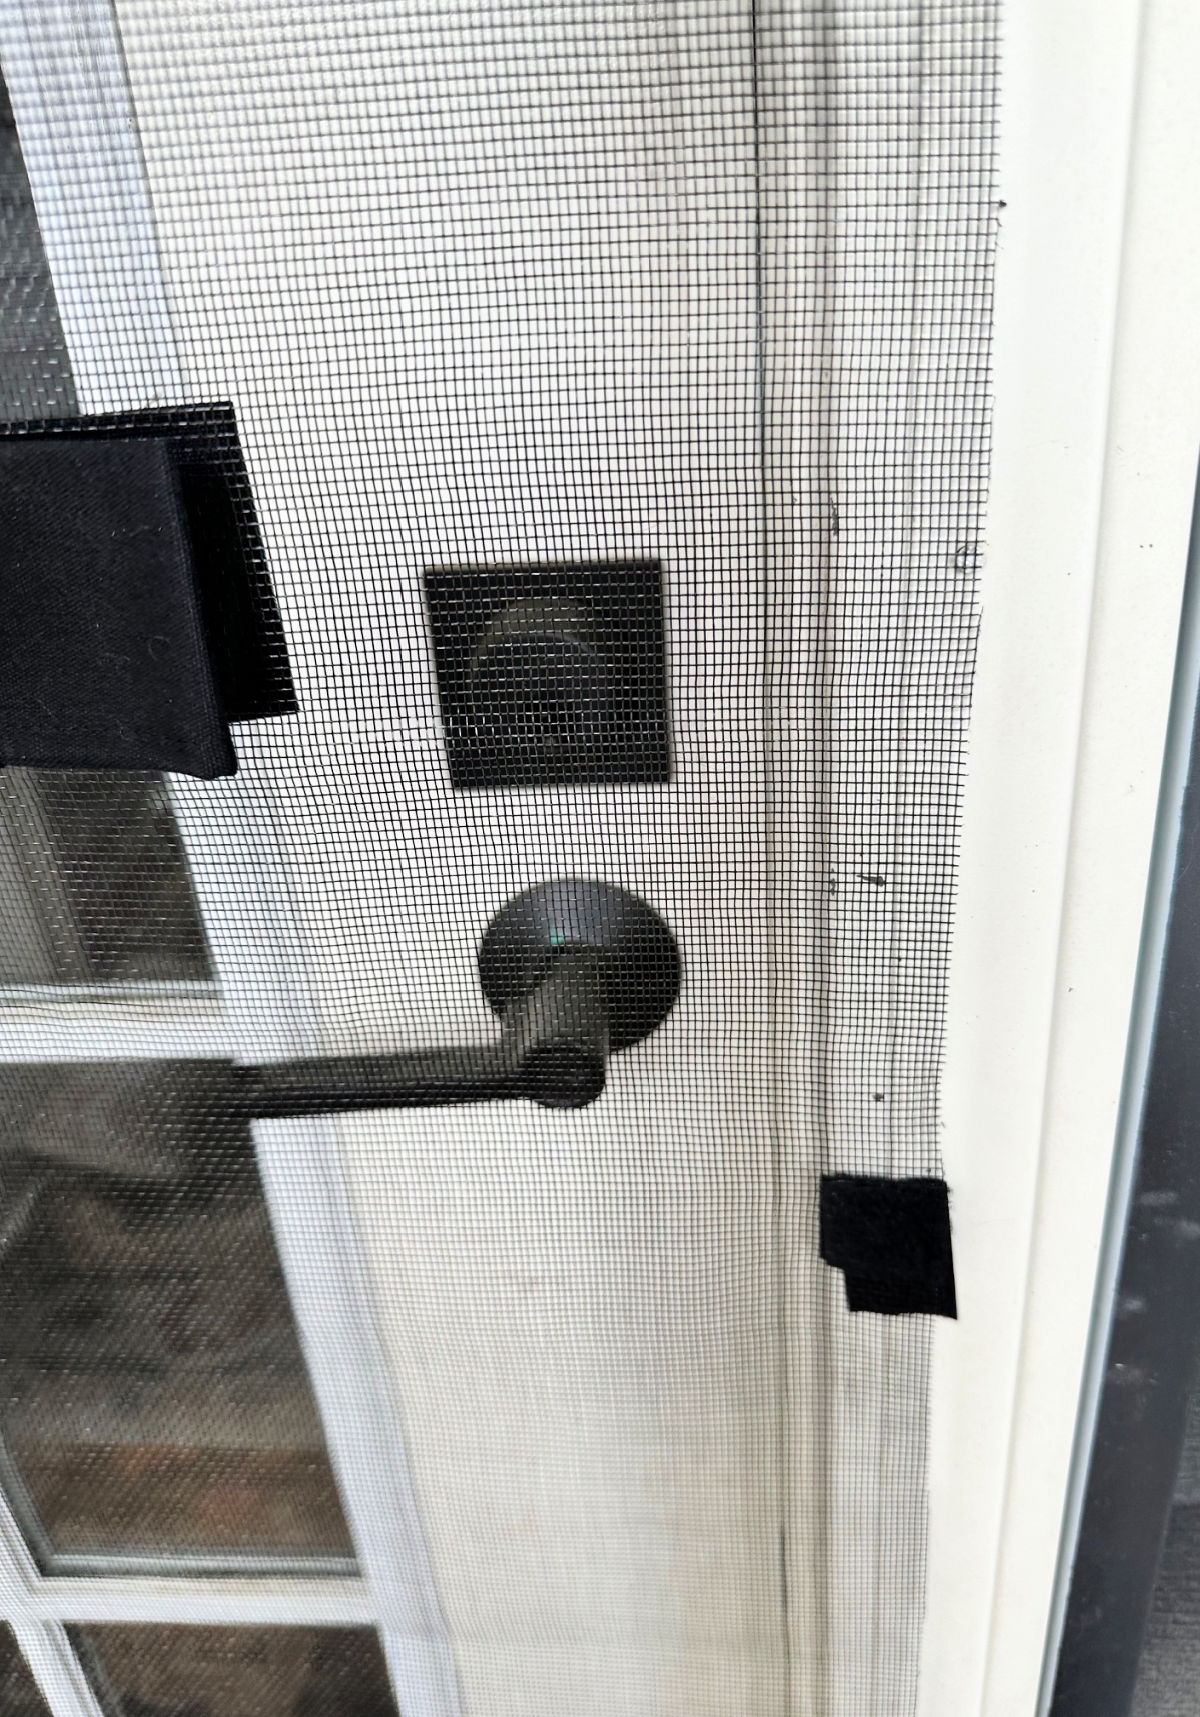
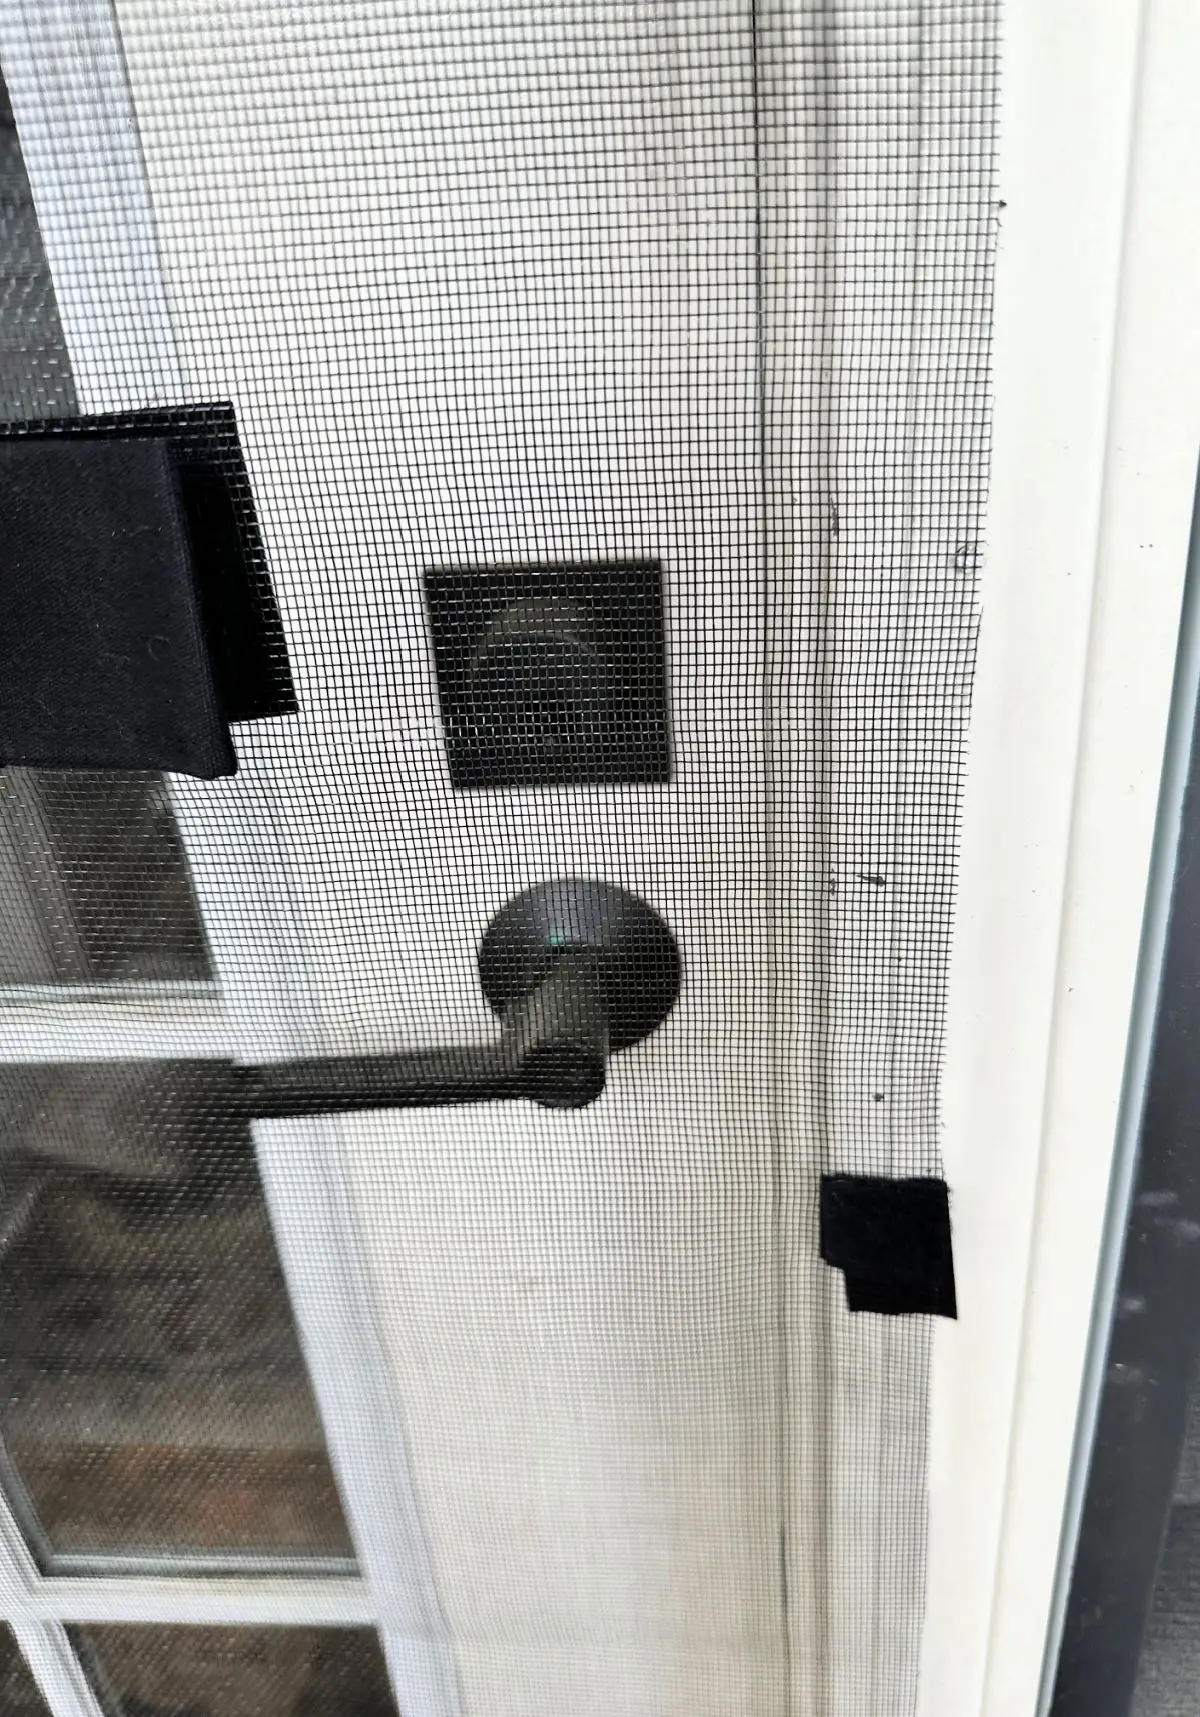
The screen also has a fabric handle that can be lifted to open the screen.
It’s a simple as that! It has been hanging for a couple of weeks now and is just as secure as the day it was hung.
This is Tiggy sitting on our patio chairs enjoying the birds! The gorgeous teak patio set is also from Lowe’s and is just the right size for a small patio.

I will give you an update at the end of the summer season to let you know how the screen has held up.
Pin For Later
I’d love it if you would share this article with your friends on Pinterest by pinning the below image.
It helps my blog to grow and doesn’t cost a thing! 🙂

Thanks so much for stopping by. Happy DIY’ing!


Here are even more easy home DIY’s you may enjoy:
- DIY Ceiling Light from a Thrift Store Lamp Shade
- 25 DIY Solar Lights
- 4 Easy Ceiling Light Makeovers
- DIY Wooden Mailbox Enclosure
- Battery Operated Picture Light Install
- Gorgeous Green Painted Hutch Makeover
- Live Edge Wood Slab Desk
- 15 Whitewash Furniture Makeovers
- 19 Decoupage Furniture Ideas
- 19 Stunning Pressed Flower Craft Ideas
Follow me on social media below: