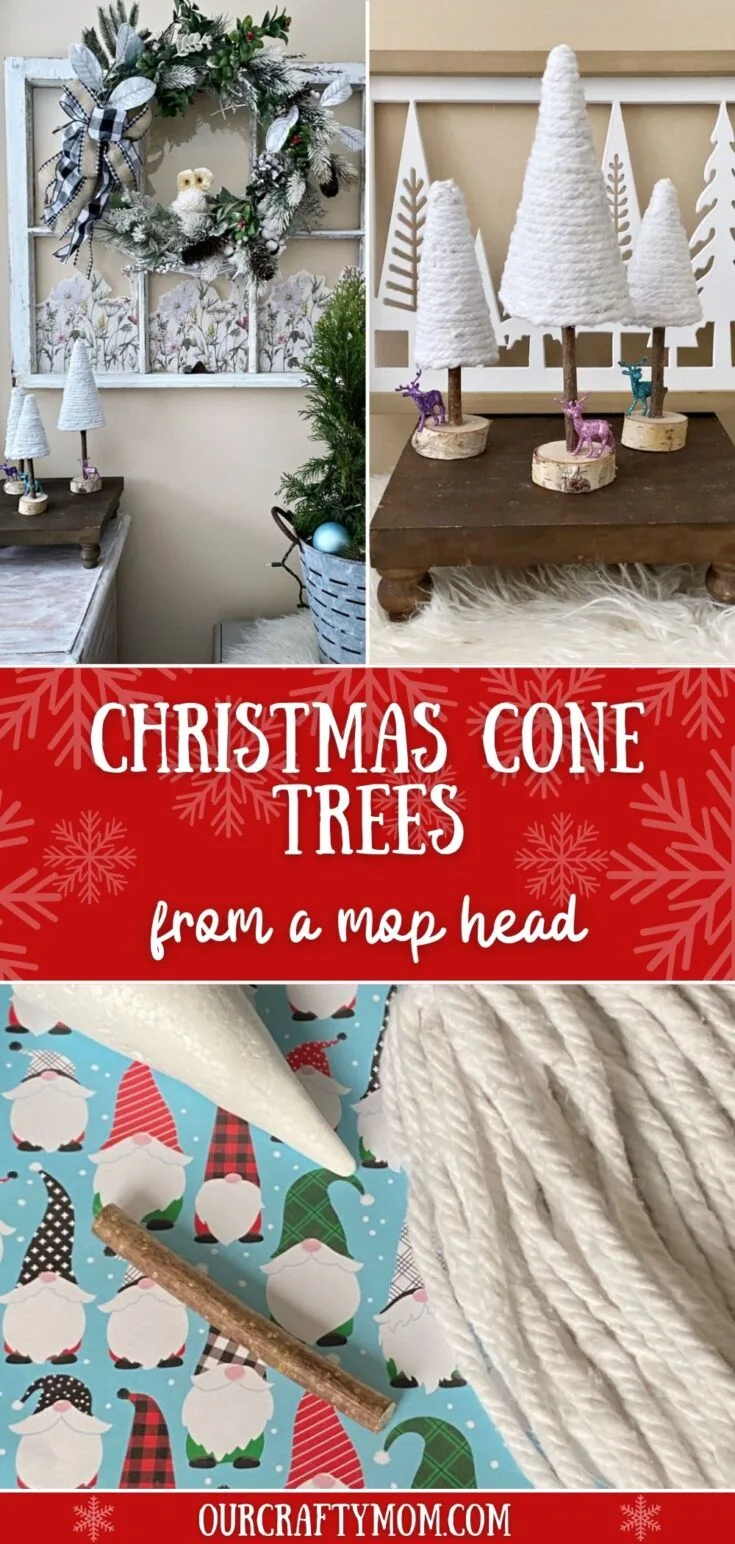
If you’re looking for a quick and easy way to add some holiday cheer to your home, you’ll love these DIY cone Christmas trees…
Made from Dollar Tree mop heads, these trees are simple and fun to make, and they add a touch of whimsy to any room.
So grab some materials and get started – these adorable trees will be ready in no time!


I’m sharing these DIY cone Christmas trees as part of this month’s Thrifty Style Team’s challenge.
There are 12 home decor bloggers all sharing thrifty Christmas crafts and home decorating ideas.
You can check out all the festive holiday projects with the links at the end of this post.
This post contains affiliate links at no extra cost to you. Please see my full disclosure here.
I had so much fun creating these cone Christmas trees.
They are made from a Dollar Tree mop head so they are really budget-friendly – perfect for crafters on a budget.
Plus, you can make so many trees in all different shapes and sizes with one mop.
I’m using leftovers from these gnome Christmas ornaments.
While I decided to keep them super simple with a winter look, you can decorate the trees however you like.
So read on for instructions on how to make your own!
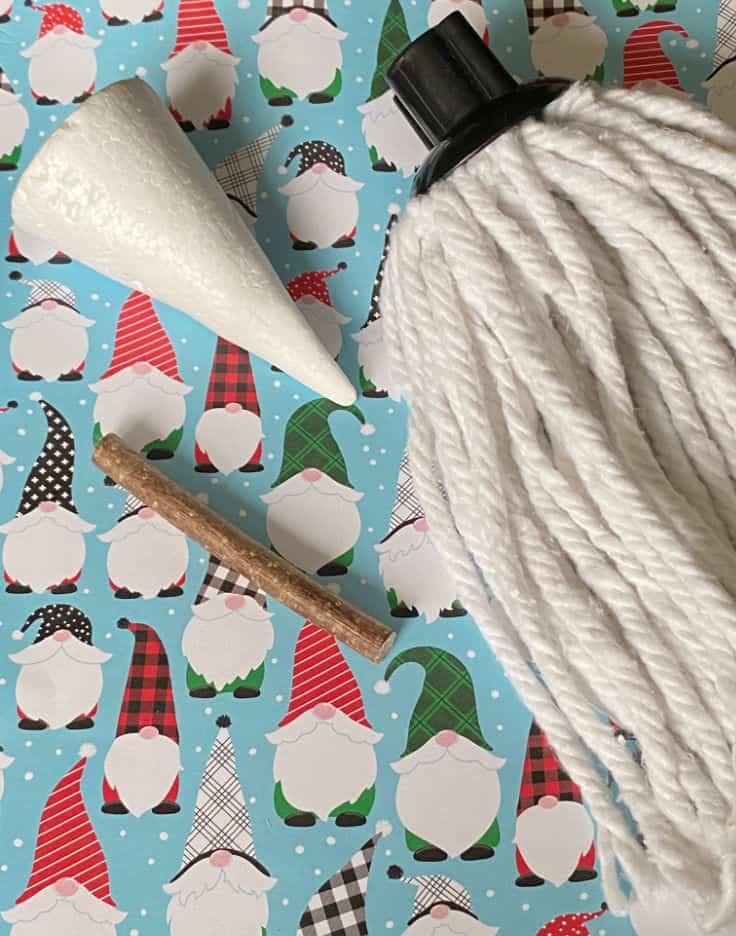
Supplies Needed For Cone Christmas Trees
- Poster Board – or foam cones
- Mop Head – check out the dollar stores!
- Hot Glue Gun – this cordless is my favorite!
- Fabric Scissors
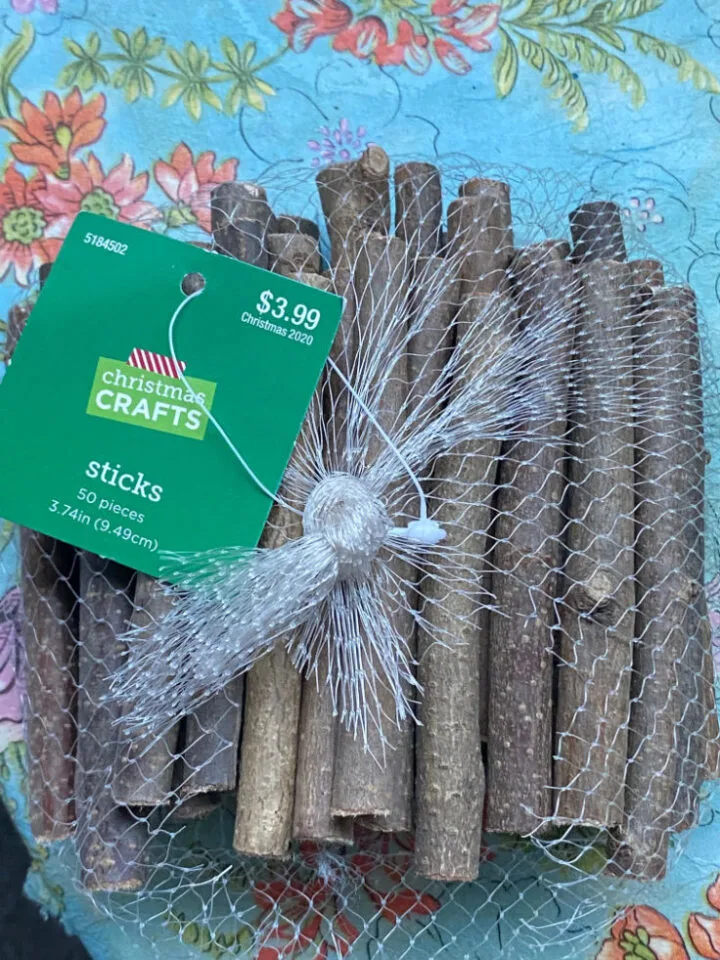
- Wood Sticks
- Wood Rounds – I found these at Dollar Tree

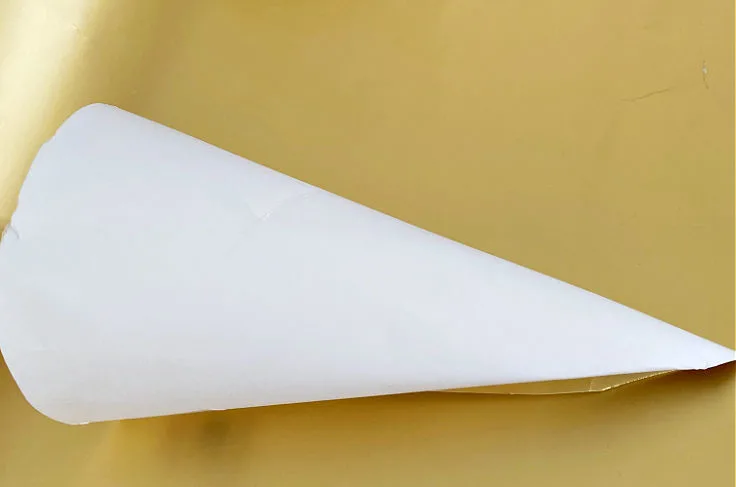
1. Cut Your Poster Board
Start by cutting your poster board to the size that you want.
Simply fold the upper corner of the poster board with the other end and overlap it.
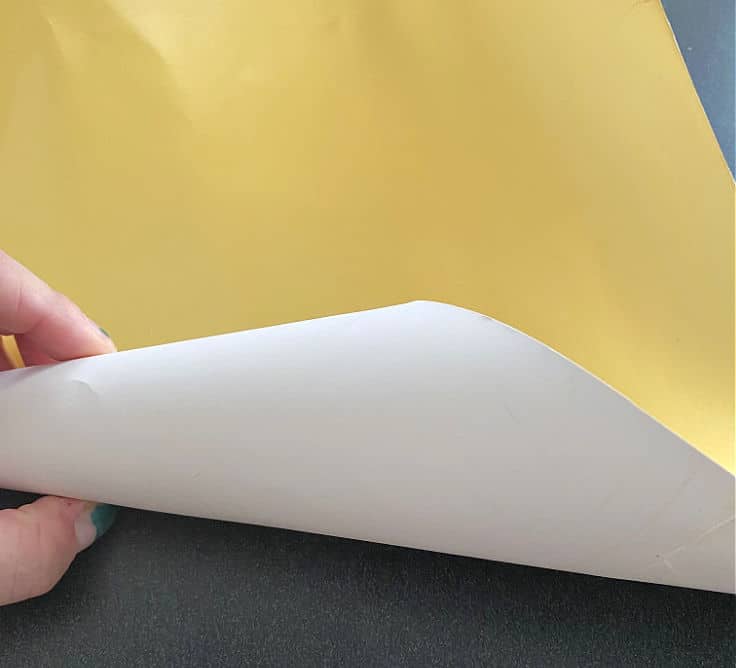
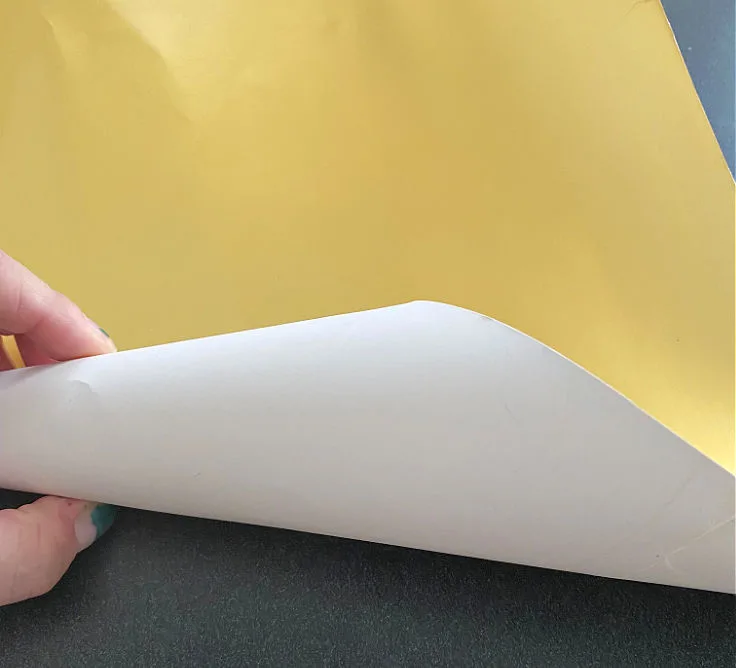
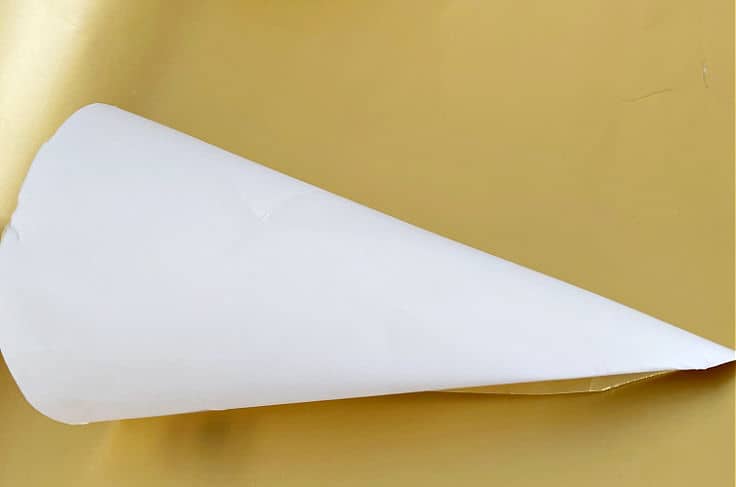
The bottom will be uneven, but you can use your scissors to cut it even for the bottom of the cone.
I made 3 different size cones so I could stagger them.
2. Cut Mop Strings
Use your fabric scissors to cut mop strings right below the black base of the mop head.
I’m not sure how many I used, but it’s easier to cut a bunch to save time.
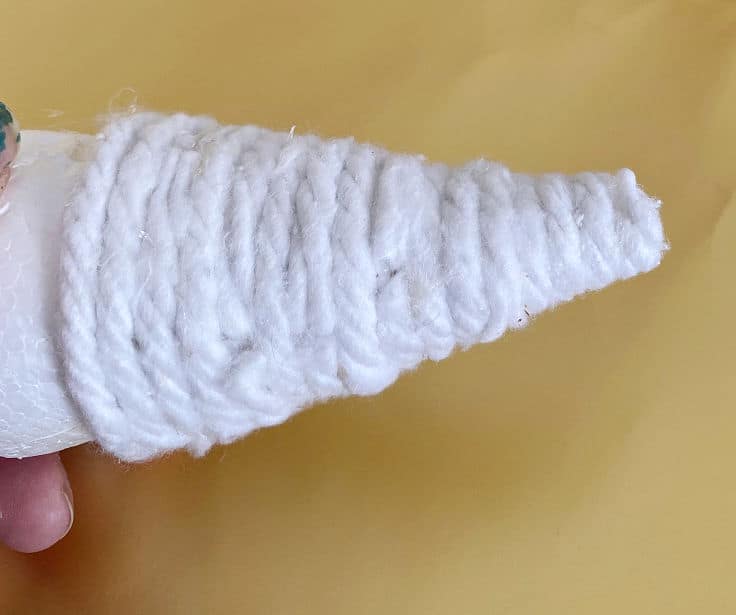
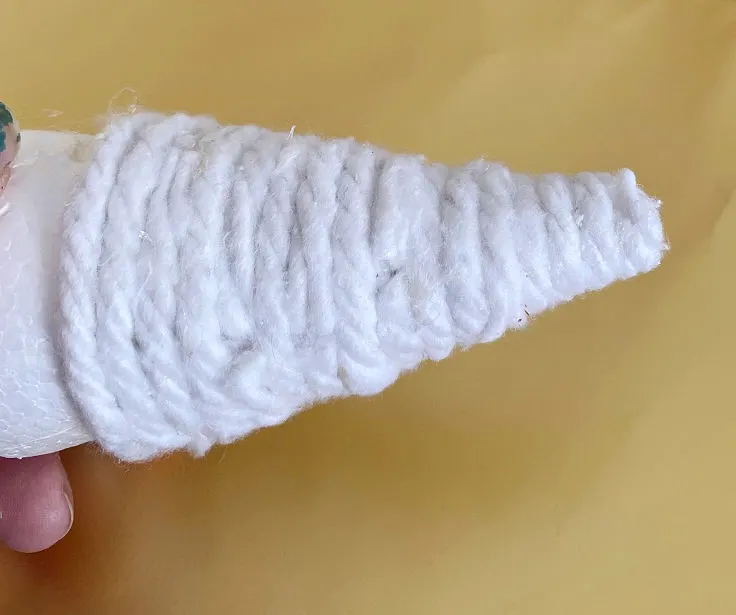
3. Hot Glue Mop Strings to Cones
Next up, you want to glue the mop strings to the cone.
It’s easiest to start at the top of the cone and work your way down.
You really don’t need much glue.
Add a drop at the top and bottom of each string.
4. Fill the Cone With Scrap Paper
Since the cone is hollow, you need to fill it with any scrap paper or newspaper that you have on hand.
I had a bunch of the brown wrap that comes in boxes.
Just crumble it up and place it inside the cone.
This will make it easier to secure the wood stick.
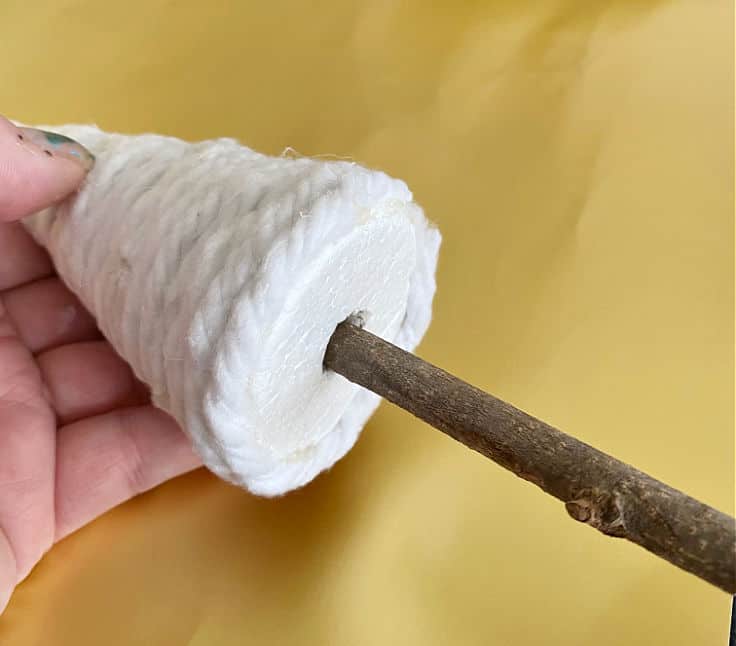
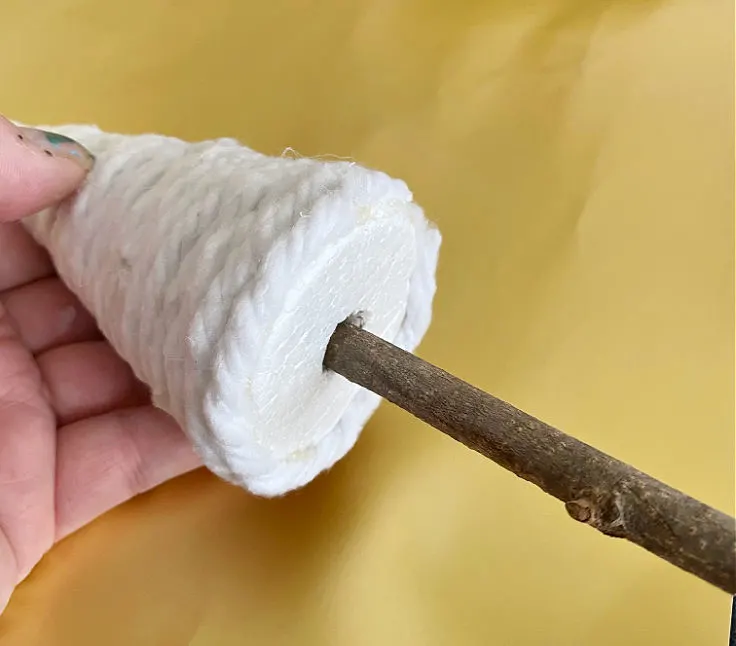
5. Attach the Wood Stem
If you use foam cones you can simply add a drop of hot glue to the end of your stick and push the stick into the foam.

With poster board and paper, you will need to secure the stick with extra hot glue added to the paper and side of the stick as well.
I found one foam cone in my stash, so I used both.
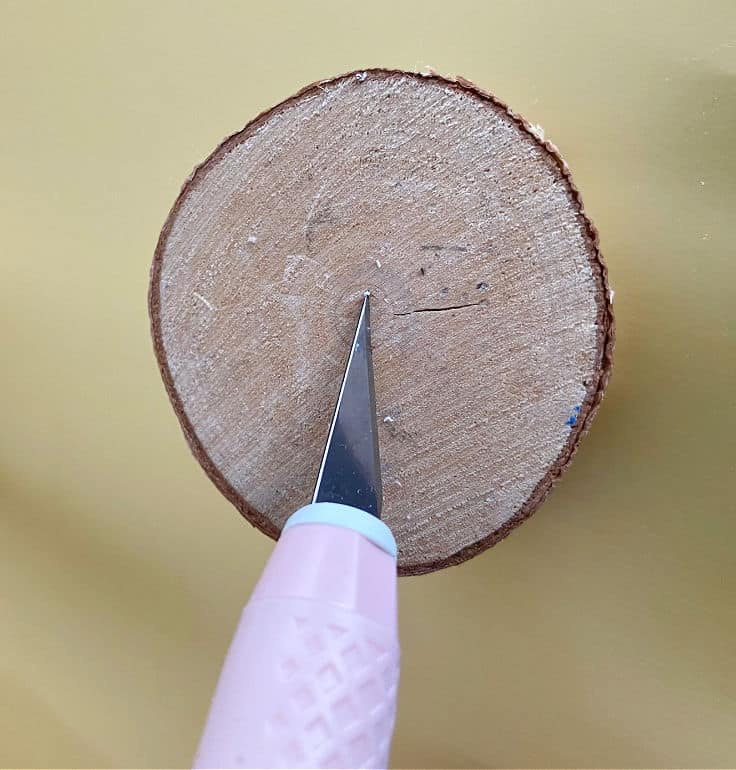
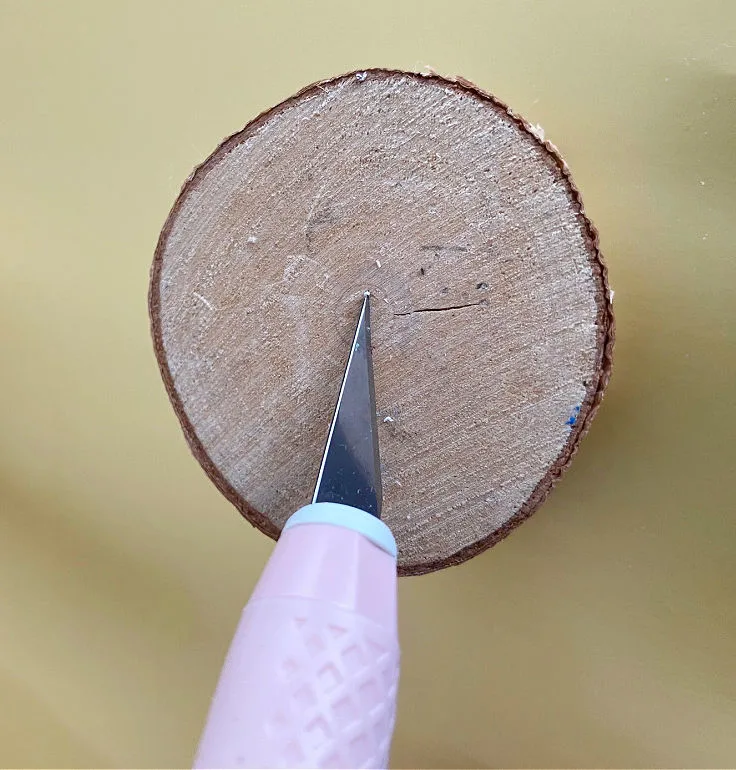
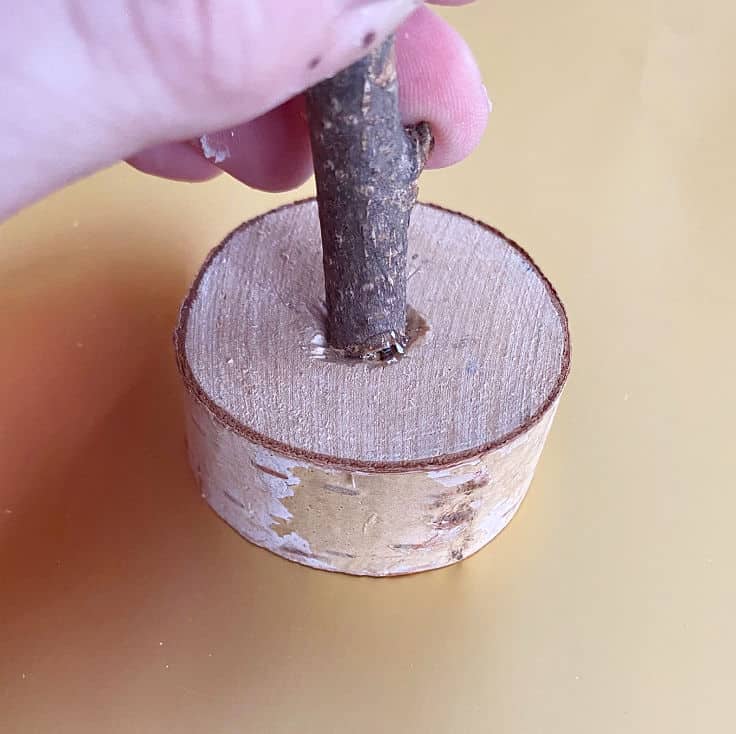
6. Cut Hole in Wood Base
Use a craft knife to cut a hole in the wood base.
7. Secure Wood Stick in Base
Use your hot glue gun to secure the tree stick into the base.
You need to hold it for a minute or so until it sets.

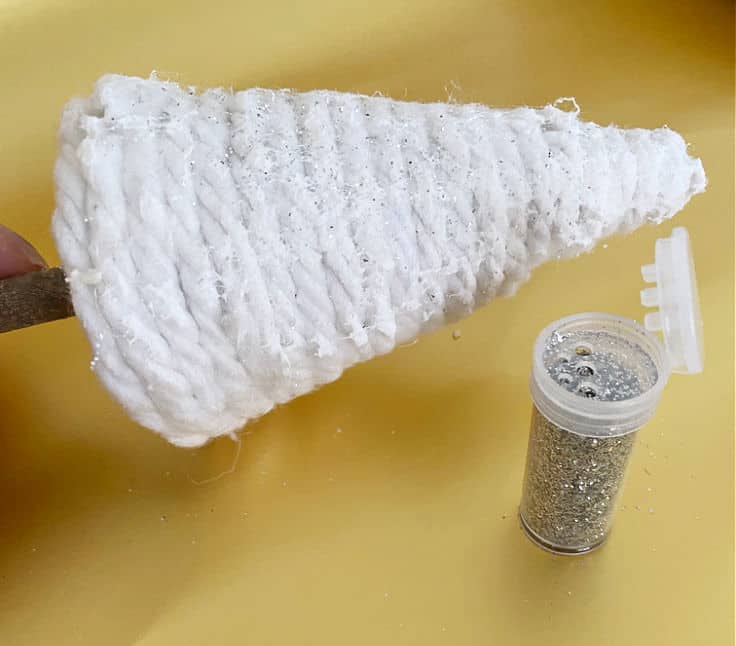
8. Add Mod Podge and Glitter
Use a foam brush to brush mod podge around the mop head tree.
Slowly pour glitter around the cone trees until you are happy with the coverage.
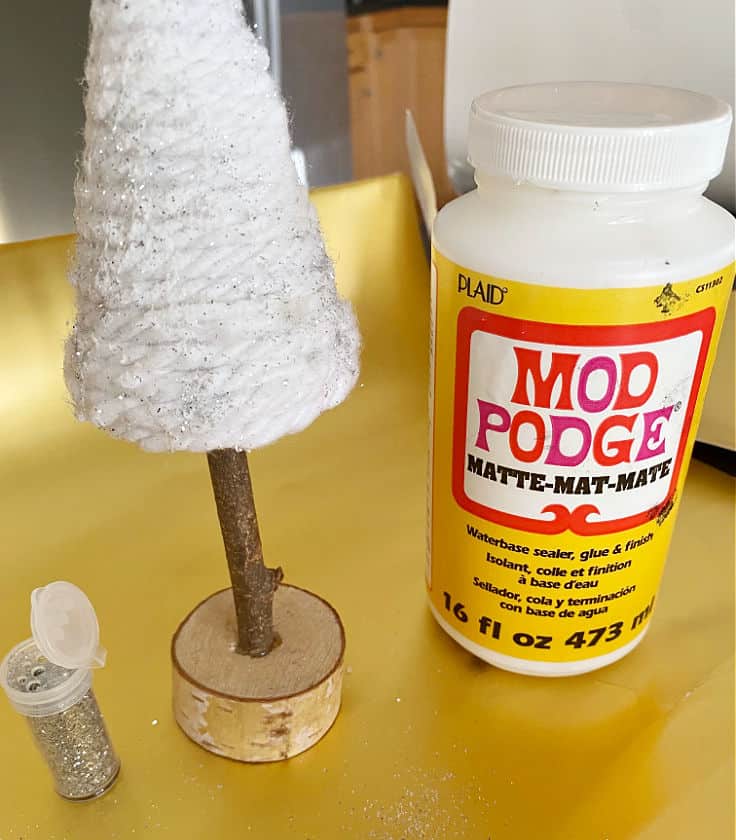
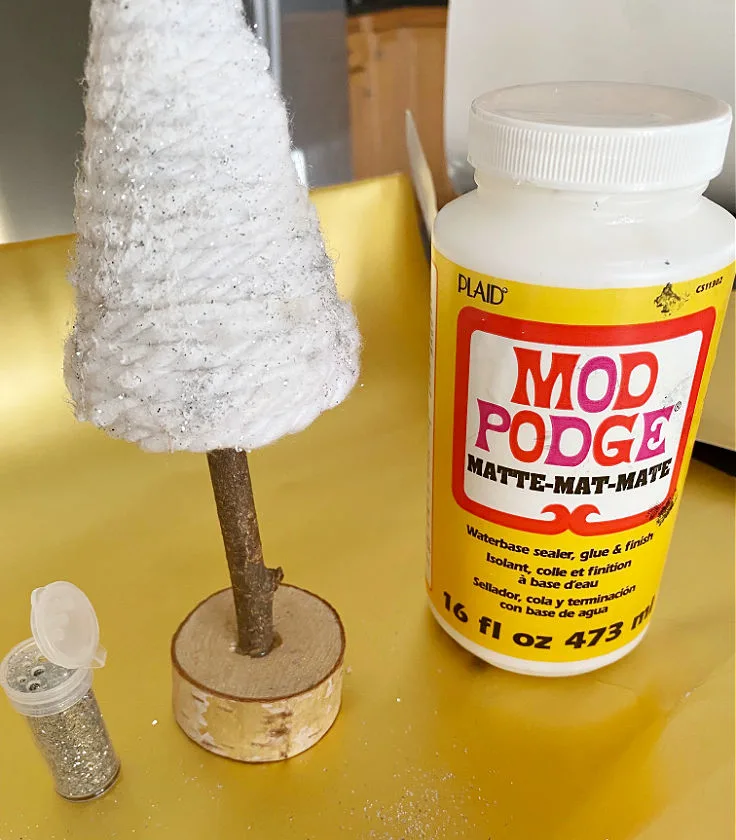
I chose to just add it sparingly, as I really wanted to create more of a winter tree.

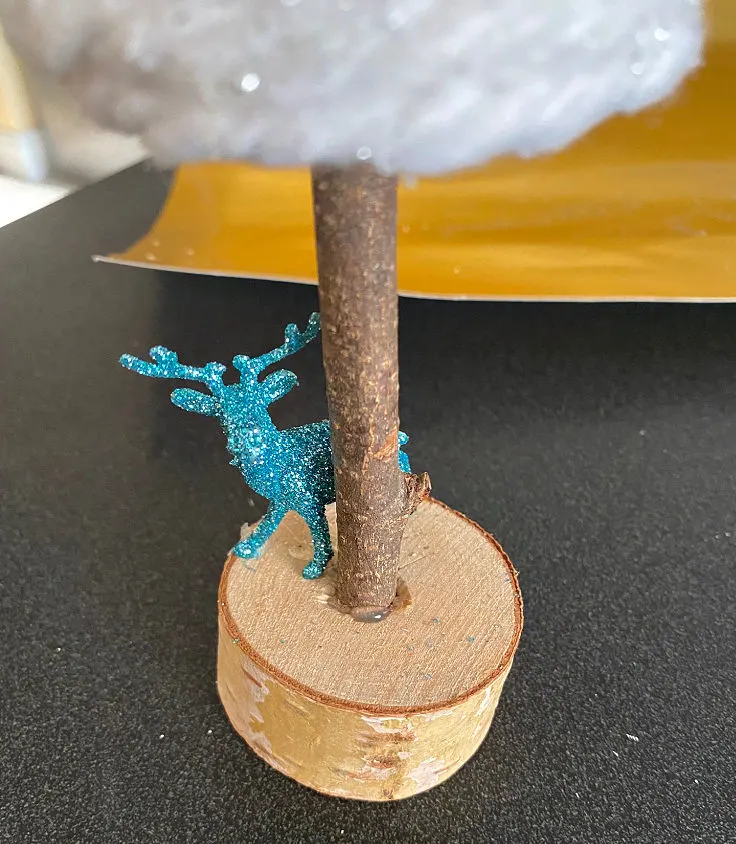
9. Attach Glitter Deer to Base
To give a little bit of added texture and dimension, I hot glued a pretty colorful glitter deer to the base.
I found a pack of 3 at Hobby Lobby for just a couple of dollars – on sale of course!

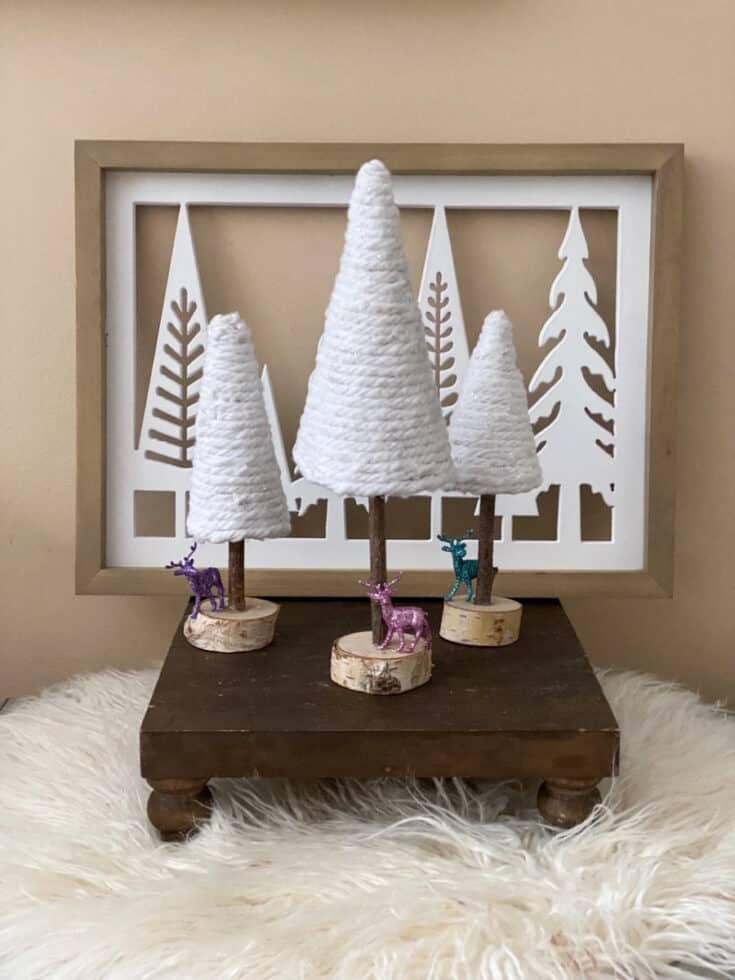
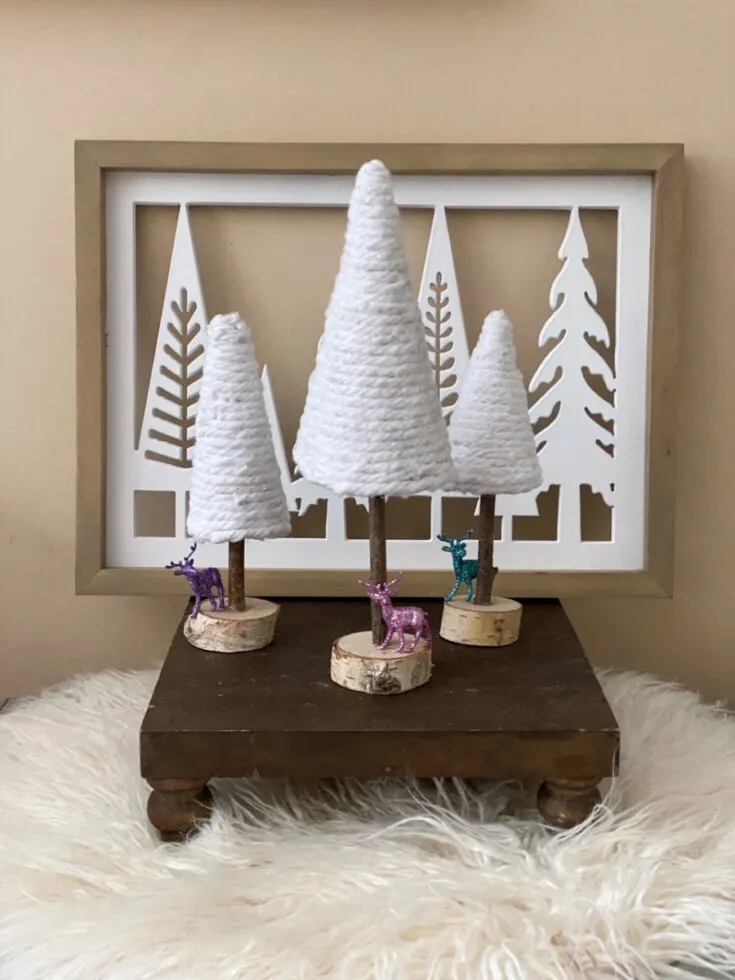
Decorate With Your Cone Christmas Trees
Now for the fun part…decorating with your pretty cone Christmas trees!
Use them in vignettes as I show here:
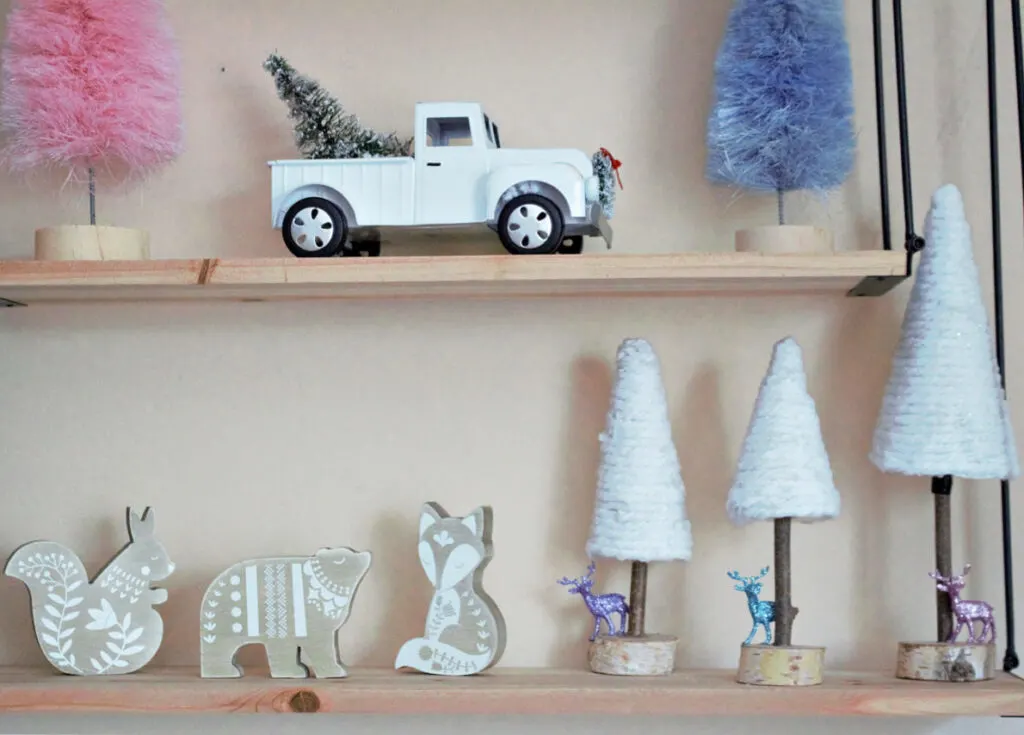
Add them to shelves or a bookcase:


Cone Christmas Trees DIY
There are so many ways you can decorate with these cone trees.
And, you can’t beat the price! You can make several of these cuties for just a few dollars.


I hope you will visit the talented bloggers below to see their beautiful home styling ideas.


- Redhead Can Decorate – Fresh Pine Christmas Centerpiece
- Our Crafty Mom – DIY Christmas Cone Trees
- I Should Be Mopping The Floor –Free Retro Santa Printables
- DIY Beautify – Chippy White Spindle Christmas Tree
- 2 Bees In A Pod – DIY Christmas Matchbox – Perfect Gift
- The How To Home – How to Dress Up a Cheap Poinsettia Plant so it Looks Expensive
- Postcards From The Ridge – Festive Christmas Table Decorations That Anyone Can Do
- Vinyet Etc. – Create Holiday Magic – Have yourself a Vintage little Christmas!
- Sweet Pea – Painted Christmas Stocking
- Lora B. Create & Ponder – Scrabble Holiday Art How To
- The Tattered Pew –How To Make An Ivy Topiary From a Wire Hanger
- Cottage On Bunker Hill – Make a Wreath Out of Gingerbread Salt Dough
Subscribe to my email:
Before you go, I’d love for you to subscribe to my email.
It’s a great way to stay current on all the fun crafts, easy recipes, and home decorating ideas.
Thank you so much for stopping by. Have a good day and happy holidays!
Wait…there’s even more Christmas decor here:
- Vintage Pastel Christmas Printables
- Pastel Themed Christmas Tree Decor
- Little Red Truck Christmas Wreath
- Red Truck Christmas Printables
Google Web Story: DIY Yarn Christmas Trees
You can find me on social media below:
Kristi
Monday 20th of December 2021
This is seriously the cutest! And with the cost of rope and twine these days, these was such a clever alternative. Merry Christmas!
Brittis Maria
Wednesday 15th of December 2021
It’s amazing that you found most of your craft items at dollar store.
Libbie Burling
Tuesday 14th of December 2021
What a CUTE idea! Pinned for my annual craft party next week!
Rosemary Palmer
Tuesday 14th of December 2021
So cute - I've seen them with heavy yarn and thought how wintry looking. I might even like them after Christmas.
Susan Stevenson
Tuesday 14th of December 2021
These are so cute and easy to make! Thanks for the great tutorial!