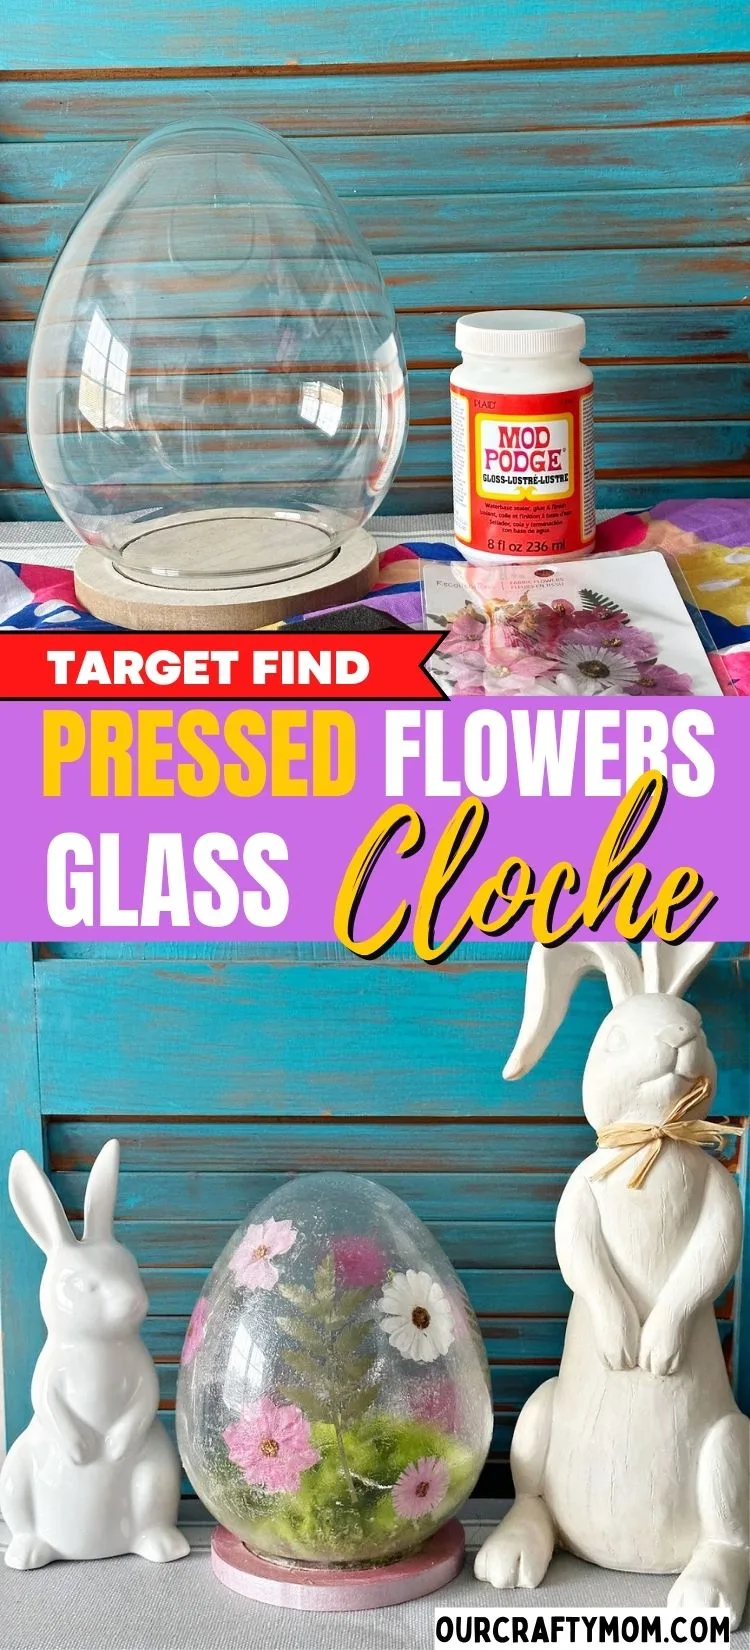
Learn how to make a beautiful pressed flower glass cloche with wooden base using a Target Dollar Spot glass egg. It’s a simple DIY!


Glass Cloche
I have been seeing tons of cute decorating ideas for the spring glass egg cloche from Target Dollar Spot.
My plan was to update it with mod podge and pressed flowers to use in my spring decorating.
Thankfully my local Target store had a few left. You can’t beat the price at just $5!
If you can’t find one at your store, check out local thrift stores or vintage markets to find inexpensive small cloches, cake stands or glass domes that you can update for cheap!
They may not be in the shape of an egg, but you can follow this same tutorial for any shape cloche.
I’ve also seen pretty glass cloches at craft stores like Michaels, Hobby Lobby or Joann Fabric and Crafts.
You may even be able to use a coupon to keep costs down. Let’s get to crafting!


This post contains affiliate links at no extra cost to you. Please see my full disclosure here.
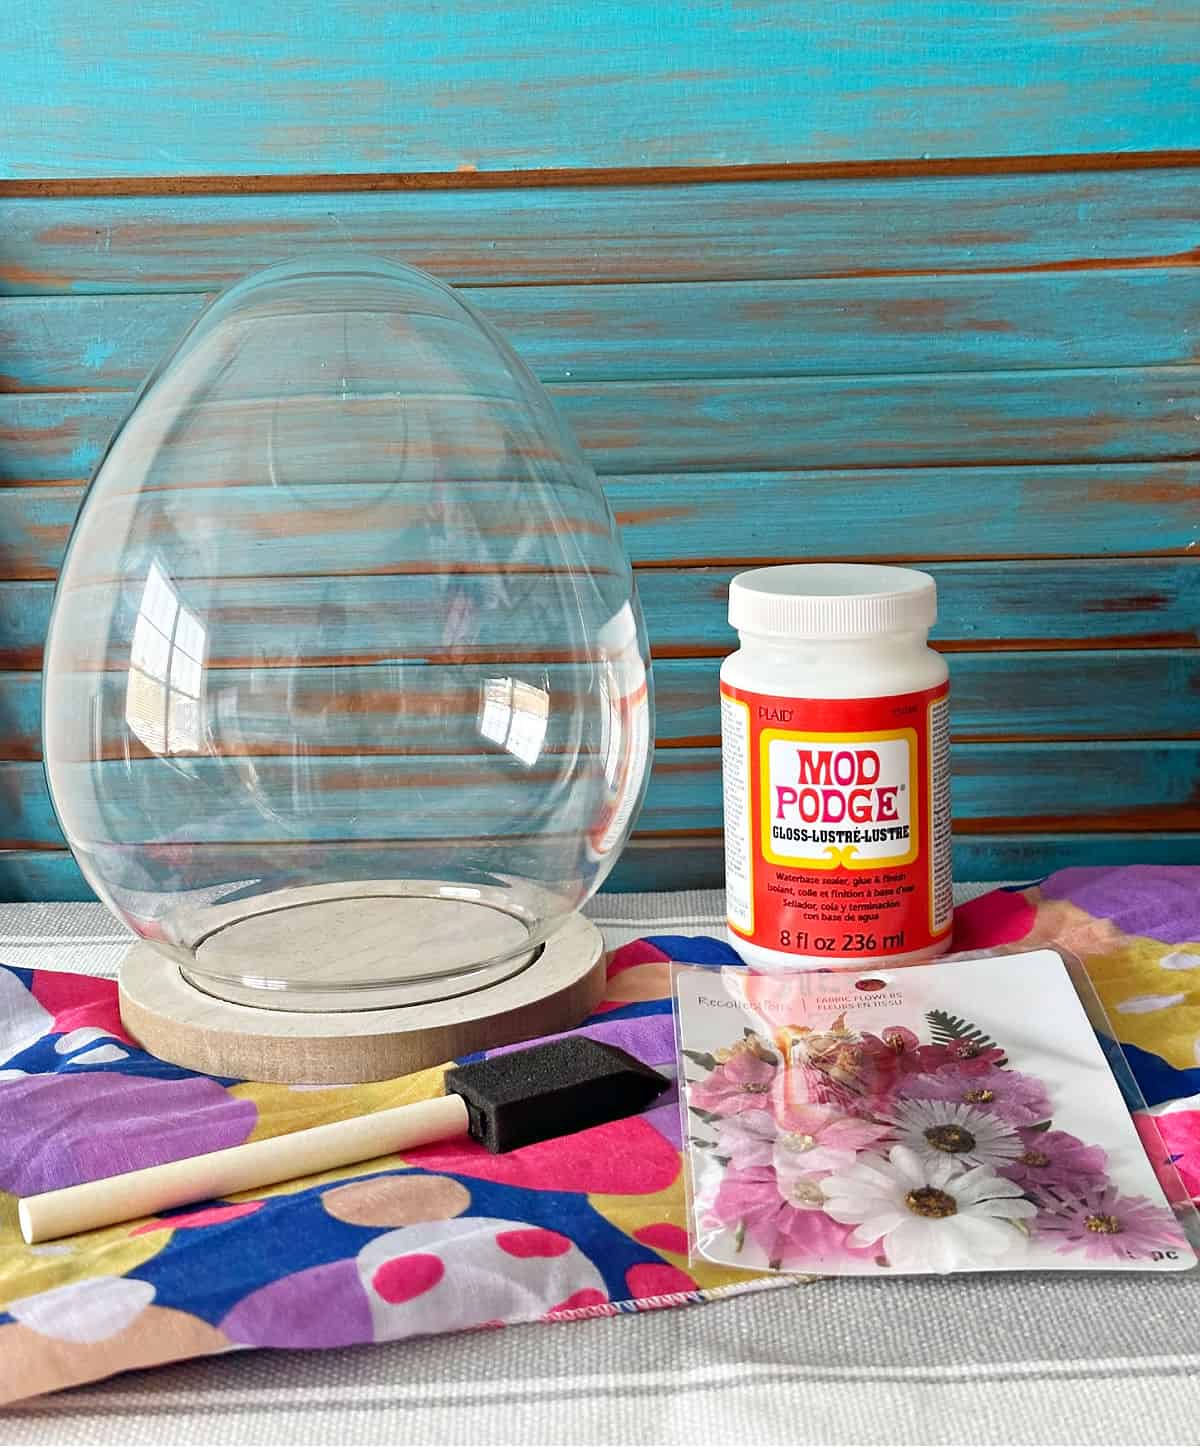
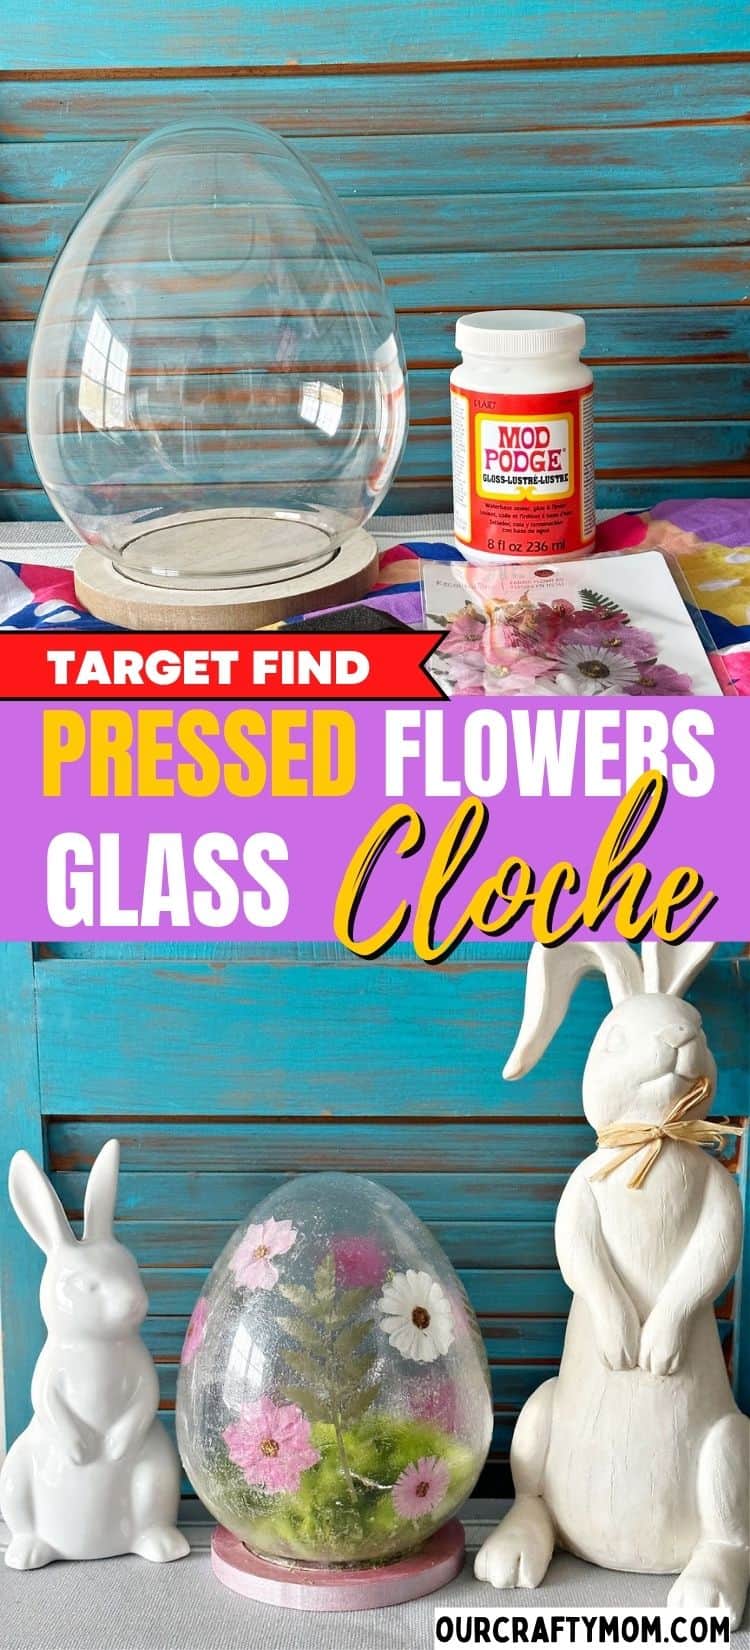
Supplies Needed to Make a Pressed Flower Glass Cloche
- Glass Cloche
- Mod Podge – I used matte
- Foam Brush
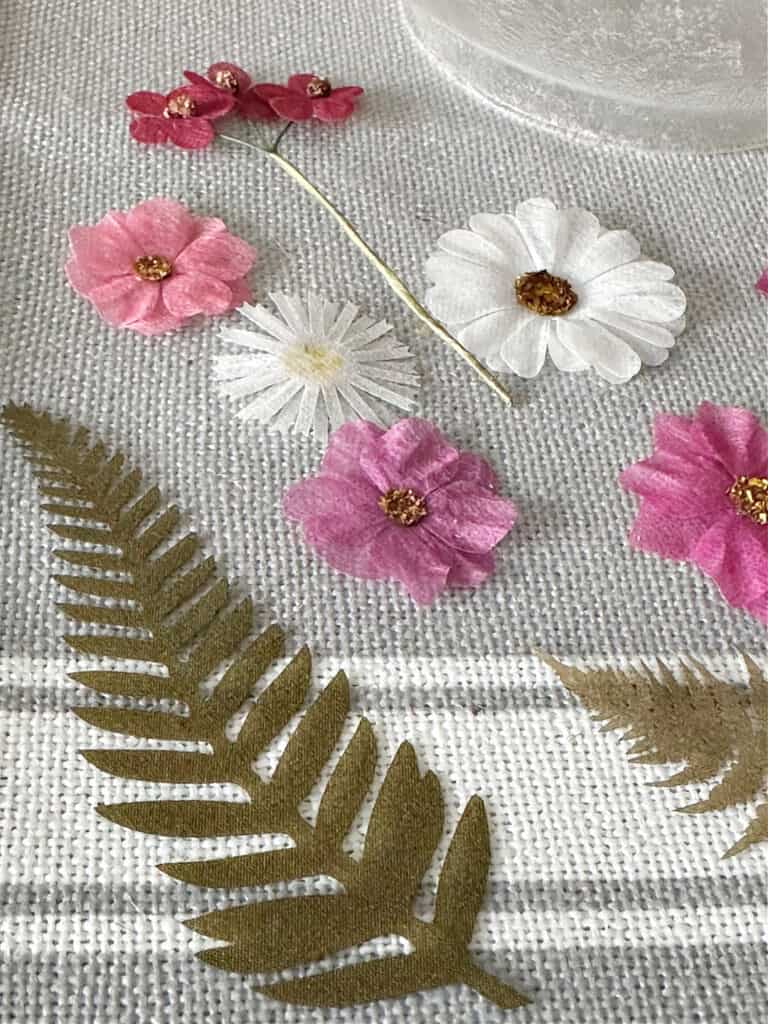
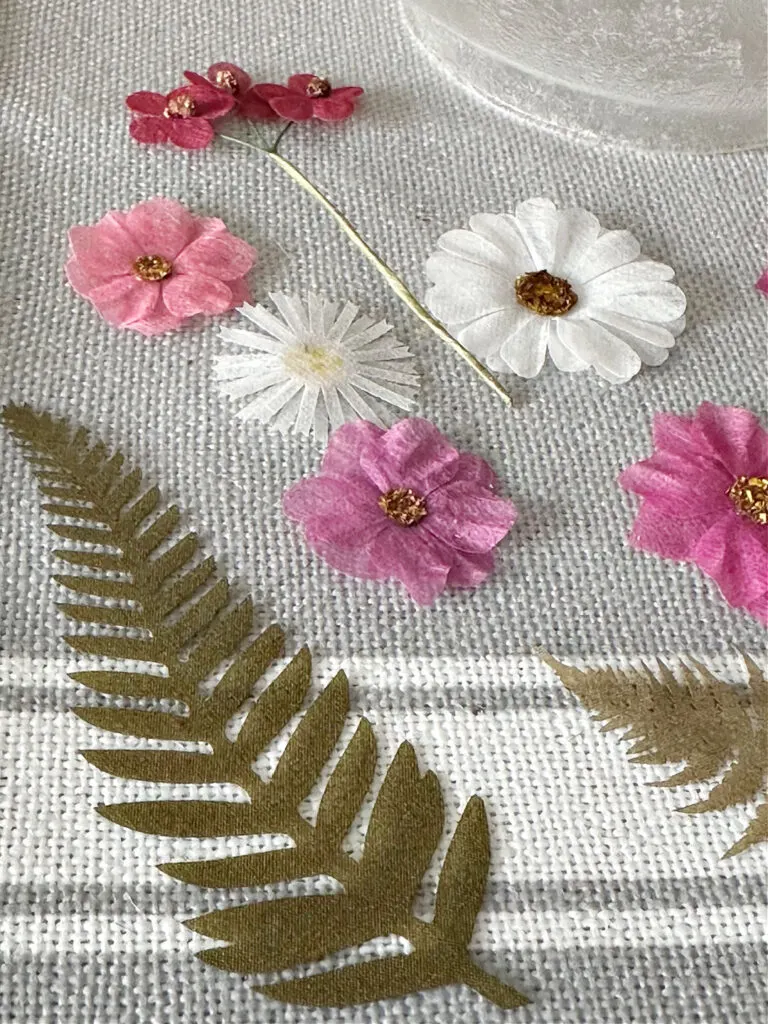
- Pressed Flowers
- Metallic Paint – I used rose quartz
- Fairy Lights
- Reindeer Craft Moss
- Rubbing alcohol and paper towel

How to Make a Pressed Flower Glass Dome
While this is an easy craft project, it is important to follow the steps, specifically letting the mod podge dry. Otherwise, it can come out cloudy or too thick and ruin all your hard work. 🙂
Step 1. Clean the Glass
Start by cleaning the inside of the glass egg with rubbing alcohol. You can use a paper towel to remove any fingerprints or dust.
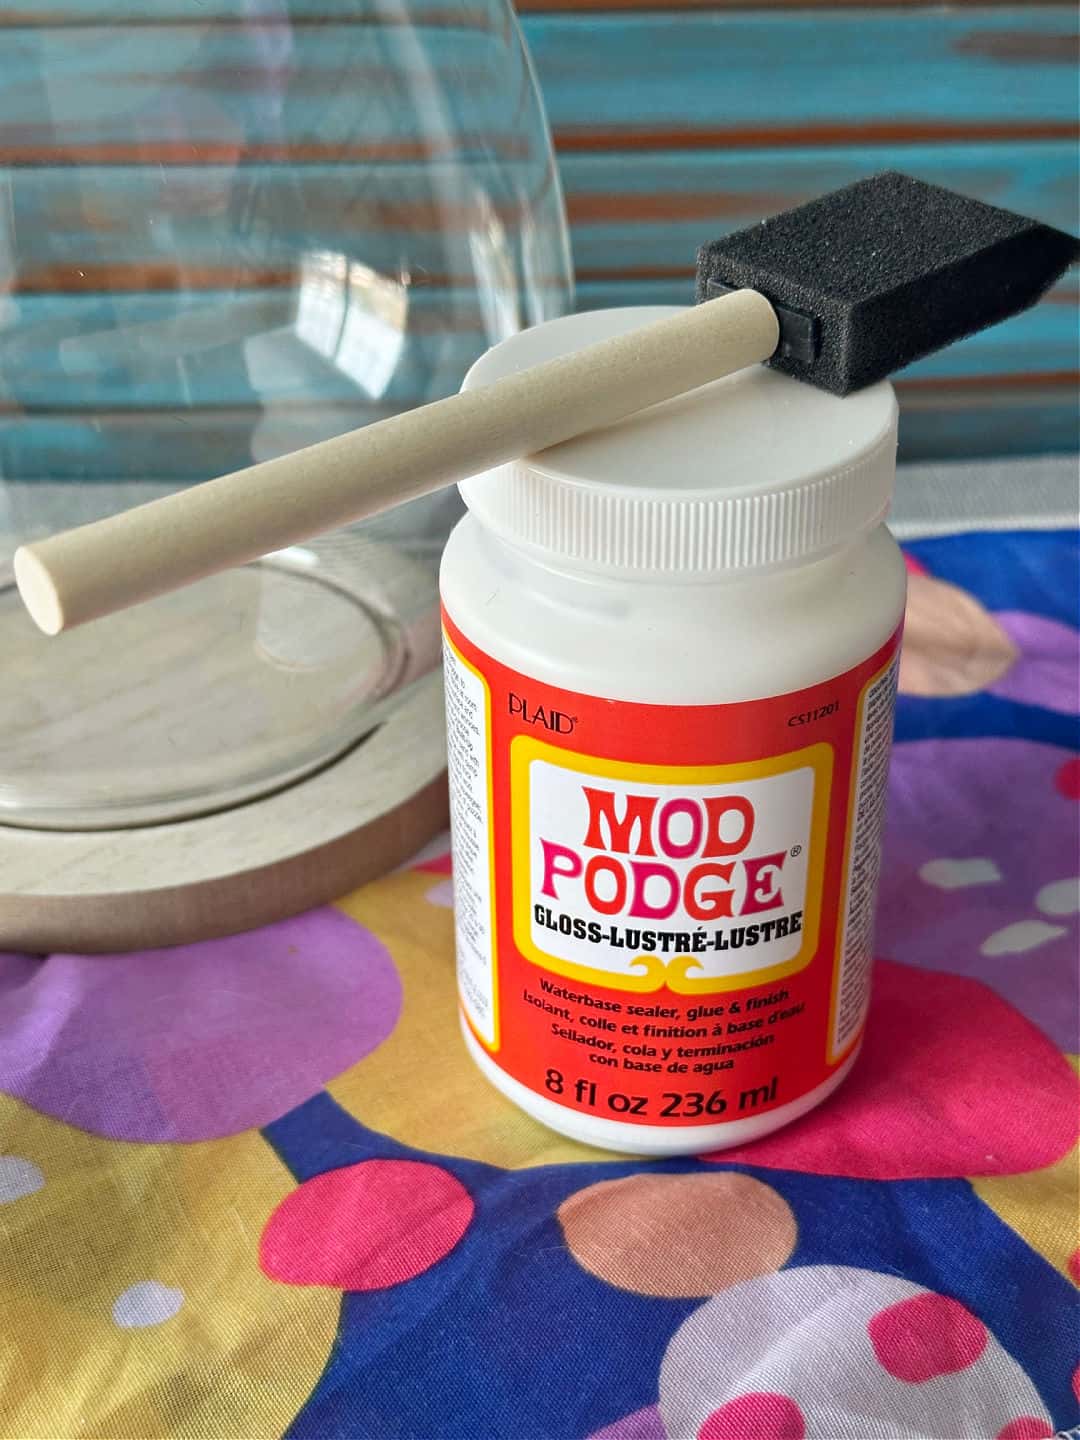

Step 2. Cover with Mod Podge
Use a foam brush to cover the entire inside of the glass with mod podge.
There are several different ways you can do this.
I wanted the glass to have a clear stained glass effect, so I “pounced” the foam brush onto the glass.
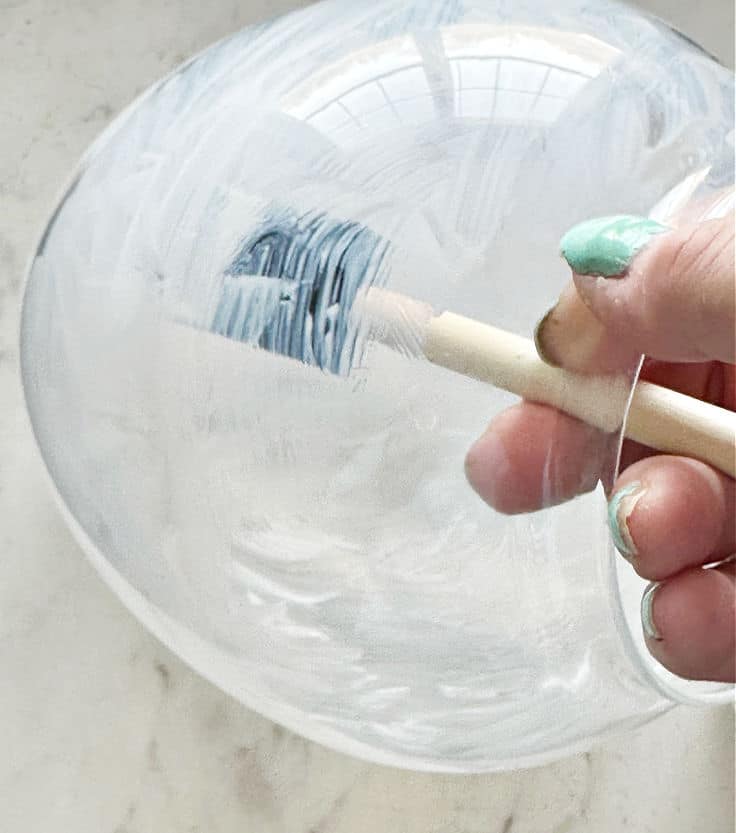
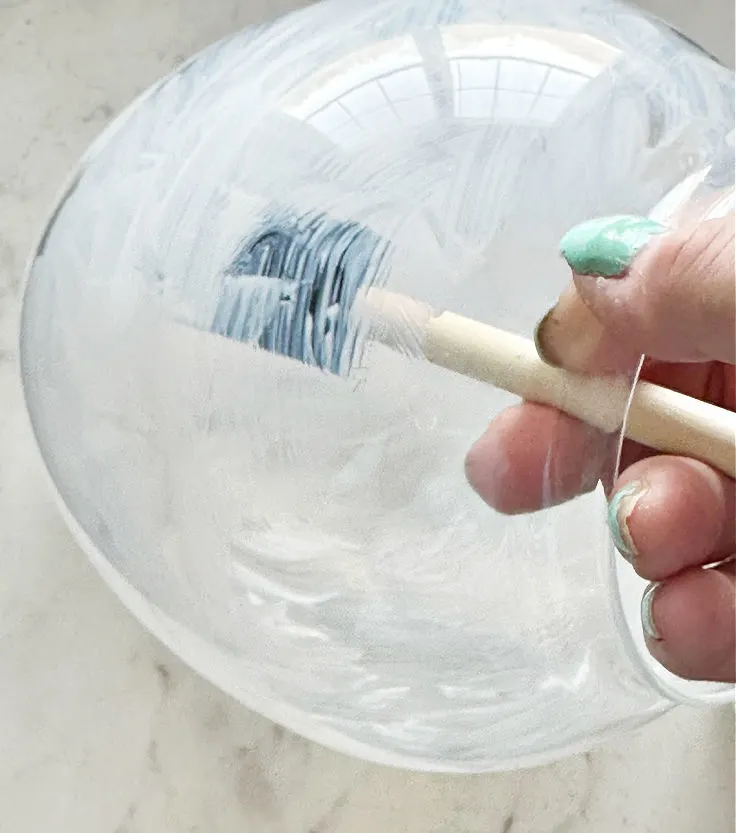
You can cover the glass with a smooth finish if you prefer. It really is a matter of your personal preference.
I’ve also seen where people will pour mod podge into the cloche and roll it around to cover it.
See how I did a similar effect in these painted mason jars.


Step 3. Let Dry Overnight
This is probably the most important step. Let the mod podge dry overnight. I’m an impatient crafter, so this is hard for me!
But getting the final result you want is definitely worth the wait.
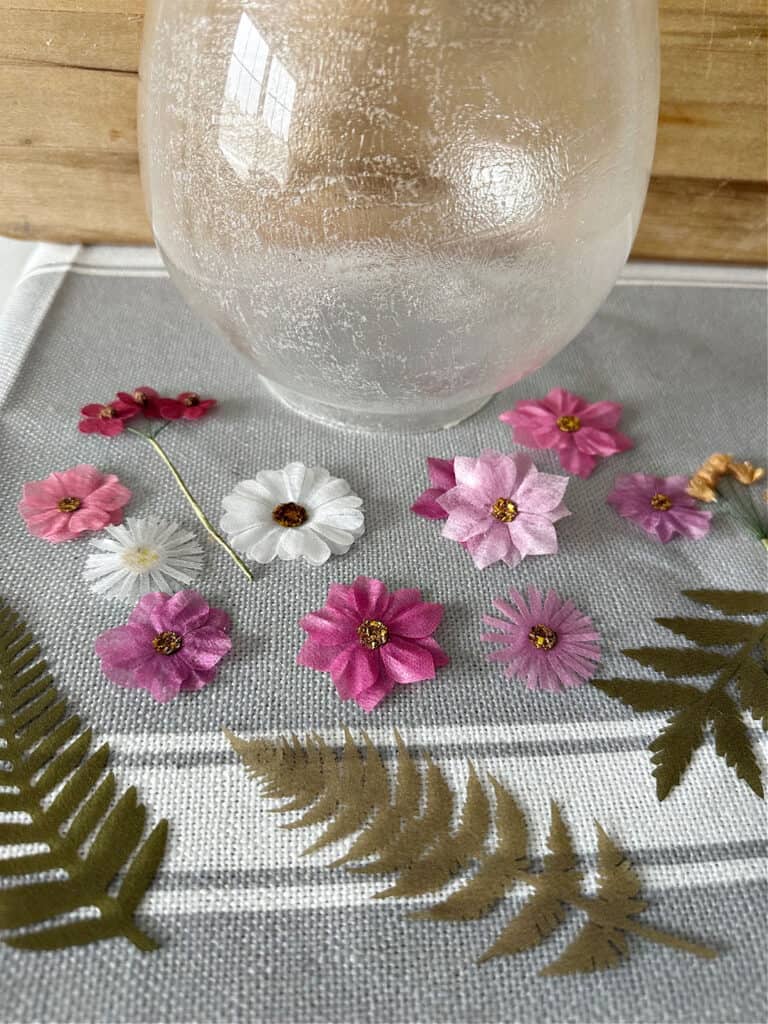
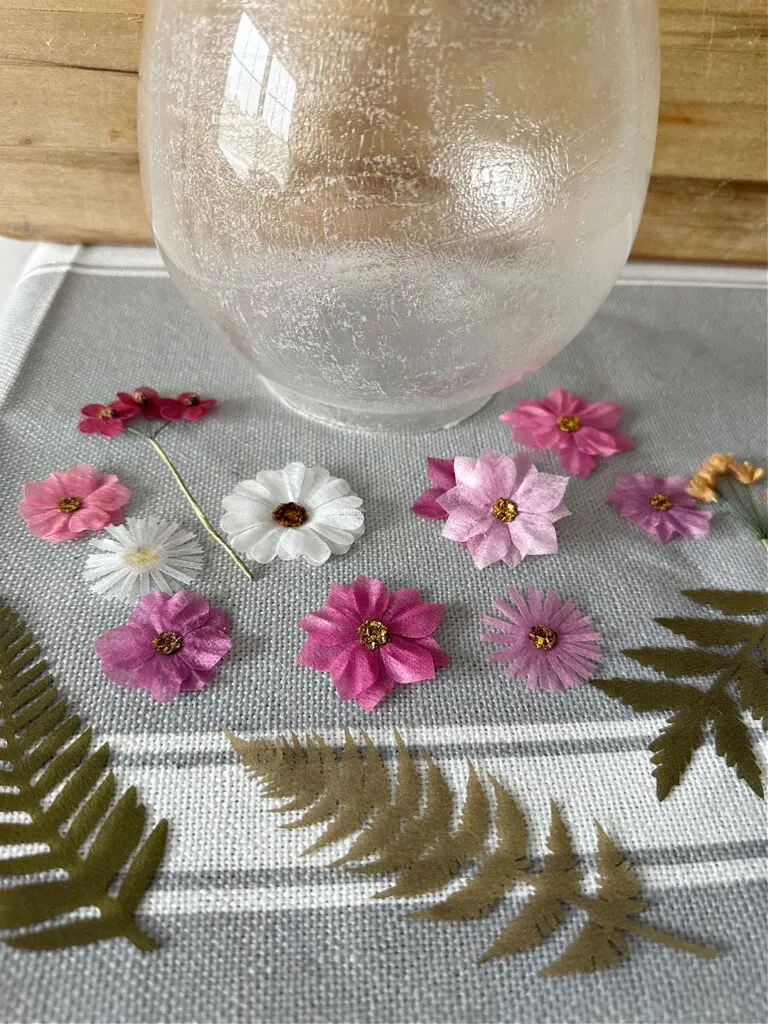
Here is what it looks like the next morning:


If you want a thicker finish, you can add another coat of mod podge, but I was happy with the result.
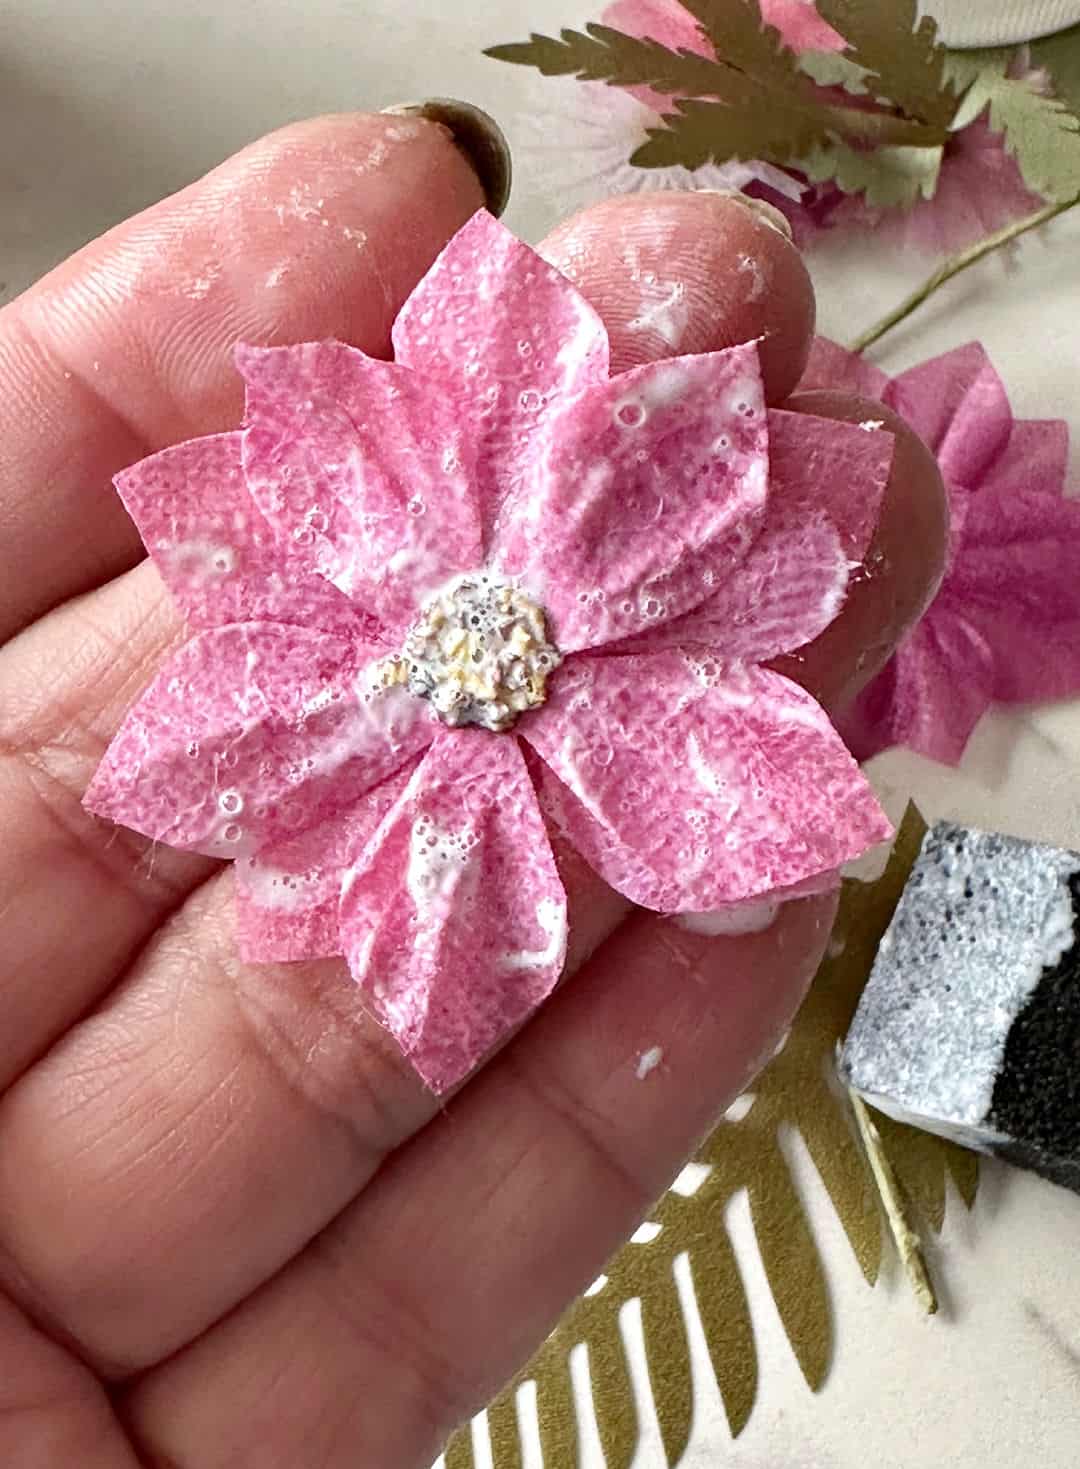
Step 4. Add Pressed Flowers
Now for the fun part; adding the pressed flowers. It’s best to have a general idea of where you want the flowers to go.
The flowers I bought included tweezers which help a ton!
Place an area of mod podge onto the inside of the glass where the flower will be placed.
Also add mod podge to the front of the flower.
It’s best to start with the larger flowers or greenery first, then fill in around it.

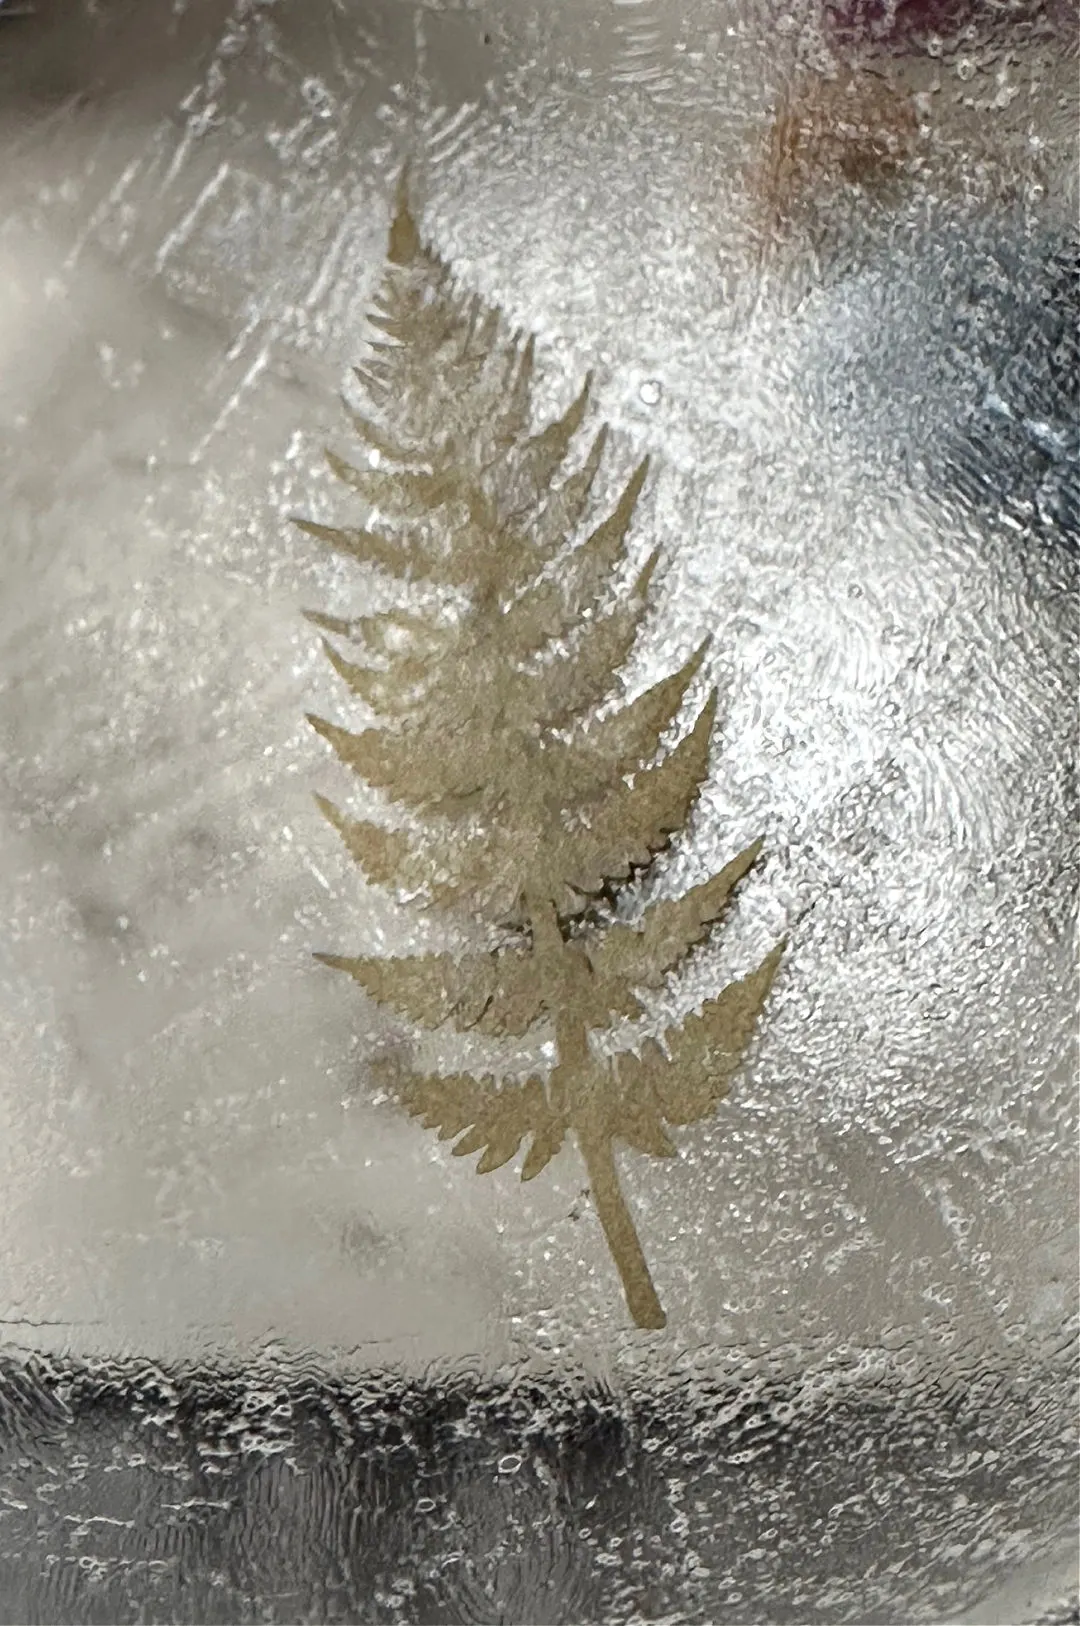
Press the flower to the glass and hold it about 30 seconds or so until it feels secure. Continue with the next flower.

You see those bubbles? I should have smoothed those out, but again…impatient crafter. It actually still dried ok.
Mod podge is resilient!
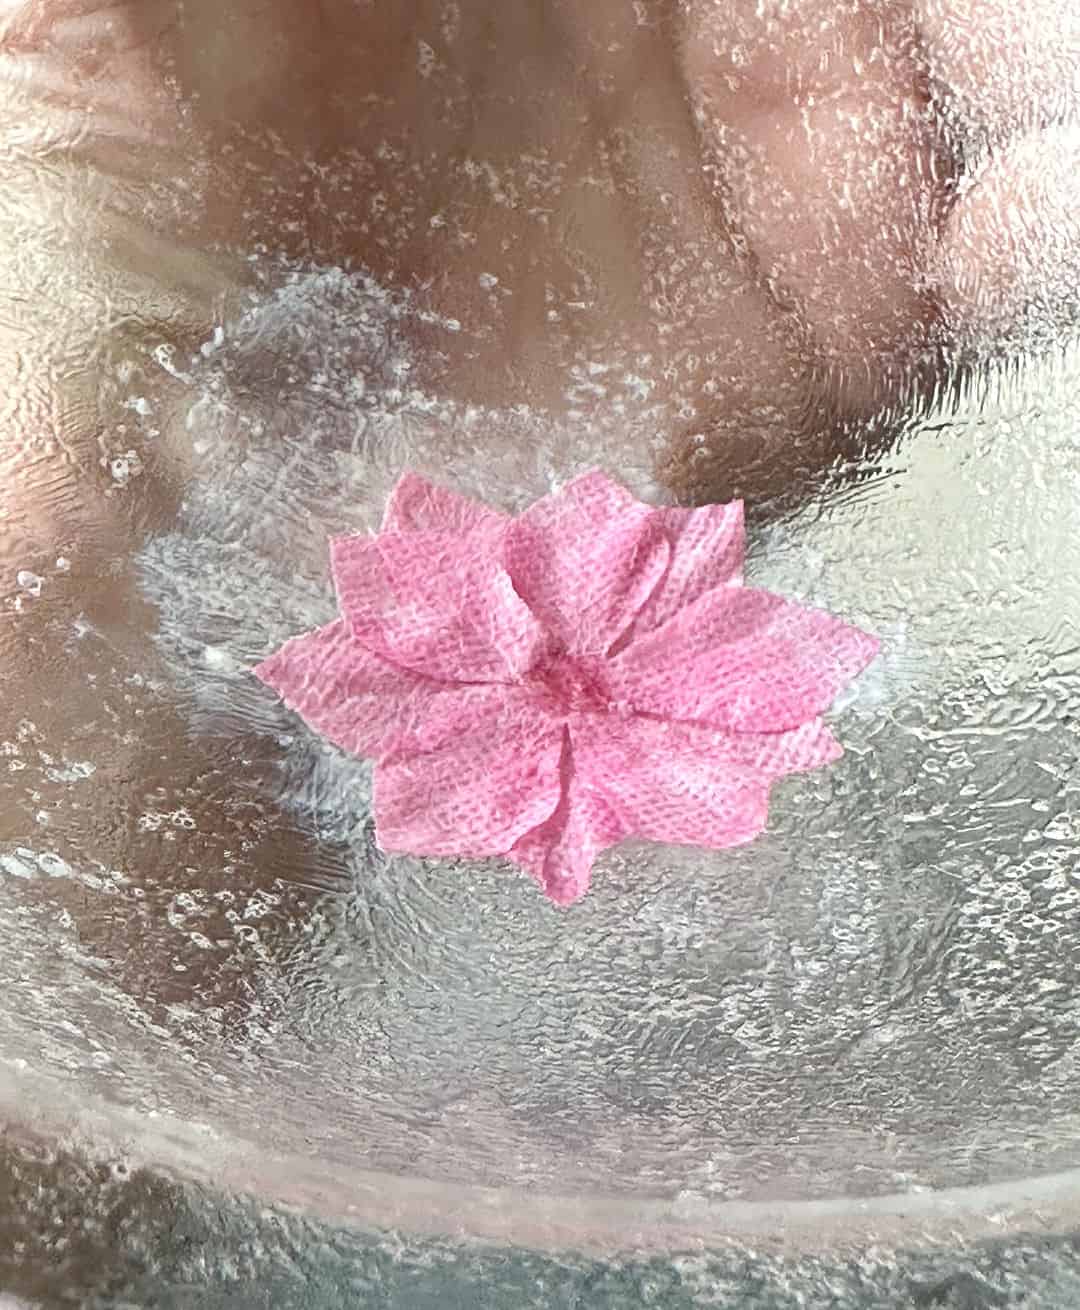
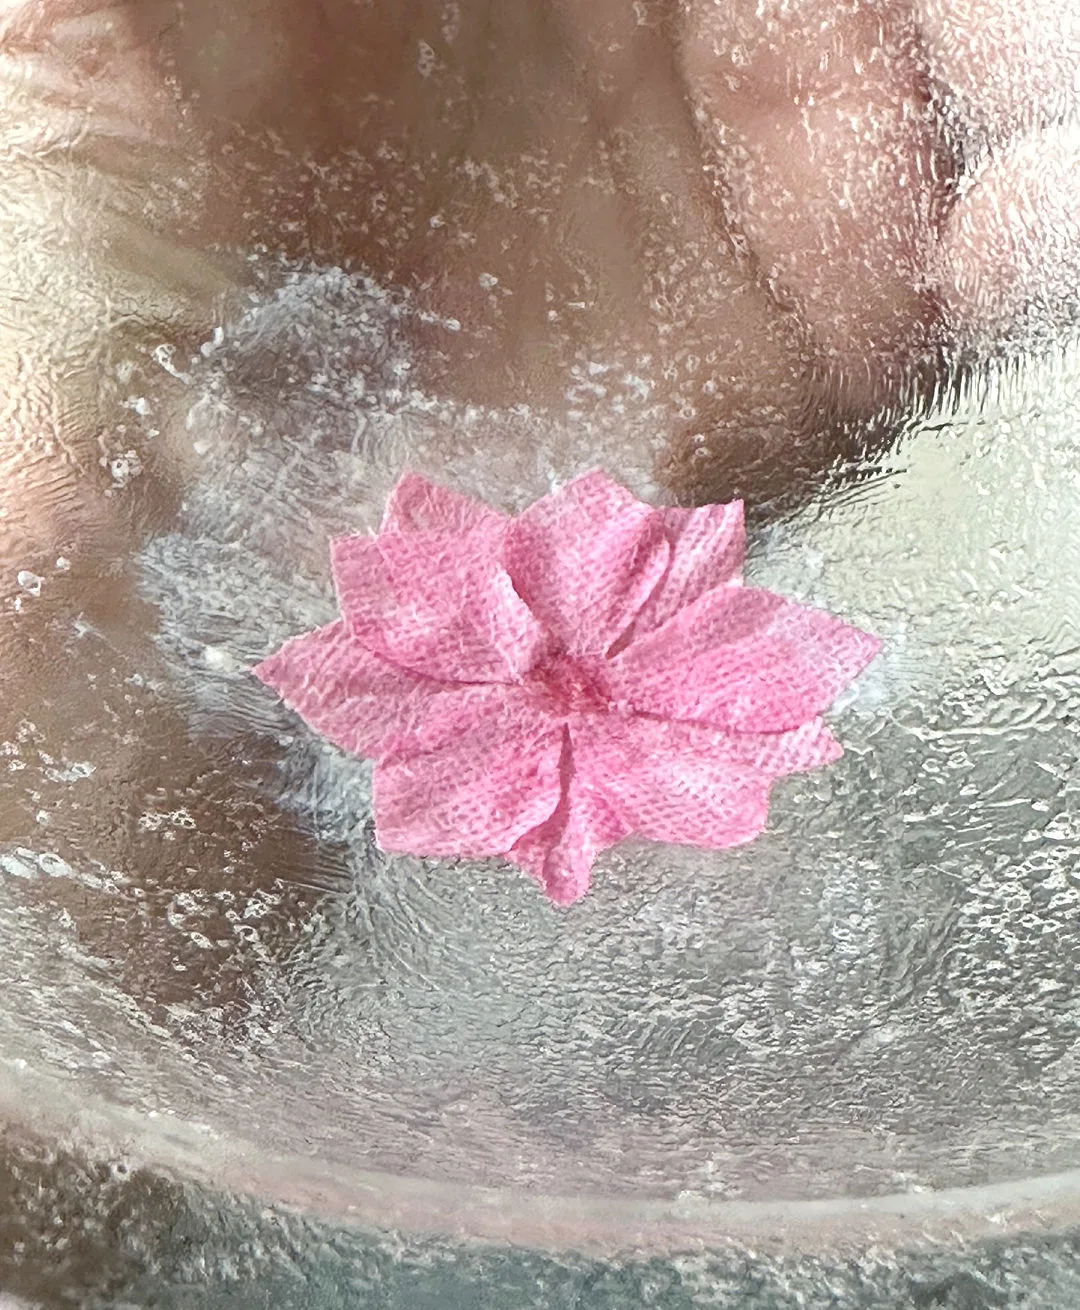
Step 5. Repeat with Remaining Flowers
Continue adding flowers until you are happy with the coverage. I ended up using about 12 flowers. Let dry overnight.
That’s all there is to it! A beautiful spring craft project that would make a great gift idea too! Perfect for Mother’s Day.
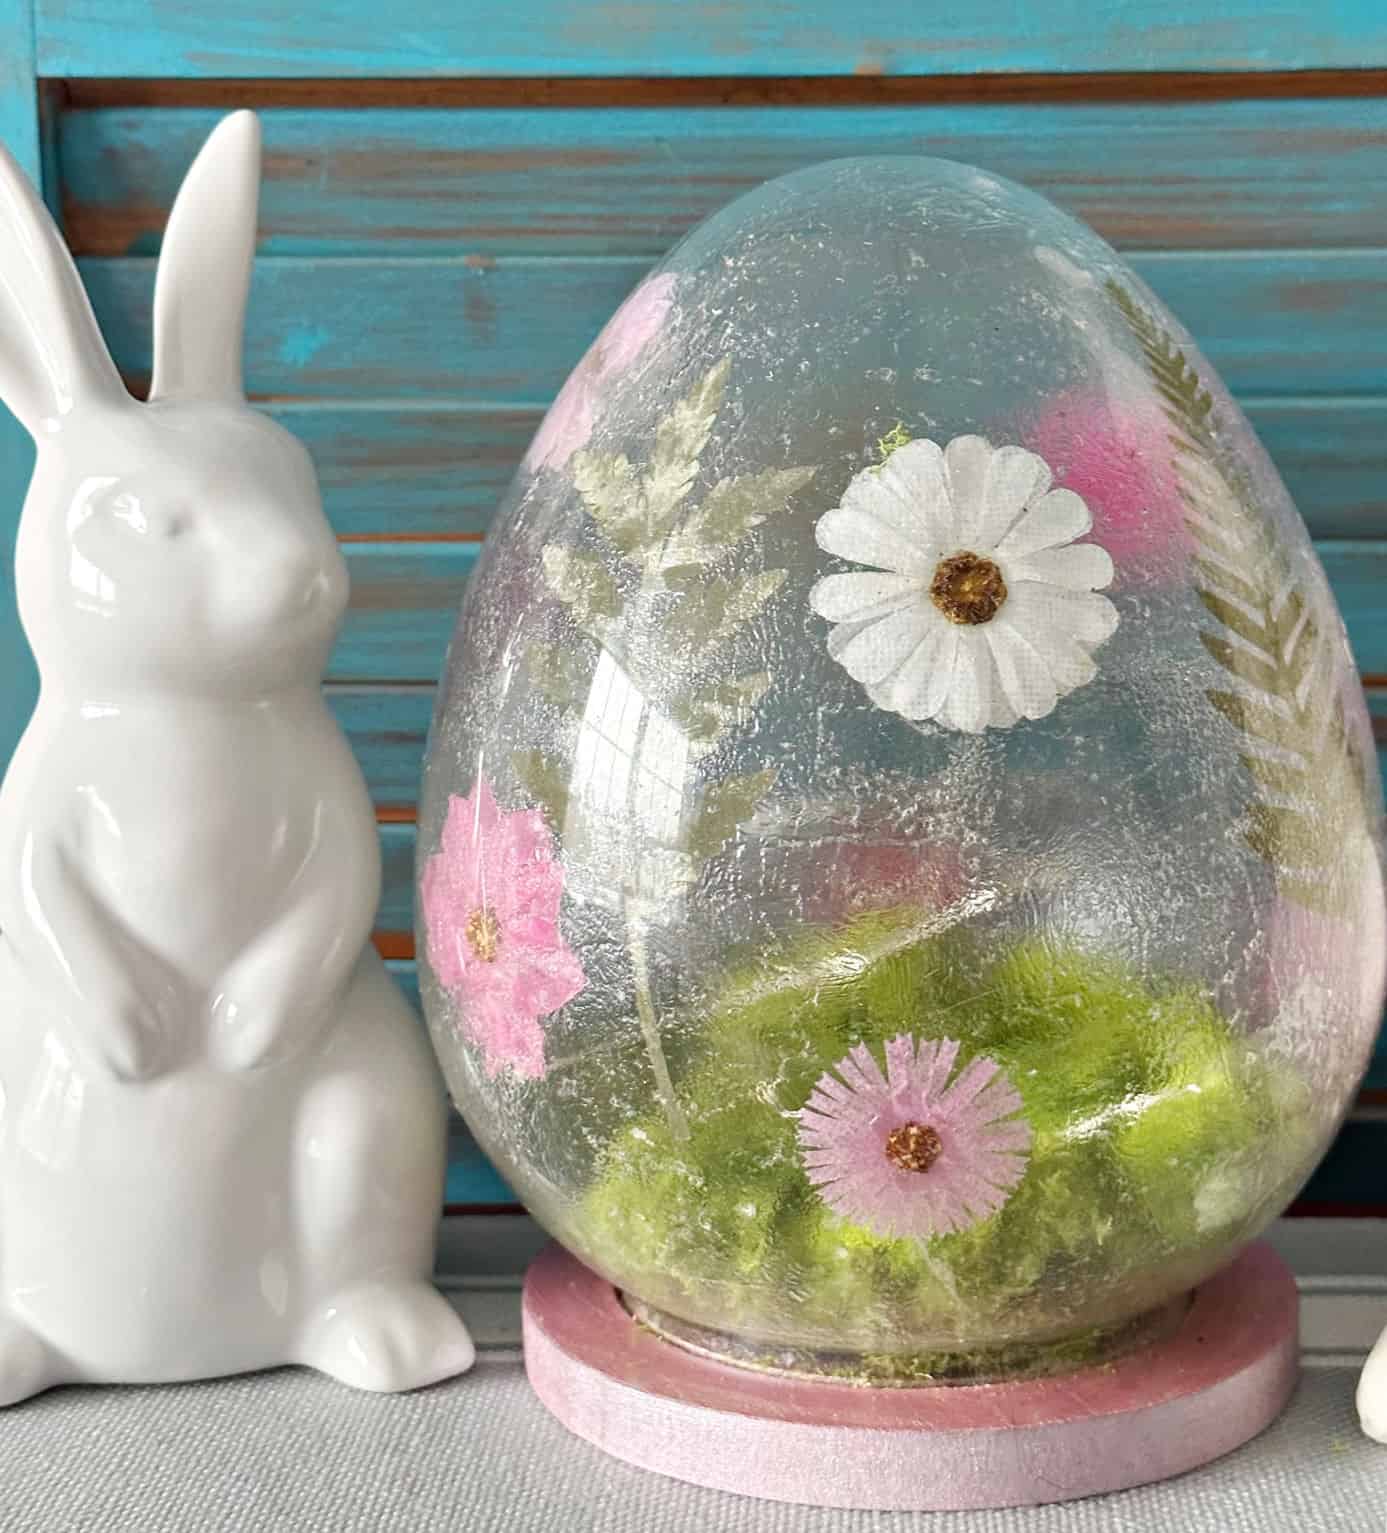
I placed a white ceramic bird inside but it didn’t show up very well.


I added a ring of lambs ear around the base for another option.


Still not satisfied, I decided at the last minute to paint the natural wood base pink.
Again, this is completely optional, but I never so no to pink metallic!
Here is a close up the next day with the painted base.
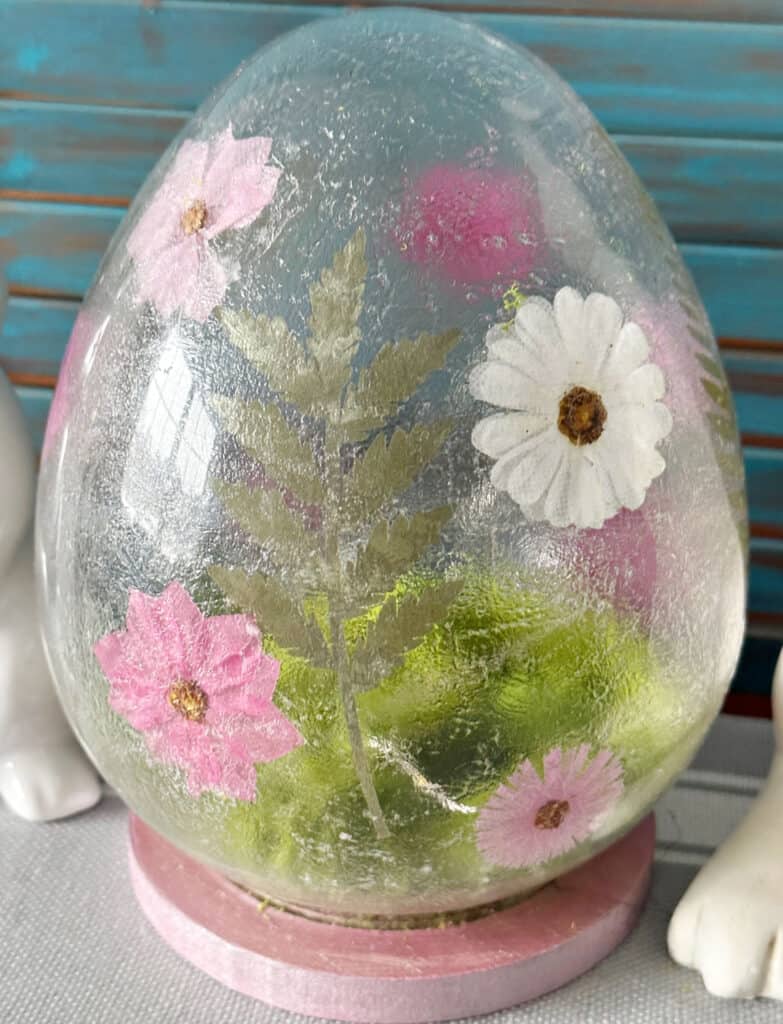

Love it! It’s so much brighter now and blends well with the pretty pink flowers. Definitely perfect for spring decorating!
How to Style a Glass Cloche
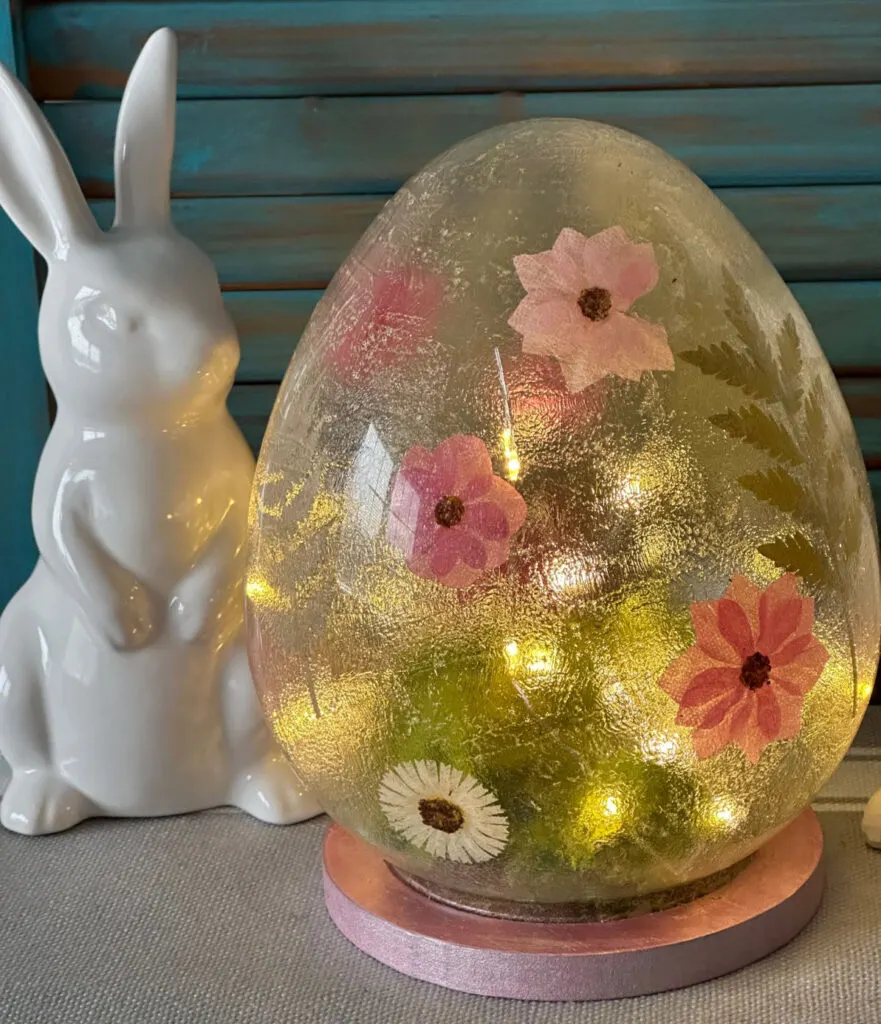
This faux stained glass cloche is pretty enough on its own, but the addition of reindeer moss and fairy lights takes it to the next level.

With the fairy lights on:


It’s even prettier in person. The fairy lights look so pretty at night and you get a better idea of what the brush stroke finish looks like.

This summer I plan to dry my own flowers to use, but for this craft project I used store bought pressed flowers.
They do have beautiful pressed flowers available at craft stores too.You may want to check out the easy tutorial I shared on dried pressed ferns HERE.
Here are a couple reasonably-priced glass cloches available on Amazon:
There are so many lovely decorating ideas for cloches. Plus you can easily change out the decor for each season or holiday.

What to put in a cloche?
Here are several ideas for filling your cloche:
- Create a glass cloche terrarium (see my terrarium made with picture frames)
- Add plants to a bell jar, glass domes or cake stands
- Make a centerpiece with a candle and candle ring. Love this tinted glass cloche with a candle from Anthropologie
- Decorate your coffee table with a pretty tray as a base and display a glass cloche with fairy lights or spring decorations
What is a glass cloche?
A glass cloche was originally designed to protect plants from frost damage similar to a glass terrarium. They are also commonly known as bell jars or glass domes. They sometimes come with a base or tray. Nowadays they are used for everything from decorating a coffee table to covering food at a party!
Can you make your own glass cloche with base?
You sure can. I plan to share a glass dome DIY next week. A quick search on Pinterest shows so many creative ideas for making your own cloche, including a few Dollar Tree upcycles!
If you are a fan of dollar store crafts and home decorating, you may want to join my All Things Dollar Store Facebook Group. It’s free, friendly and fun!
I hope you enjoyed this spring DIY project. Let me know in the comments below if you give this beauty a try.
Sharing is caring…please PIN the below image:
Google Web Story: DIY Spring Glass Cloche with Pressed Flowers


Beautiful Pressed Flower Glass Cloche
Make a gorgeous spring glass cloche filled with colorful pressed flowers, fairy lights and reindeer moss. It's an easy spring craft that is made from a Target Dollar Spot glass egg.
Materials
- Glass Cloche
- Mod Podge – I used matte
- Foam Brush
- Pressed Flowers
- Metallic Paint – I used rose quartz
- Fairy Lights
- Reindeer Craft Moss
- Rubbing alcohol and paper towel
Instructions
- Start by cleaning the inside of the glass egg with rubbing alcohol.
- Use a foam brush to cover the entire inside of the glass with mod podge. Let dry.
- Add the pressed flowers. Place an area of mod podge onto the inside of the glass where the flower will be placed.
- Add mod podge to the front of the flower. Press the flower to the glass and hold it about 30 seconds or so until it feels secure.
- Repeat until the glass has enough flowers. It's best to leave space between flowers.
- Let dry overnight.
- Add fairy lights and moss. Decorate with your beautiful glass cloche!
Recommended Products
As an Amazon Associate and member of other affiliate programs, I earn from qualifying purchases.
-

 prefleur Preserved Reindeer Craft Moss Natural Green DIY Kit Terrariums Gardenning Art Wall Florist Decor Easter Table Decor Wedding Decor (3 OZ)(Green-02)
 -
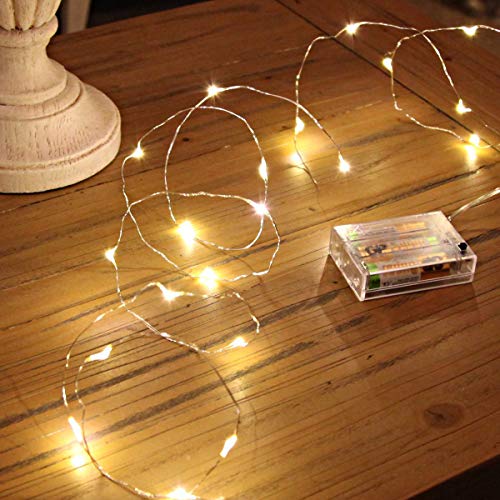 Ariceleo Led Fairy Lights Battery Operated, 1 Pack Mini Battery Powered Copper Wire Starry Fairy Lights for Bedroom, Christmas, Parties, Wedding, Centerpiece, Decoration (5m/16ft Warm White)
 -
 Dried Flowers for Resin, Real Nature Dried Pressed Flower Leaves Bulk with Tweezers for DIY Nail Art Cards Scrapbooking Crafts Jewelry Making Epoxy Resin Molds Candle Accessories Floral Decors
 -
 24 Pcs Foam Brush Set, Foam Paint Brushes, Wood Handle Sponge Brushes for Painting, Foam Brushes Sponge Paint Brush for Staining, Varnishes, and DIY Craft Projects (1'', 2'' and 3'')
 -
 Mod Podge CS11302 Waterbase Sealer, Glue and Finish, 16 oz, Matte
Here are even more spring home decorating ideas:
- 12 Gorgeous Spring Home Decorating Ideas
- Spring Home Decor with Decocrated
- Spring Mantel Decorating Ideas
- Spring Bumble Bee Craft
- 5 Simple Tips for a Beautiful Spring Mantel


Elizabeth
Monday 13th of March 2023
this was so sweet
Leanna
Wednesday 8th of March 2023
This is so fabulous when lit up. Its lovely for Easter, but I think it would make a sweet night light for a baby or little girls room as well. Great idea.