
Make easy DIY Halloween icon glasses inspired by Anthropologie with a simple paint pen and thrifted glasses. A fun Halloween wine glass idea!
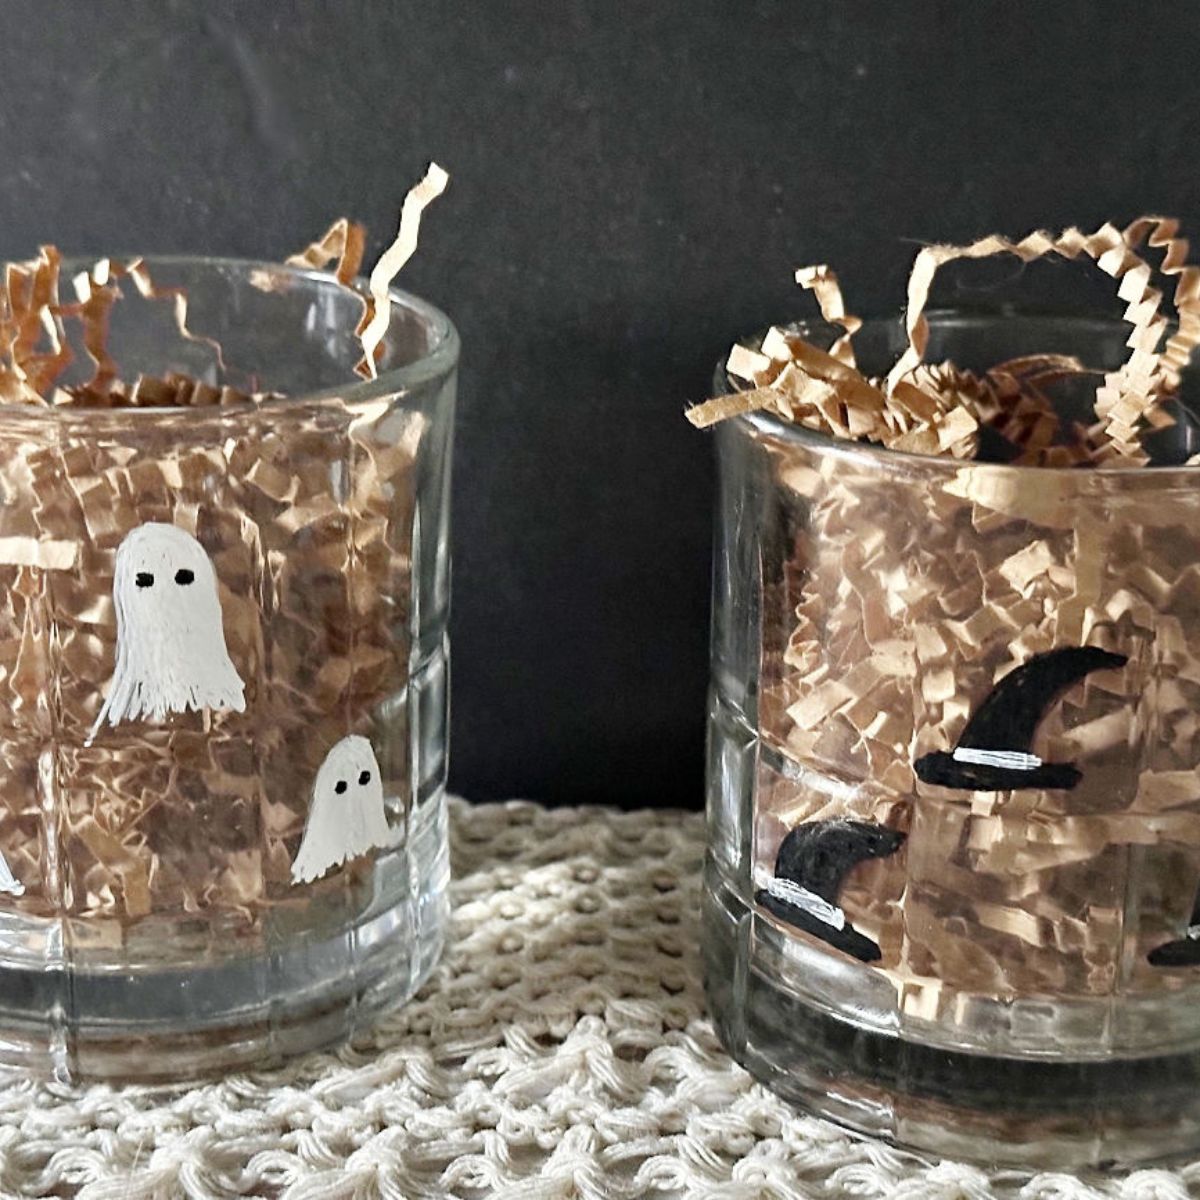
There’s something about Halloween glassware that makes even a plain drink feel a little more fun. I fell in love with the adorable Anthropologie Halloween icon glasses and knew they would be perfect inspiration for a budget friendly DIY.
These DIY Halloween glasses are easy to make with a few inexpensive supplies, making them the perfect craft for a girls’ night.
And the best part? You can customize them to fit your Halloween theme or turn this into a seasonal craft for fall, Christmas, or Valentine’s Day. Create an entire set and add it to your glassware collection!
Anthropologie Halloween Icon Glasses on a Budget
Table of Contents
Anthropologie isn’t the only place to find these sweet Halloween icon glasses. Pottery Barn Target, Home Goods and At Home also have similar styles.
But rather than spend a lot on glasses you’ll only use for a few weeks each year, why not make your own?
That’s exactly what we’re doing here.
This post contains affiliate links at no extra cost to you. Please read my full disclosure here.
What You’ll Need
You don’t need a huge supply list for this project.
- Clear glasses – be sure to check out dollar stores, thrift stores, yard sales or flea markets
- Glass Paint Markers or paint markers suitable for glass
- Rubbing alcohol
- Paper towels
- Halloween designs for inspiration
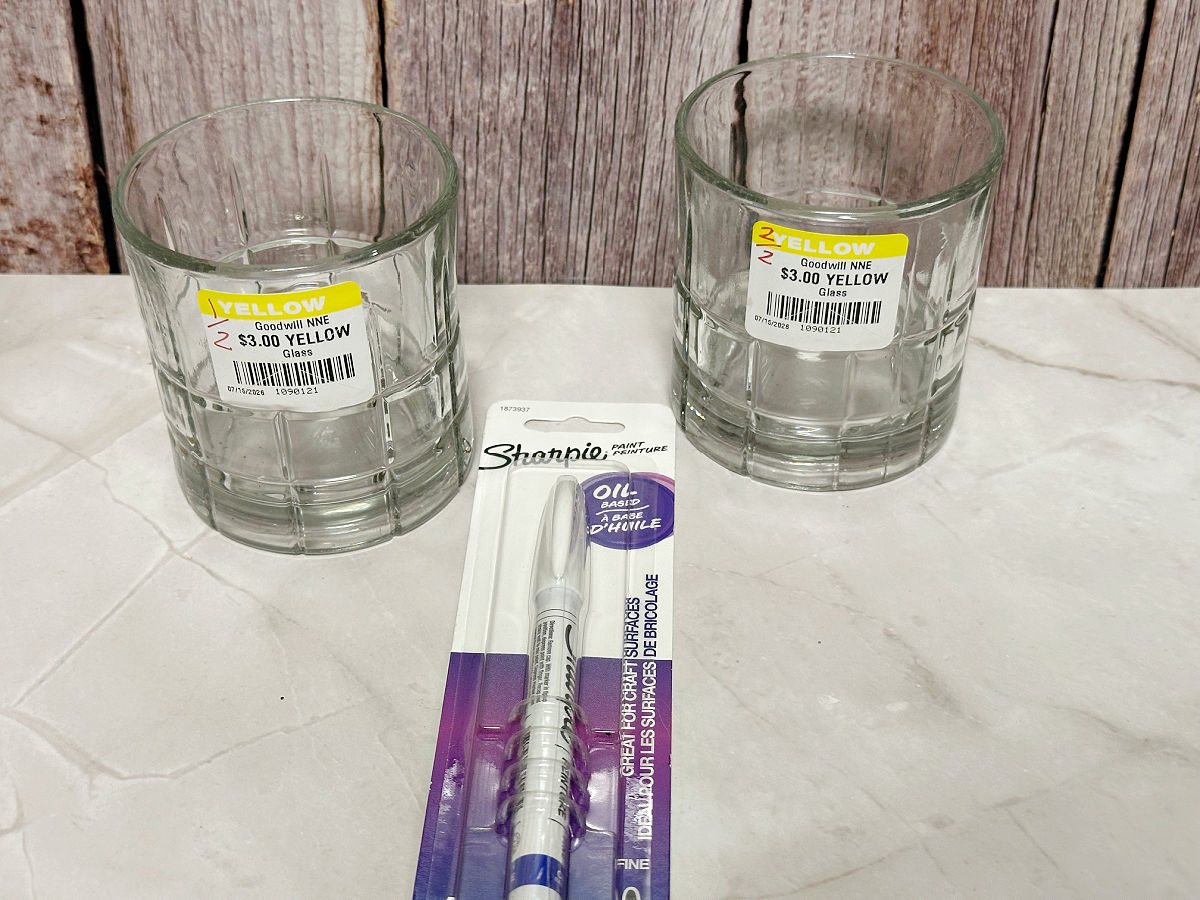
You can use wine glasses, tumblers, juice glasses, or old fashioned glasses. I scored the coolest tumblers at my local Goodwill.
They were 50% the yellow sticker price, so I paid $1.50 for two. Plus, they had square indentations making it super easy to add Halloween designs.
How to Make DIY Halloween Icon Glasses
1. Clean the Glasses
Wash the glasses well and let them dry completely. Wipe the area you’ll be painting with rubbing alcohol to remove any leftover oils or residue.
2. Choose Your Halloween Icons
This is the fun part!
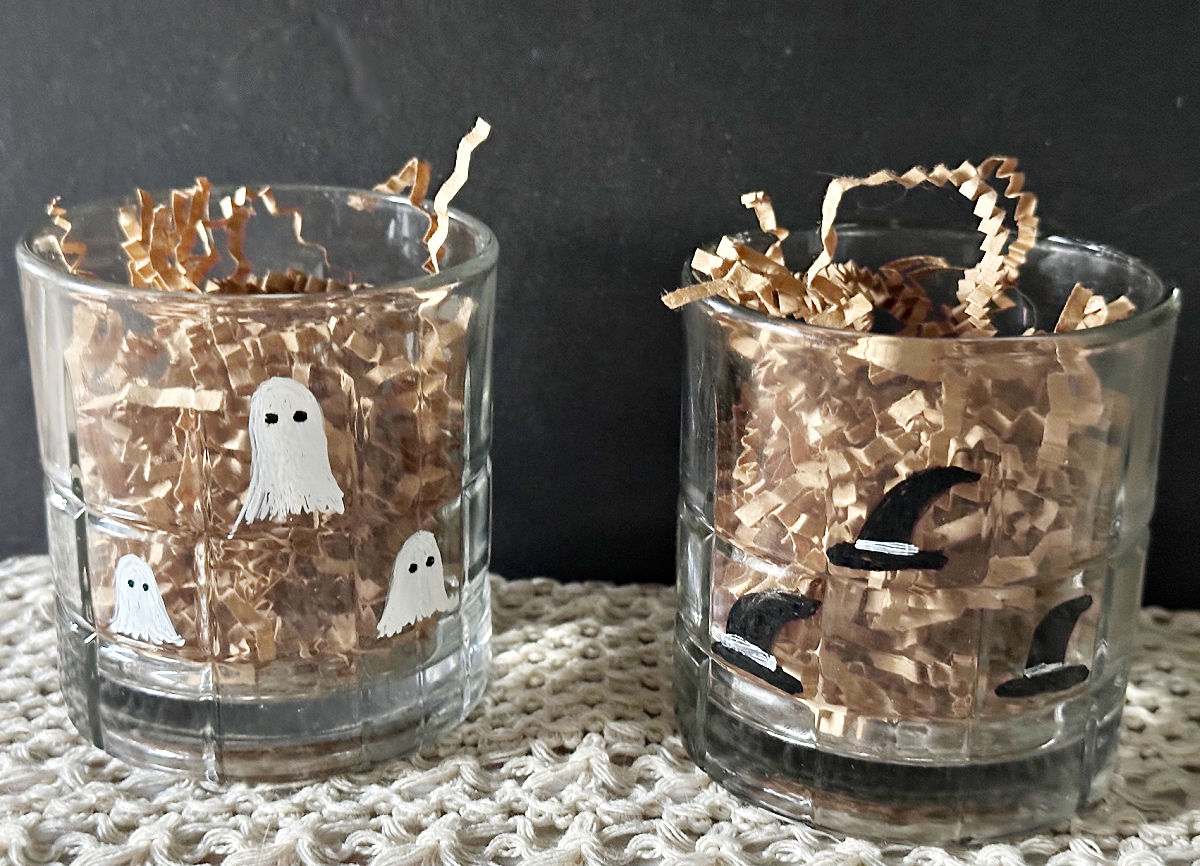
Think pumpkins, ghosts, bats, witches, black cats, spiders, candy, or simple Halloween phrases. You don’t have to be an artist. Simple shapes are perfect for this project. I chose to go with ghosts and witch hats.
Be sure to check out these Halloween ghost decorations for inspiration.
3. Paint Your Designs
Use your paint markers to add the Halloween icons to the outside of the glass.
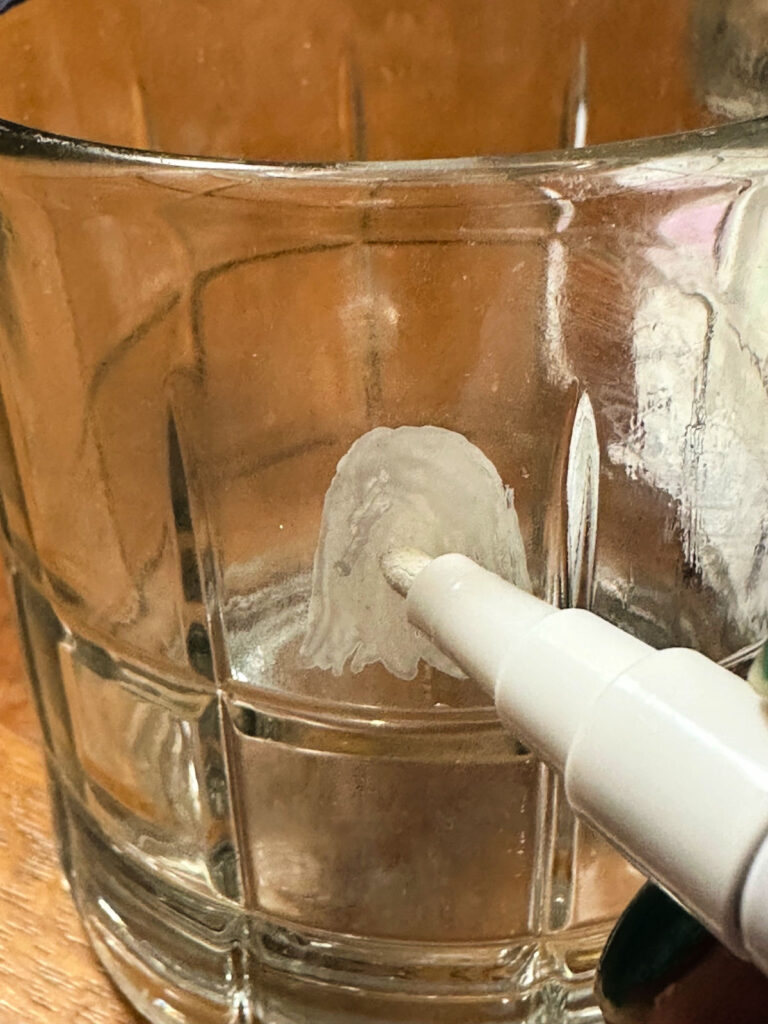
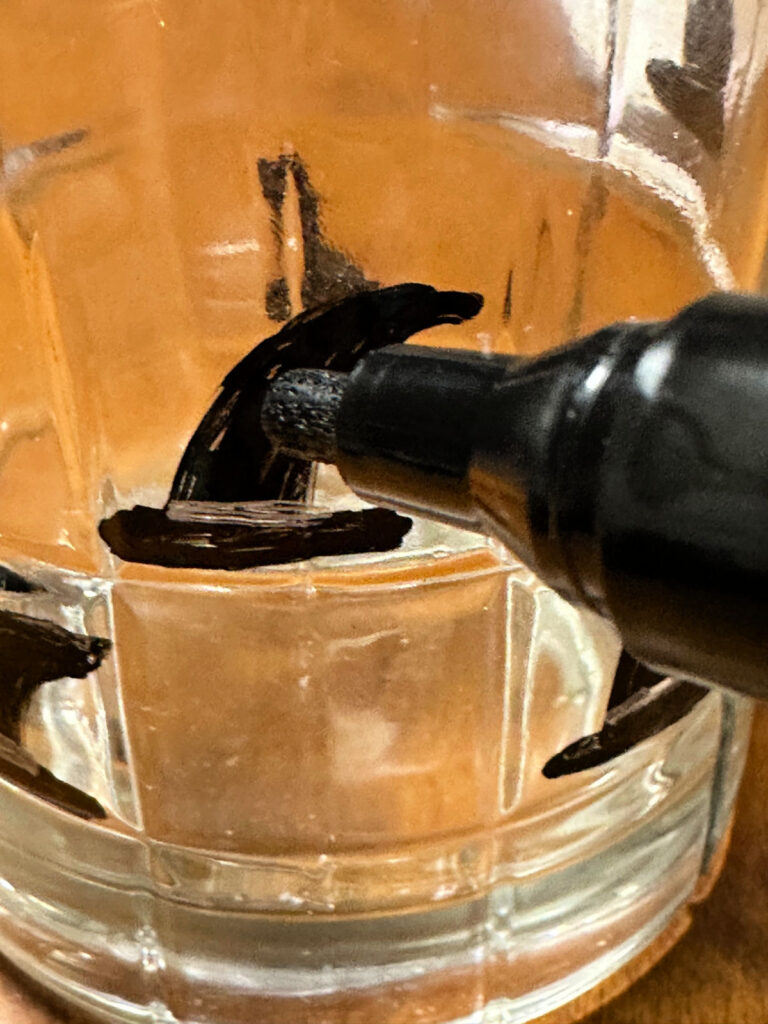
Don’t worry about making every design perfect. I actually love the slightly imperfect look of hand painted Halloween wine glasses. It gives them a handmade feel.
You can make every glass different or stick with one design for a matching set.
4. Let Them Dry
Follow the drying and curing directions for the paint you choose. Some glass paints require baking to make them dishwasher safe, while others are designed to air dry.
Always check the manufacturer’s instructions before washing your finished glasses.
Look how cute these turned out. I plan to add candy or mini beauty products to each glass for a sweet gift idea.
If you love seasonal entertaining but don’t want to spend a fortune on decorations every year, save this project. Grab inexpensive glasses whenever you find them, then create a new set for each holiday.
It’s an easy way to build a collection of seasonal pieces without buying expensive specialty glassware.
Halloween Wine Glass Painting Ideas
Looking for Halloween wine glass painting ideas? Keep the designs simple for an easy project.
Try:
- Pumpkins
- Ghosts
- Bats
- Black cats
- Witch hats
- Spiders
- Candy corn
- Crescent moons
- Halloween faces
- A simple “Boo”
You can also mix several icons together for a fun mismatched collection.
These Halloween hand painted wine glasses would be especially cute for a Halloween party, girls’ night, or fall dinner.
Make Your Own Halloween Boo Cups
Want to make your own version of Halloween boo cups? Download my free you’ve been booed printables to add to your cups.
Paint a different spooky character on each glass and use them for cocktails, mocktails, or even juice. They’re a fun way to add a little personality to your Halloween table.
Imagine a pumpkin glass sitting next to a ghost, bat, and black cat. So cute!
Tips for Painting Glass
A few simple tips will make the project easier:
Keep the designs simple. Small Halloween icons are easier to paint than complicated scenes.
Practice first. Sketch your design on paper before painting the glass.
Use a light touch. You can always add another coat if needed.
Let the paint cure. Don’t rush this step, especially if your paint requires baking or curing.
Check the paint instructions. This is especially important if you want your finished glasses to be dishwasher safe.
Pin For Later
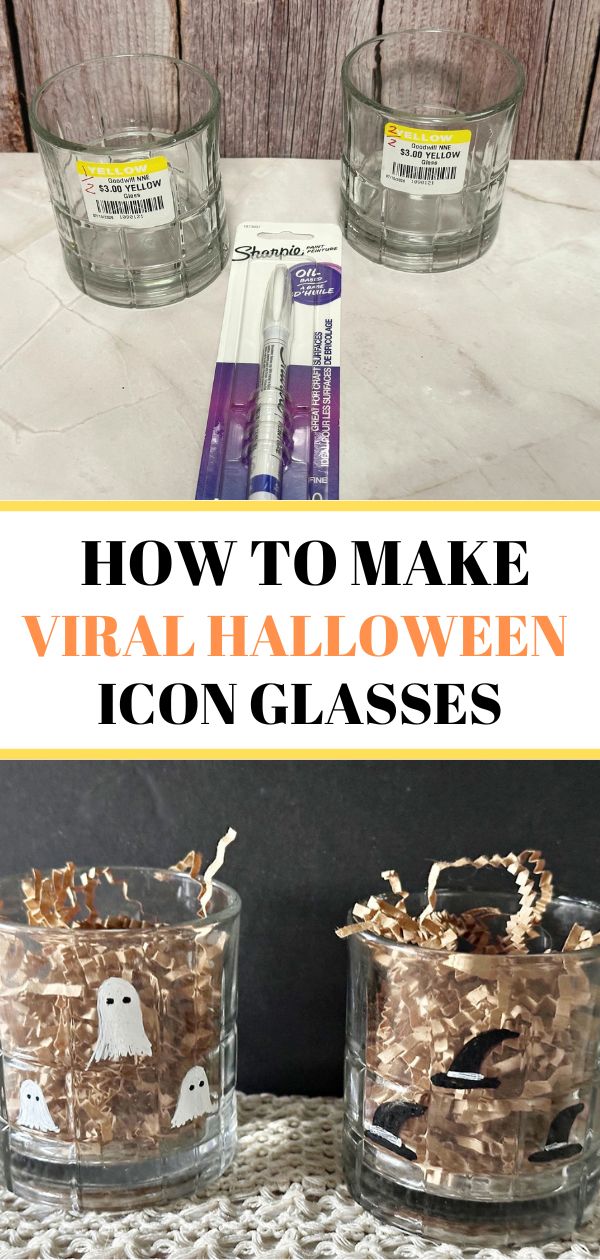
Share this article with your friends on Pinterest by pinning the below image.
It helps my blog grow and doesn’t cost a thing! 🙂
Frequently Asked Questions Halloween Icon Glasses
Use glass paint or paint markers specifically made for glass. Check the manufacturer’s instructions for drying, curing, and washing recommendations.
Most smooth glass surfaces can be decorated with the appropriate glass paint. Always check the paint manufacturer’s recommendations before starting.
It depends on the paint you use. Some glass paints become dishwasher safe after curing, while others are hand wash only.
Try tumblers, juice glasses, mugs, goblets, or old fashioned glasses. Thrifted glassware is perfect for experimenting with different designs.
Pumpkins, ghosts, bats, black cats, spiders, and witch hats are all beginner friendly designs.
Older children can help choose designs and paint with supervision. An adult should handle any baking or curing steps required by the paint.
Even More Halloween DIY Decor and Crafts
You may also like this dollar store pumpkin topiary, this Pottery Barn inspired terracotta pumpkin tutorial, and these vintage witch hat printables.
Check out these hand painted wine glasses with glass pitcher, pumpkin wine glass candle holders, painted sunflower on wine glasses and 15 painted wine glasses.
Follow me on social media below: