
Learn how to make DIY beehive decor for under $5 with Dollar Tree supplies. This easy bee skep tutorial has step-by-step photos. Get started!
This post may contain affiliate links, which means if you buy something using these links I will earn a small commission at no additional cost to you. Please see my full disclosure policy here.
Want a cute bee decoration without spending a lot? This DIY beehive decor is made from a garden planter, jute rope, and a pretty bumble bee ribbon, and it costs less than $5 to make.
Similar bee skeps sell online for around $20, so this is an easy way to get the farmhouse look for much less.
It’s a simple beehive craft that looks great on a tiered tray, a shelf, or a table, and it’s a perfect addition to your spring and summer decor.
I’ve been on a bee kick ever since I made my bumble bee wreath, so I couldn’t resist making a bee skep to go with it. Let’s get started!


Quick Overview: DIY Beehive Decor
Table of Contents
- What you’ll make: a rope-covered bee skep with a painted black entrance and a bumble bee bow
- Cost: under $5, compared with about $20 for similar bee skeps online
- Skill level: easy, with five simple steps and no special tools beyond a hot glue gun
- Where to find supplies: the planter and jute rope are dollar store finds, and I found the bee ribbon at Hobby Lobby (50% off!)
- Where to use it: tiered trays, shelves, mantels, centerpieces, and porch tables in spring and summer
- Extras below: a mini bow tutorial, display ideas, tips, mistakes to avoid, and FAQs
What Is a Bee Skep?
A bee skep is a traditional beehive shaped like a dome and made of coiled straw or rope. Skeps were used to house honeybees long before modern wooden hives, and today they’re a popular farmhouse and cottage decor symbol.
That coiled, rounded shape is what we’re copying here, using jute rope and a garden planter as the base.
Supplies Needed for Beehive Decor (Bee Skep)
- Garden Planter (a small plastic or terracotta pot also works)
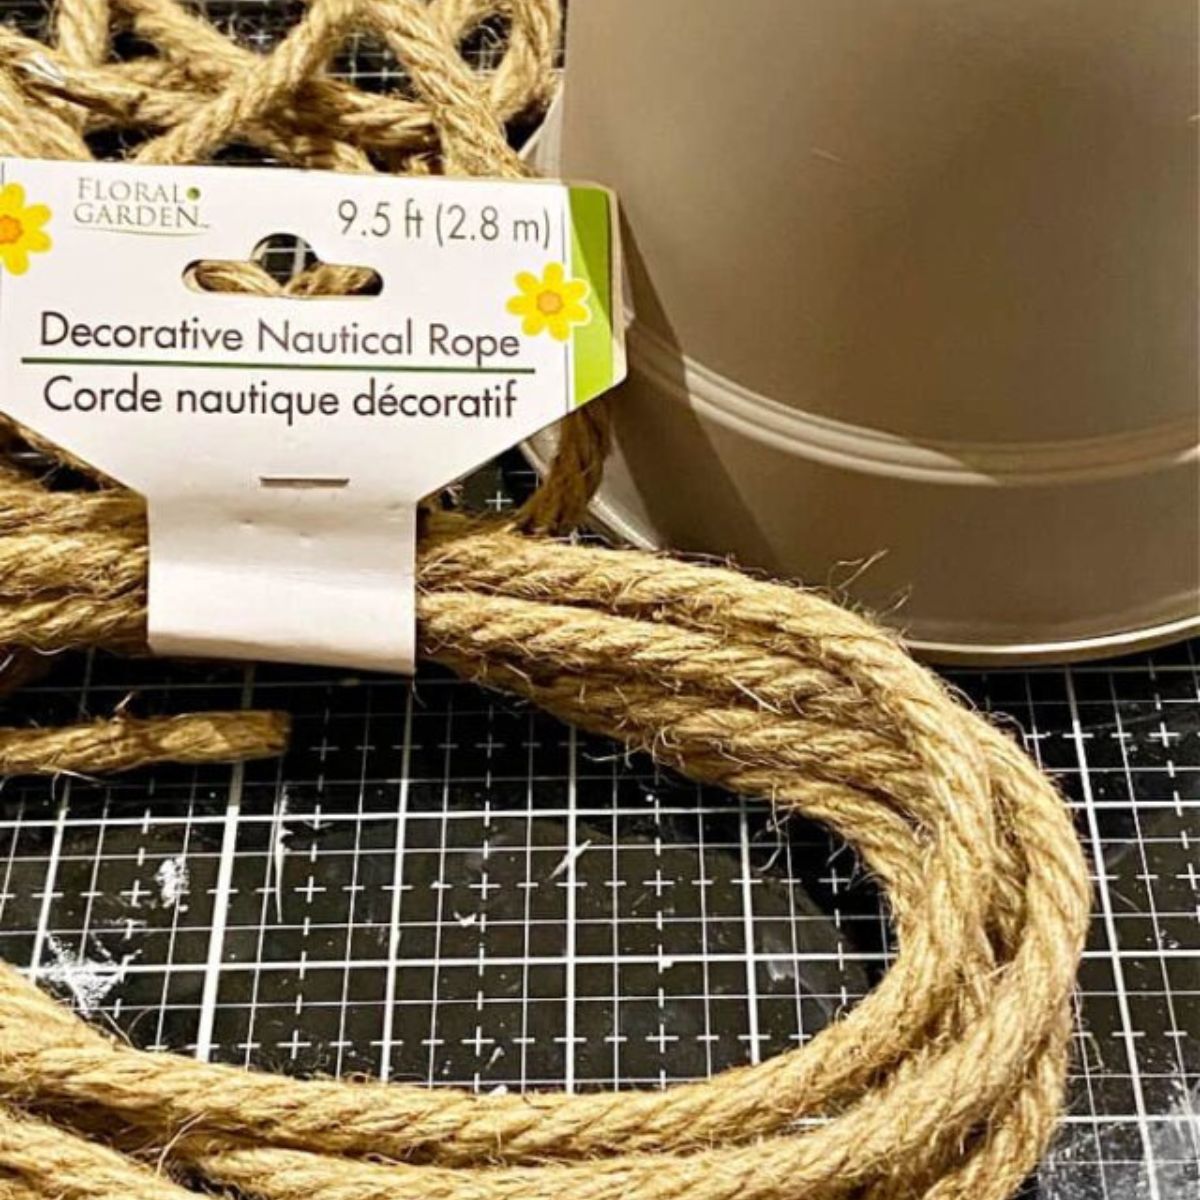
- Jute Rope, 3 rolls
- Bumble Bee Wired Ribbon (wired ribbon holds the bow shape well)
- Cordless Hot Glue Gun – this is my favorite!
- Black paint for the entrance
- Wire or a pipe cleaner to attach the bow
- Spring flowers (optional)
- Scissors


Where to find supplies: I found the planter and rope at the dollar store, and the bee ribbon at Hobby Lobby on sale. Supplies change by store and season, so if you can’t find a bumble bee ribbon, any bee-themed or yellow and black ribbon will work.
Swaps and variations:
- Use natural twine instead of jute rope for a finer, tighter look.
- Try a different size planter to make a whole set of small, medium, and large bee skeps.
- Skip the bow and add a few small faux bees or a single flower instead.
How to Make a Beehive (Bee Skep)
The whole project is five easy steps. Work in small sections with your hot glue gun so the glue doesn’t set before you press the rope in place.
Step 1: Attach the Rope
Start by hot gluing the end of your jute rope to the bottom edge of the garden planter. Turn the planter upside down so the wide rim sits on your table and the base becomes the top of your beehive.
Put glue on a few inches of the planter, press the rope into the glue, and keep going.


Step 2: Continue Gluing the Rope
Keep gluing the rope around and around, working your way up the planter. Press each row snugly against the row below so no planter shows through.
Keep going until the whole planter is covered with coiled rope. When one roll runs out, glue the end down and start the next roll right where you left off.


Step 3: Paint a Black Opening
Paint a small black circle on one side to make the entrance to your beehive. Painting it on is so much easier than cutting an opening, and it looks just as cute.
I like to paint it low on the front, so it looks like a doorway for the bees. Let the paint dry completely.


Optional: Glue a little twine around the opening to give it a finished edge.


Step 4: Make a Bow
Use wide wired bumble bee ribbon to make a loop bow. The wire in the ribbon makes it easy to shape and fluff the loops. (See the mini bow tutorial below if you need help.)


Step 5: Attach the Bow
Secure the bow to the top of the beehive with a piece of wire or a pipe cleaner. If you want, tuck in a few spring flowers around the bow and glue them in place with your glue gun for even more color.


That’s it. You’ve made your own bee skep!
How to Make a Simple Loop Bow for Your Beehive
A few of you have asked how I make the bow, so here is a simple way to do it with wired ribbon:
- Cut a length of ribbon. About 1 to 1 1/2 yards is plenty for a full bow on a small beehive.
- Make a loop in the center, then keep making loops on each side, stacking them as you go.
- Pinch the center of the loops together tightly.
- Wrap a piece of wire or a pipe cleaner around the middle and twist it tight. Leave the ends so you can attach the bow to the beehive.
- Fluff and shape the loops. The wire in the ribbon will hold them in place.
- Trim the ribbon tails at an angle if you’d like tails.
Beehive Decor Ideas: Where to Display Your Bee Skep
Once you have one, you’ll want to put it everywhere. Here are some ideas:
- On a tiered tray. A small bee skep is adorable on a tray with spring decor. See my tiered tray decor for styling ideas.
- On a tray or placemat. I styled mine on a bee tray and bee placemat so they tie together.
- As a centerpiece. Place a few bee skeps in a row down the middle of your table, with fresh flowers between them.
- On a farmhouse hutch or shelf. Group your beehive with other bee decor. See my bumble bee home decor on a farmhouse hutch.
- On a mantel or entry table. Pair it with spring florals.
- With a bee-themed craft. Try my bumble bee mason jar craft or free gnome bee printable.


Want more ideas? Browse my 15 super cute bee decorations you can easily make yourself.
Tips for Making DIY Bee Hive Decor
- Glue in small sections. Hot glue sets quickly, so only apply glue to a few inches at a time.
- Keep the rope tight. Pressing each row tightly against the last gives you that coiled skep look.
- Use a cordless glue gun if you can. It’s easier to turn the beehive as you work without a cord in the way.
- Paint the opening last or first, whichever you prefer. If the planter is textured, painting a circle after the rope is on gives a clean edge.
- Use wired ribbon. It holds its shape better than regular ribbon, so your bow stays full.
- Make a set. Different sizes look great grouped together.
- Use a smaller brush for the opening. It gives you a cleaner edge on the black paint.
- Trim glue strings. Pull off any wispy glue strings when you’re done for a neater finish.
Common Mistakes to Avoid
- Letting the glue cool before pressing the rope down. Work in small sections so the rope sticks.
- Leaving gaps between rows. Gaps let the planter show through. Press each row snugly against the one below.
- Cutting an opening instead of painting one. It’s much harder, and painting looks just as good.
- Using too little rope. Three rolls covered my planter. If yours is larger, you may need more, so buy an extra roll.
- Rushing the paint. Let the black paint dry completely before handling the beehive.
- Using regular, floppy ribbon. A wired ribbon makes the bow so much easier.
Why Make Your Own Beehive Decor?
- It’s budget friendly. My bee skep cost under $5, and similar ones online sell for about $20.
- It’s customizable. Choose the size, ribbon, and flowers to match your decor.
- It’s quick and beginner friendly. It’s mostly gluing and a little painting.
- It’s a fun group craft. Make a few for a spring party, shower, or craft night. Adults should handle the hot glue gun.
Beehive Craft FAQs
Cover a garden planter with coils of hot-glued jute rope, paint a black circle for the entrance, and add a bumble bee bow on top.
A bee skep is a traditional dome-shaped beehive made from coiled straw or rope. Today it’s a popular farmhouse decor shape.
My bee skep cost less than $5. Similar ones sell online for about $20.
You need a garden planter, 3 rolls of jute rope, bumble bee wired ribbon, a hot glue gun, black paint, and wire or a pipe cleaner. Spring flowers are optional.
Yes. Twine gives a finer look, though it may take more rows to cover the planter.
No. Painting a black circle is much easier and looks great.
It’s best on a covered porch or indoors. Hot glue can soften in high heat, and rope and ribbon can fade or get damp in the rain, so bring it in when the weather is bad.
Use a piece of wire or a pipe cleaner, and twist it tightly around the middle of the bow and the top of the beehive. A dab of hot glue helps too.
Kids can help with the painting and flowers, but an adult should handle the hot glue gun.
Bees are a classic spring and summer theme, but a rope bee skep also works as neutral farmhouse decor year-round.


Make The Cutest Beehive Decor (Dollar Tree Craft)
Make the most adorable beehive craft or bee skep, with just a few dollar store supplies. It can be made for about $5!
Materials
- Garden Planter
- Jute Rope - 3
- Bumble Bee Wired Ribbon
Tools
- Hot Glue Gun
- Scissors
Instructions
- Start by hot gluing the rope to the bottom of the garden planter.
- Continue gluing the rope around the planter until it is completely covered.
- Paint a small circle area with black paint for the opening.
- Glue twine around the opening.
- Make a loop bow for the top of the beehive.
- Attach with wire. Add pretty spring flowers for added detail using a glue gun.
Recommended Products
As an Amazon Associate and member of other affiliate programs, I earn from qualifying purchases.
-
 Jute Rope 1/4inch 50feet is Made of Natural Fiber for Indoor and Outdoor'Gardening Crafts Moisture-Proof and Durable
-

 Surebonder Cordless Hot Glue Gun, High Temperature, Full Size, 60W, 50% More Power - Sturdily Bonds Metal, Wood, Ceramics, Leather & Other Strong Materials (Specialty Series CL-800F)
-
 2 Rolls 20 Yards Bee Wired Edge Ribbons Honeybee Canvas Wired Edge Ribbons Black Yellow Wired Edge Ribbon for DIY Craft Wrapping Floral Hanging Ornaments, 2 Styles
Share and Save
Did you make your own beehive decor? Let me know in the comments how it turned out, and tell me what you’d like to see next. I’d love it if you pinned the image below on Pinterest.


More Dollar Store Crafts You’ll Love
- Dollar Tree Cutting Board Craft
- Dollar Tree Terrarium
- DIY Pressed Fern Wall Art
- The Ultimate Collection of DIY Dollar Tree Crafts
- 85+ Easy Spring Crafts for Adults
- 51 Simple Summer Crafts for Adults
You can find me on social media below:
Margine
Sunday 24th of August 2025
Hello, I’m am doing a beehive for my daughter’s first birthday and I cannot figure out how to do the bow like how you did your. Is there anyway you can show me a tutorial? I would greatly appreciate it.
Michelle James
Wednesday 27th of August 2025
Hi. I am going to work on a tutorial Friday and will email it to you and update the blog post. If I can get it done sooner I will. What a cute idea for a birthday party!!
Colleen DeWitt
Friday 10th of May 2024
I would like to see a tutorial on making that cute bow on the beeskeep .
Thank you so much.
Karen Bradshaw
Wednesday 24th of April 2024
Hi! I love the beehive! I’m very interested in seeing a tutorial on how to make it. I am planning a 50 th birthday party with a bee and sunflower theme. The date is coming up soon, so if it’s available, let me know! Great job! Karen
Megan
Sunday 4th of February 2024
I would love to know how to make the bow to go with this. The hive came out so cute.
Michelle James
Monday 12th of February 2024
Hi! I am going to make a video this week to show how to make it and how much ribbon to use. I'm glad you like it! :)
Wendy
Thursday 1st of February 2024
Can I see how you made the bow? And how many inches/yards for the bow?
Michelle James
Monday 12th of February 2024
Hi! I am going to make a video this week to show how to make it and how much ribbon to use. I'm glad you like it! :)