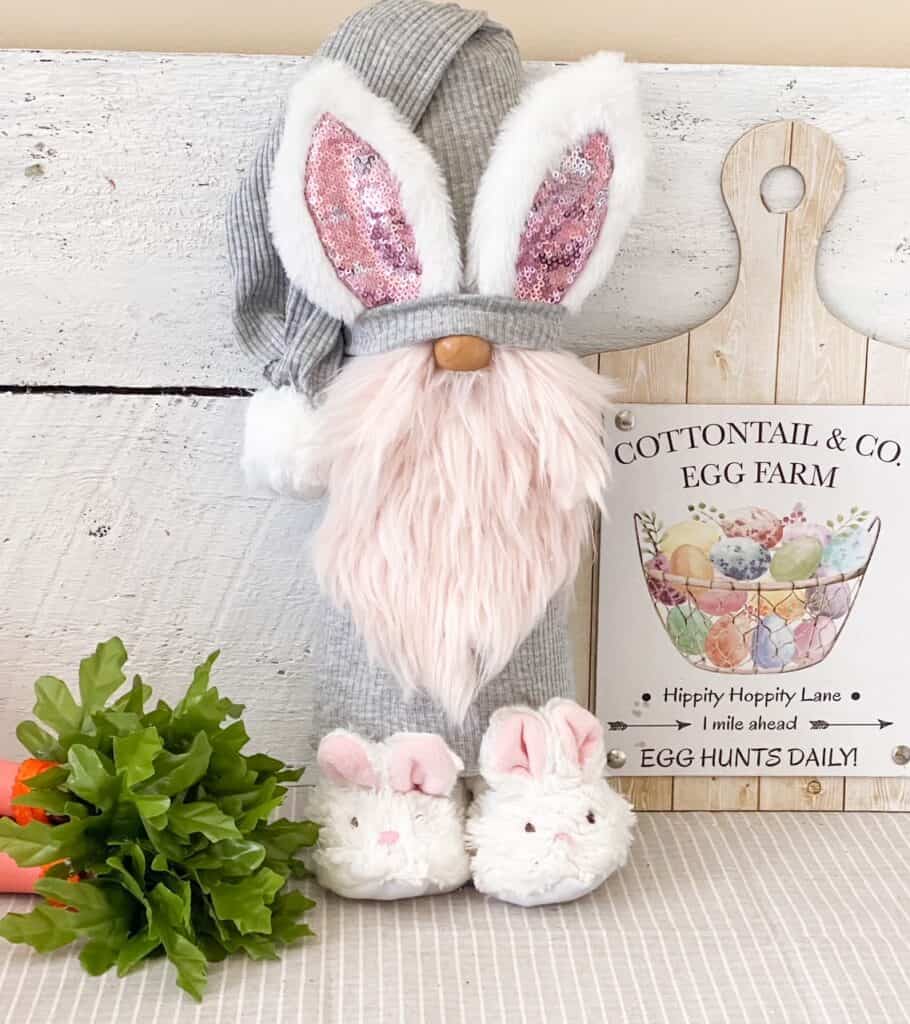
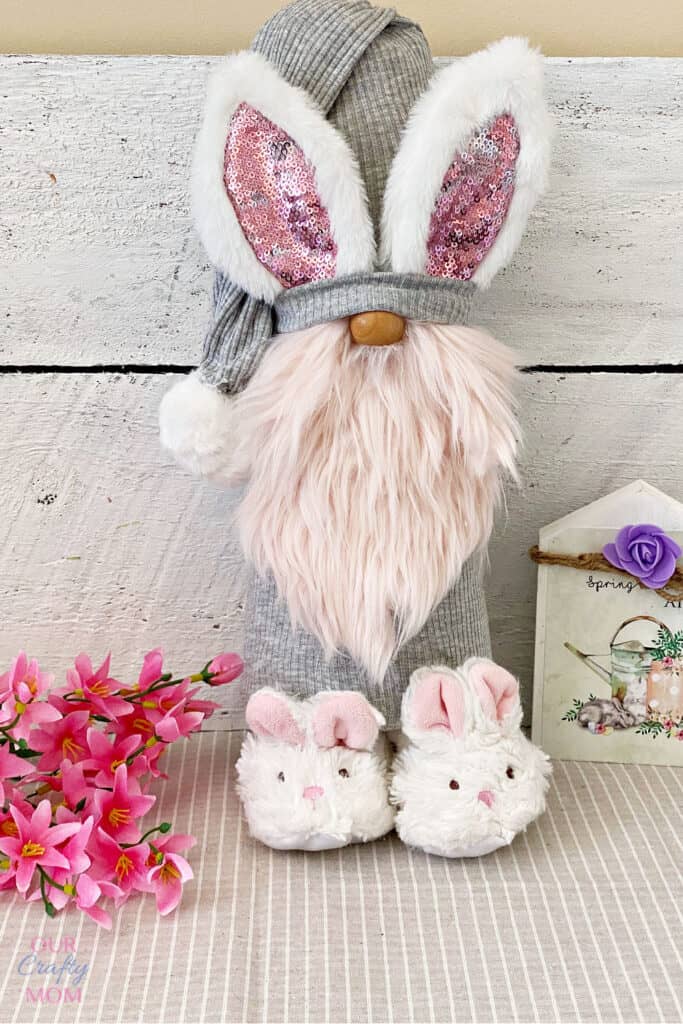
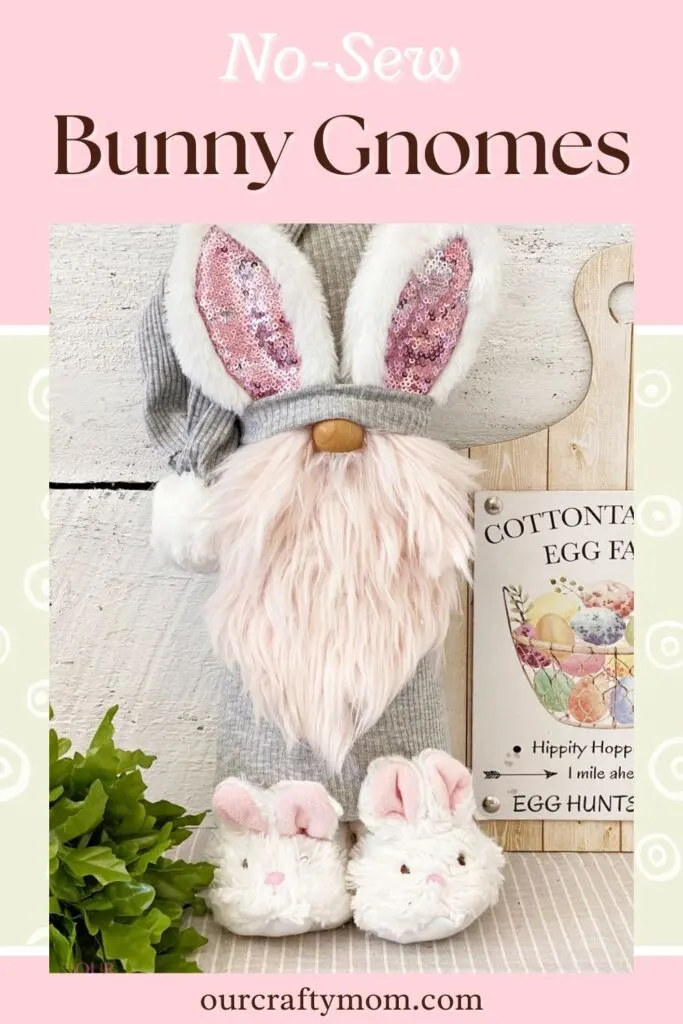
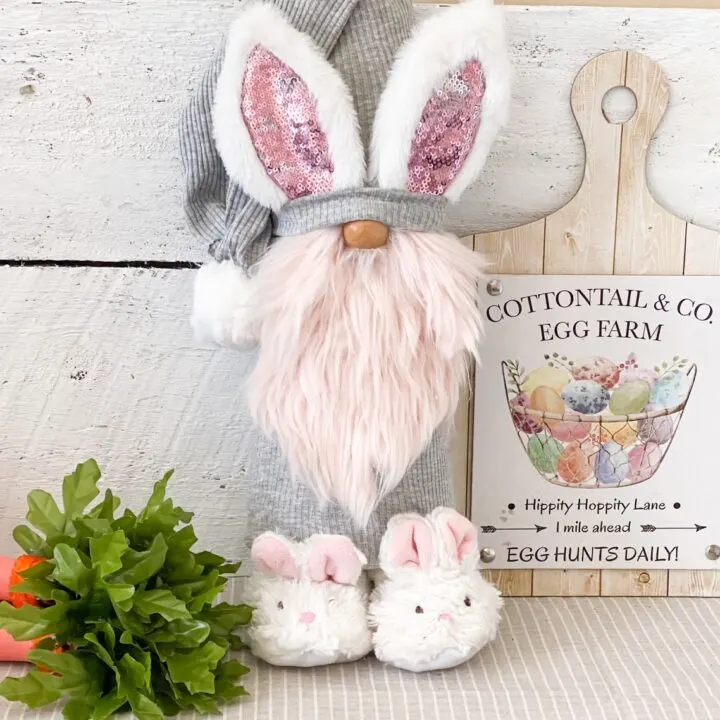
Get ready for cuteness overload with no-sew DIY Easter gnomes complete with bunny slippers! This adorable gnome is made from a repurposed shirt and a few inexpensive craft supplies.
Did I mention how easy it is to make? If you can use a glue gun you can make this bunny gnome!
So let’s get started…

Bunny Easter Gnomes
Sometimes inspiration strikes when you least expect it.
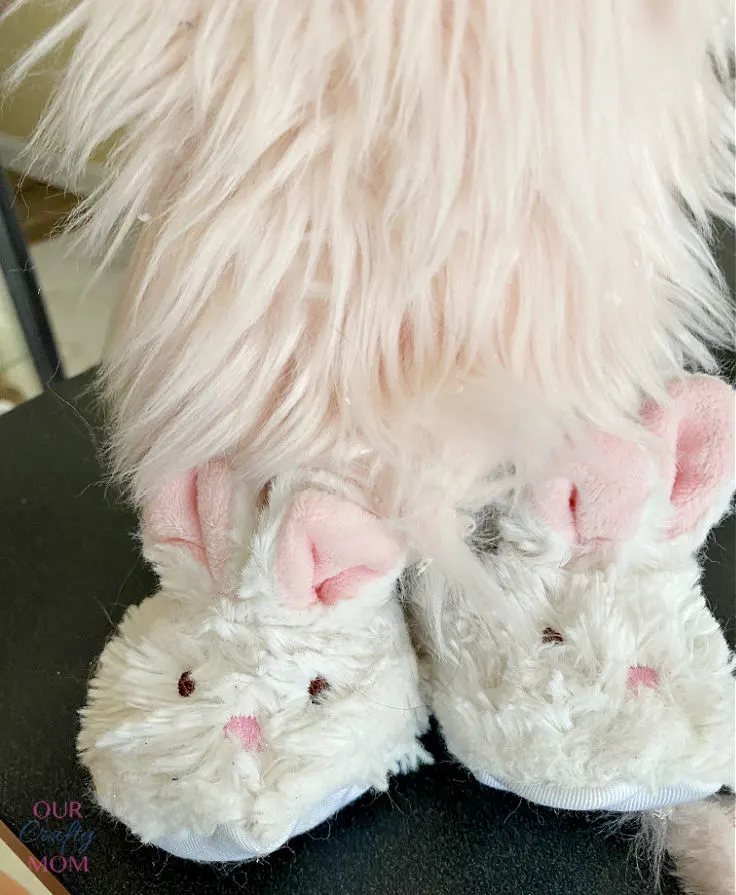
My daughter and I were shopping at a local thrift store when I spotted the cutest pair of bunny slippers mixed in with kids’ toys.
Look how sweet these are:

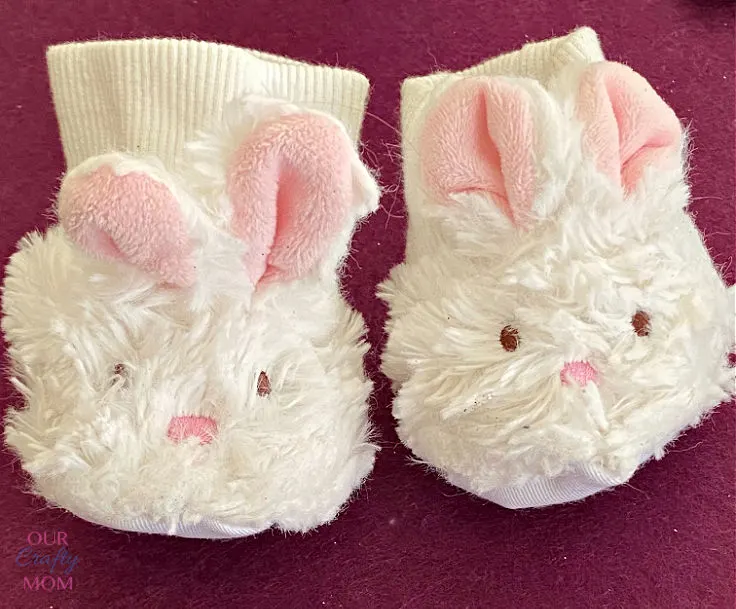
I had one of those lightbulb moments when I immediately knew they would be perfect for a little Easter gnome!
I’m not sure if they were meant for a doll or a baby, but I 100% say they were meant for a gnome. 😀
Now that I had an idea for my latest gnome I started searching through my craft stash for just the right supplies to use for the gnome’s body.
How Do I Make An Easter Gnome?
I’m so glad you asked! You will find a printable card at the end of this post with detailed instructions, but I also want to share some tips to make your gnome-making even easier.
There are a few different types of DIY gnomes. They are a lot of fun to make.
These are the most common:
- Sock Gnomes – fill the top of the sock with rice or beans.
- Cone Gnomes
- Sewing Pattern Gnomes
For this bunny gnome, I used the cone method.
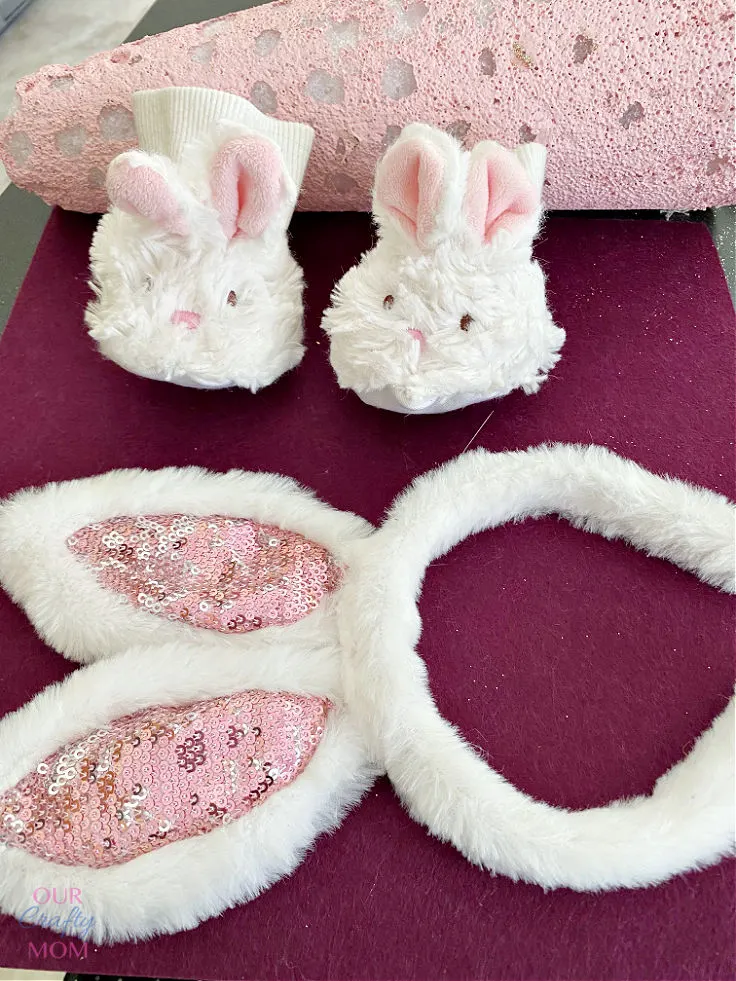
Supplies Needed to Make Bunny Happy Easter Gnomes
- Foam Cone – my cone looks rough! It’s from another project.
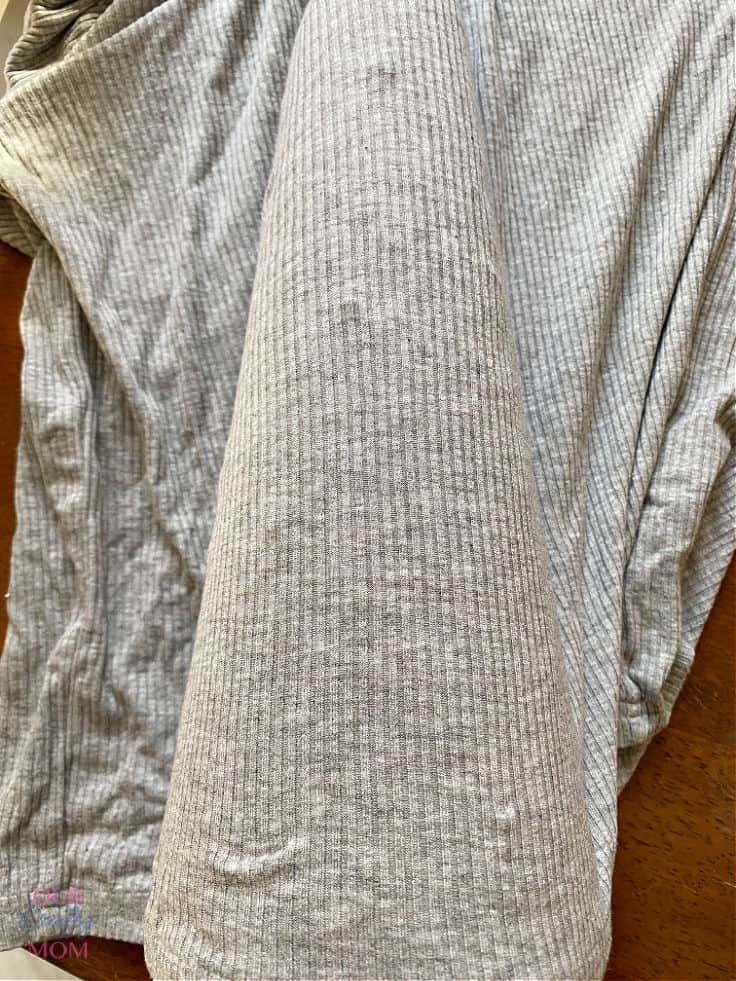
- Old Shirt – I used a gray turtleneck
- Faux Fur – choose any color you like. I went with pink.
- Bunny Ears – mine was a headband
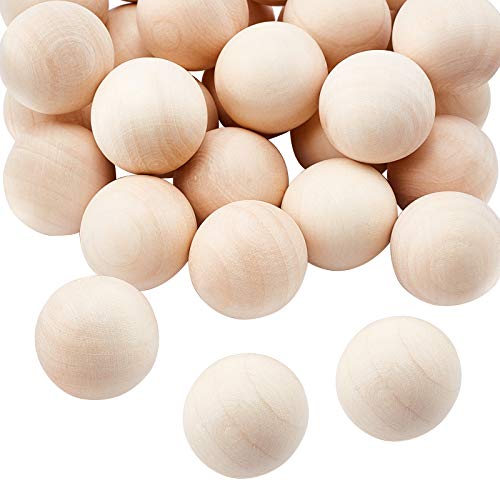
- Wood Bead – this one doesn’t have a hole so it’s perfect for a nose!
- Bunny Slippers – check the doll supply section at craft stores
- Hot Glue Gun – this cordless one is my favorite!
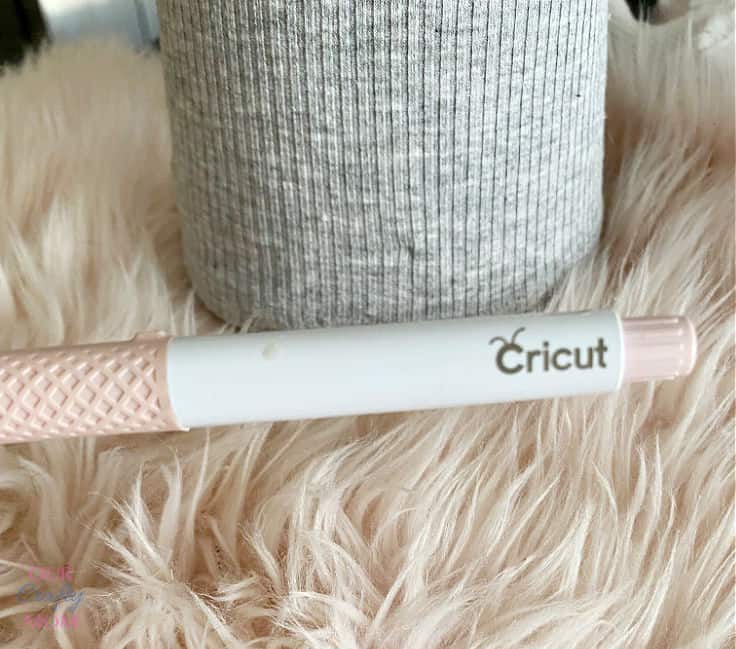
- Craft Knife – this knife works perfectly for cutting fur

Gnome Tutorial
Step 1. Make the Gnome Body
Take your shirt and lay it flat. Place your cone on top of it and cut around it.
You want to make sure you cut it a little larger so you have enough material.
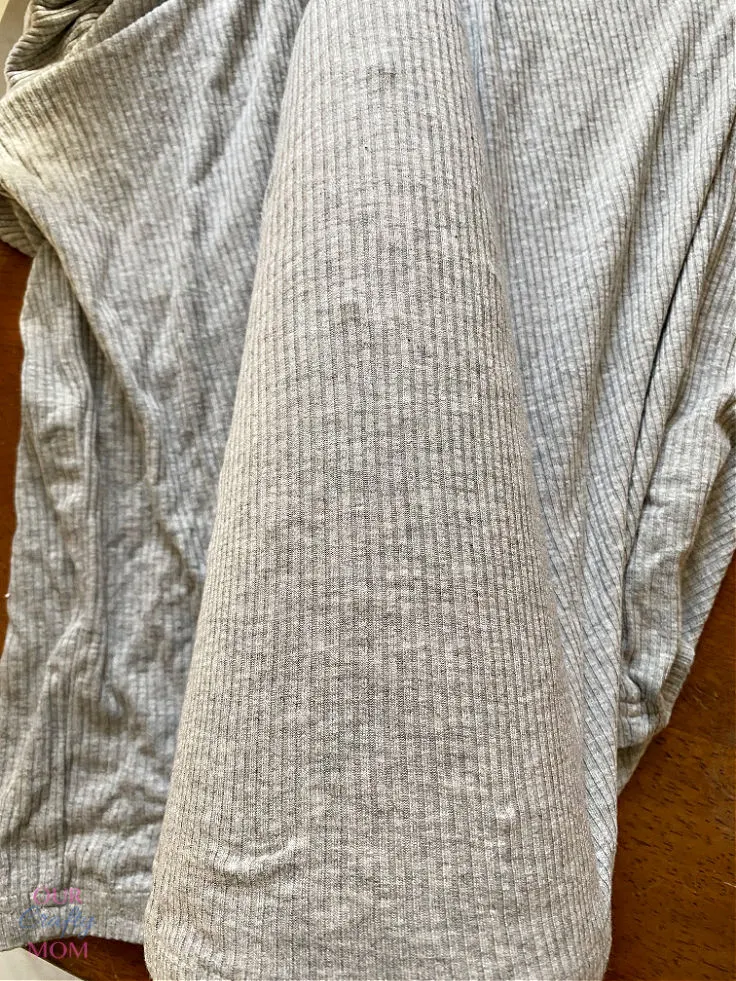
Wrap the material around the cone and trim off any excess material.
Use your hot glue gun to secure the edges. You want to fold the edges under so you have a nice finished edge.
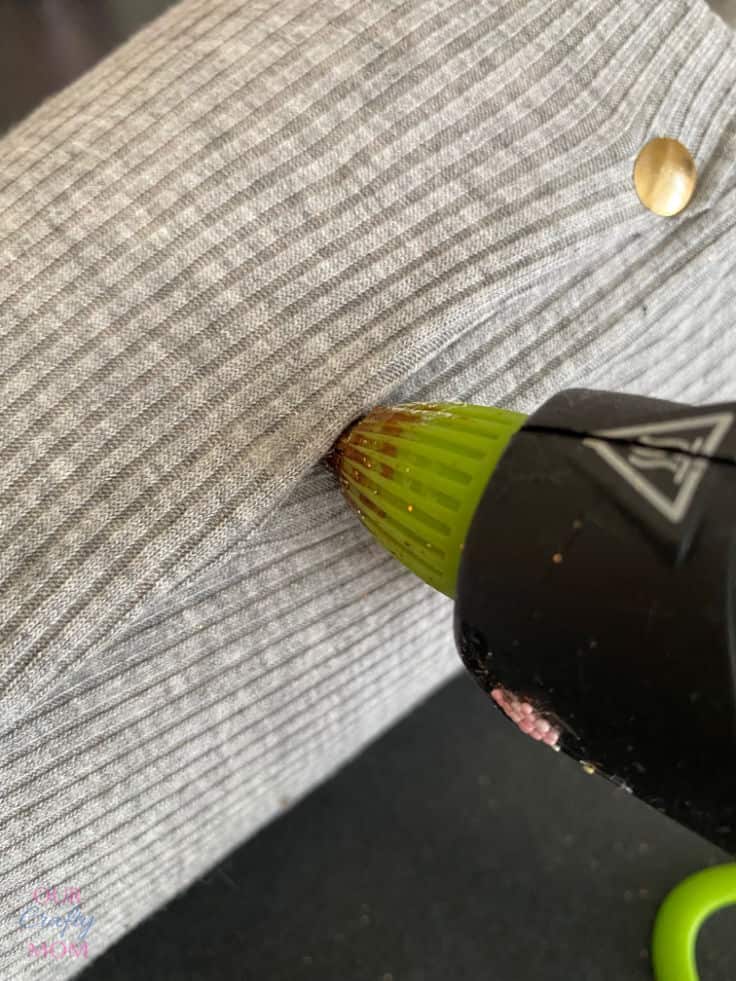
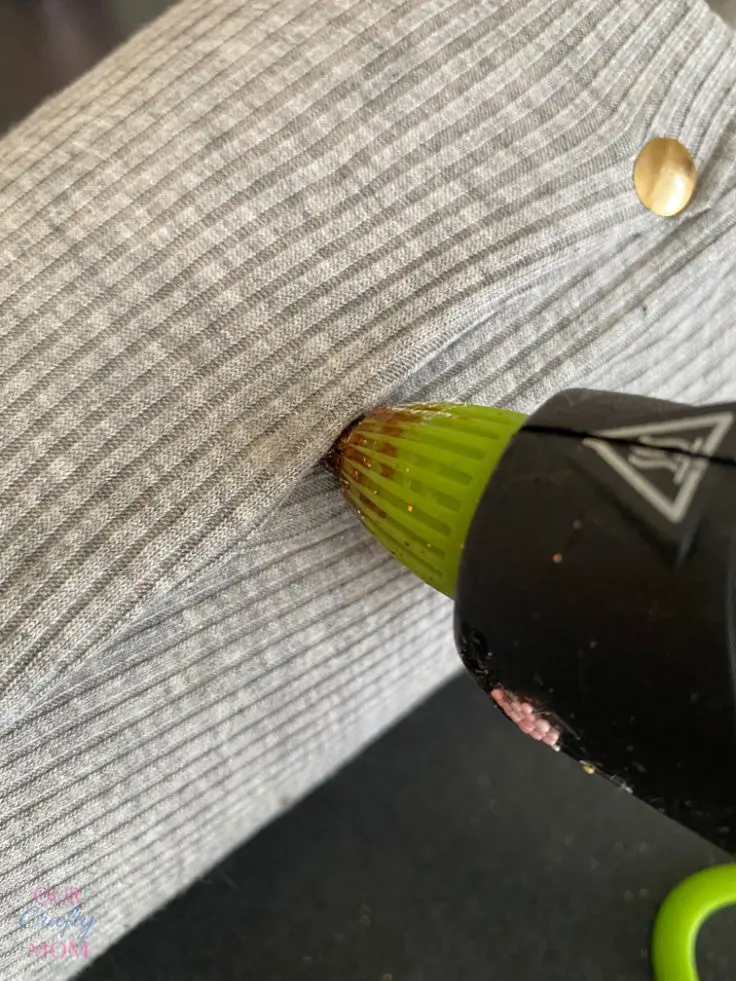
A quick tip is to use thumbtacks to secure the material before hot gluing.
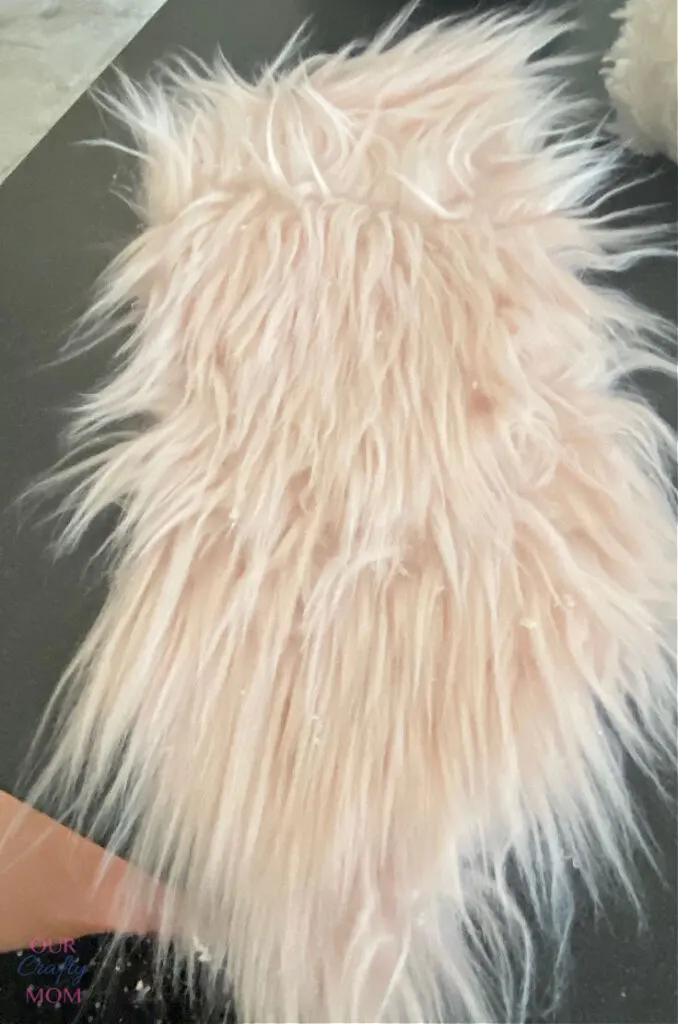
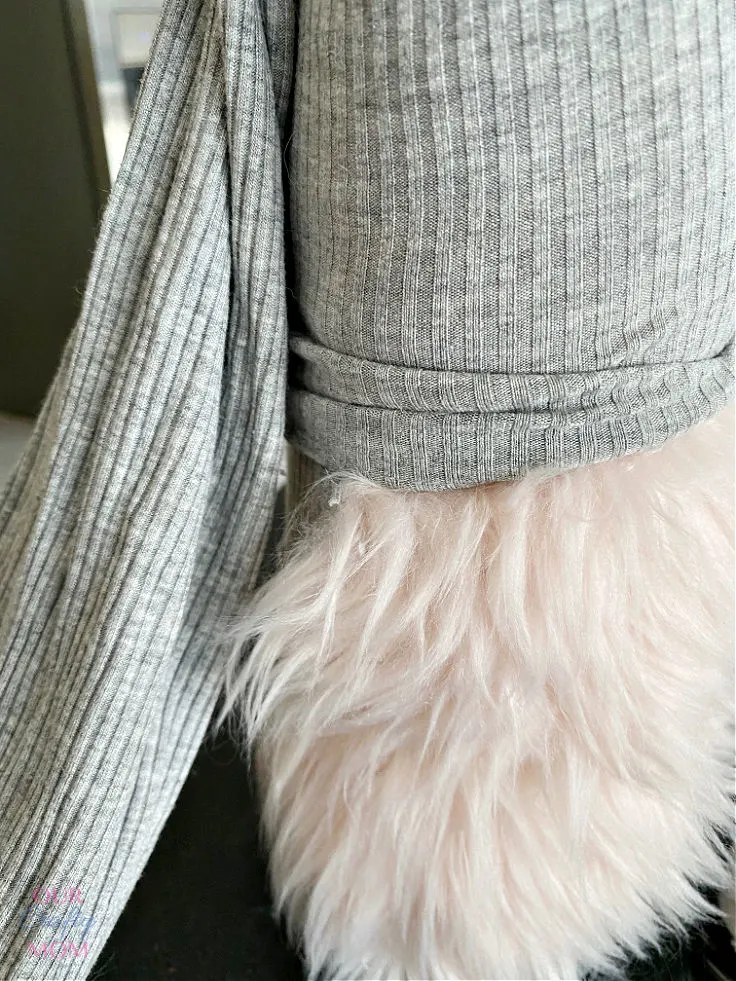
Step 2. Make the Gnome Beard
Now that you have the gnome’s body ready, it’s time to add the fur for the beard.

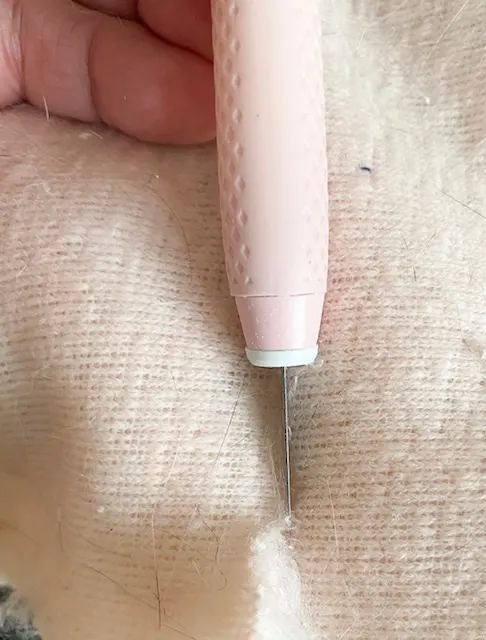
There is an important tip for cutting faux fur.
- Do NOT use scissors. You want to use a craft knife so you just cut the backing on the fur and not the fur itself. Otherwise, your gnome will look like Jim Carrey’s character in Dumb & Dumber!
Here is a close-up so you can see how it’s cut:

You also want to cut the fur so it is angled and comes to a point for the bottom of the beard.

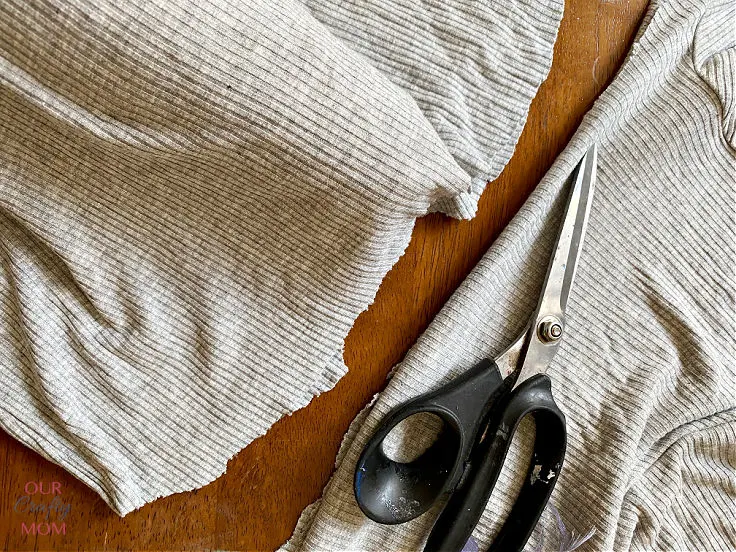
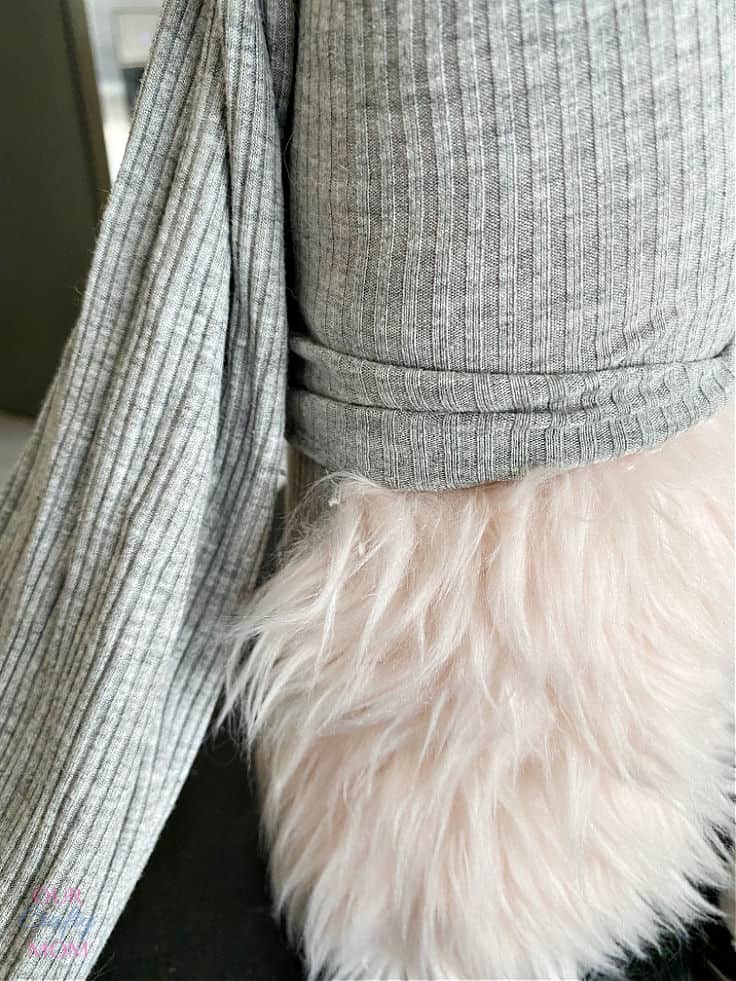
Step 3. Make a Gnome Hat
For the hat, I used the same shirt that I used for the body.
You can certainly change that and go with something more colorful.
Because I used pink fur and pink glitter bunny ears I wanted to keep it neutral with the hat.
A shirt sleeve worked perfectly.
You want to cut it at on a diagonal line which will work perfectly for your bunny gnome.
I wanted a slouchy hat for this little guy so I just glued the back of the hat and let it hang to one side.
If you want a straight hat add a piece of wire or pipe cleaner to it.

Pull the hat down so it is just over the gnome beard.
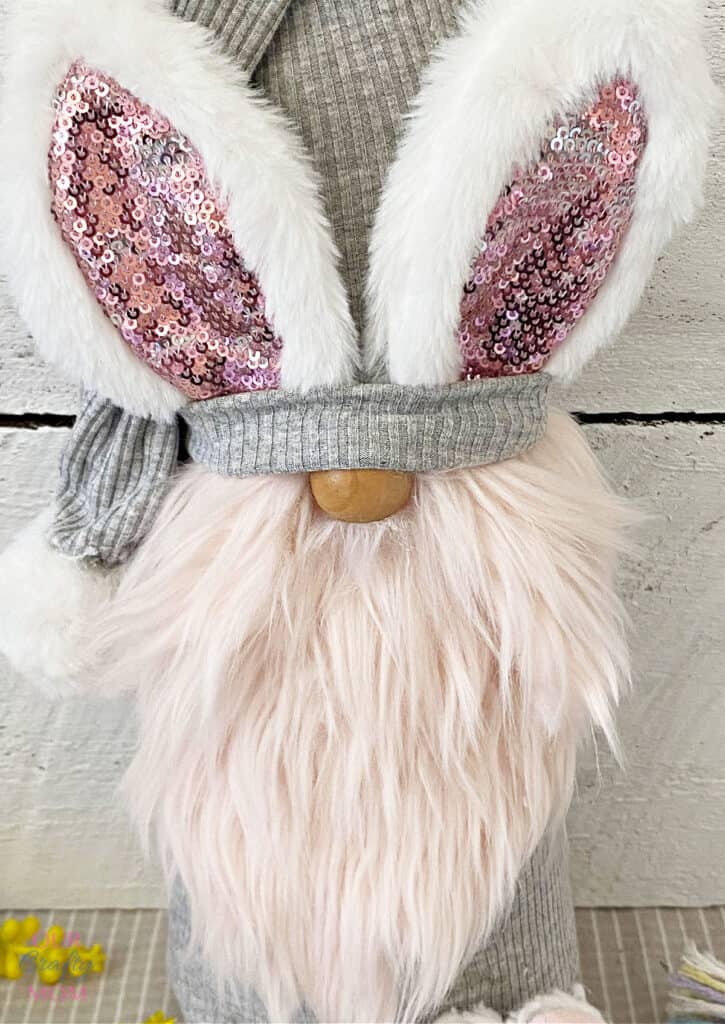
Step 4. Secure the Bunny Ears
Keep an eye out at craft stores for bunny headbands. They are perfect to use for Easter bunny gnomes!
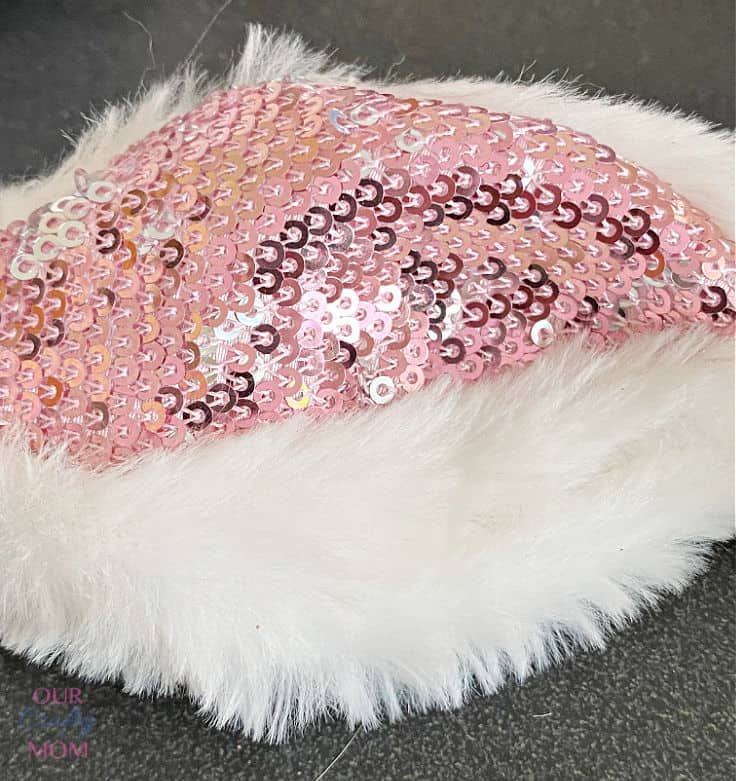
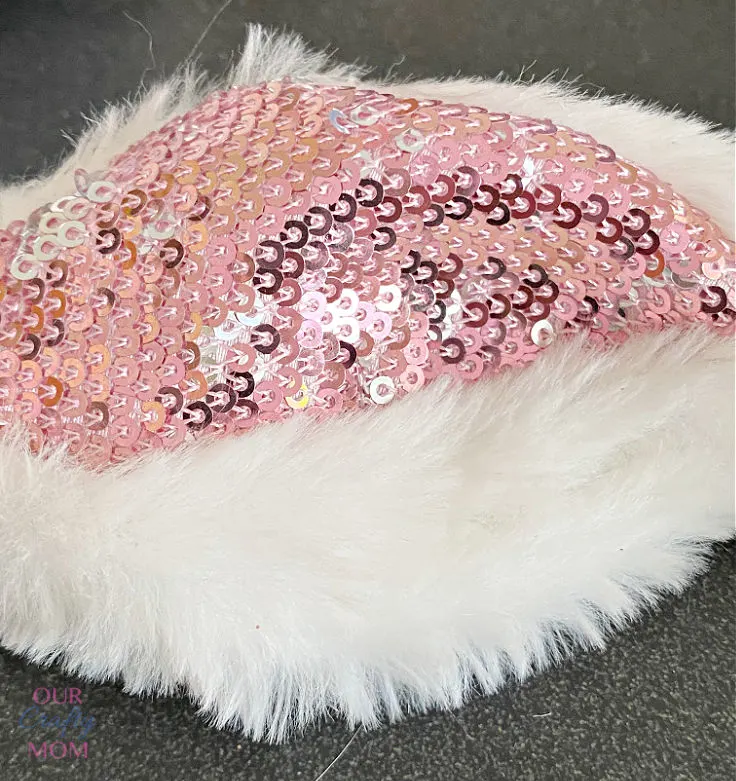
Just cut them from the headband and glue them to the bottom of the gnome hat.
Fold the hat up to cover the bottom of the bunny ears.
Step 5. Add the Nose
For my gnomes, I tend to prefer wood beads for the nose. I just like the look of it.
But, you can also use pompoms or mini ornaments depending on the size.

Step 6. Attach the Bunny Sippers
Because this is a large standing gnome, it was necessary to put dowels in the bottom of the foam body and secure them to foam in the bunny slippers.
If you can’t find gnome shoes or slippers, try using ankle socks.
Follow the same steps with the dowels.

The assembled gnomes are about 15″ tall and would look great on a mantel.
It’s the perfect way to welcome spring!
Now it’s just a matter of trimming the beard and your sweet little gnome is ready to be displayed.
You could even attach an Easter sign or have him holding an Easter egg.
Look at how darling this little guy is:

I have a feeling there will be more DIY bunny gnomes in my future!
They are the perfect addition to any style Easter decorations.
Please Save This to Pinterest
Sharing helps my blog grow and doesn’t cost a thing. I appreciate your shares and comments.

Google Web Story: No Sew DIY Easter Gnome
More Easy DIY Gnomes on Our Crafty Mom
- Christmas Gnome Door Hanger
- Christmas Gnome Pine Cone Ornaments
- DIY Grinch Gnome Standing
- Dollar Store Christmas Gnome
- Gnome Christmas Ornaments from Shower Curtain Ring
- Valentine’s Day Gnome Wreath
I sincerely hope you enjoyed this simple Easter bunny gnome.
While I used pastel colors, you can switch it up to go more neutral if you like.
It was so much fun to make him. It reminded me a little of dressing my dolls when I was a kid.
Thank you for visiting. Happy crafting!
Let me know in the comments below if you make any Easter bunny gnomes! I’d love to see it. 🙂

How to Make Adorable DIY Easter Gnomes No-Sew
Materials
- Foam Cone
- Old Shirt
- Faux Fur
- Bunny Ears
- Wood Bead
- Bunny Slippers
Tools
- Hot Glue Gun
- Craft Knife
Instructions
- Place your foam cone on your shirt and cut the fabric to size.
- Hot glue the fabric around the cone.
- Trim any excess fabric.
- Cut the fur for the gnome beard and hot glue to the gnome body.
- Use a cut sleeve from the shirt and create the gnome's hat.
- Secure it to the gnome body with hot glue. Add a pompom to the hat.
- Cut the bunny ears from the headband and hot glue them to the hat.
- Fold the hat over the ears to cover the glue.
- Place wooden dowels in the bottom of the gnome body.
- Secure cut pieces of foam to the bunny slippers and push the dowels into the foam. Add hot glue if needed.
Recommended Products
As an Amazon Associate and member of other affiliate programs, I earn from qualifying purchases.
-
 4 Pack Foam Tree Cones for DIY Crafts, Xmas Party Decor, Christmas Gnomes (4.5 x 13.5 in)
 -
 Barcelonetta | Faux Fur Squares | Shaggy Fur Fabric Cuts, Patches | Craft, Costume, Camera Floor & Decoration (Baby Pink, 10" X 10")
 -
 Claire's Club Little Girl Glitter Bunny Ears Headband - Purple
 -
 PandaHall 28pcs Natural Wooden Round Ball, DIY Decorative Wood Crafting Balls, Unfinished Wood Sphere, No Hole/Undrilled, Antique White
 -
 18 Inch Doll Slippers | White Bunny Slippers, Sized for American Girl and More! Doll Accessories, Doll Clothing for 18 inch Dolls, My Doll's Life Doll Clothes
 -
 Surebonder Cordless Hot Glue Gun, High Temperature, Full Size, 60W, 50% More Power - Sturdily Bonds Metal, Wood, Ceramics, Leather & Other Strong Materials (Specialty Series CL-800F)
 -
![Cricut TrueControl Knife Kit - For Use As a Precision Knife, Craft knife, Carving Knife and Hobby Knife - For Art, Scrapbooking, Stencils, and DIY Projects - Comes With 5 Spare Blades - [Rose]](https://m.media-amazon.com/images/I/31AMfEUXOKL._SL500_.jpg) Cricut TrueControl Knife Kit - For Use As a Precision Knife, Craft knife, Carving Knife and Hobby Knife - For Art, Scrapbooking, Stencils, and DIY Projects - Comes With 5 Spare Blades - [Rose]
Cricut TrueControl Knife Kit - For Use As a Precision Knife, Craft knife, Carving Knife and Hobby Knife - For Art, Scrapbooking, Stencils, and DIY Projects - Comes With 5 Spare Blades - [Rose]
For even more DIY dollar store cute Easter decorations and Easter crafts check out these:
- Free Printables Wall Art
- Decoupage Plastic Easter Eggs
- Gorgeous Glitter Easter Eggs in Bright Spring Colors
- Dollar Store Spring Arrangement
- Tiered Tray Craft with Scrap Wood
- Kids Easter Basket Pudding Cups
You can find me on social media below: