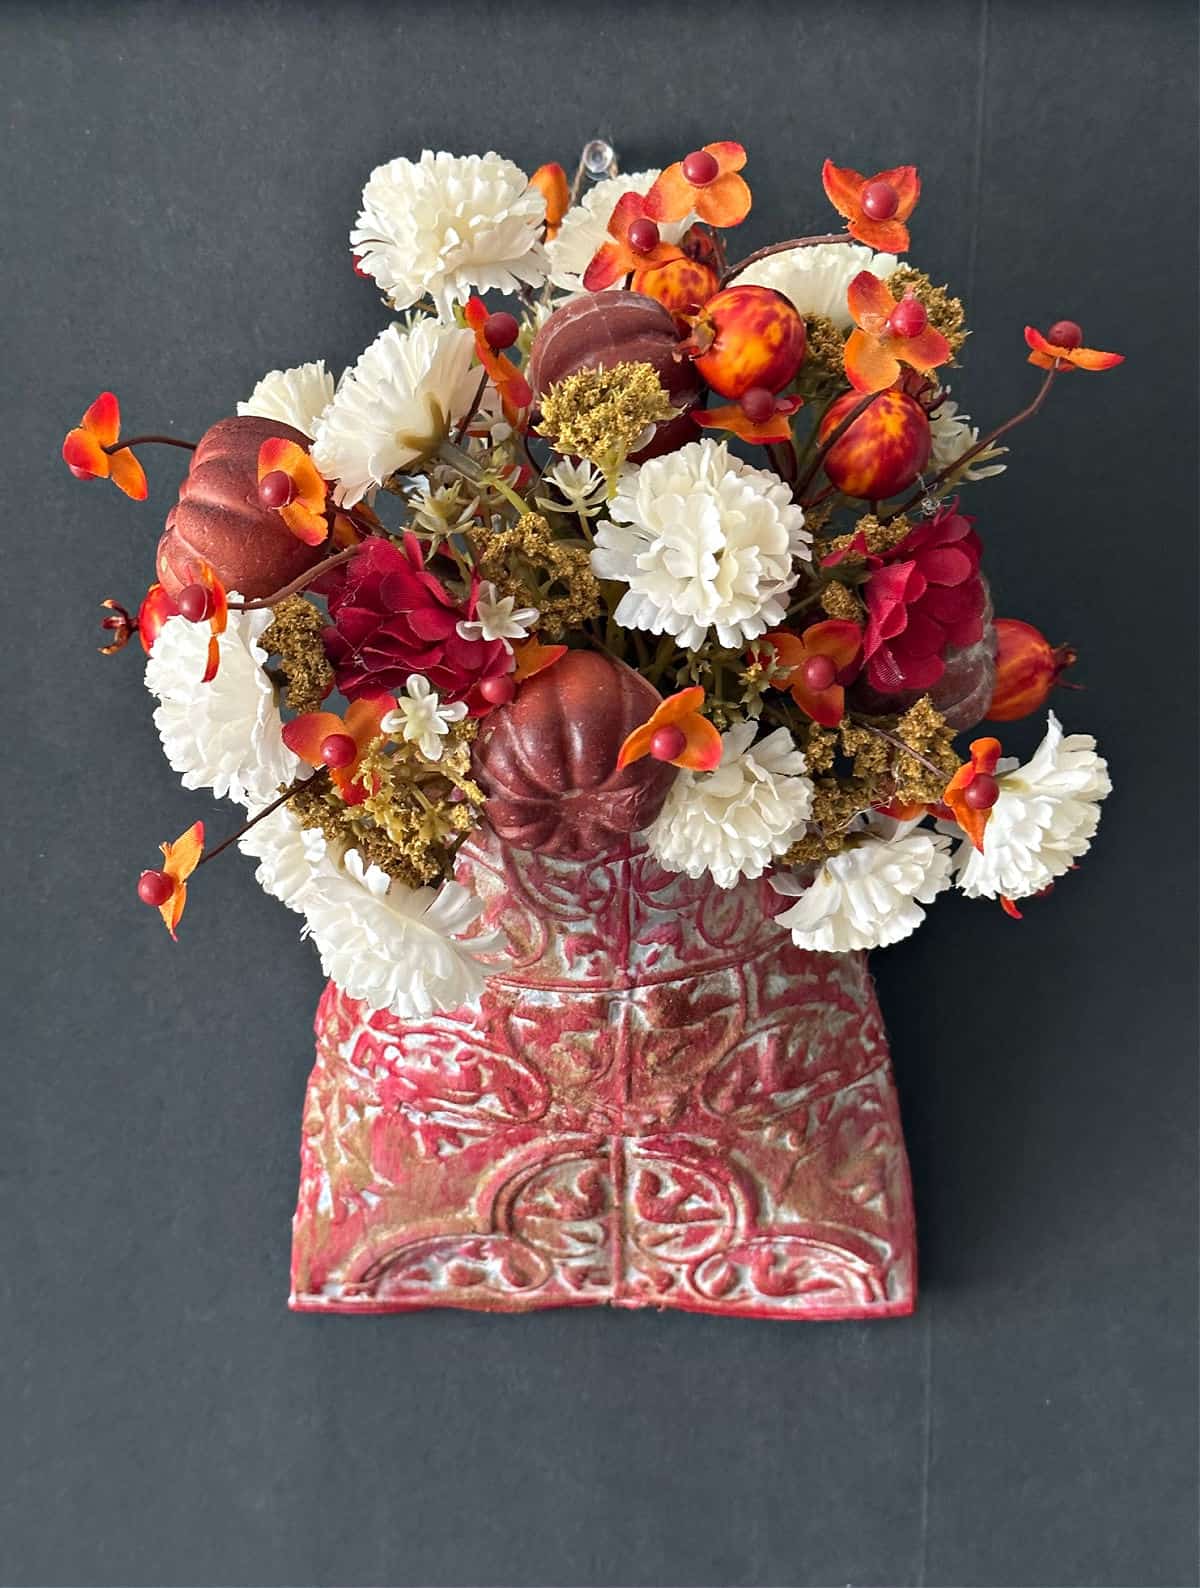
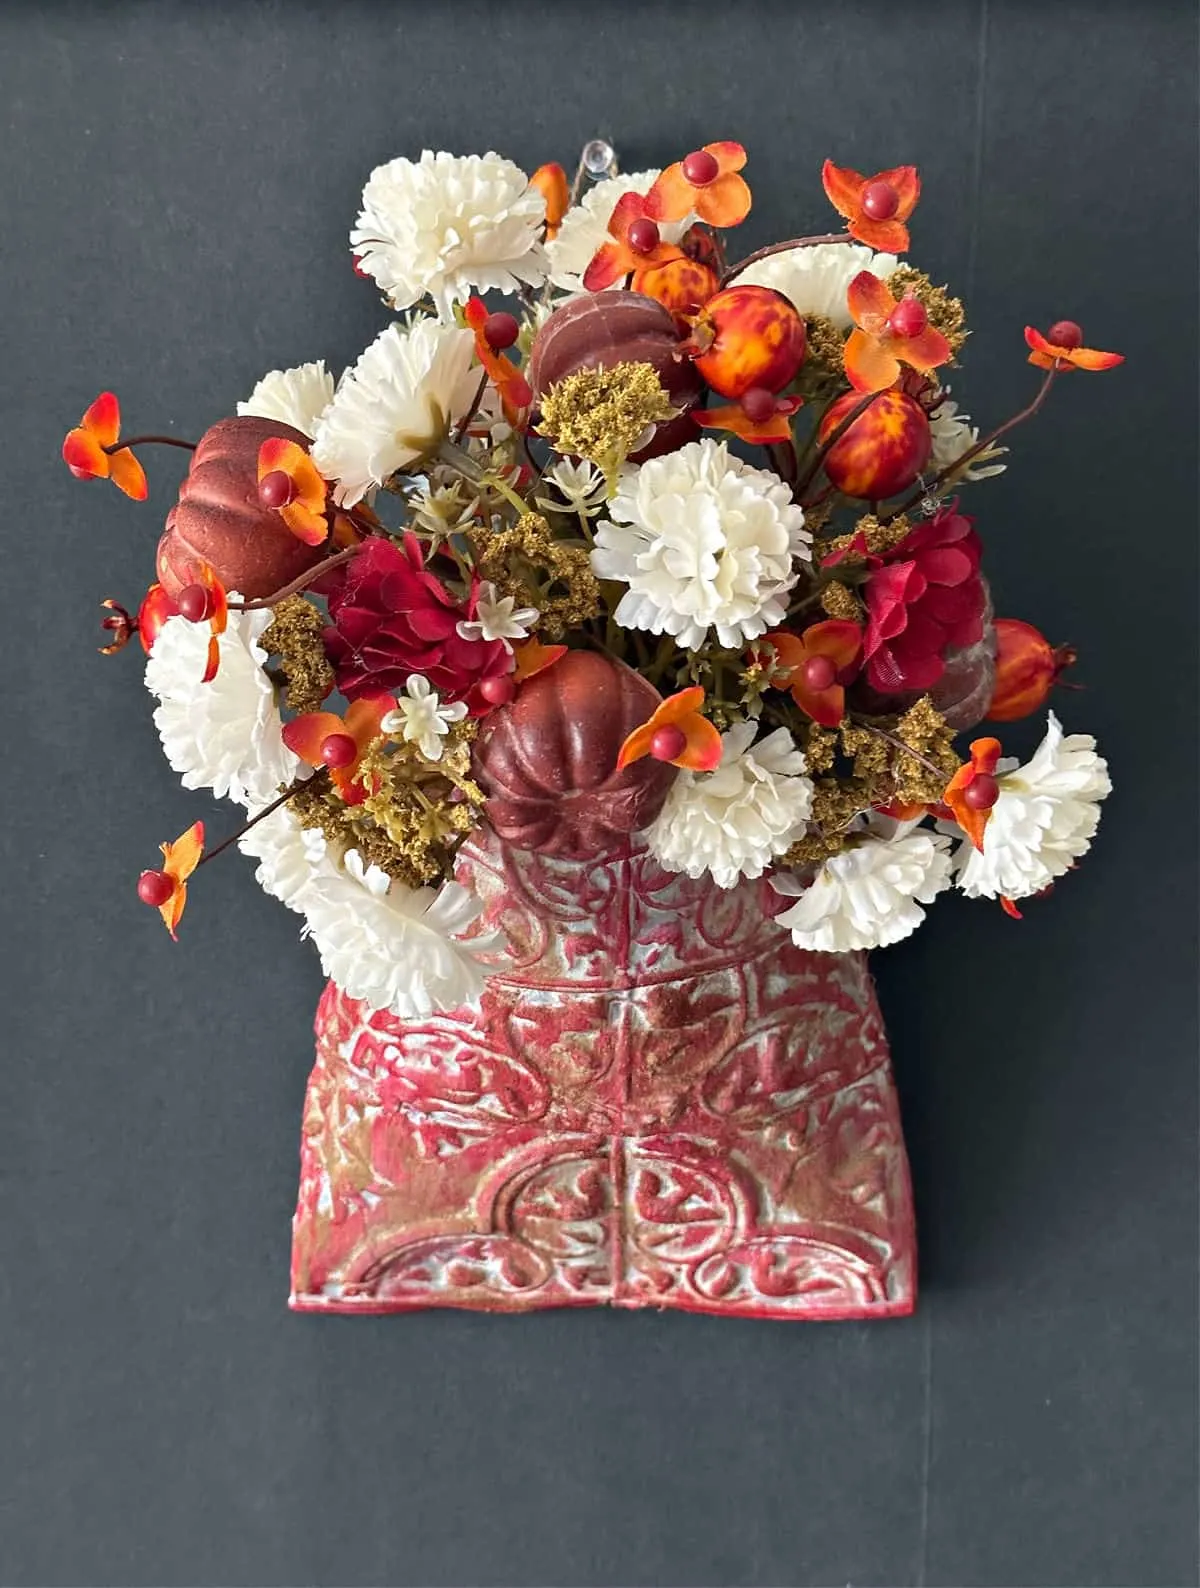
Today I’m sharing DIY Vintage Wall Pockets, a tin can craft, that combines the charm of vintage with the affordability of Dollar Tree finds.
We all know how the term “vintage” can sometimes be synonymous with “expensive,” but my goal is to bring you easy and inexpensive craft ideas and today’s project checks all the boxes!
Dollar Tree home decor projects are a great way to save a ton of money and express your creativity.
You know I LOVE upcycling tin cans. The tin can wall pocket planters I shared last year were my most viewed project on Pinterest, which means you must like them too. 😁 Yippee!
I’m super excited to share my first fall craft of the season with you. While I am showing the vintage wall pockets with fall flowers, you can decorate them for any season or holiday.
This DIY may be my favorite craft project yet (until the next one).
Did you see my first Halloween craft of 2023? It is the cutest Halloween ghost pillow inspired by a HomeGoods find.
So, whether you’re a seasoned DIY’er, or a crafting newbie, this project is perfect for anyone looking to add a touch of vintage to their home decor without spending a fortune.
This post contains affiliate links at no extra cost to you. Please see my full disclosure here.
Vintage Wall Pockets Dollar Tree DIY Project
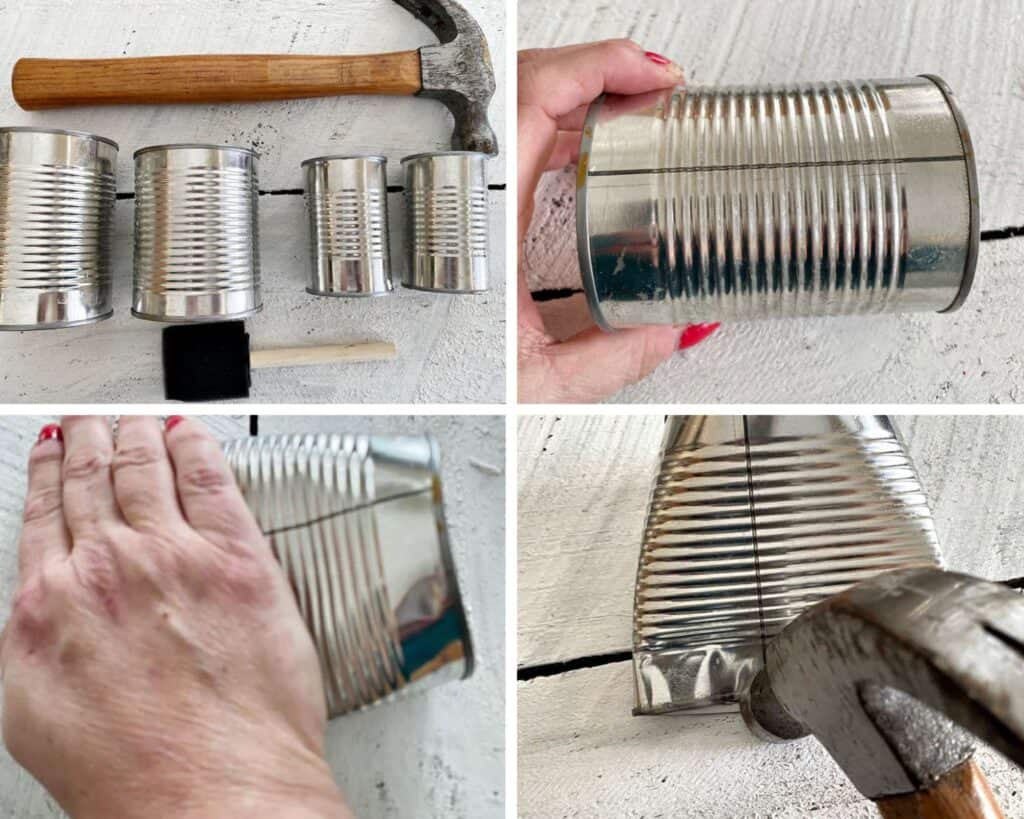
The base of these vintage wall pockets starts with a “smashed tin can”. Rather than go through those steps again please read the step-by-step tutorial on how to smash a tin can HERE.
You can see the basic steps in the image below:
There are a few steps involved in creating vintage wall pockets, so I want to ensure we can get to all the details. It will be worth it!
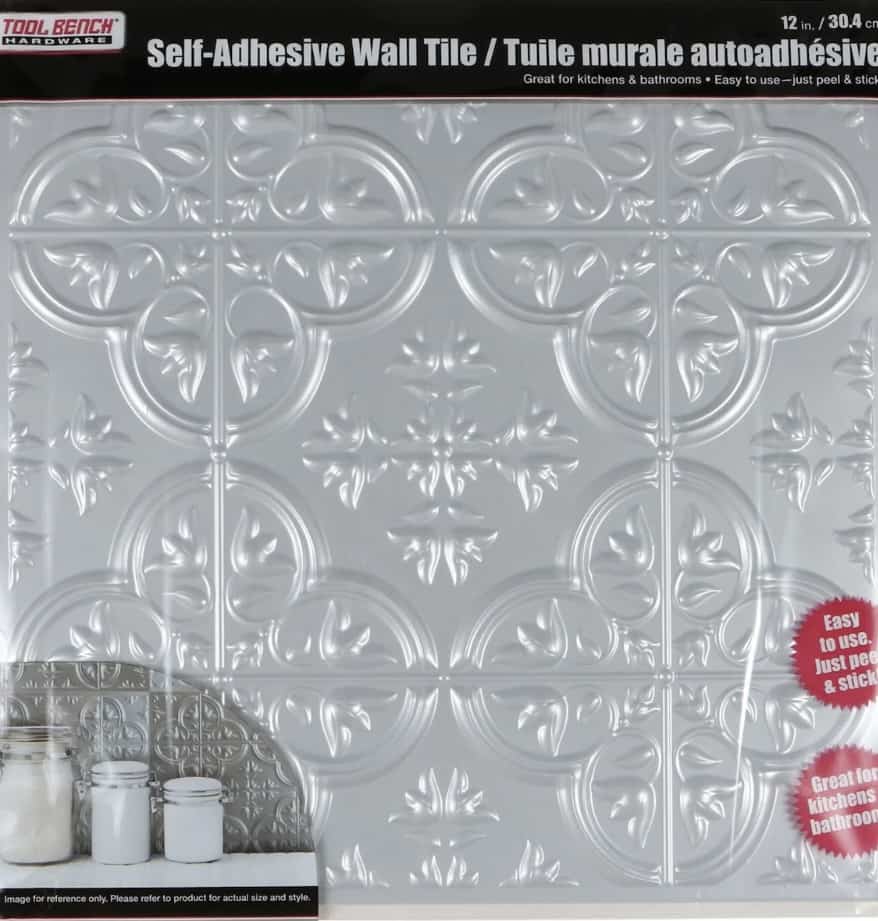
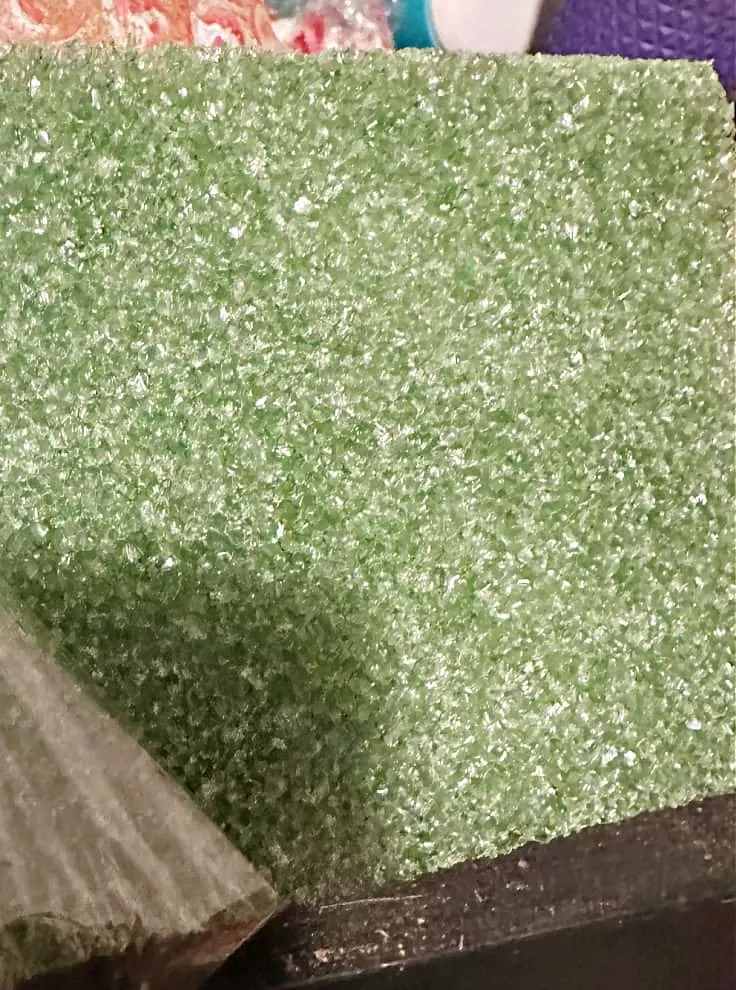
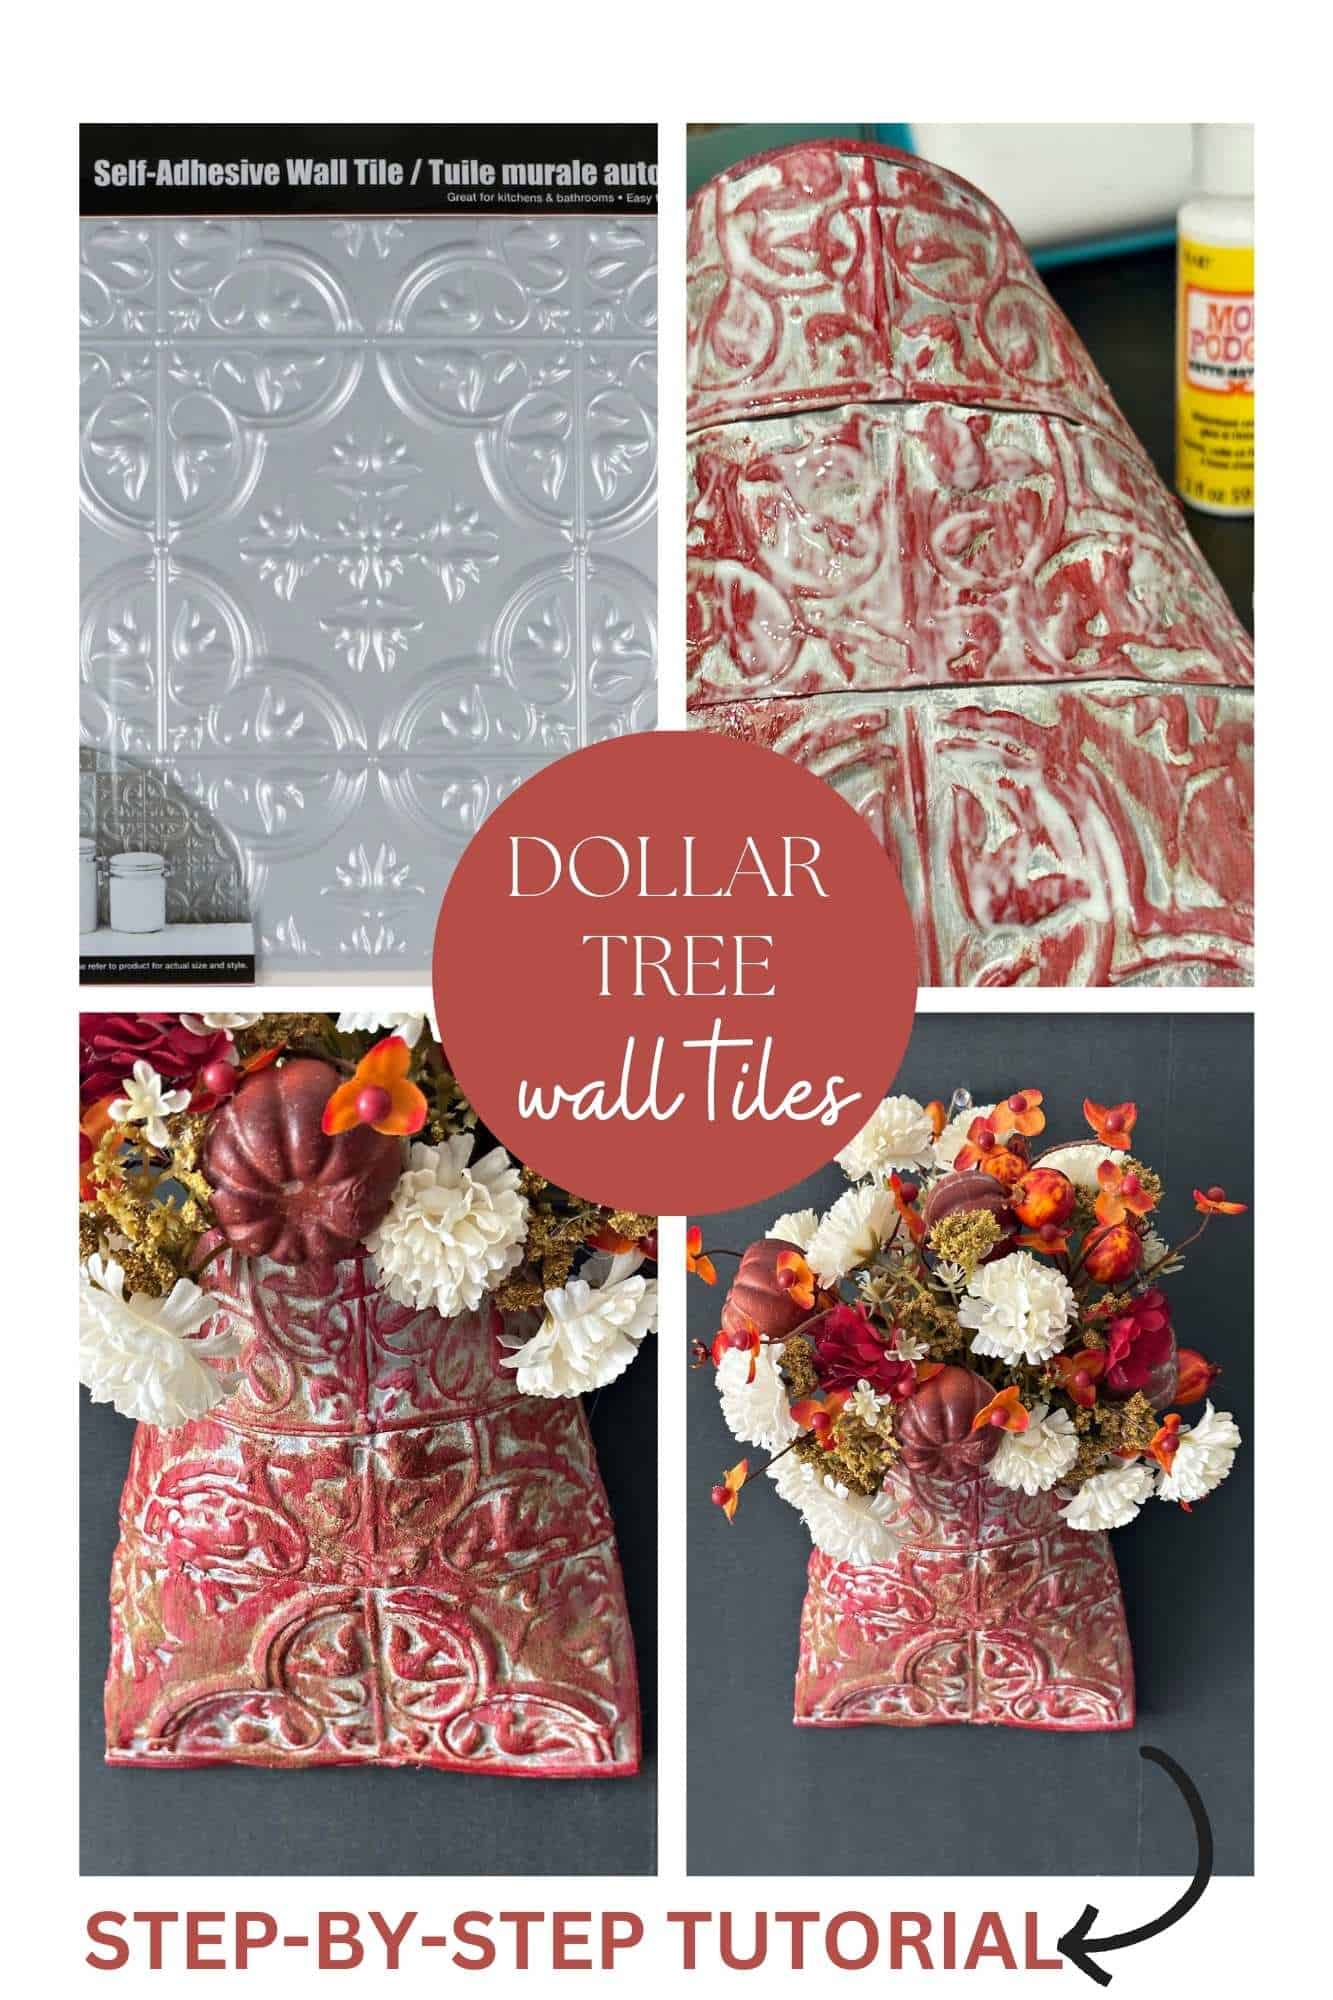
This is the exact Dollar Tree Self Adhesive Wall Tiles I used as a backsplash on my dry sink cabinet backsplash.
A year later and it still looks great. I had some scraps left over and knew they would be perfect for this wall pocket.
Vintage Wall Pockets with Dollar Tree Tiles
Here is a list of supplies needed:
- Crushed Can – use soup cans, crushed tomato cans, any with a flat top AND bottom.
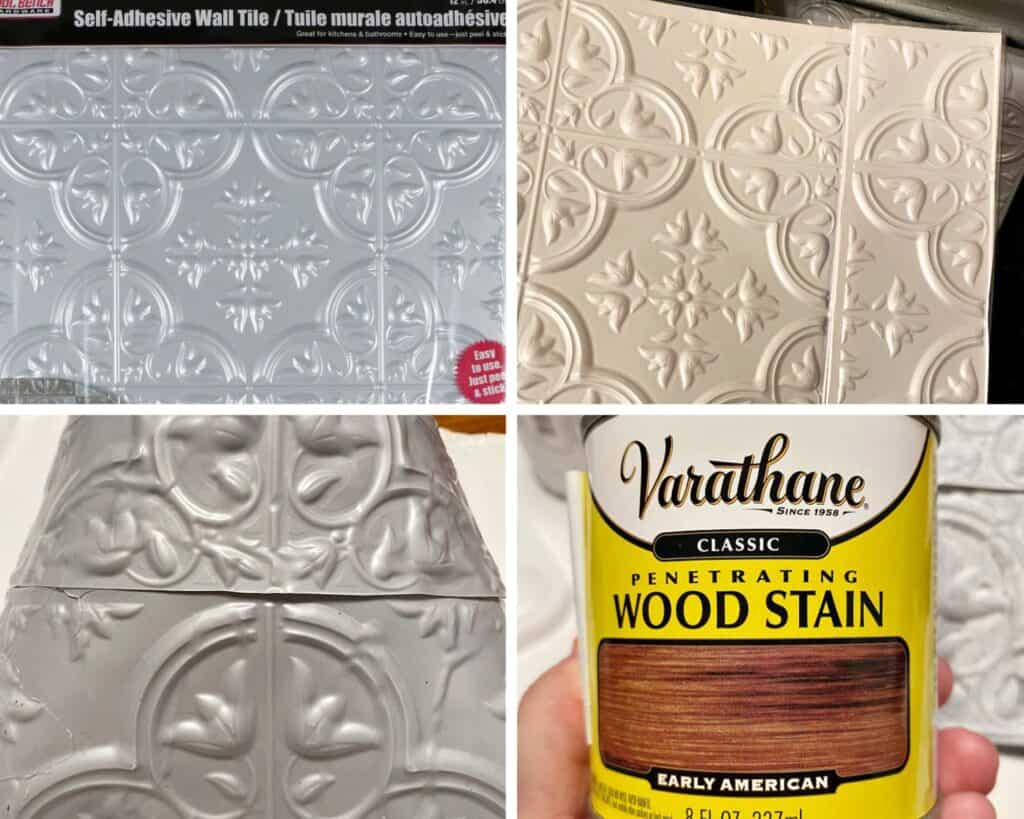
- Dollar Tree Self Adhesive Wall Tiles
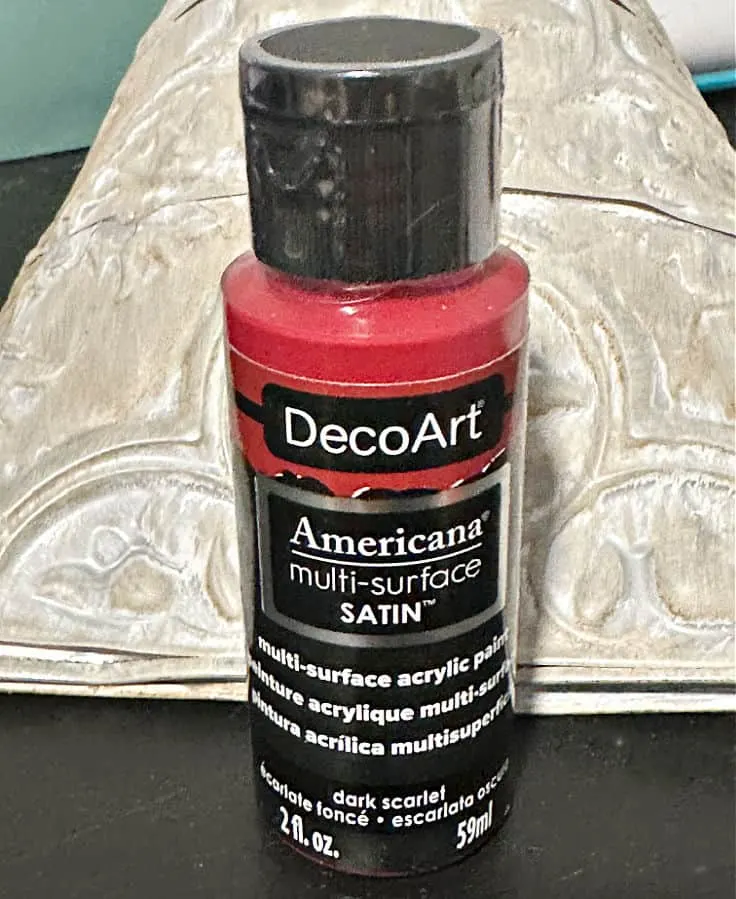
- DecoArt Scarlet Acrylic Paint
- DecoArt Chalky Finish Paint in Everlasting
- Foam Brush
- Mod Podge
- Gorilla glue spray adhesive
- Dollar Tree Fall Stems – I used mini pome bushes hop bushes faux bittersweet
- Foam Block
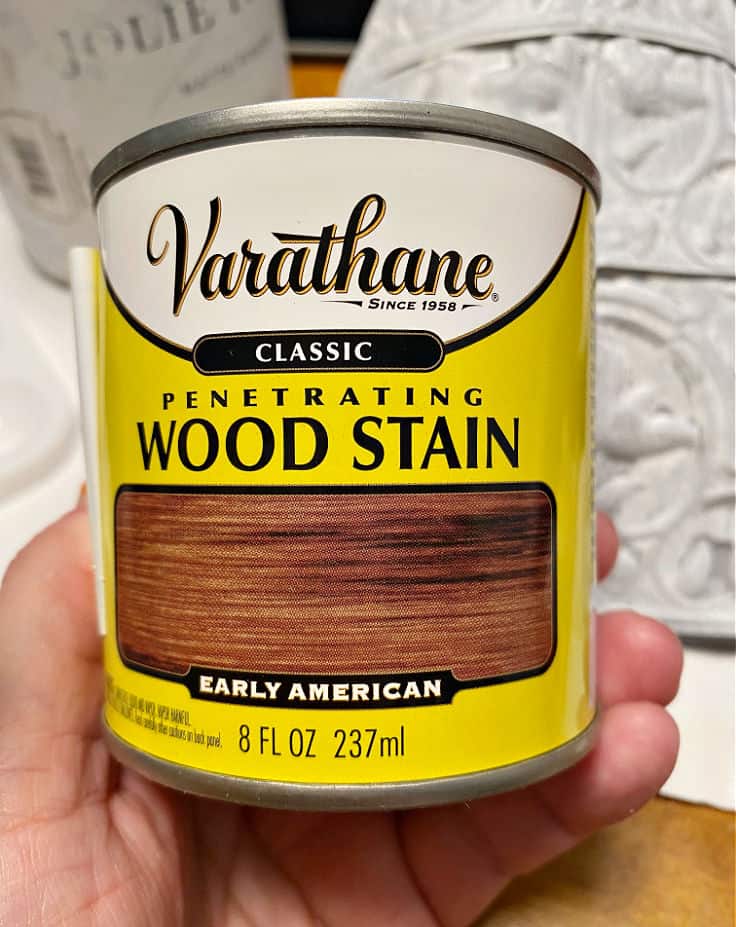
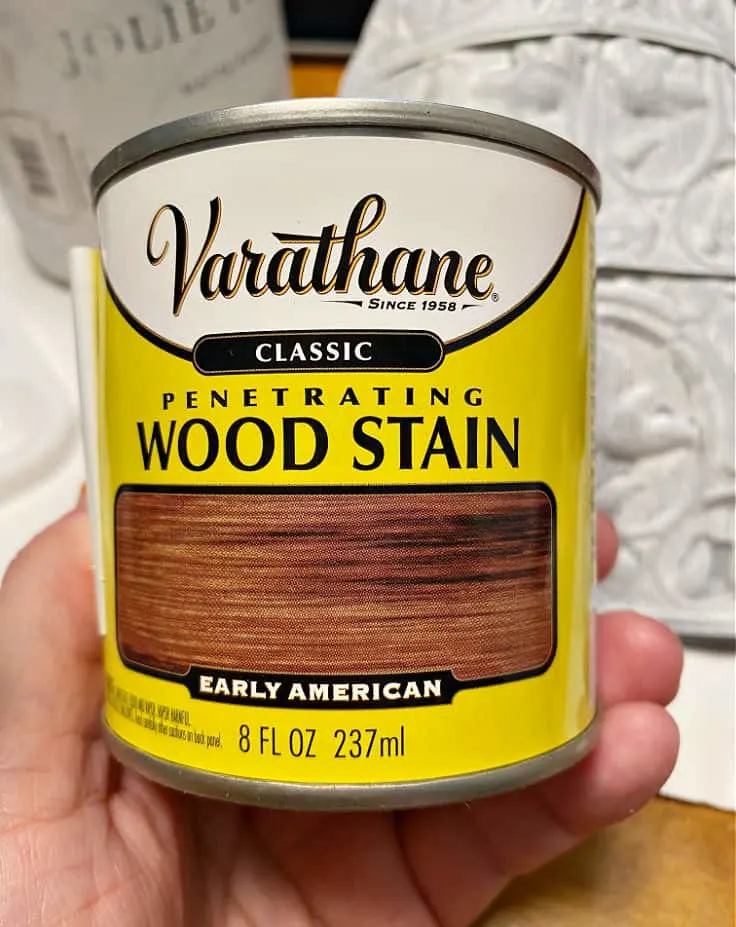
- Wood Stain – I used Varathane Early American
- Scissors
- Can Opener – the Dollar Tree brand works just fine!
- Hot Glue Gun and Glue Sticks – this is my favorite!
You will also find a printable craft card at the bottom of this post so you can easily make your own.

How to Make Vintage Wall Pockets
One of the things I love about diy crafts is you can have a DIY project in mind and it may take a completely different turn.
That is totally what happened with the paint technique used on this wall pocket and I’m so glad it did. I’m thrilled with the end result. 🙂
Quick tip-when working with any painted crafts, have fun with it. Mix and match paints, stains and other mediums. Try a crackle finish, add a bit of sparkle. Let your creativity take over!
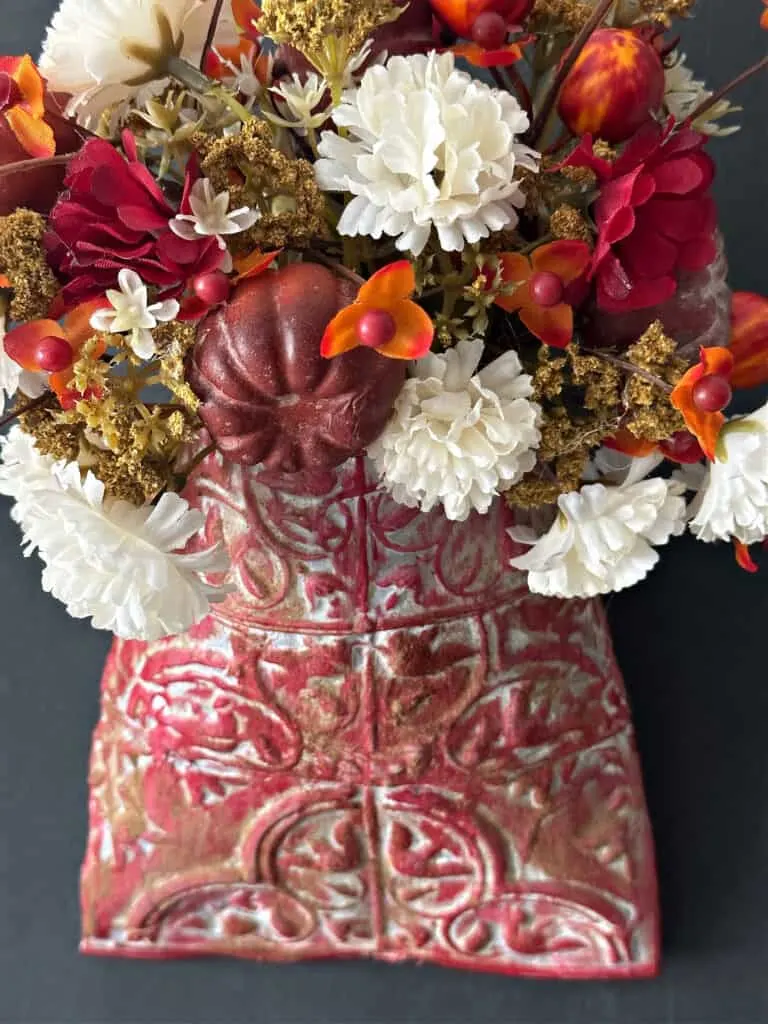
Step 1. Cut tile to size
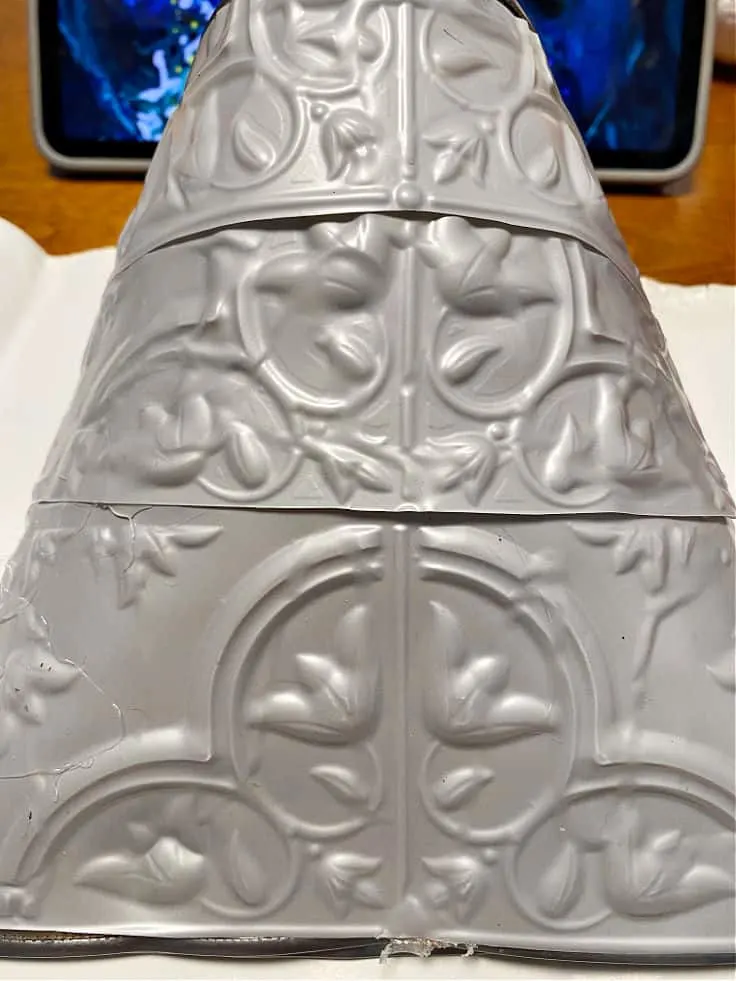
Start by cutting the peel and stick tile to fit the front of your smashed can. Because I was working with tile scraps from another project, I had to use 3 pieces to fit the can.
The tile is thin so craft scissors work just fine. I do recommend using one single piece of tile if you can. That way you don’t have the raised edges as shown in the below picture.

Step 2. Secure the tile to the can
The tiles do have a sticky backing, but once you cut them the sticky part separates, so you will need another form of adhesive.
I used Gorilla glue spray adhesive. For any of the raised edges I added a bead of hot glue. Be sure to press down on the tile for a bit until it is secure.
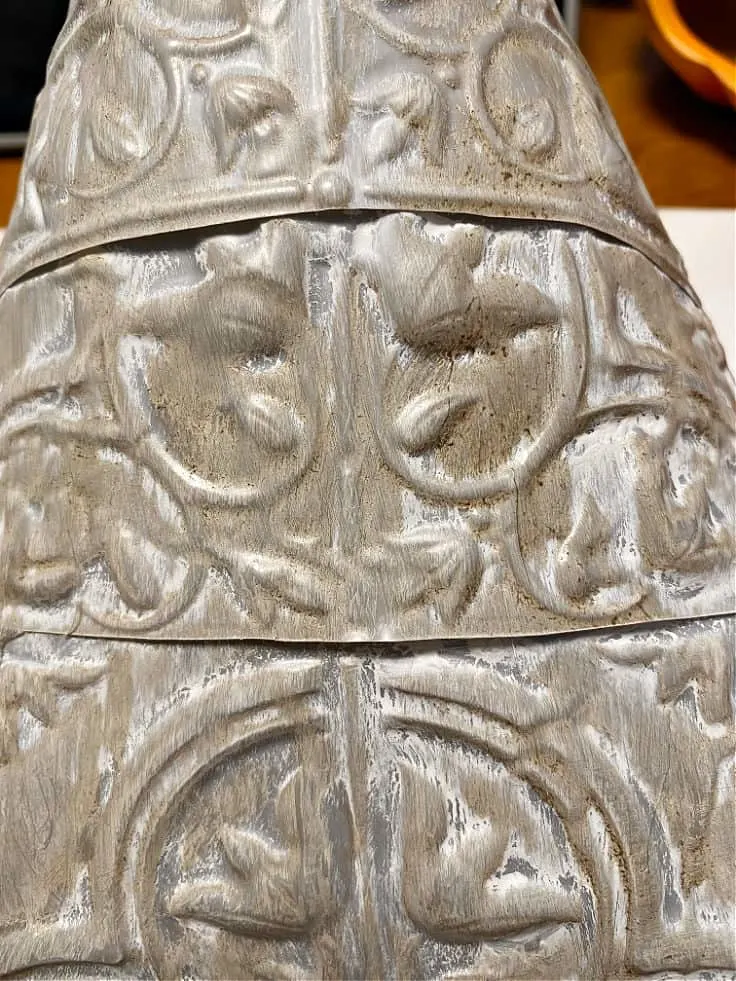
Step 3. Lightly brush with white chalk paint
At the last minute I chose to lightly brush or “dry brush” white chalk paint across some of the raised areas.
This is an easy way to add even more dimension to the tin.

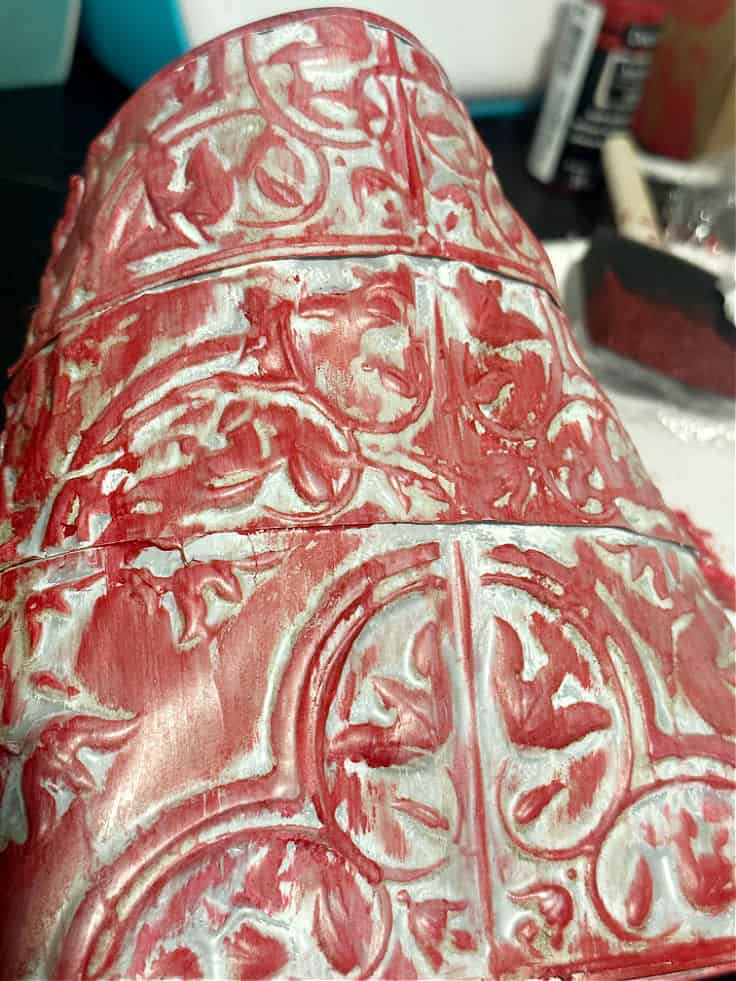
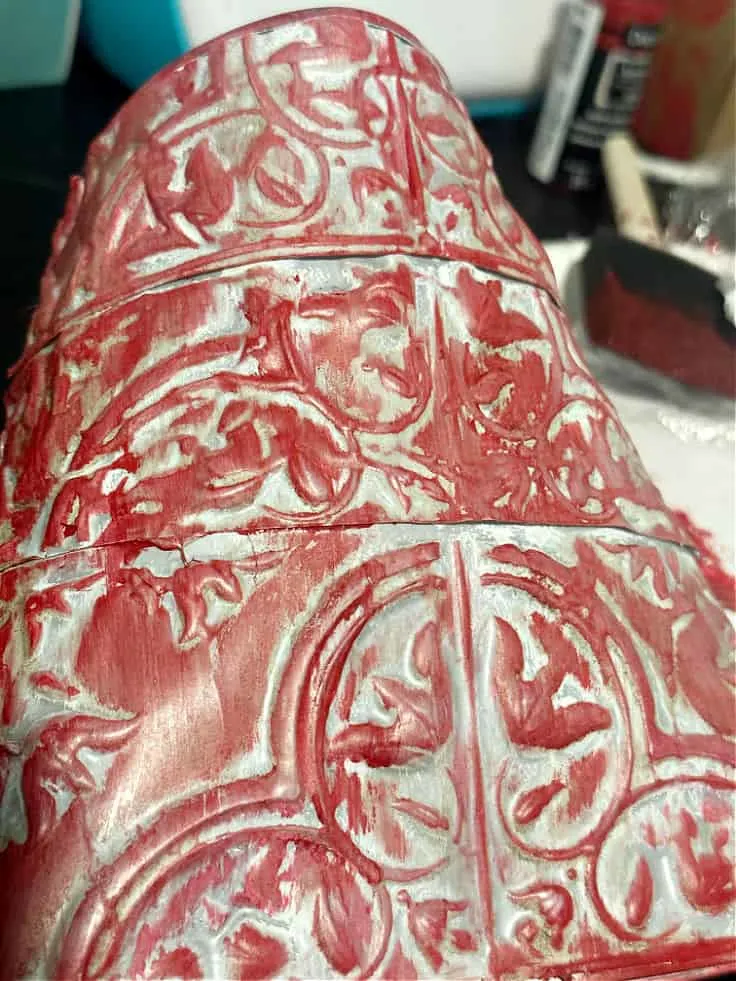
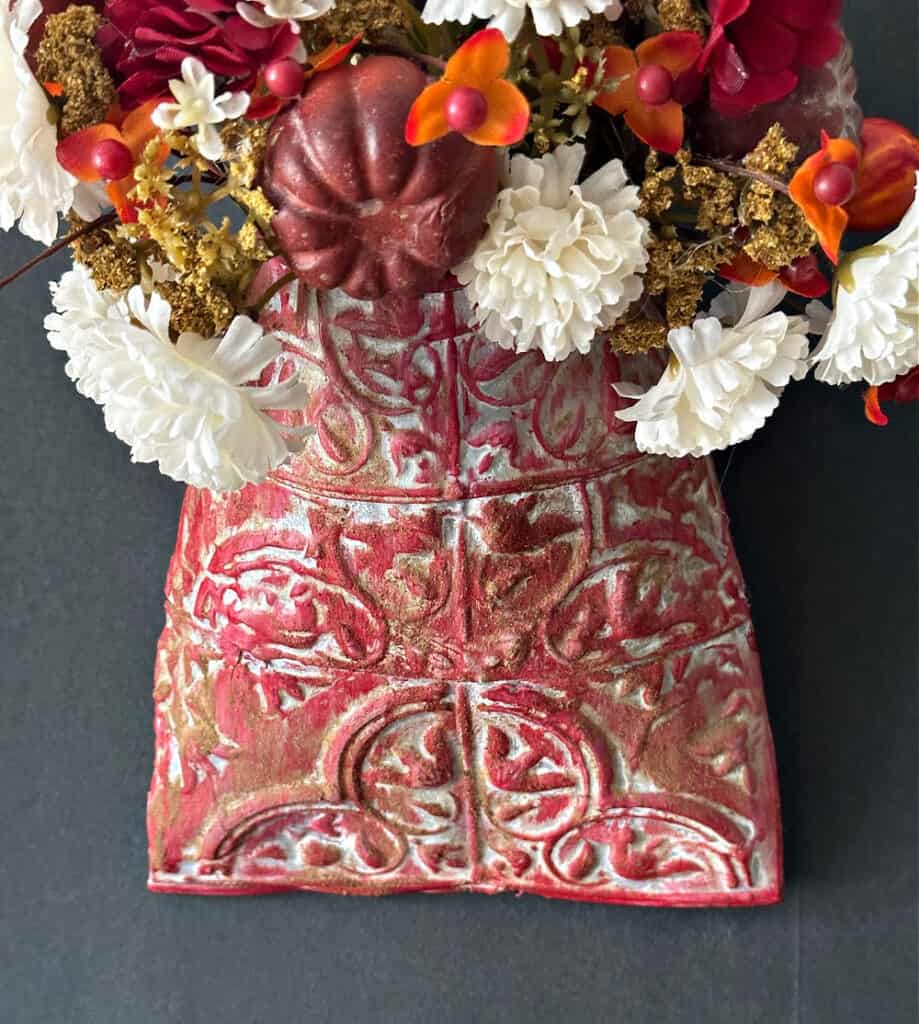
Step 4. Cover with wood stain
To get the look of vintage, or aged tin tile, I lightly brushed wood stain on top of the tile. Just randomly wipe on the stain.
You want the silver and white underneath to show. This will add another layer of dimension and texture, especially with the raised detailing on the tile.

Step 5. Lightly brush on paint
This is where my idea took a completely different turn. I had planned to stop at step 4 and that is completely your choice.
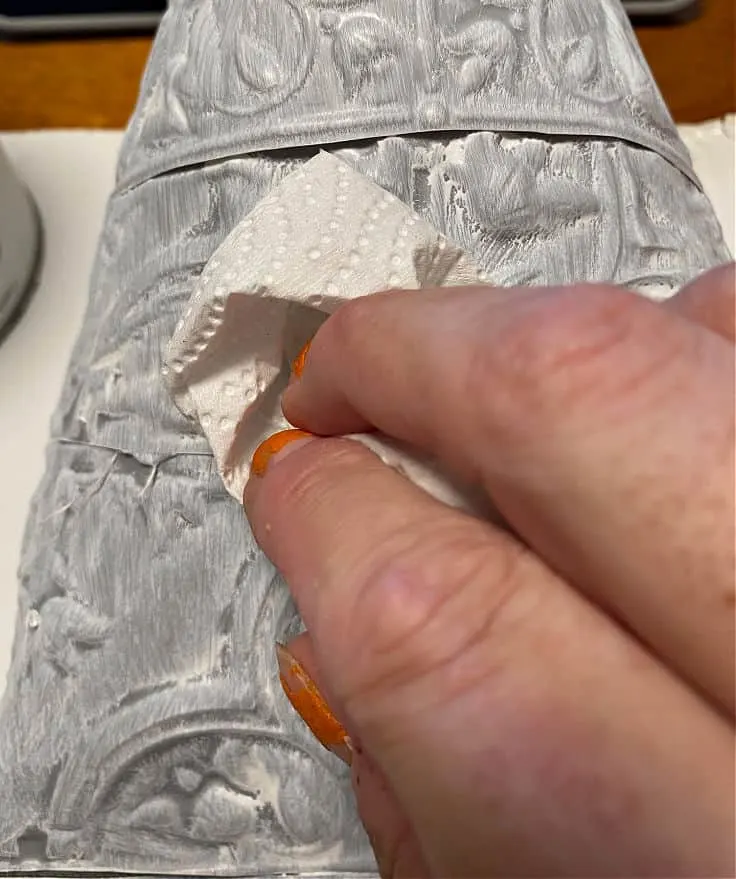
But once I held up all the beautiful fall flowers in classic colors like rich burgundy, rusty orange and mustard gold I decided to try a bit of dark scarlet paint.

Again this was lightly brushed on and wiped off. It was amazing to see how this beauty came to life with that pop of color!
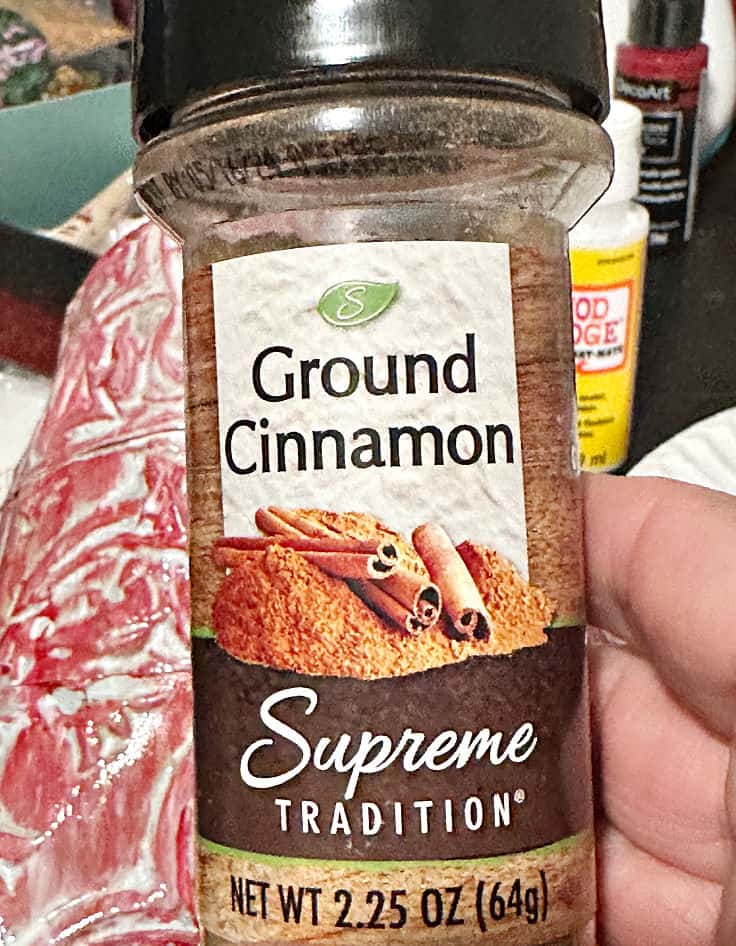
Step 6. Brush on mod podge and cinnamon
Yup-you read that right! We are using cinnamon in this craft. Brush on a layer of mod podge and lightly sprinkle cinnamon on top.
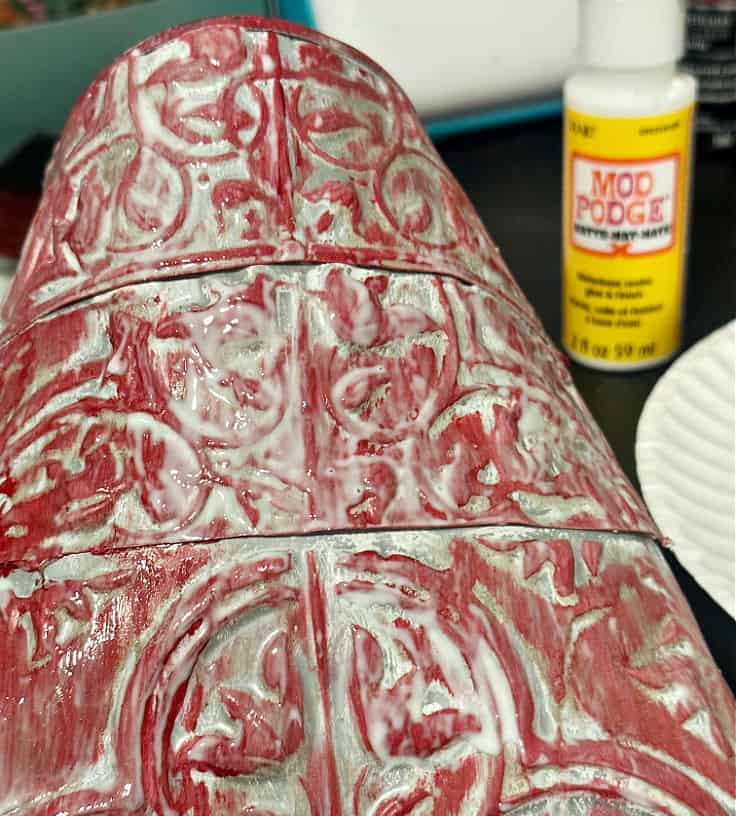

I wanted to achieve a “rusty can” look that is so popular on Pinterest. Whenever possible I try to give credit to the inspiration project, but this technique goes way back and I’m not sure who the first crafter was to share this idea.

My first time using cinnamon in crafts was last year when I made painted glass ornaments. Those will be coming up next month.
When you spread the cinnamon lightly press it down into the grooves and add as much or as little as you like.
In lots of primitive crafts I’ve seen they will use a heavy amount and really get a dark or “grunge” look.
This is totally a matter of preference. For this vintage wall pocket I kept the cinnamon pretty light.
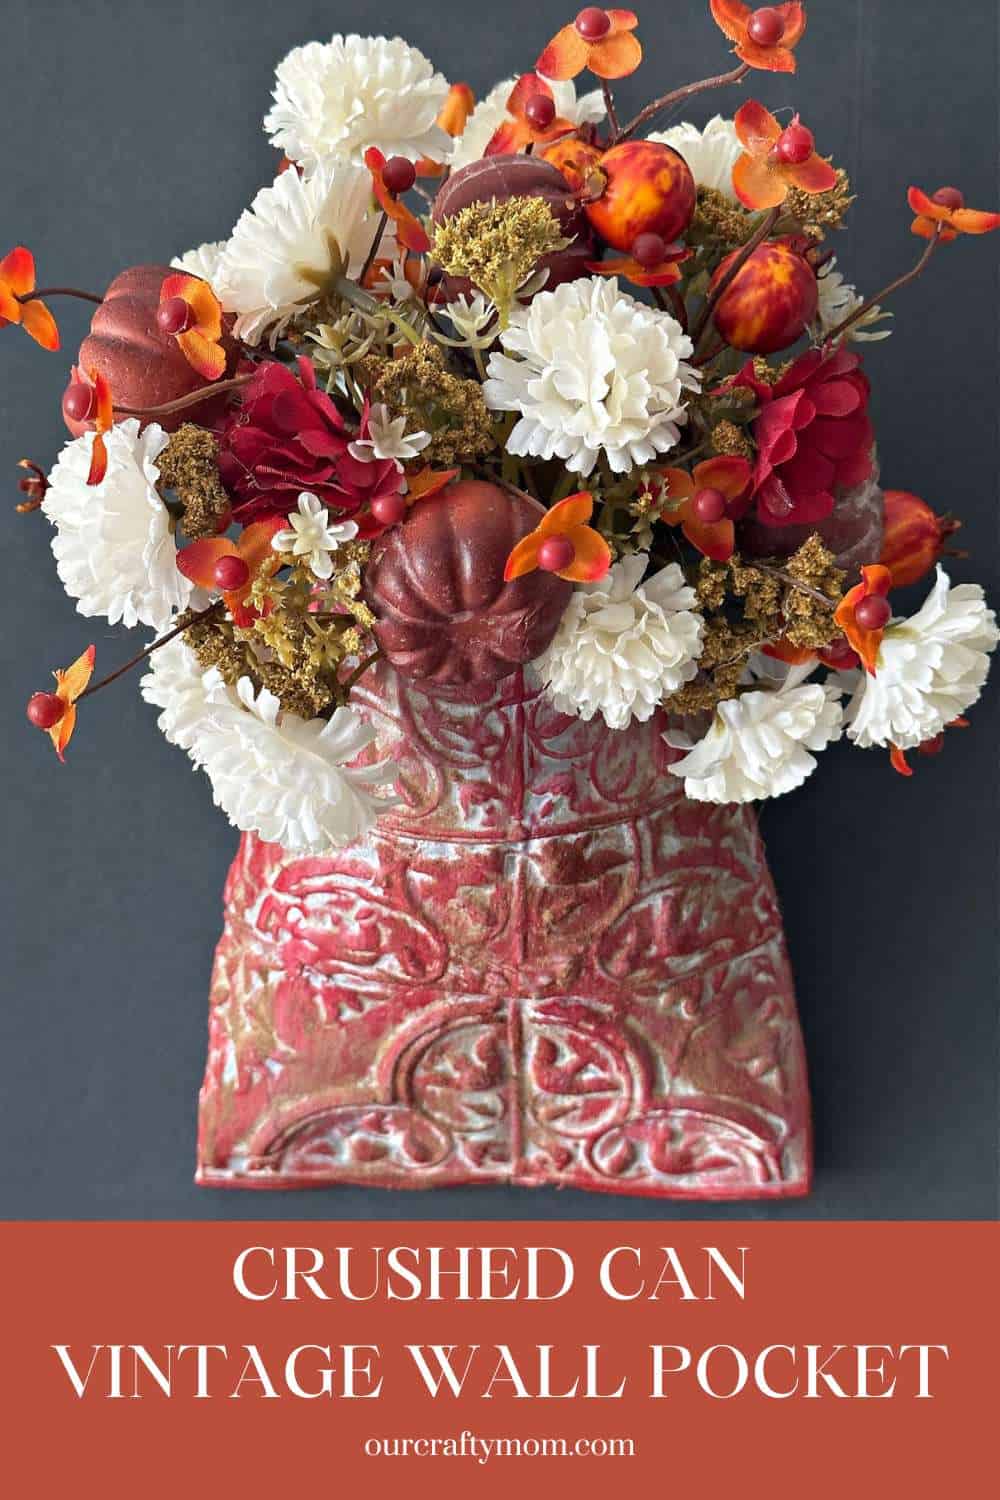
Step 7. Add foam and flowers to vintage wall pockets
Now it’s time for the best part-adding flowers! Cut a piece of craft foam to fit into the wall pocket. Make sure it is in nice and snug.

Add a bit of hot glue if you like. Start adding your fall flowers. If you haven’t checked out the fall section at Dollar Tree yet-don’t wait!
They sell out so early which is why I am posting this early. My Dollar Tree is usually out of the in demand craft supplies by September.
Whenever working with florals in baskets or wall pockets it’s best to start at the bottom and work your way up.
Because you are placing the flowers into the foam, you don’t even need to add glue. This helps for several reasons.
You can remove them if you don’t like the placement and you can remove them to change them out for another season-like Christmas! I have a feeling this may show up with Christmas florals at some point.

Quick tip: hang your wall pocket while you continue to add flowers. Take a step back and see if it is symmetrical, or where you need more flowers.

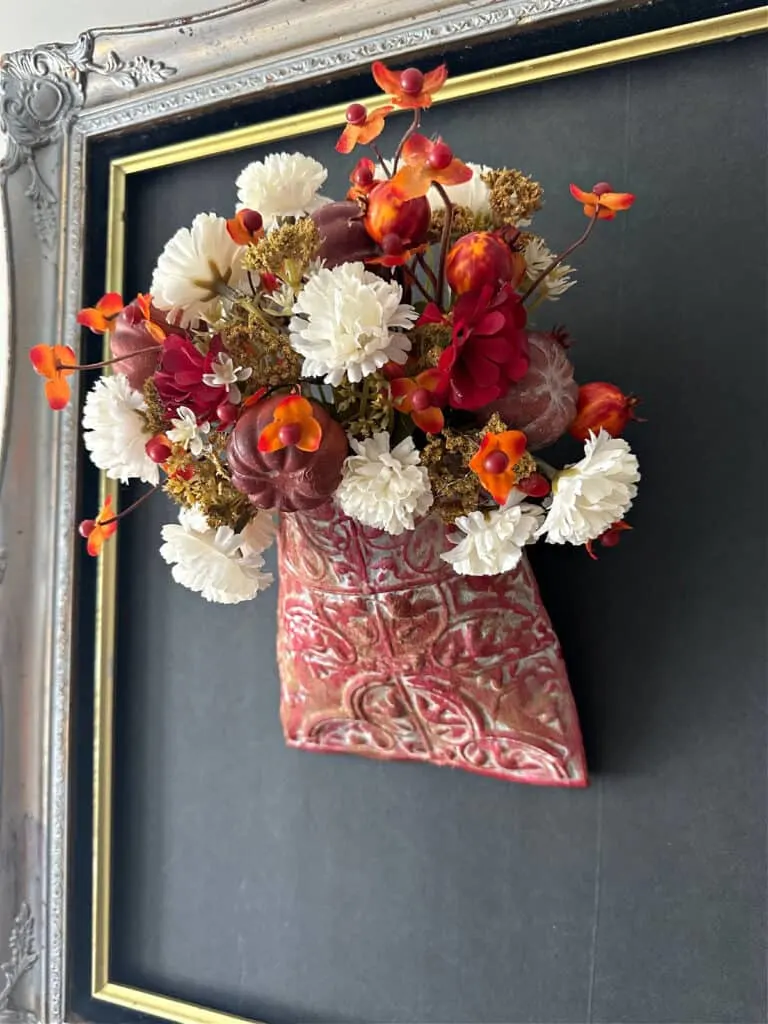
Continue adding flowers until you are happy with how full it is. I am really obsessive with my flower placement, but have learned that sometimes you just have to call it.
I do recommend adding an odd number of the larger flowers, like the ivory hop flowers. I used 9 following a clock placement.
Then add your fillers like bittersweet and pome bushes. Add a pop of yellow or gold in every arrangement whenever possible. It really brightens it up.

Aren’t these rich fall colors just gorgeous? I tip my hat to Dollar Tree this year. The flowers were $12.50 total and I still have enough left for another fall craft!
I hope you enjoyed this pretty vintage wall pocket craft for fall. It’s an easy dollar store craft that brings that wow factor.
Leave a comment below and share pics if you make one, or tag @ourcraftymom on social media so I see it. Use #inspiredbyourcraftymom if you give permission for me to share it on my blog or social channels. 🙂
Thanks so much for stopping by.
I’d be so grateful if you would share this on Facebook or save it to your favorite craft board on Pinterest.

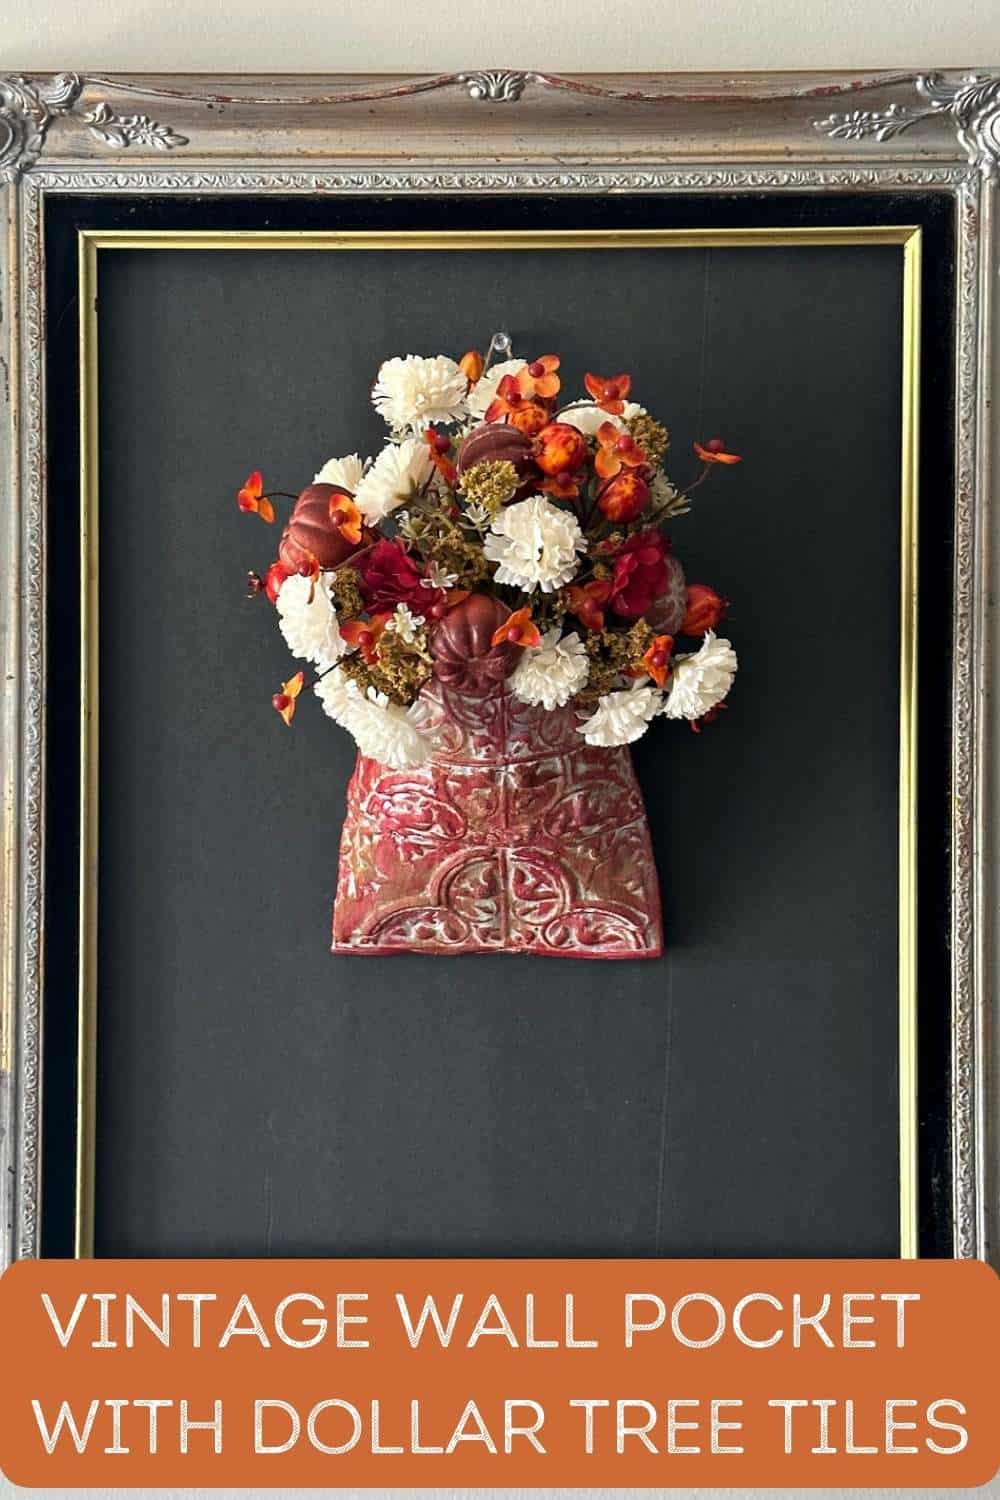
How To Display Vintage Wall Pockets
Here are a few ideas for displaying your wall pockets:
- Place it standing on a bookshelf or buffet table.
- Hang it on a blanket ladder with ribbon or twine. Add fairy lights for extra interest.
- Create 3 similar styles and add them to a dollar store sign.
- Hang from a coat rack or key holder in an entryway.
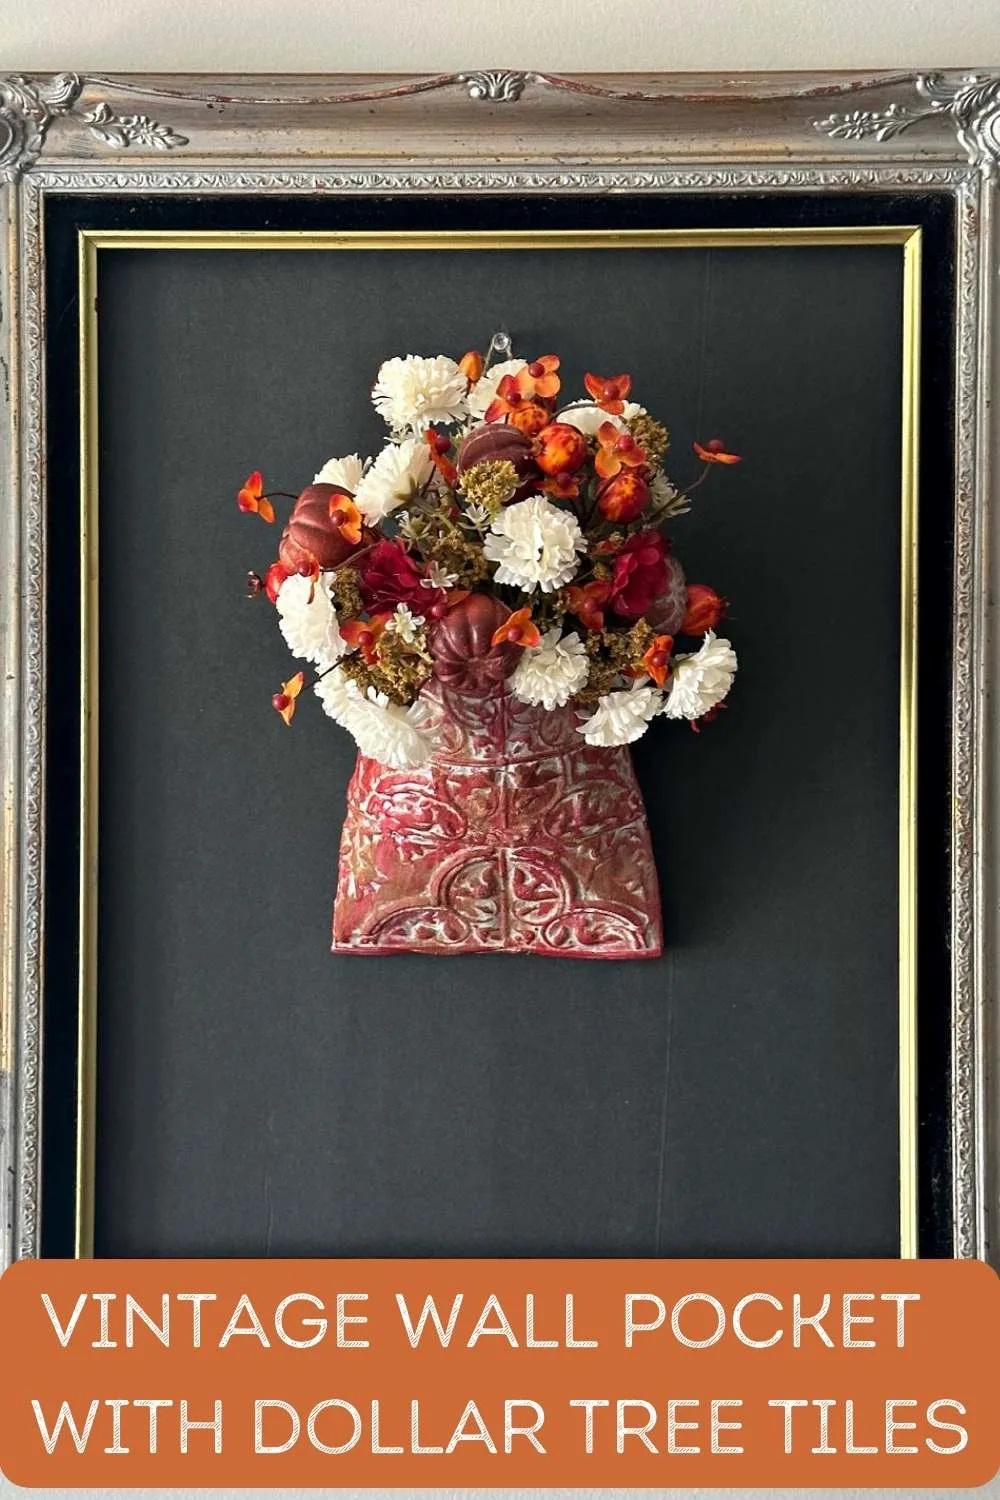
- Place it in a pretty frame to make it stand out. It looks amazing on a black background.
All Things Dollar Store Facebook Group
If you are a fan of dollar store crafts and decor, be sure to join my free Facebook Group for All Things Dollar Store where you can share your dollar store finds, decorating ideas, and creations.
I even have a few giveaways coming up for the holidays. 🙂
The group includes Dollar Tree, Dollar General, Family Dollar, Target Dollar Spot – even thrift stores.
The community is so supportive and kind-no trolls in this group!
Check out over 80 Dollar Tree crafts here!

Don’t Miss These Tin Can Crafts!
- 35 Tin Can Crafts
- Tin Can Wall Pocket Planters
- Fabric Covered Flower Pots
- Dollar Tree Thanksgiving Hostess Gift
- Repurposed Garden Planters
If you are a fan of farmhouse decor, you definitely want to check out my DIY terrarium from Dollar Tree picture frames, or this picture frame lantern.
Enjoy even more fall dollar store DIY crafts ideas:
- Buffalo Check Dollar Tree Pumpkins
- Velvet Dollar Store Pumpkins
- Dollar Tree Fall Hanger
- Dollar Store Loop Yarn Wreath For Fall
Google Web Story: Upcycled Can Wall Pocket Dollar Tree Tiles
You can find me on social media below:
Shelia
Wednesday 2nd of August 2023
Loved this
ourcraftymom
Wednesday 2nd of August 2023
Thanks so much! It is one of my favorites! :)