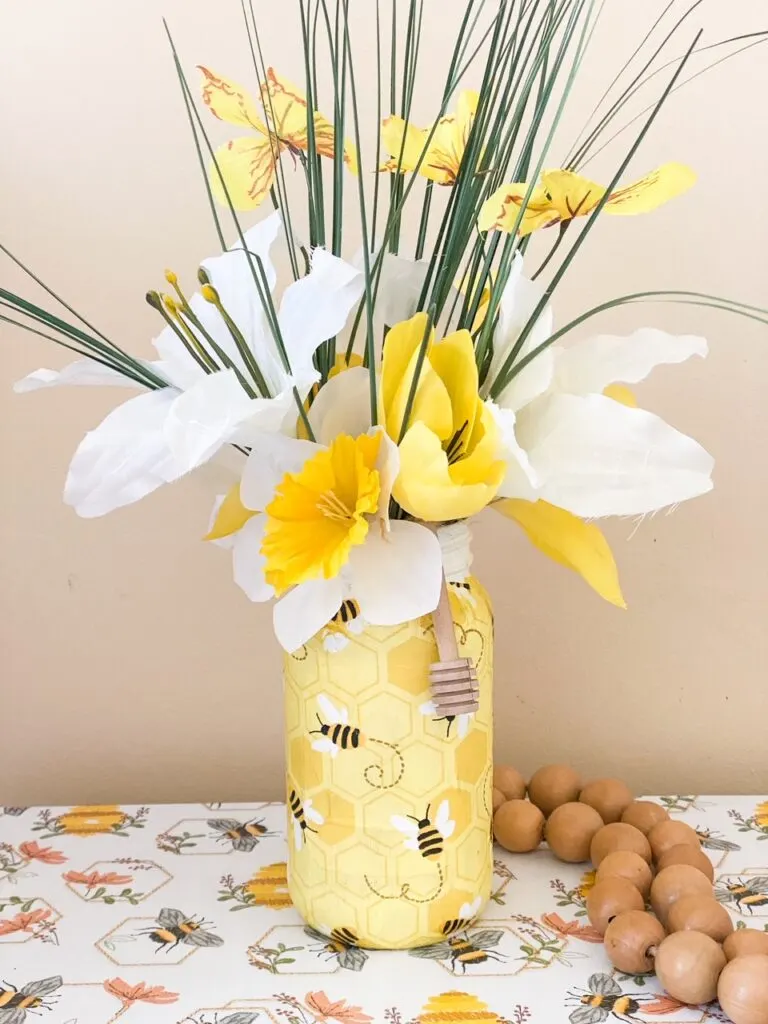
Add this bright and sunny bumble bee craft floral mason jar to your home decor for instant spring and summer cheer!
Bumble bee crafts are such a bright and cheerful addition to any springtime decor! This DIY bumble bee spring floral mason jar is a simple and easy way to add a little something special to your home.
It’s my favorite day of the month! The Thrifty Style Team is back sharing budget-friendly spring crafts and home decorating ideas.
I love teaming up with this talented group of ladies each month and always look forward to seeing what they will be sharing.
Be sure to check out all the beautiful projects with the links at the end of this post.

I’ve been on a bit of a bee kick lately. It seems like every store I go into lately has adorable bee decor. Have you noticed that too? I’ve had to show restraint! 😀
Last summer I made this bumble bee wreath that I hung on my outside door.
Every time I came home it made me smile. The bright sunshine yellow colors are just the epitome of spring and summer.
So when I saw these darling bee napkins at Hobby Lobby (at 50% off no less) I just had to buy them!
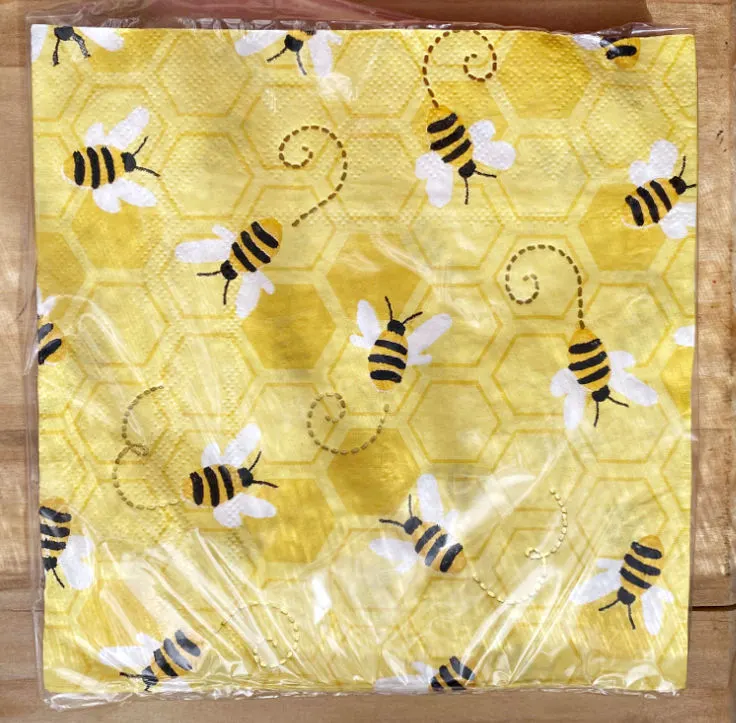
With just a few inexpensive supplies, you can turn an ordinary mason jar into a pretty bee-themed decoration.
Perfect for adding a touch of springtime charm to your mantle or shelf.
Let me show you how!
Supplies Needed For Bumble Bee Craft
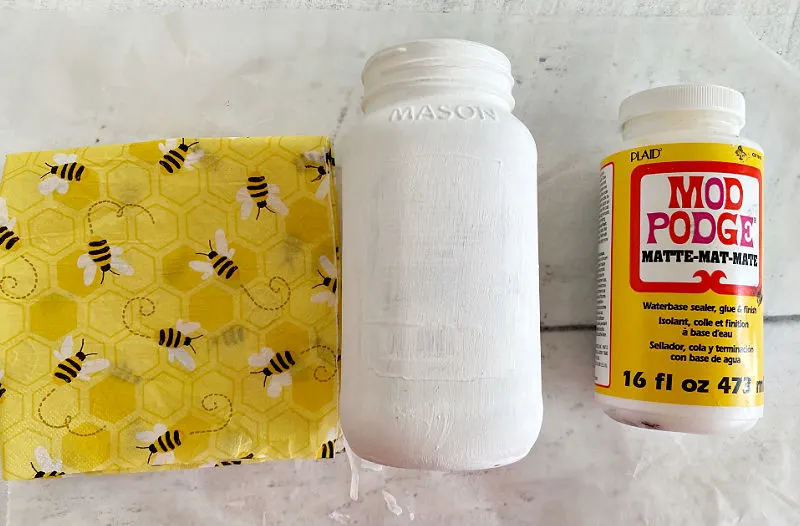
How to Make a Bumble Bee Craft
I’m using decoupage napkins for this mason jar craft. It’s probably one of my top 3 favorite craft techniques.
Here are a few of my most popular decoupage projects:
- How to Decoupage with Napkins
- How to Decoupage on Glass
- How to Make Buffalo Check Plates with Mod Podge
- How to Decoupage on Wood – Broadway Table
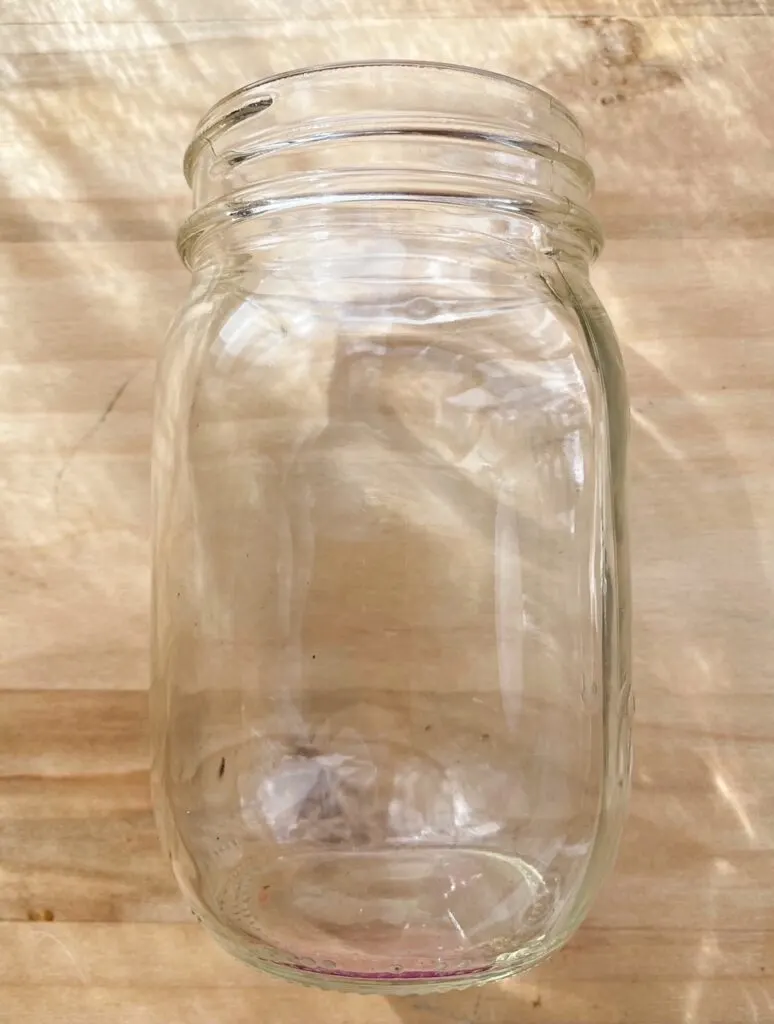
Step 1. Clean your glass
Start by cleaning your glass with rubbing alcohol to remove any dust or fingerprints.
Step 2. Paint your mason jar
Give your mason jar about 2-3 coats of chalk paint, letting it dry in between coats.
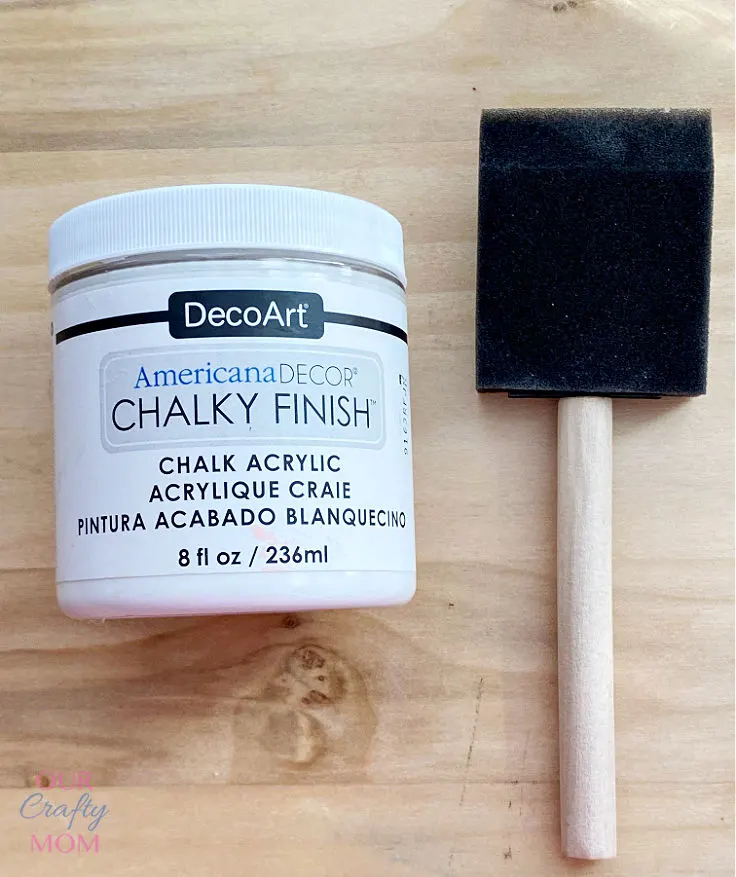
You want to paint the glass jar first so the colors in the napkin will show up more vibrant and bright.
Step 3. Add Mod Podge
Once the paint is completely dry, brush mod podge onto the mason with a small craft brush.
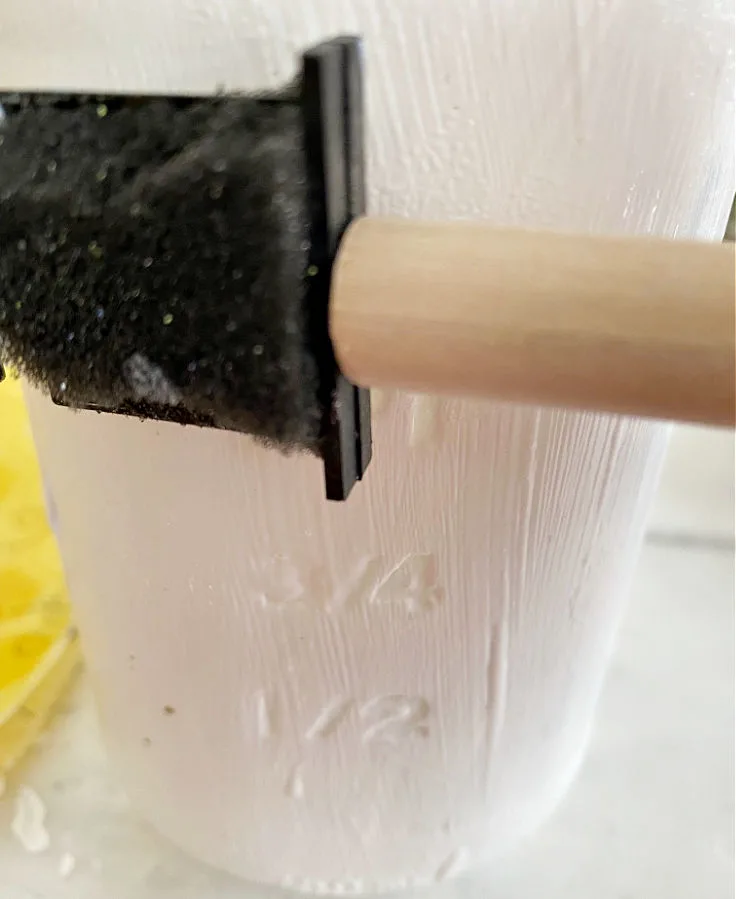
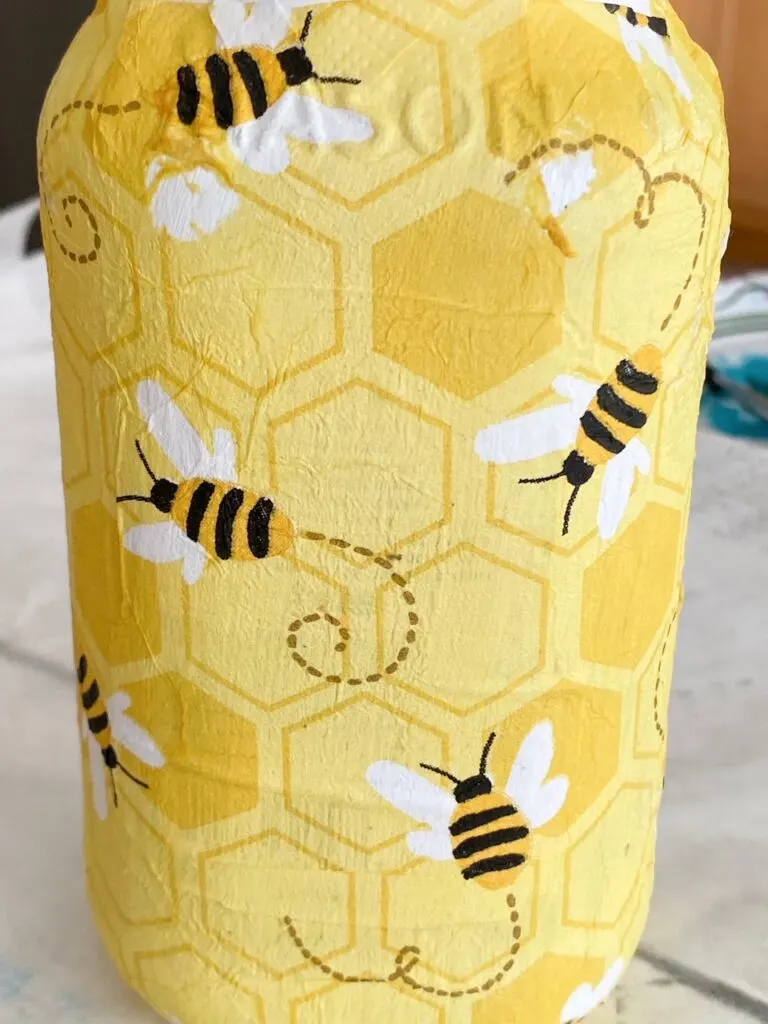
Step 4. Decoupage the Napkin
Now it’s time to add your napkin or whatever material you are using to decoupage the mason jar.
Quick tip: Most napkins are 2-3 ply. Only use the top printed layer of the napkin to cover the jar.
Napkins tear easily so be sure to gently place the napkin onto the jar and tap it lightly to secure it.
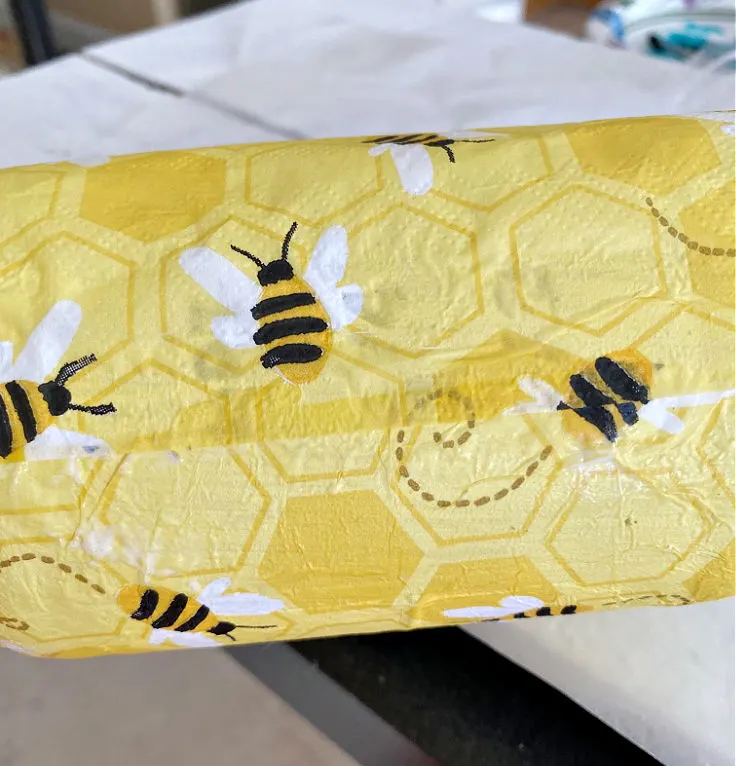
Step 5. Smooth the Wrinkles
Use a plastic bag or plastic wrap to smooth out any wrinkles. This really helps prevent tearing too!
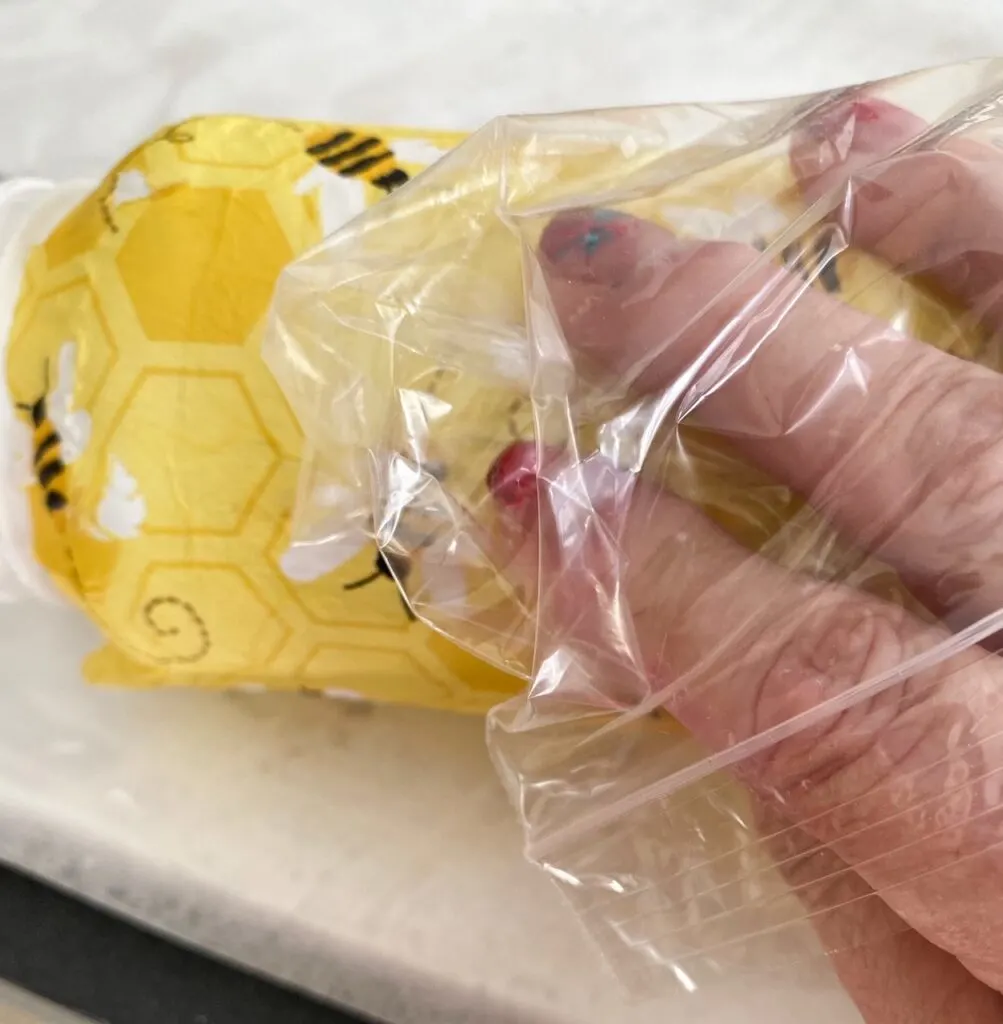
Step 6. Add a Topcoat of Mod Podge
Add a full coat of mod podge to the entire napkin-covered mason jar. Let dry.
Step 7. Attach the Honey Stick
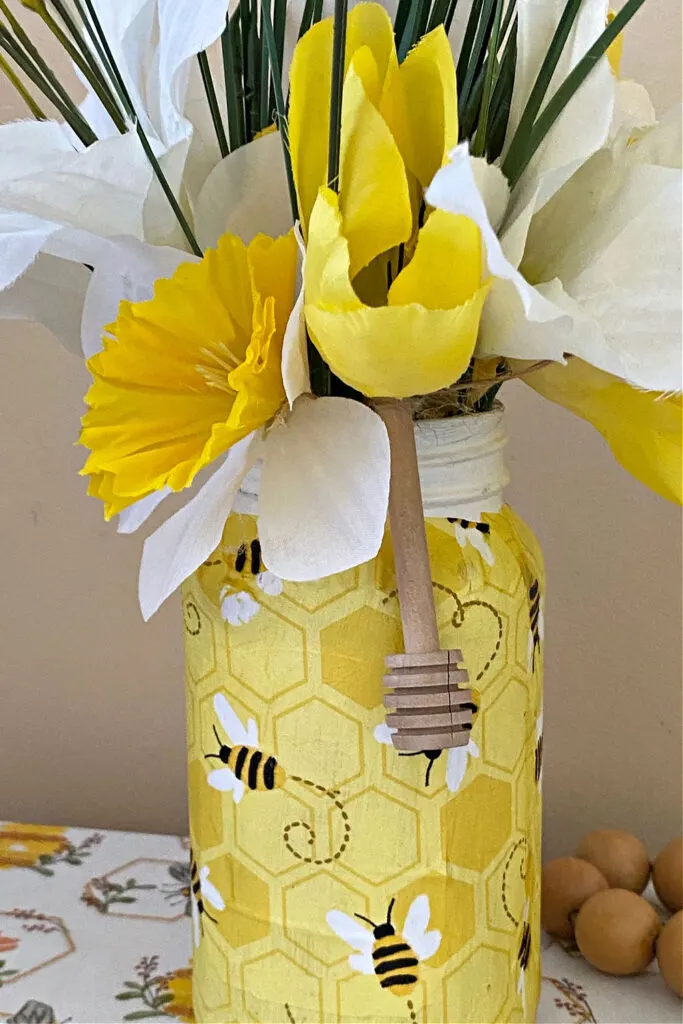
Wrap a piece of twine around the mason jar and secure the honey stick to it. I love how this little stick looks hanging on the jar!
Step 8. Fill with Spring Florals
All that’s left now is to fill your sweet bumble bee mason jar with spring flowers. Can you believe these flowers are from Dollar Tree? The daffodils are my favorite!

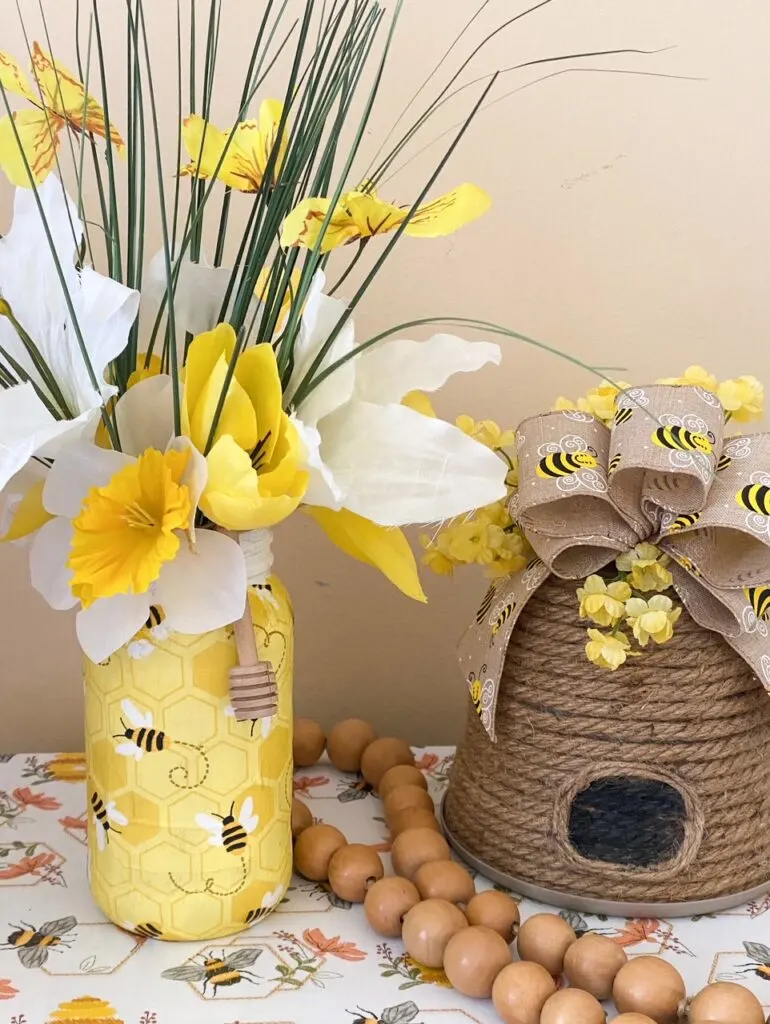
Look how pretty this bumble bee vase looks with the DIY beehive I shared last week. I’ve got a whole bee-themed vignette going on! 🐝
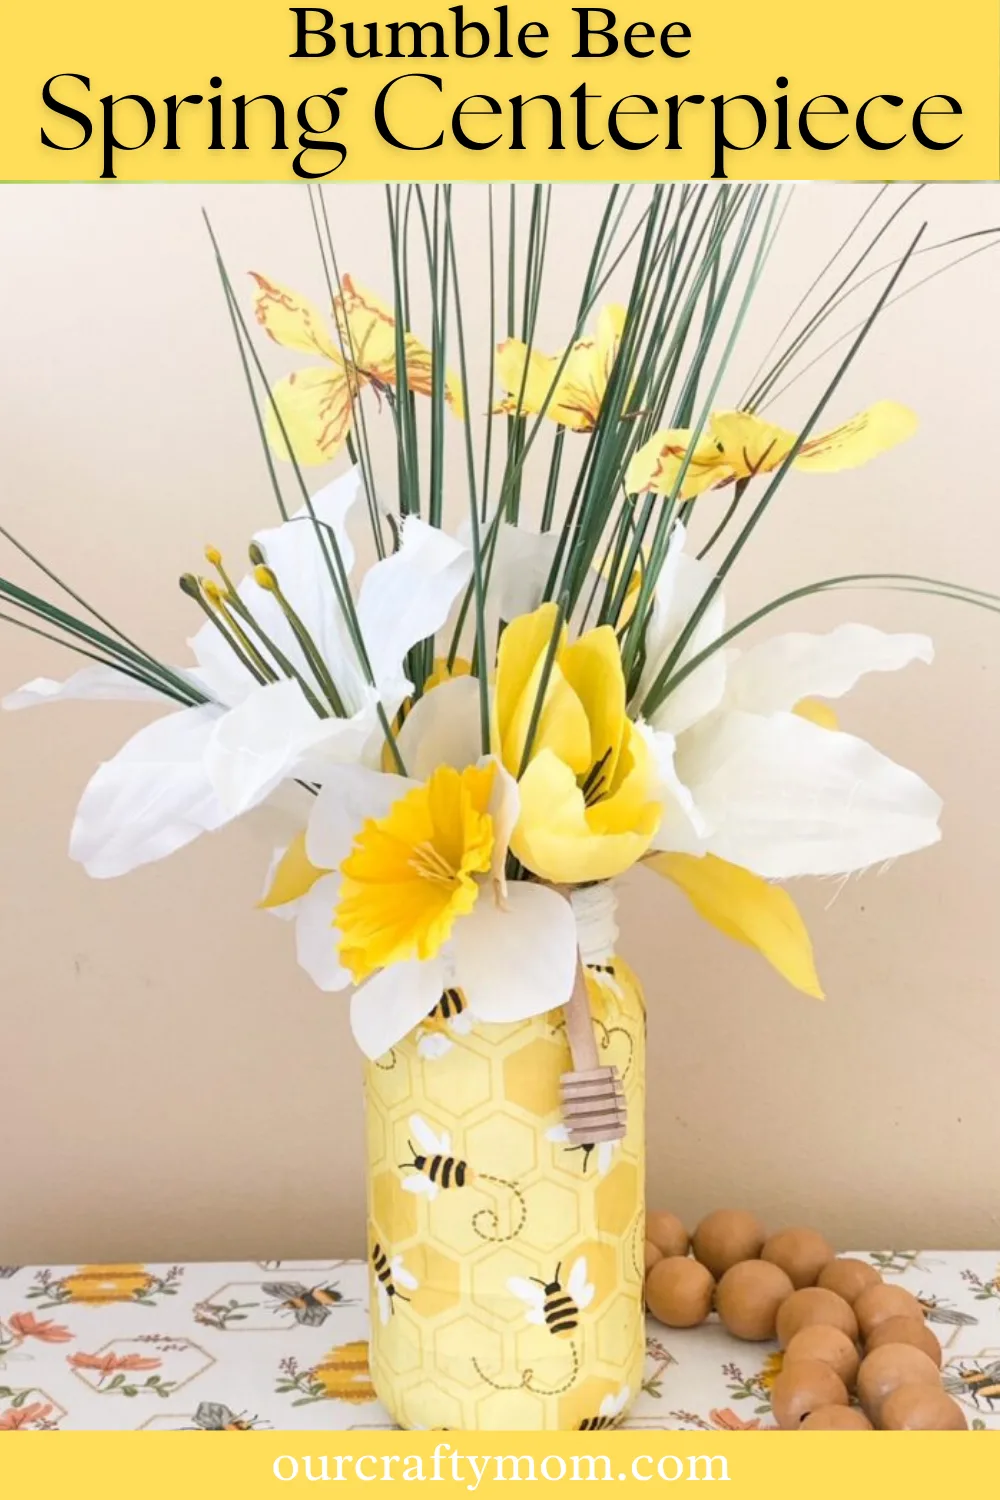
Save this bumble bee craft by PINNING the below image:
Before you head over to the rest of the Thrifty Style Teams projects, I have to share some sad news.
It’s difficult to even write this but I couldn’t share this post without taking a moment to let you know that two of our sweet and talented hosts, Michelle from The Painted Hinge and Paula from Virginia Sweet Pea have passed away.
They will be greatly missed and I pray for their respective families. It is truly amazing to see how many lives they touched all across the country and beyond.
I loved getting to know them through this group and other collaborations. I wanted to include one of my favorite spring projects from Michelle and Paula in this month’s post. ❤️
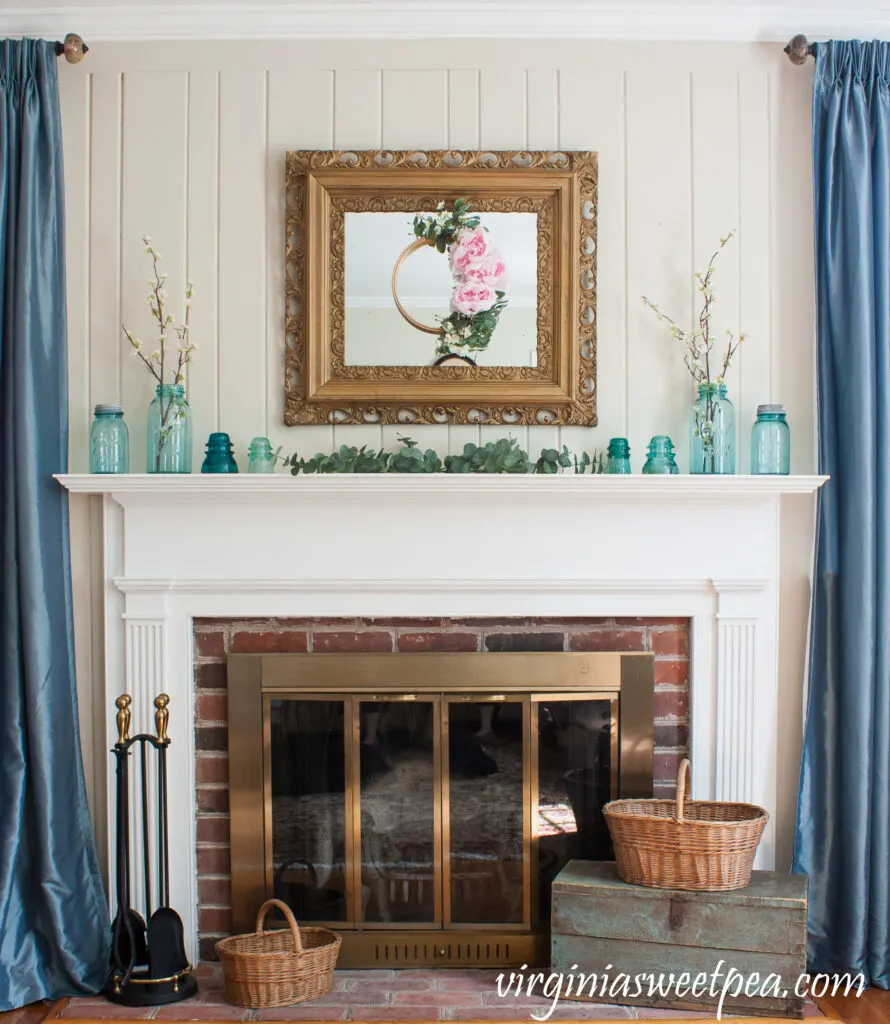
Virginia Sweet Pea- Spring Mantel with Vintage Ball Jars
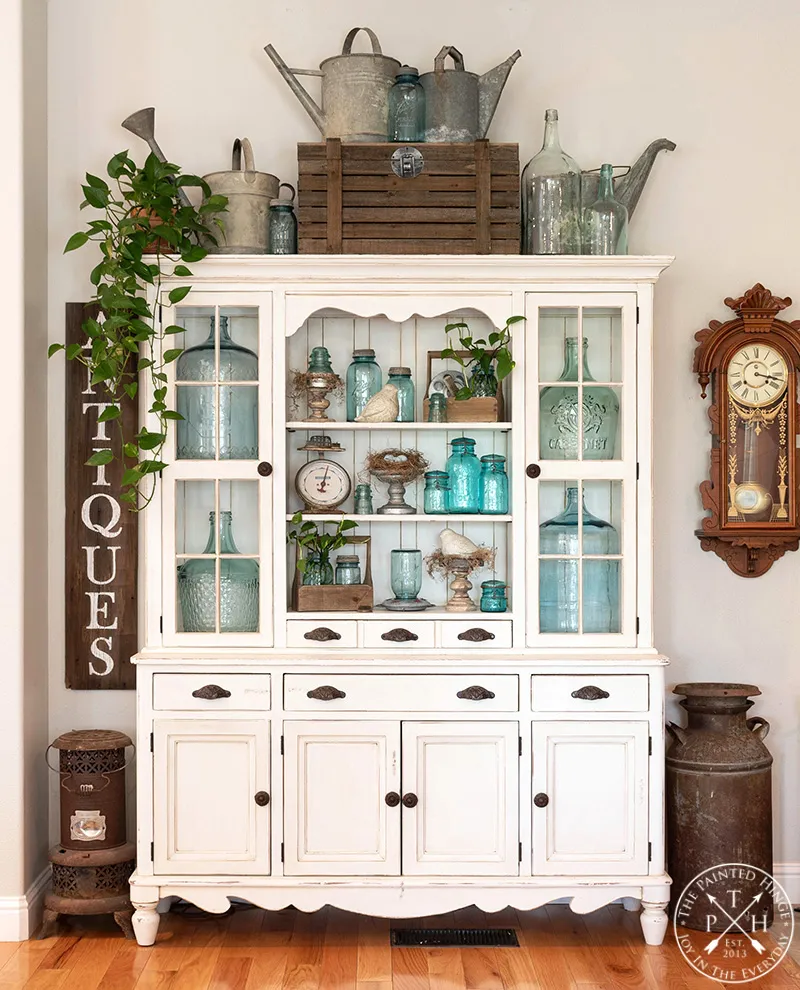
Michelle – A Blue Glass Hutch for Spring
Rest in eternal peace sweet friends…
Thank you.
Visit the talented bloggers below to see their thrifty spring home projects. You will not be disappointed!
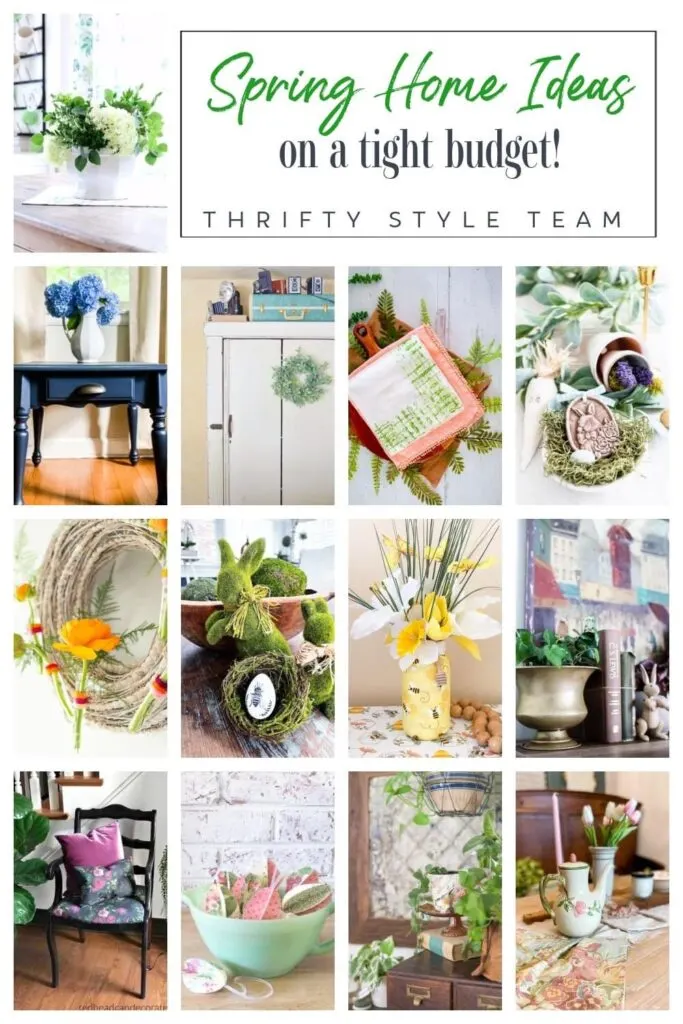
- Redhead Can Decorate – 3 Simple No-Sew Home Decorating Ideas Using Fabric
- Our Crafty Mom – Bumble Bee Craft Mason Jar
- DIY Beautify – Salt Dough Rabbit Ornaments
- 2 Bees In A Pod – Stamped Eggs for Spring
- The How To Home – Hand Stamped Napkins
- Postcards From The Ridge – Paper Egg Ornaments
- Vinyet Etc. – Thrifty Vintage Planters – Spring
- Lora B. Create & Ponder – 7 Ideas for Decorating the Tops of Armoires, Bookcases (and any tall furniture)
- The Tattered Pew – 5 Thrifty, Chic and Simple Spring DIY Projects
- Cottage On Bunker Hill –Inspired Antique Brass Planter
- Amy Sadler Designs –Easy DIY French Country Table Runner
- Songbird – Easy Fresh Flower Spring Wreath
- My Family Thyme – Easy Side Table Makeover with Fusion Mineral Paint
Thank you so much for stopping by. Happy spring! 😀
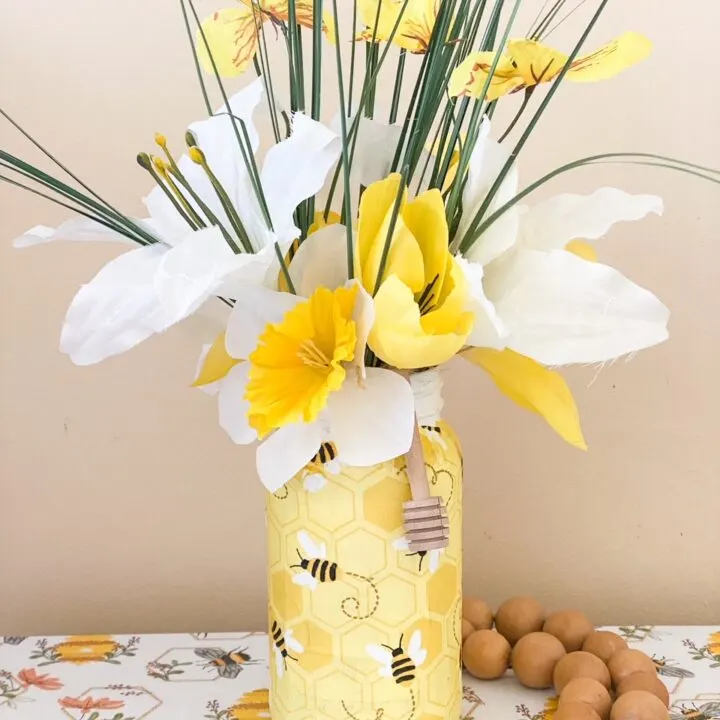
Bumble Bee Craft Spring Floral Mason Jar
Here is a fun and easy craft for you to make with your kids or friends – a Mason Jar Bumble Bee Centerpiece! It'll add some life to any room and is perfect for celebrating the season.
Materials
- Mason Jar
- Bumble Bee Napkins
- Mod Podge
- Foam Brush
Tools
- Scissors
Instructions
- Clean your glass jar with rubbing alcohol.
- Paint the jar with 2-3 coats of white chalk paint. Let dry.
- Add a layer of mod podge to the jar, working in sections.
- Cut the napkin in 4 pieces. You will only be using the first printed layer.
- Lightly tap the napkin onto the mod podge with your fingertips.
- Once secure, use a plastic bag to remove any wrinkles.
- Place a topcoat of mod podge and let dry.
- Use a piece of twine to hang the honey stierrer.
- Fill with pretty spring flowers.
- Decorate and enjoy!
Recommended Products
As an Amazon Associate and member of other affiliate programs, I earn from qualifying purchases.
-
 Yexixsr Foam Brush, 27 Pcs Sponge Paint Brush, Foam Paint Brushes, Foam Brushes for Painting, Sponge Brush for Staining, Foam Brushes for Polyurethane, Sponge Brushes for Painting
 -
 Mod Podge CS11302 Waterbase Sealer, Glue and Finish, 16 oz, Matte, 16 Fl Oz
 -
 Americana Décor Acrylic Chalky Finish Paint: Everlasting White, 8 oz
You can find me on social media below:


Lora Bloomquist
Tuesday 15th of March 2022
This just has summer picnic all over it! Such a sunny and happy project:)
Laurie @ Vinyet Etc
Tuesday 15th of March 2022
Such a sad time for our group! So grateful that we were blessed with their kindness and support. I love this sweet spring project, I can't wait for the bumble bees to be visiting all the spring flowers.
Kelly Radcliff
Monday 14th of March 2022
Michelle I love the napkins you found and used! So cheery! I also loved the Plastic bag trick for smoothing the Modge Podge. Pinned!
Lynne Zemaitis
Sunday 13th of March 2022
Michelle, this craft makes me smile! I love how bright and cheerful it is. What a great project for spring!
Jennifer Howard
Sunday 13th of March 2022
Super cute and is making me eager for Spring!! Thank goodness warmer temps this week...maybe the snow will really be over and the bees will be back soon!!