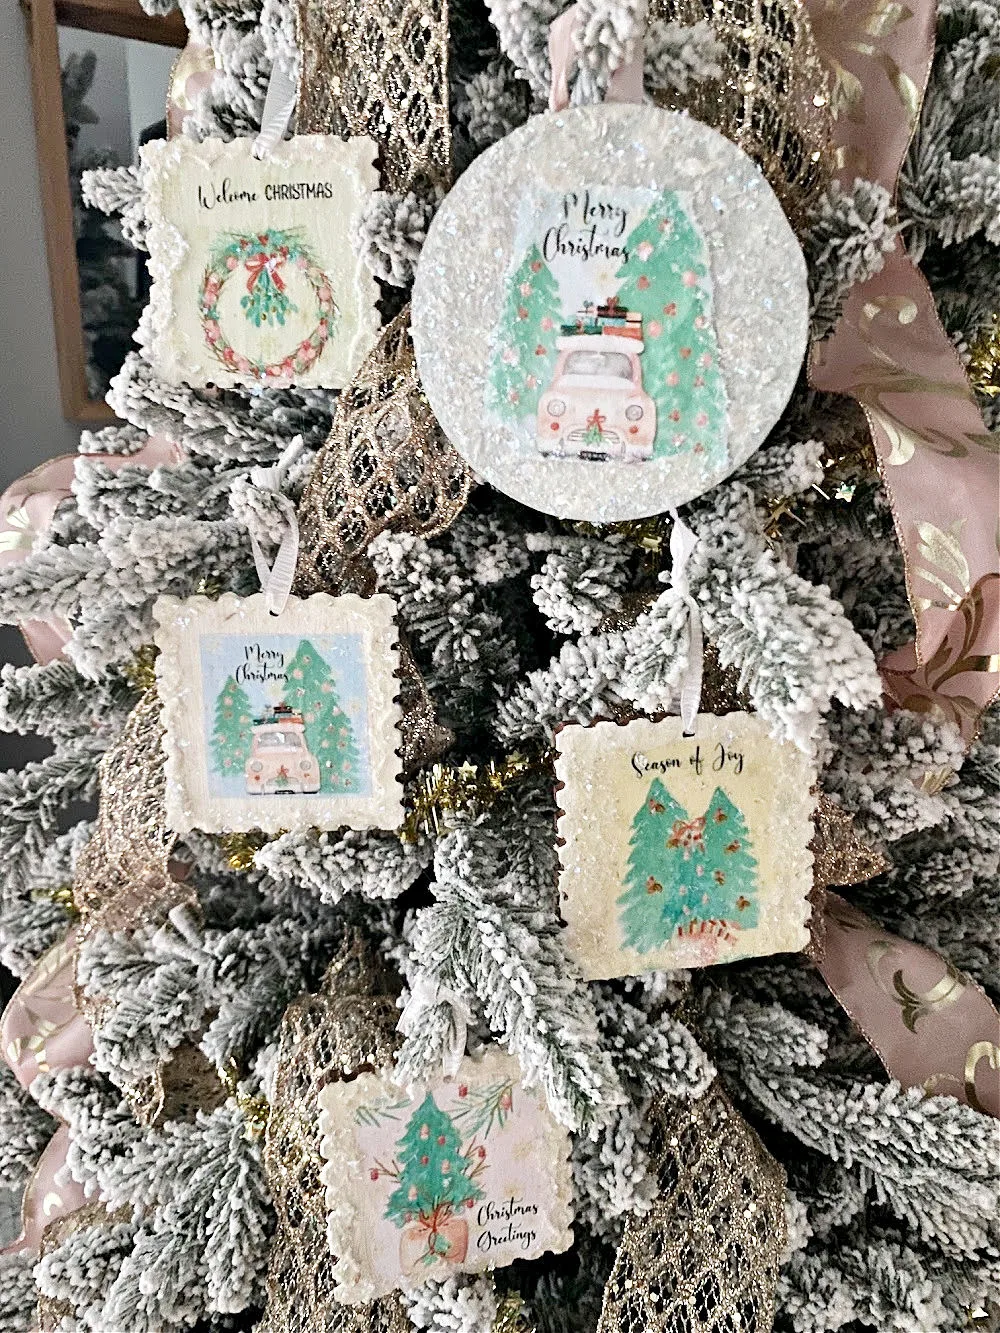
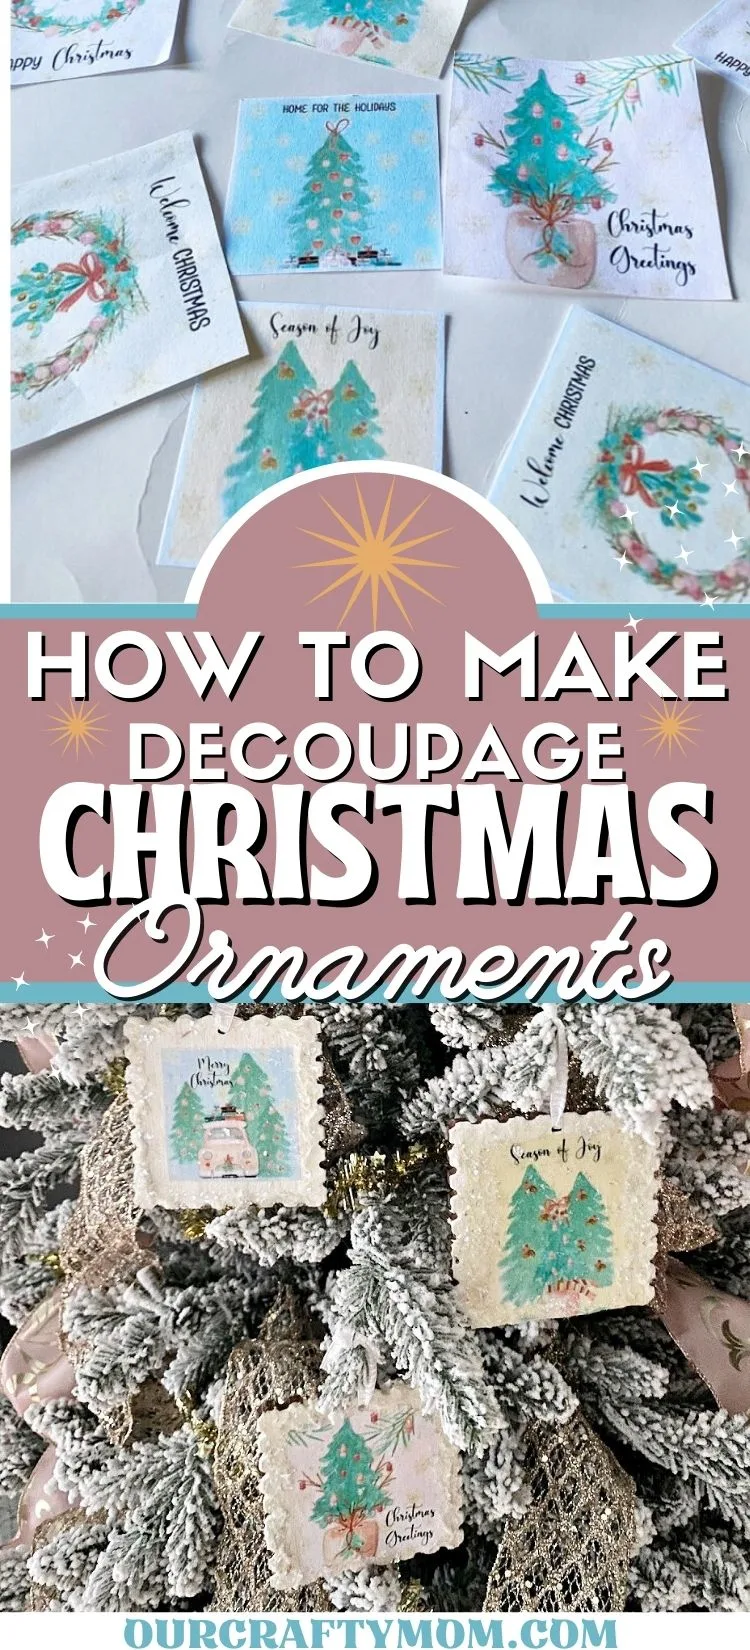
If you’re looking for a unique and personal way to decorate your Christmas tree this year, why not make some decoupage Christmas ornaments?
Decoupaging or decoupage is the art of cutting and pasting with mod podge.
It’s a simple craft that anyone can do without requiring special skills.
The great thing about decoupage is that you can use just about any medium to create your masterpiece, including newspapers, magazines, fabric, wrapping paper, and even photos.
I’ve even included beautiful vintage-style printables to help you get started and they are FREE!
This post contains affiliate links at no extra cost to you. This means if you click the link and buy something, I may receive a small percentage of sales at no extra cost to you. Thanks for supporting Our Crafty Mom!
Supplies Needed to Decoupage Christmas Ornaments
- Mod Podge
- Foam Brush
- Free Vintage Christmas Printables – (visit link for free download)
- DecoArt Dimensional Texture Paste
- DecoArt Chalky Finish Paint – Everlasting
- Snowy Glitter
- Paper Cutter
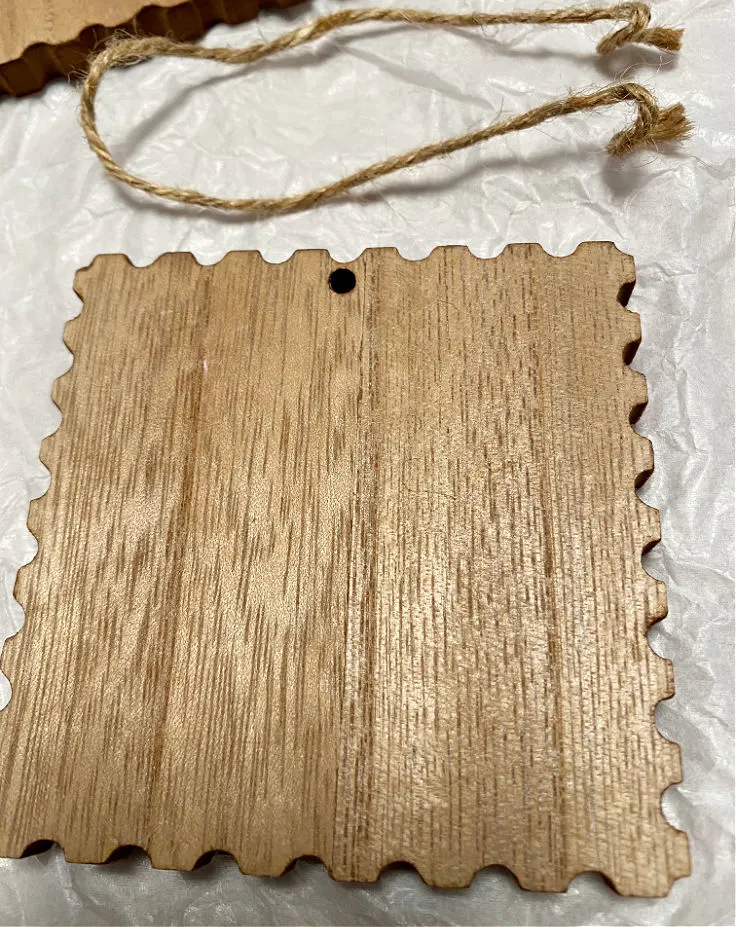
- Wood Ornaments for Crafts – I made over a set I received in the Decocrated Winter Subscription Box (save with my code CRAFTYMOM15)
How to Decoupage Christmas Ornaments
Step 1. Paint the wood ornaments
Use a foam brush to paint the wood ornaments with white paint. I used chalk paint but you can use any white paint. Let dry.
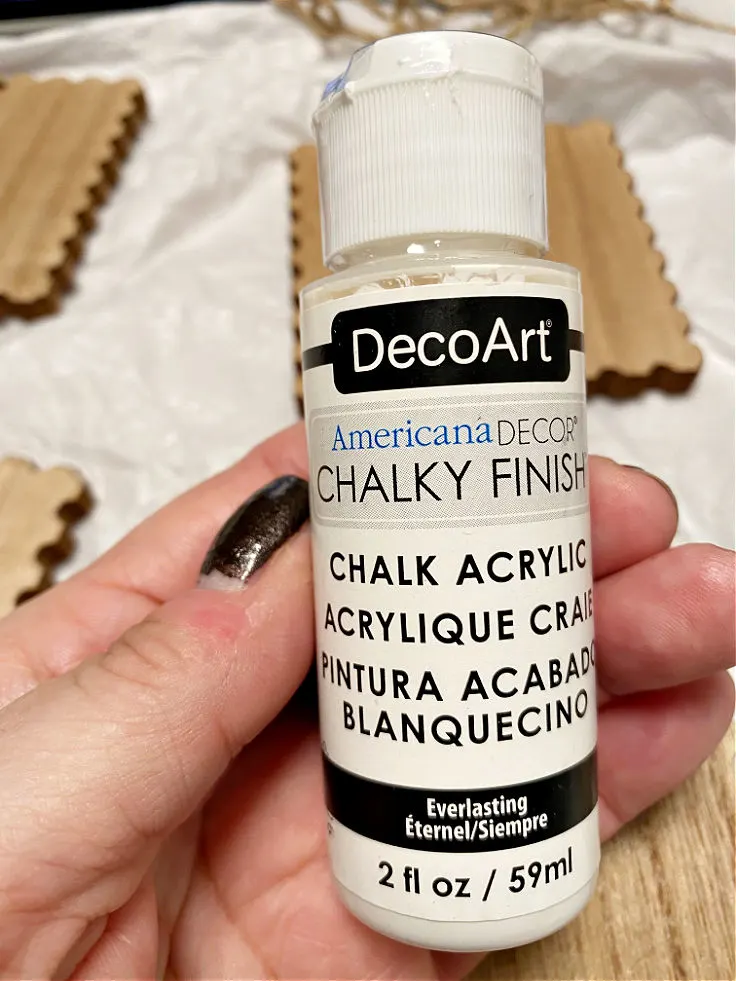
I’ve had readers ask why you have to paint before decoupaging an ornament and the reason is the image that you are using will show up so much better on a white background.
I’ve tried it both ways and the painted backdrop makes for a much brighter design.
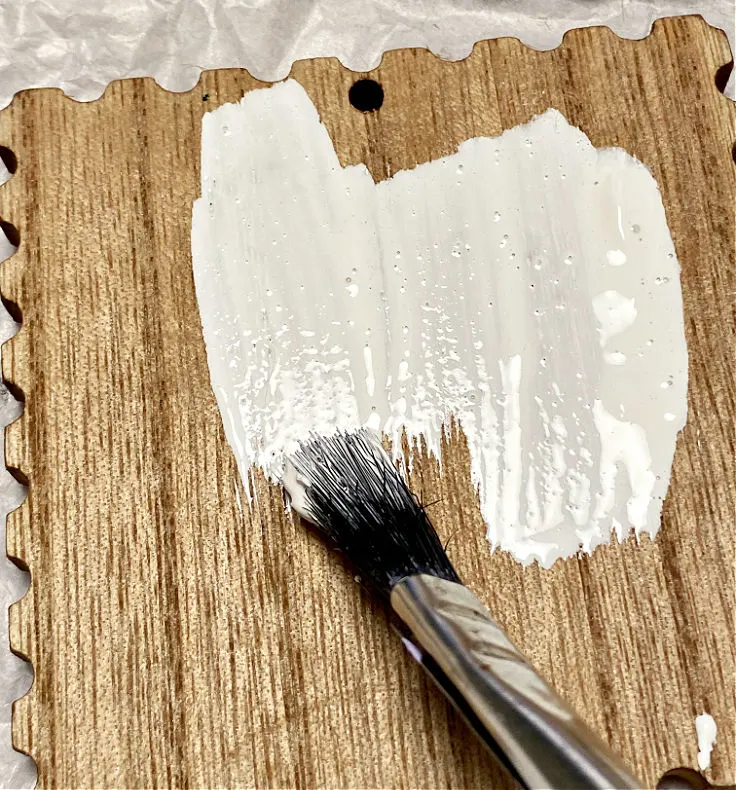
Step 2. Cut your printables or images
Once the paint has dried, you want to add your images.
My Christmas mantel is decorated with pops of pink with a nostalgic feel so I am using Christmas printables with the same vintage style.
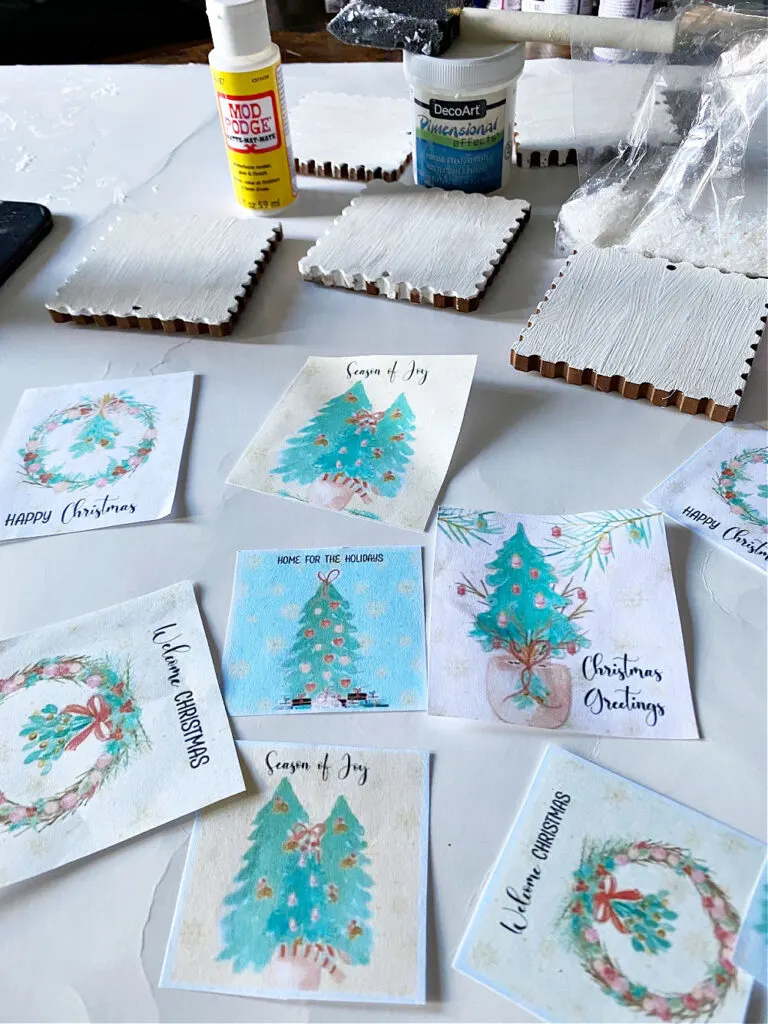
Simply cut your images to fit the size of your ornaments.
You can use so many things to decorate your ornaments.
If you are a regular visitor here, you know I LOVE decoupage crafts.
Here are some helpful tips and tutorials.
What Materials Can You Use to Decoupage?
- Fabric
- Specialty Decoupage Paper
- Laser-printed photos
- Book Pages
- Beautiful Napkins for Decoupage
- Sheet music
Here Are a Few of my Most Popular Decoupage Projects:
- How to Decoupage with Napkins
- How to Decoupage on Glass
- How to Make Buffalo Check Plates with Mod Podge
- How to Decoupage with Mod Podge on Soap
For more traditional Christmas printables that are perfect for ornaments, try these little red truck Christmas printables.
Become a VIP newsletter subscriber and get instant access to my library of free printables (including wall art, gift tags, and more!).
Click HERE or the button below to join today. I share new printables FREE with subscribers each month as a thank you for visiting.

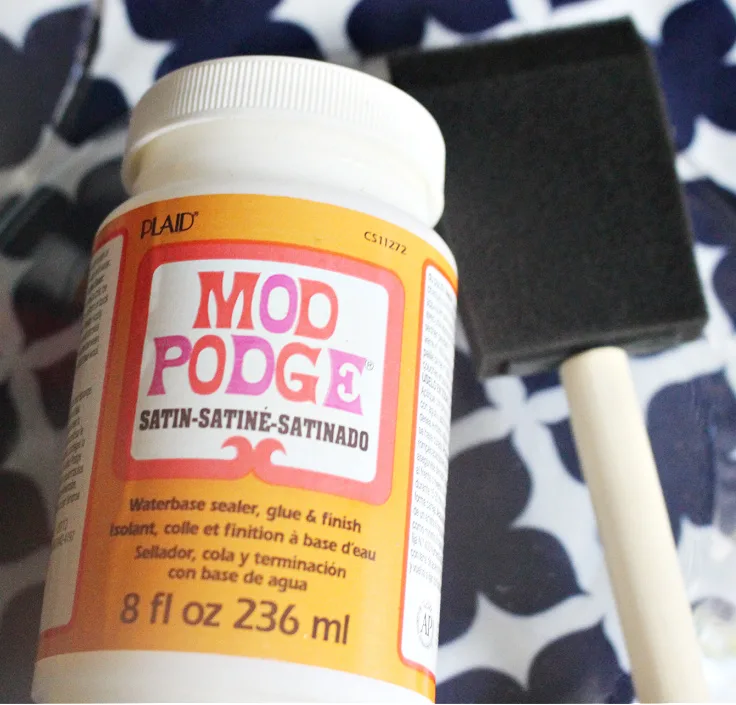
Step 3. Add mod podge
Cover the ornament with a layer of mod podge. I like to use foam brushes. They are cheap and work great!
Step 4. Attach image
Place the image onto the ornament and press lightly to adhere.
A super helpful tip for decoupage is to use plastic wrap to secure the image and remove any wrinkles.
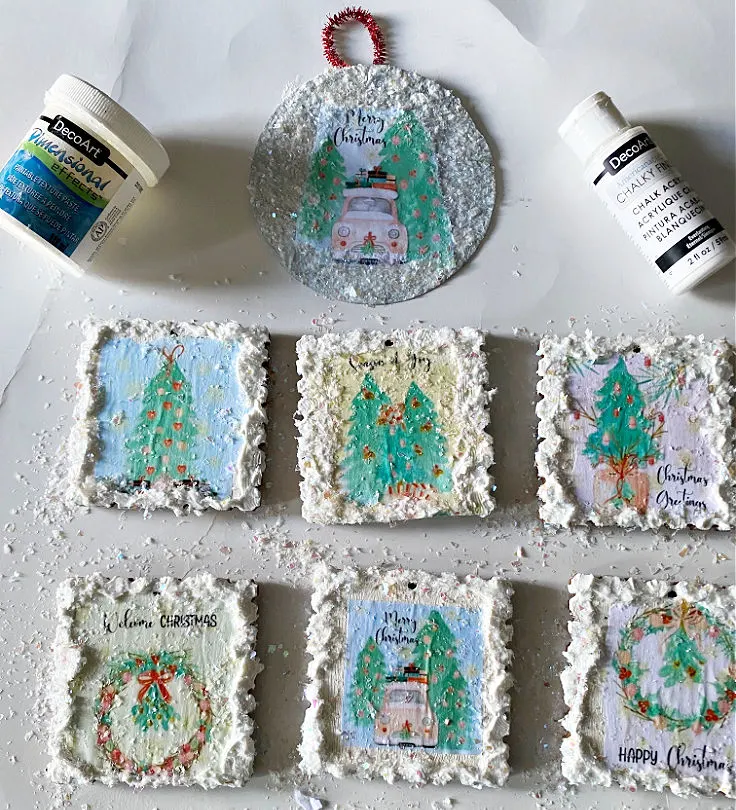
Step 5. Add dimensional effects and glitter
To take my handmade ornaments to the next level I added a border of dimensional effects and glitter to give them a snowy look.
Simply use a craft stick or paintbrush to add a border of dimensional effect, then sprinkle snowy glitter on while it is still wet.
Everything is always better with a little sparkle!
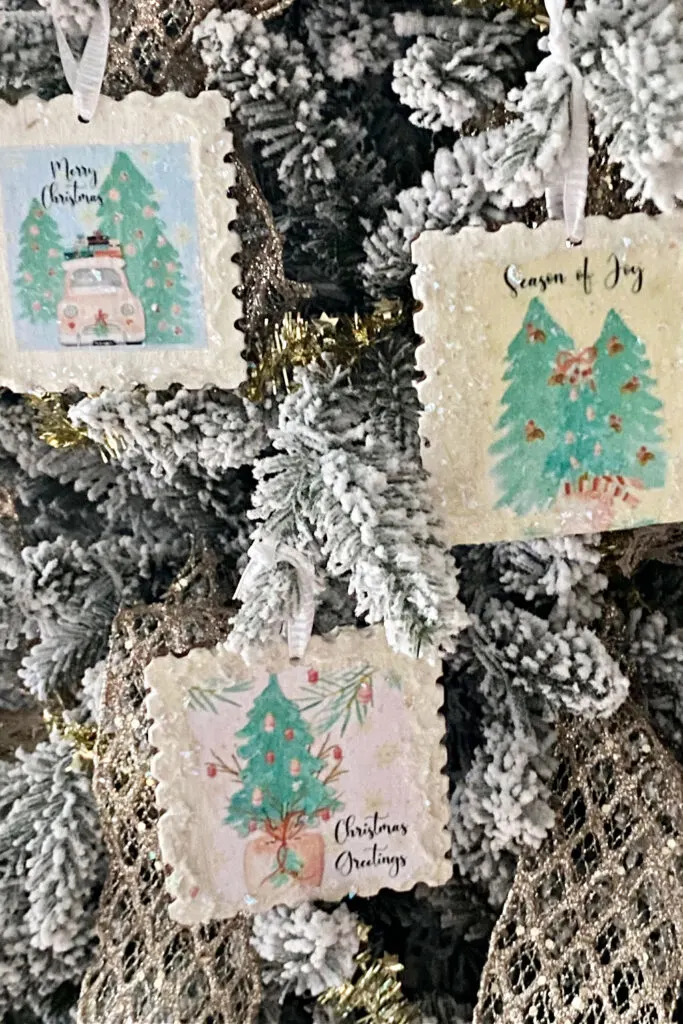
Step 6. Add ribbon for hanging
The last step is to add a ribbon or twine for hanging. These beautiful ornaments can also be used as an extra embellishment on a gift.
The recipient can hang it on their tree after they open their present.

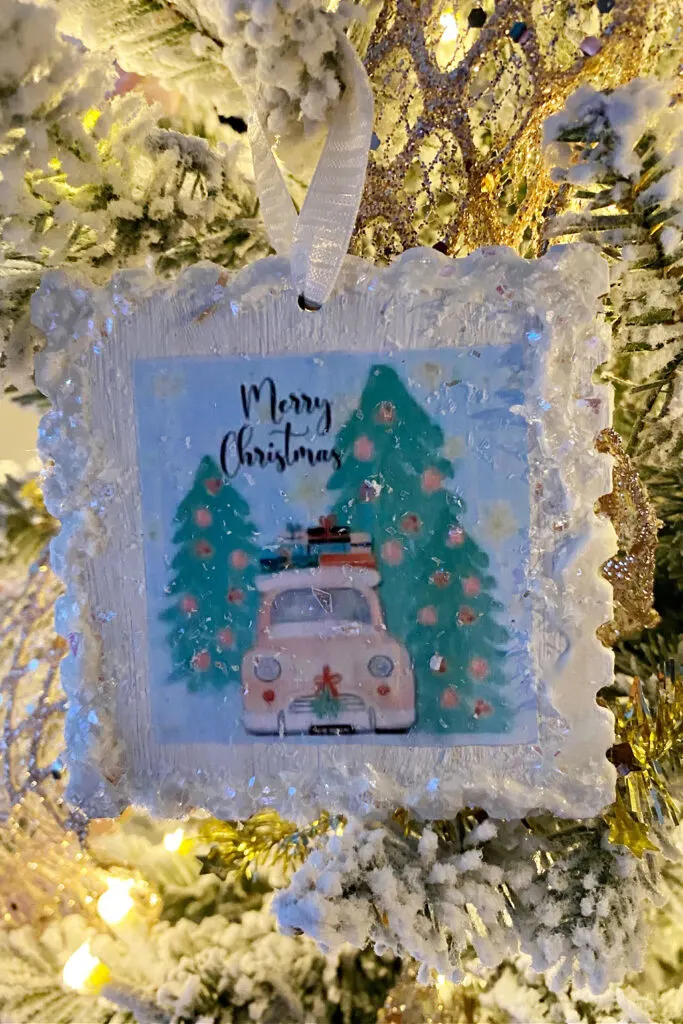
I can’t decide which one is my favorite, but this sweet little truck may be it:
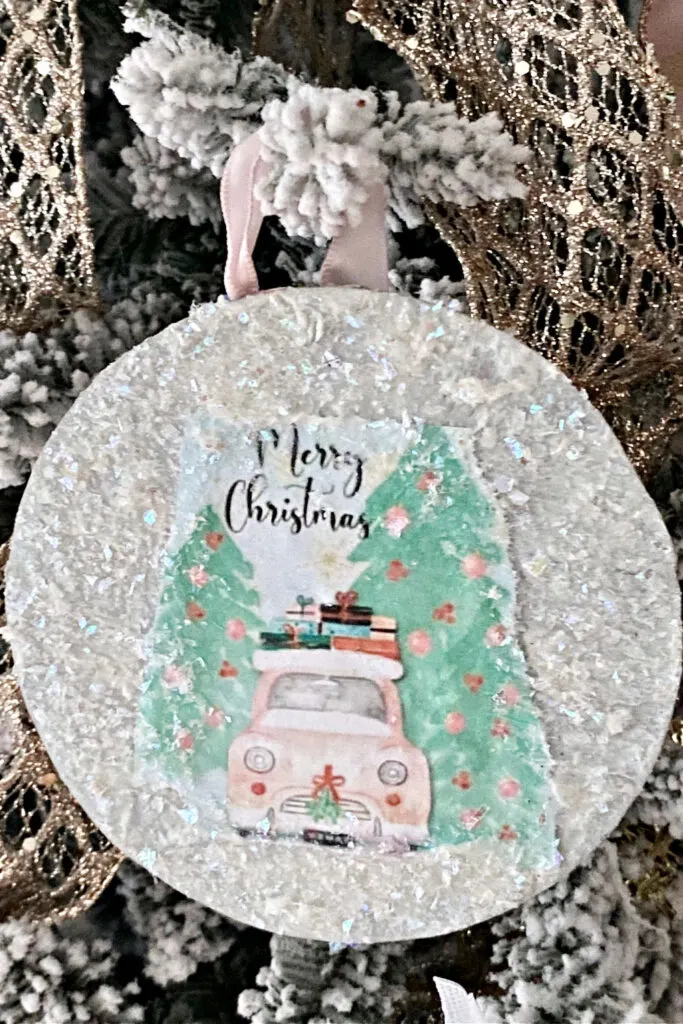
Here is another ornament I made using the bottom from a tin can planter shown HERE.
I hope you enjoyed these pretty decoupage Christmas ornaments! The possibilities are endless with this holiday craft.
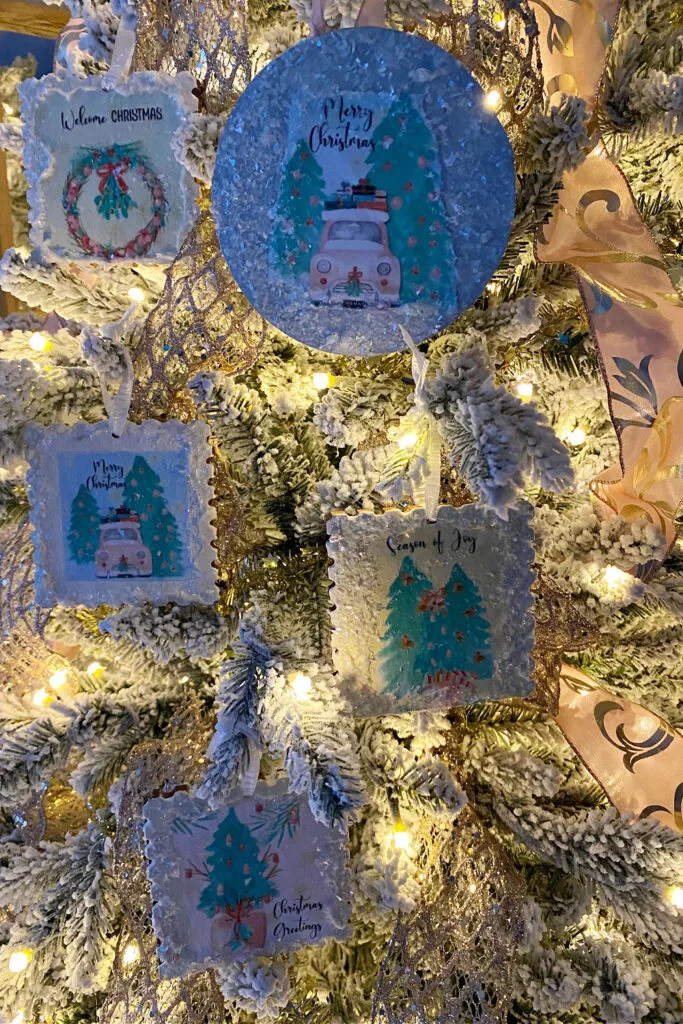
I’d love it if you would PIN the below image:
Wait…take a look at some reader-favorite DIY Christmas ornaments here!
Handmade DIY Christmas Ornaments
Enjoy even more handmade ornaments here!
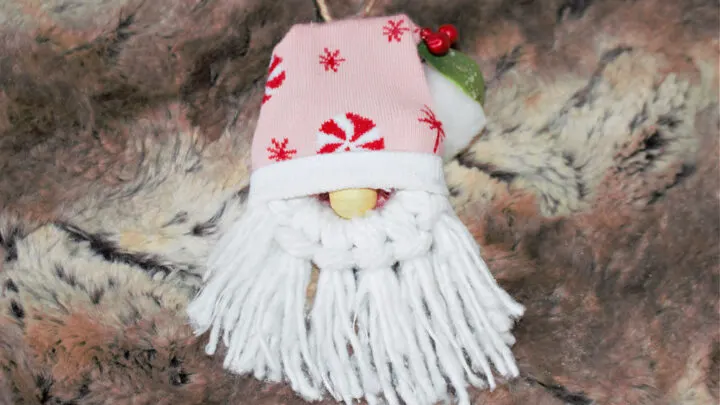
DIY Gnome Christmas Ornaments
Let me show you how to make a darling Dollar Tree Christmas gnome for just a couple of dollars. It's super easy to make and will look adorable on your tree.
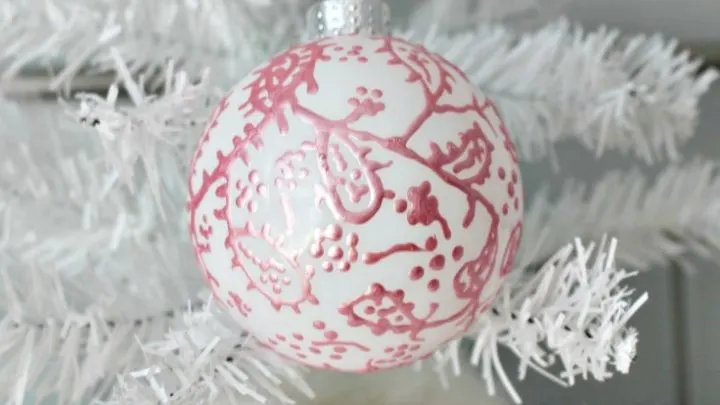
Alcohol Ink Christmas Ornaments
See how easy it is to make absolutely beautiful Christmas ornaments using alcohol ink and clear glass ornaments.
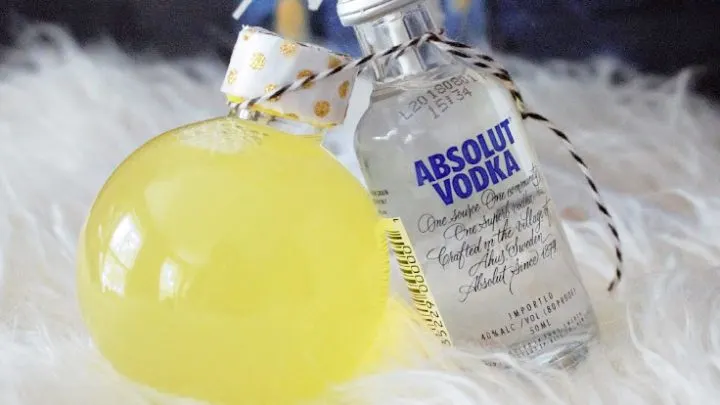
Festive Holiday Ornament Cocktails
Make fun and festive ornament cocktails to serve at your next holiday party.
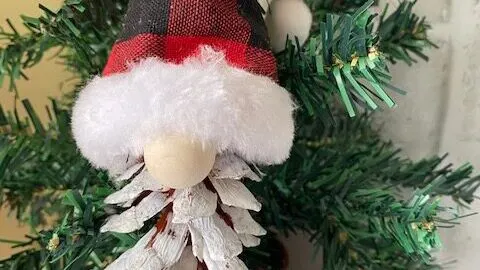
Christmas Gnome Pine Cone Ornaments
Gather some pine cones and some fabric to make the most adorable pine cone gnome ornament for your Christmas tree, or to add to packages. These would make great gifts for friends, neighbors and co-workers too!
DIY Unicorn Glitter Ornaments
These DIY glitter ornaments are so cute, and really easy to make. You just need a few inexpensive supplies and you can make several of these for all the unicorn lovers in your life!
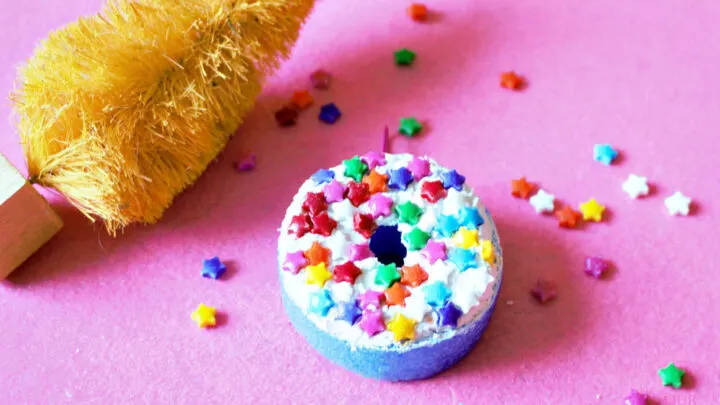
DIY Donut Christmas Ornaments
Pick up a dollar store pool noodle and make these super cute donut ornaments. You can get just about all the supplies at the dollar store making it a budget-friendly craft.
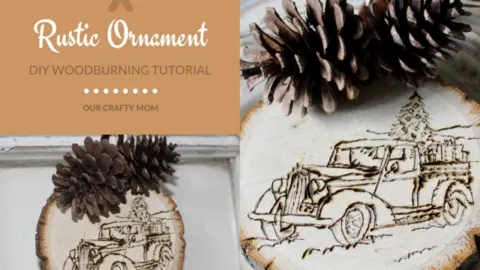
Rustic Wood Slice Ornament with Truck
Fans of all things little red trucks will LOVE these wood slice ornaments with a wood-burned truck complete with a Christmas tree.
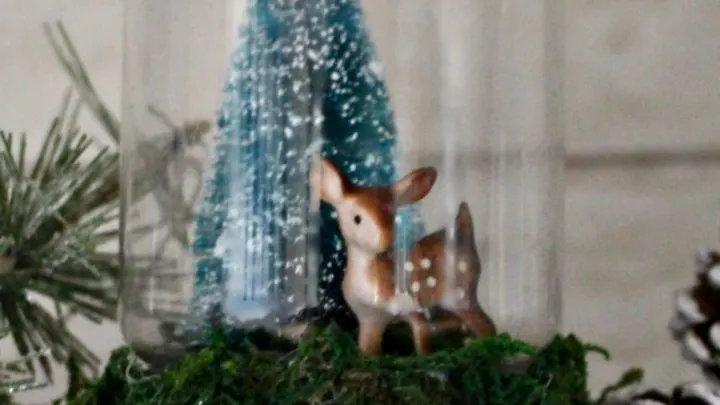
Dollar Store Snow Globe Christmas Ornament
This little dollar store snow globe ornament is a reader favorite!
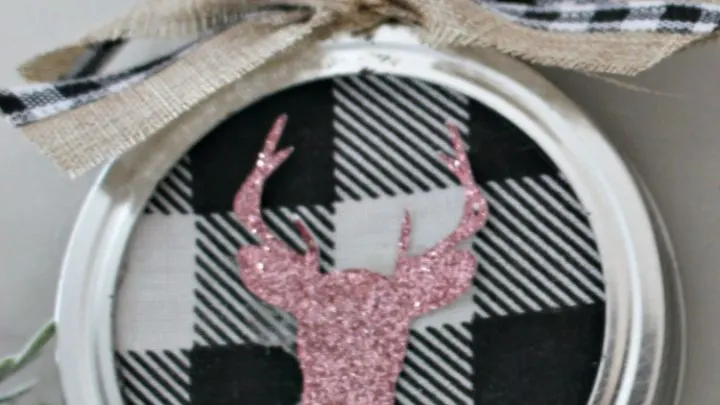
Buffalo Check Mason Jar Lid Christmas Ornaments
Repurpose a mason jar lid into the cutest Christmas ornament with buffalo check.
You can find me on social media below:




Laura
Saturday 31st of May 2025
Where are the links to download the pastel Christmas ornaments as well as the little red truck ornaments?
Michelle James
Sunday 1st of June 2025
Hello! It is right in the supplies list, but here is the link with the printables https://ourcraftymom.com/free-watercolor-christmas-printables-6-vintage-pastel-designs/ and the link for https://ourcraftymom.com/free-little-red-truck-christmas-printables/ Also, you can find all my free printables here https://ourcraftymom.com/free-printables-library/ Hope that helps! :)
Gina
Tuesday 10th of December 2024
What did you use for the dimensional effect? Do you think I can glue a school picture over the modge podged napkin on a wooden ornament? I’m a teacher looking for an ornament craft idea for the parents.
Michelle James
Saturday 4th of January 2025
I'm so sorry for my late response. With the holidays, it was crazy busy. All of the supplies are linked in the post, but I think you mean the snowy dimensional look? If so, that is Snow-Tex. It is amazing! Here is my affiliate link https://amzn.to/3Ppp6rg It's actually 44% off now. You can absolutely glue a picture over it, but it would be better if it is a printed photo, not an actual photo. The material is a little too thick so it won't work as well, but you could take a picture of the school photo and print it out on copy paper. Hope that helps! Happy New Year!
Claudia House
Monday 13th of November 2023
I would love to download the free printables for decoupage little red truck and christmas tree ornaments. But I can't find a link
ourcraftymom
Tuesday 14th of November 2023
I sent you an email with the direct link. Enjoy!