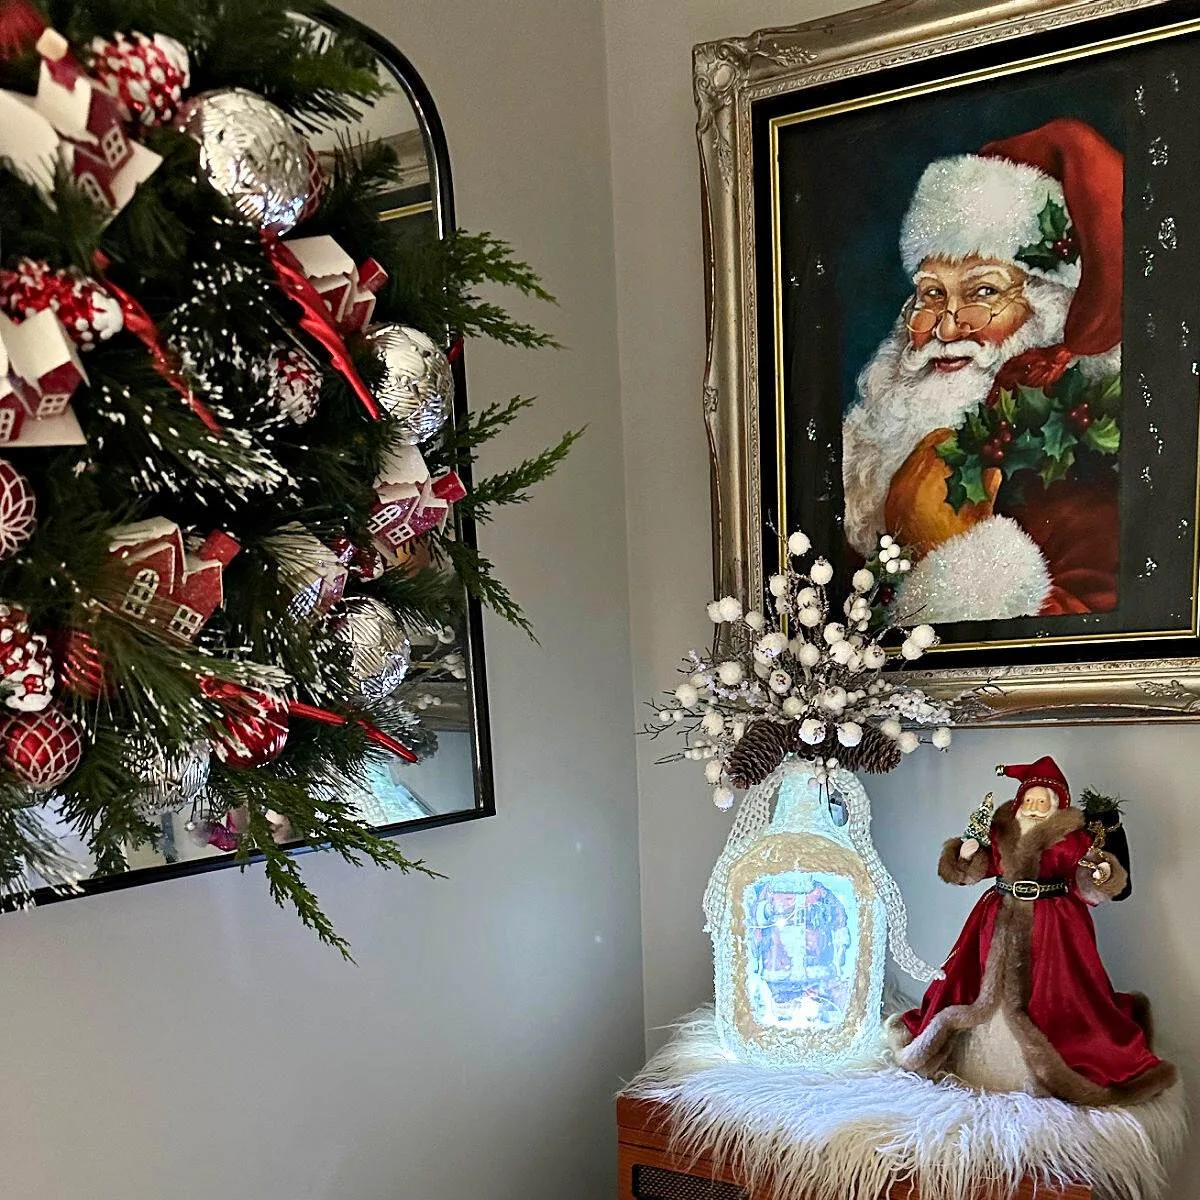
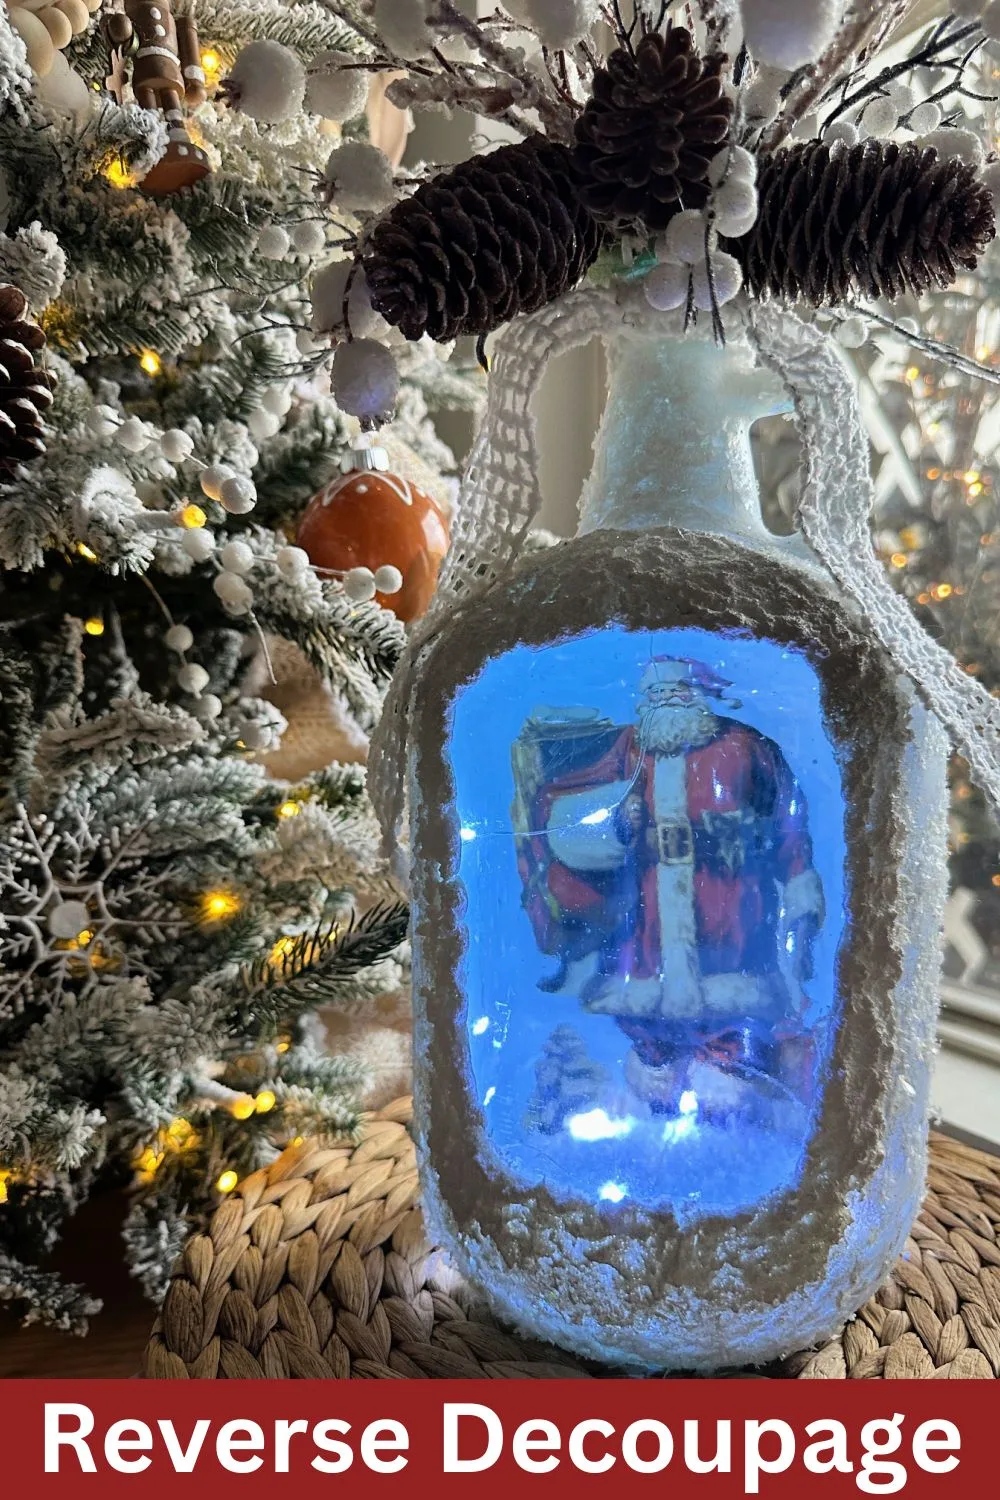
Learn how to reverse decoupage on glass to make a stunning Christmas jar complete with fairy lights, snowy stems and pine cones.
This post contains affiliate links. This means if you click the link and buy something, I may receive a percentage of sales at no extra cost to you. Please see my full disclosure here.
Hello! The Christmas crafting continues and I am really enjoying creating new projects this season. I’ve probably said it before, but this is my NEW favorite Christmas craft to date!
Reverse Decoupage on Glass
You may have seen some of the decoupage crafts I’ve shared on Facebook. It’s one of my favorite crafting techniques that I’ve been enjoying for many years. But, this is my first time trying a reverse decoupage and I love it!
The good news is, I’m sharing a step-by-step tutorial and the beautiful Santa image with you so you can make your own.
Here are a few other free Christmas images if you prefer a different design.
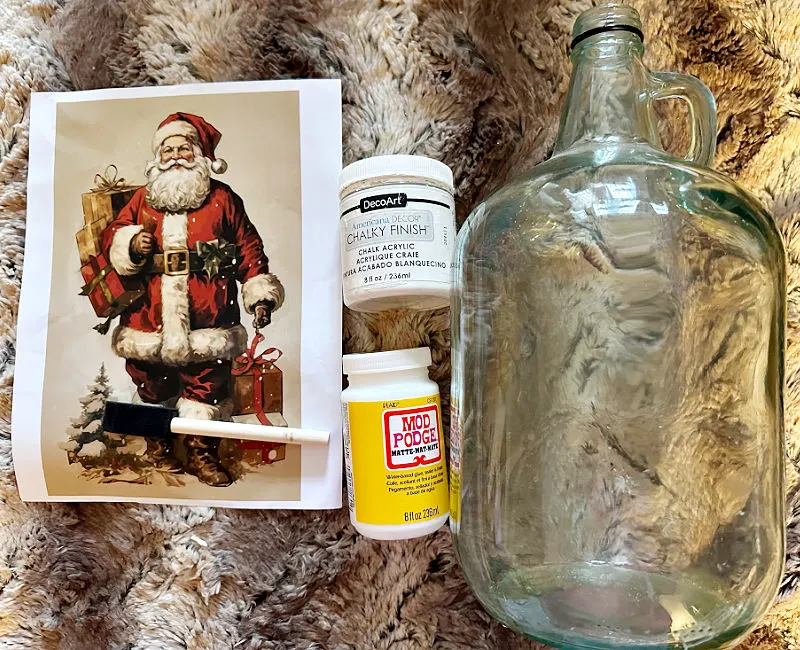
Supplies for Snow Globe Jar
- Mod Podge – I went with matte
- White Chalk Paint
- Foam Brush
- Buffalo Snowflakes
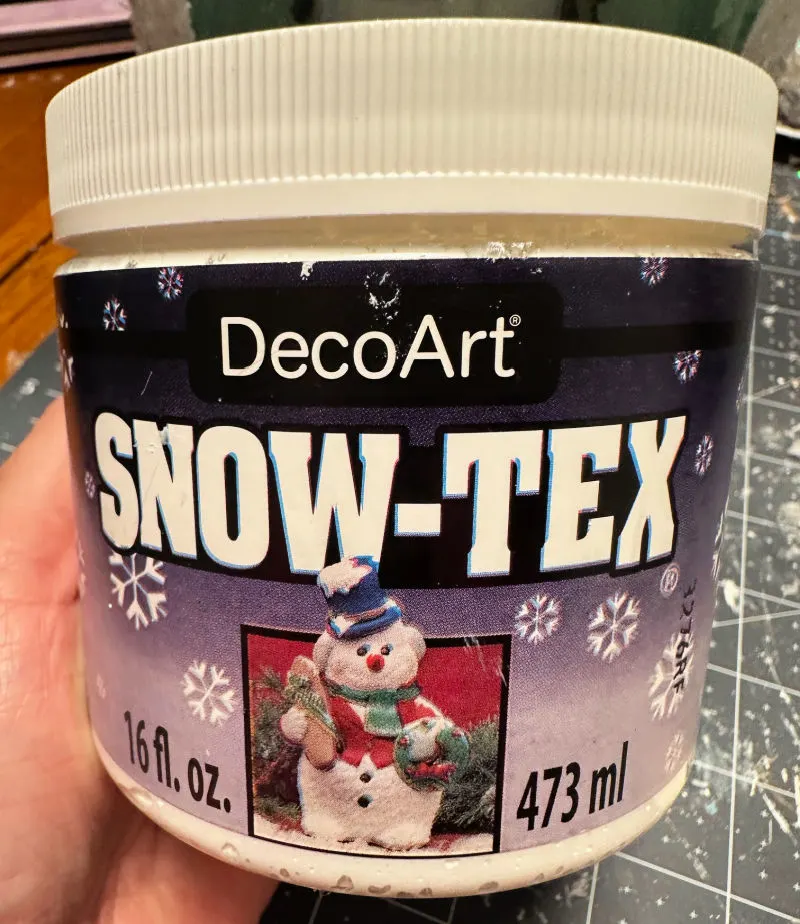
- Snow-Tex
- Download Vintage Santa Printable
- Paper Cutter or scissors
- Glass Jar – I used a demijohn that I found at the thrift store. You can use mason jars, empty food jars, glass vases, snow globes.
- Rubbing Alcohol and paper towels – to clean the glass
Step 1. Clean the Jar
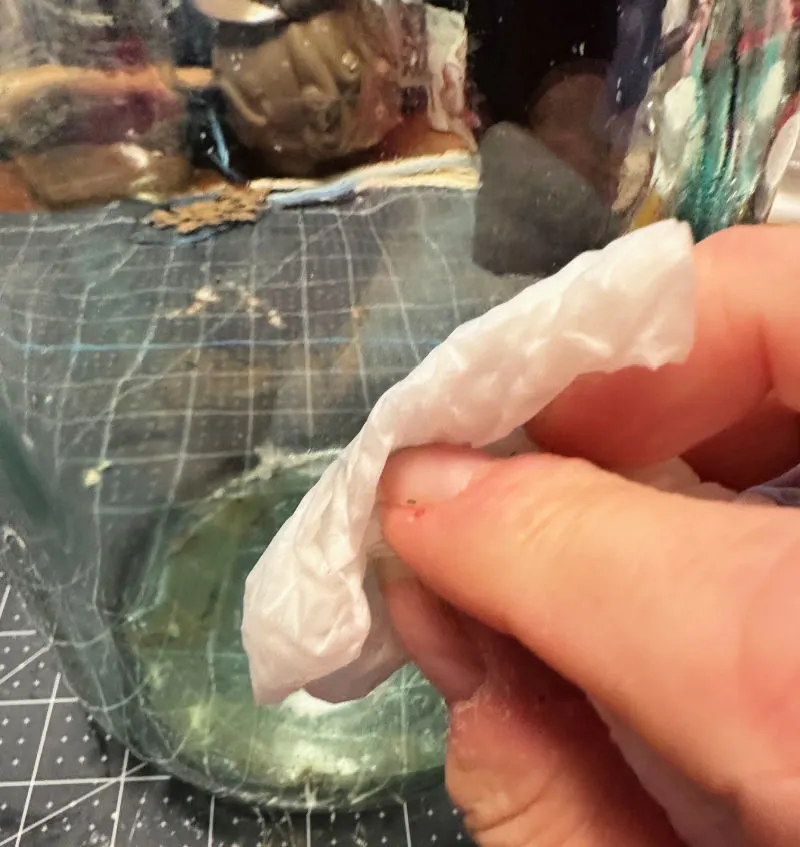
Clean the glass with rubbing alcohol to remove any fingerprints or dust.
Step 2. Determine Image Placement
Place the image on the back of the jar to determine the placement and trim to size.
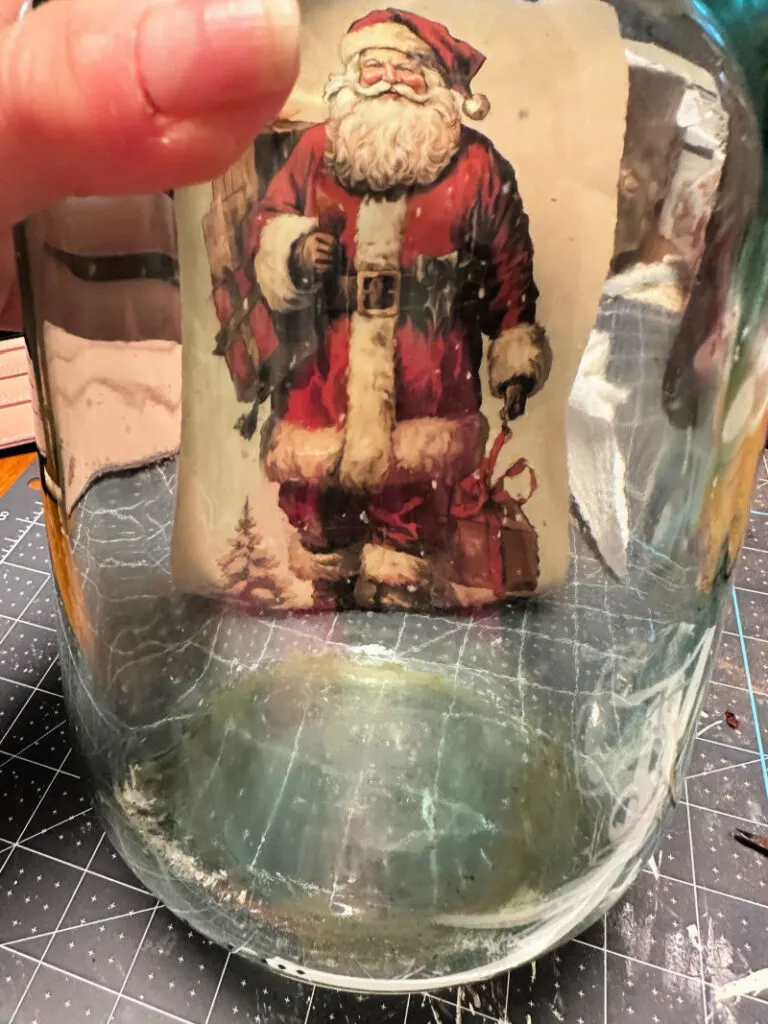
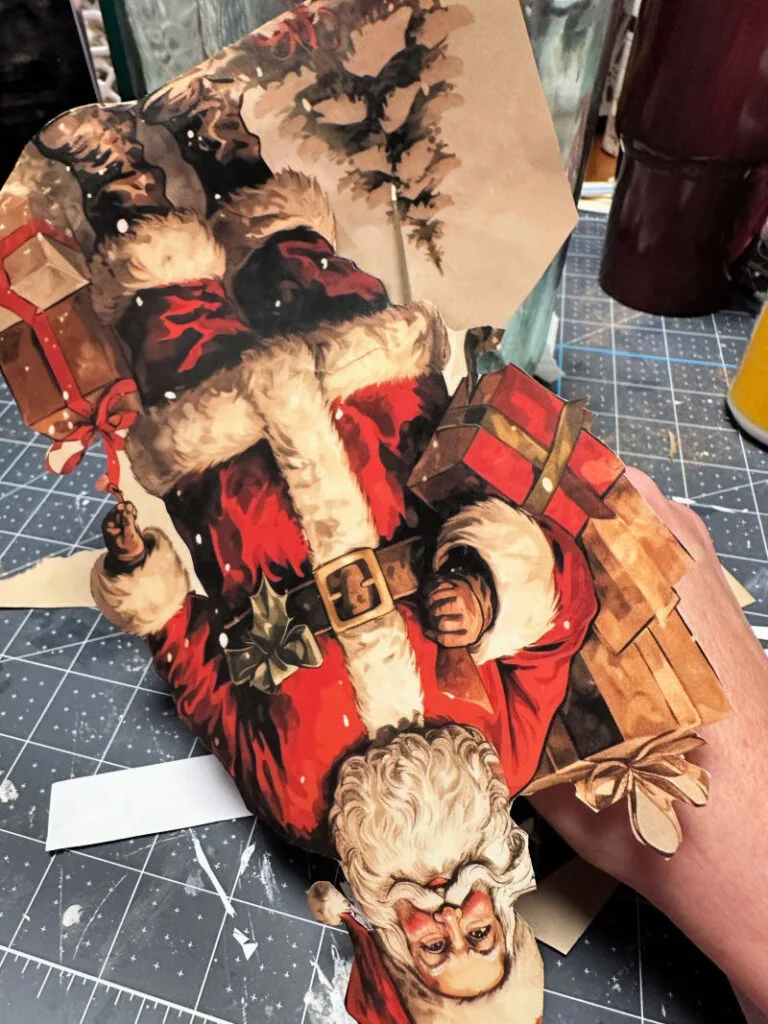
Try and get as close to the image as possible to achieve more of a 3-D effect.
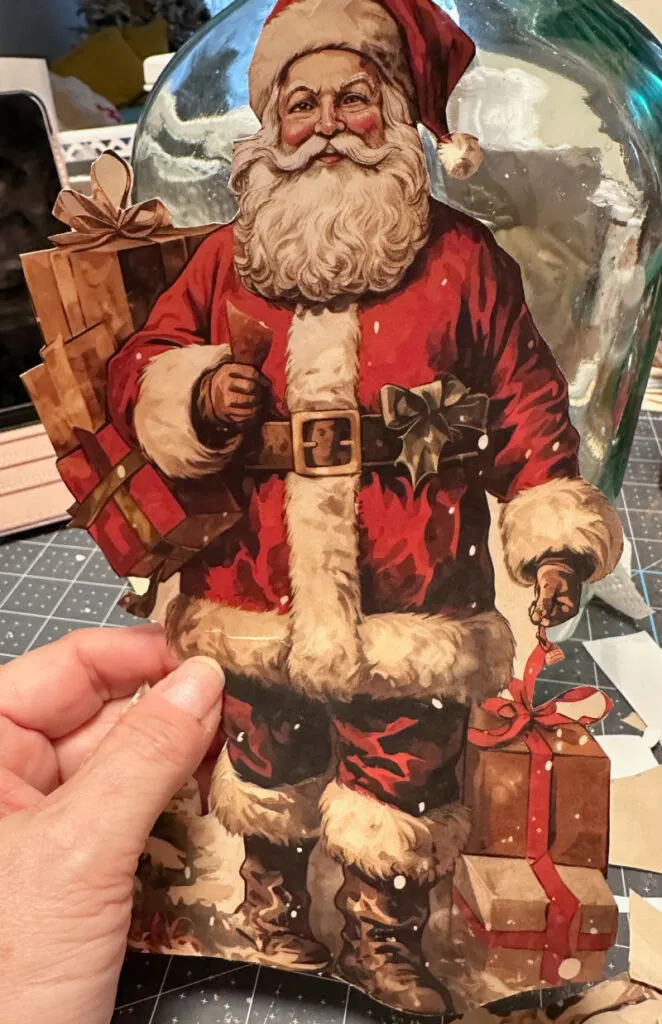
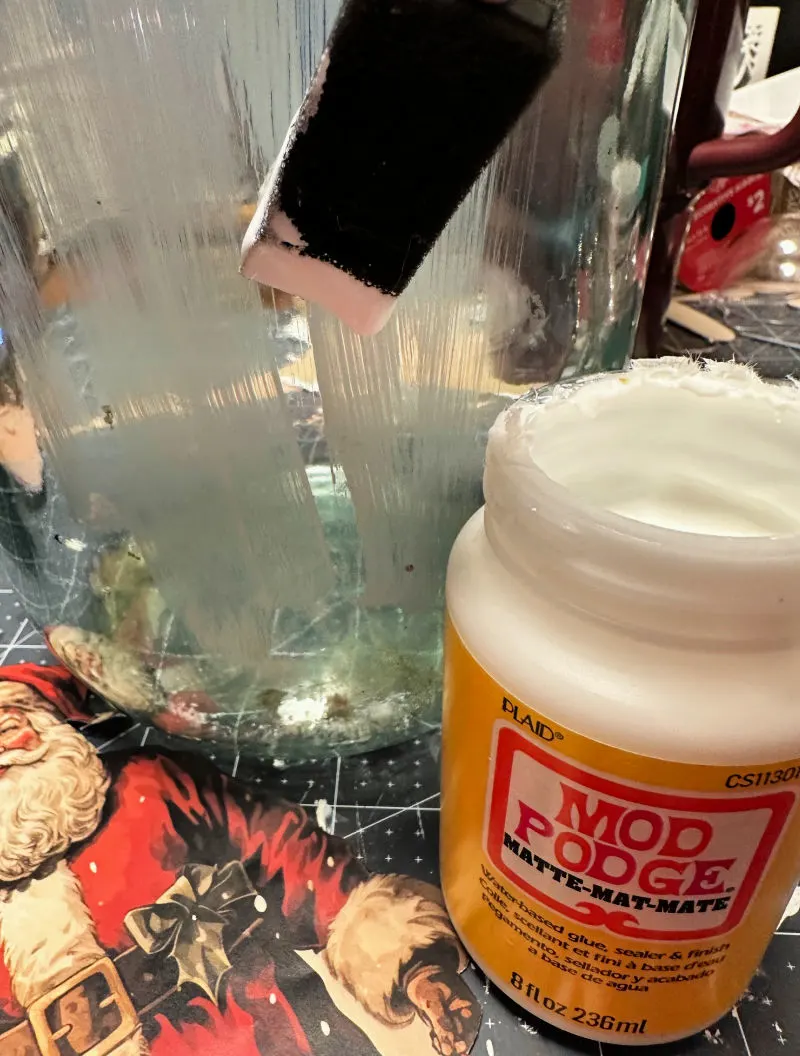
Step 3. Add Mod Podge
Use a foam brush to add mod podge directly to the glass where the image will be placed.
Step 4. Secure Image to Glass Jar
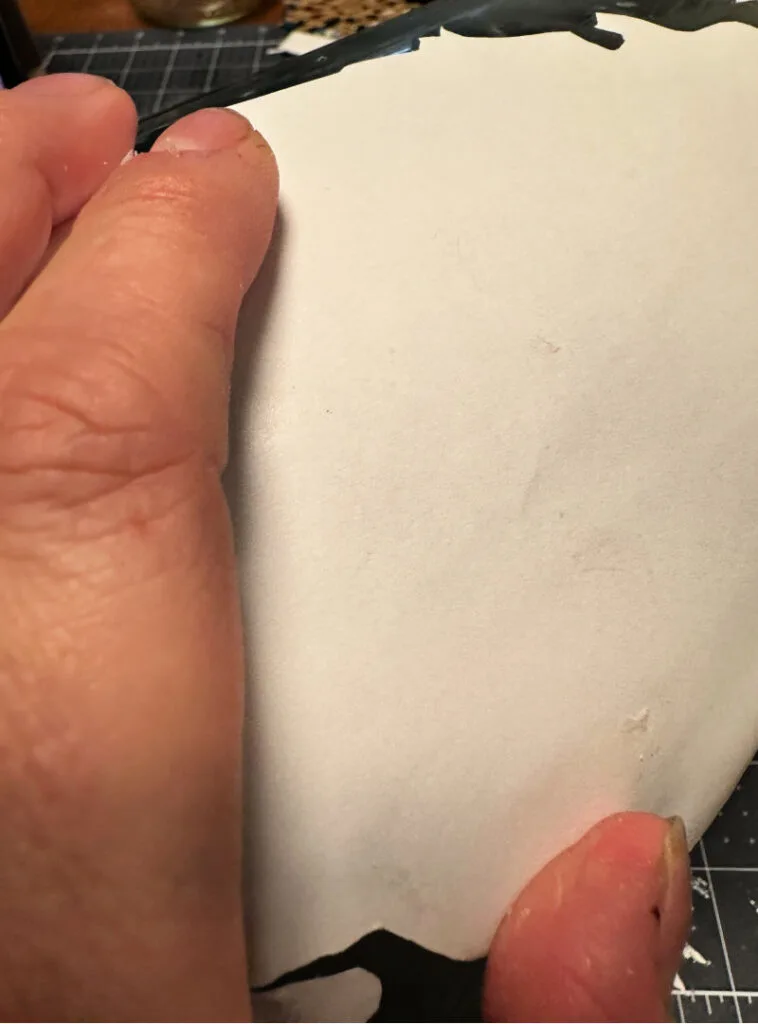
Place the image on the glass jar where the mod podge is. Smooth it down to remove any wrinkles. I love this squeegee and brayer set.
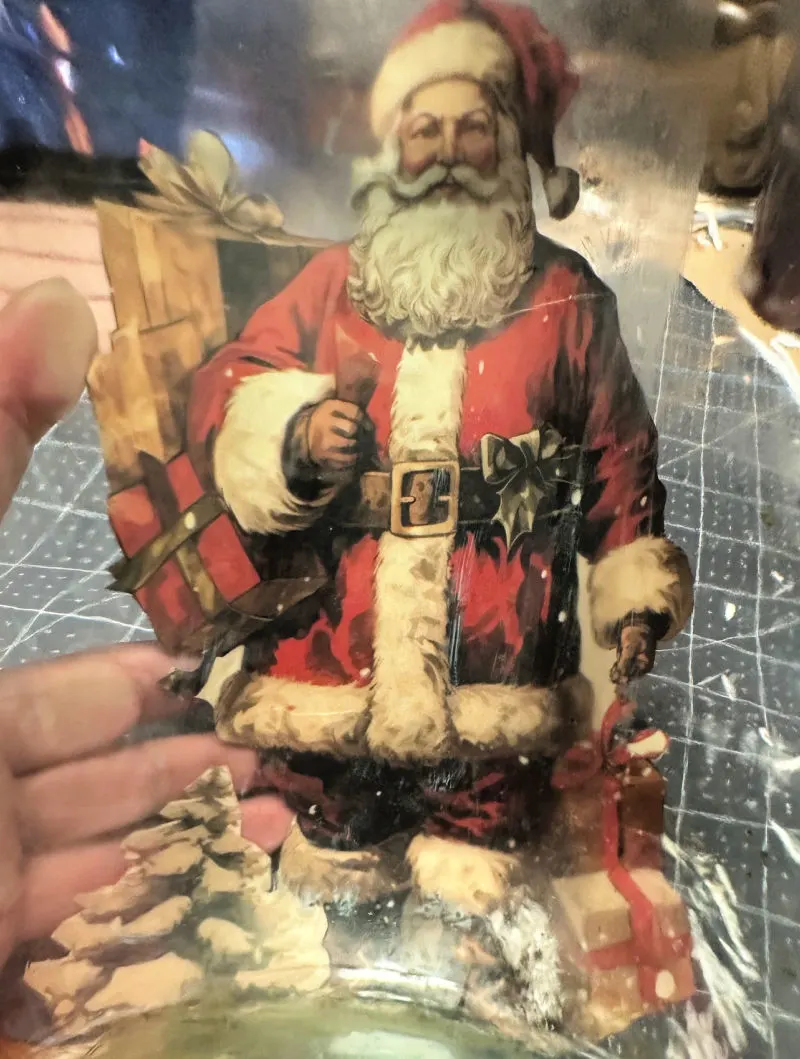
Another tip is to use a plastic bag to smooth out the wrinkles. This is especially helpful when using napkins or tissue paper.
Step 5. Paint the Glass Jar
Now it’s time to paint the glass jar with white chalk paint using a foam brush. Be sure to leave the front area of the jar, where the image is in view, unpainted.

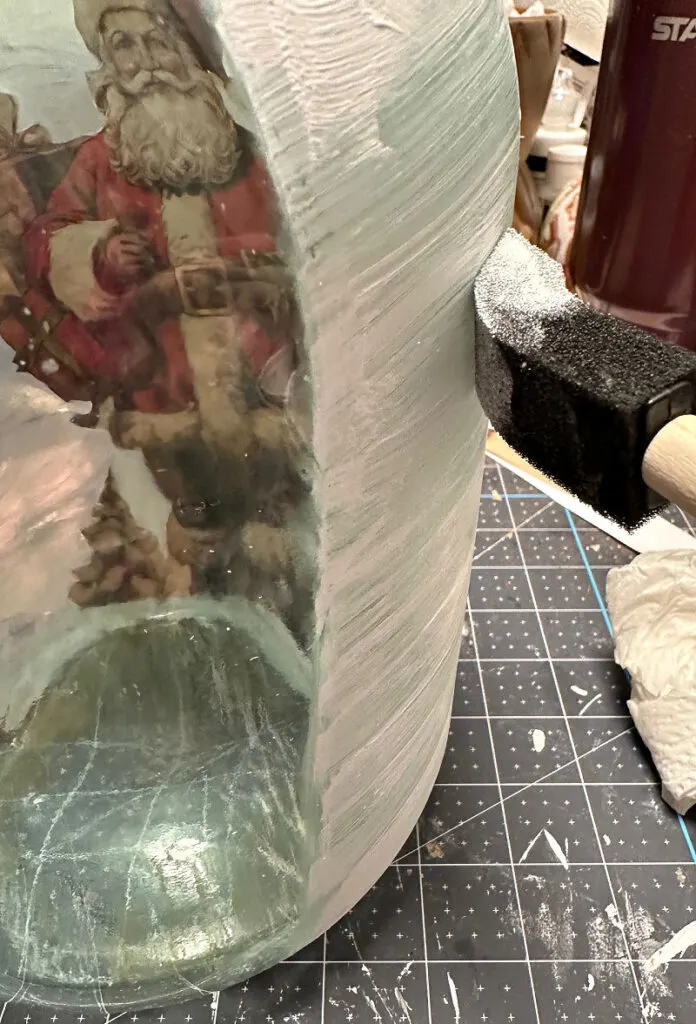
You will need about 2 coats of chalk paint on the jar. Let dry.
Step 6. Add Faux Snow
To give this glass jar a snow globe effect, I added buffalo snowflakes. Simply paint a layer of mod podge where you want the snow to be.
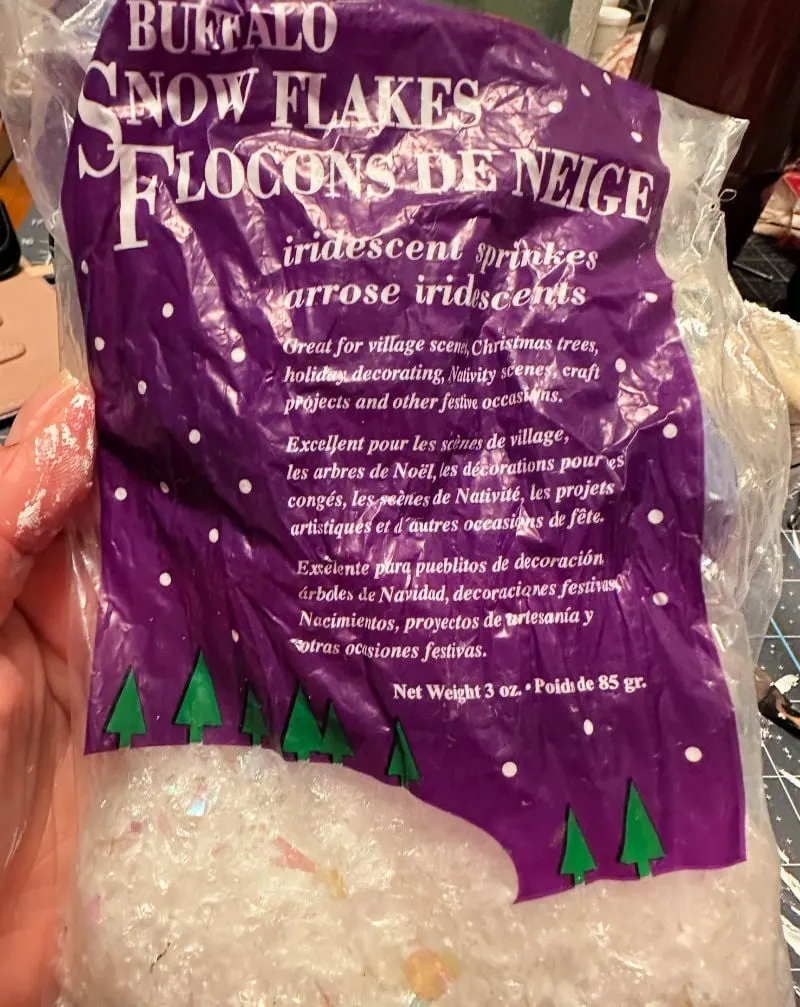
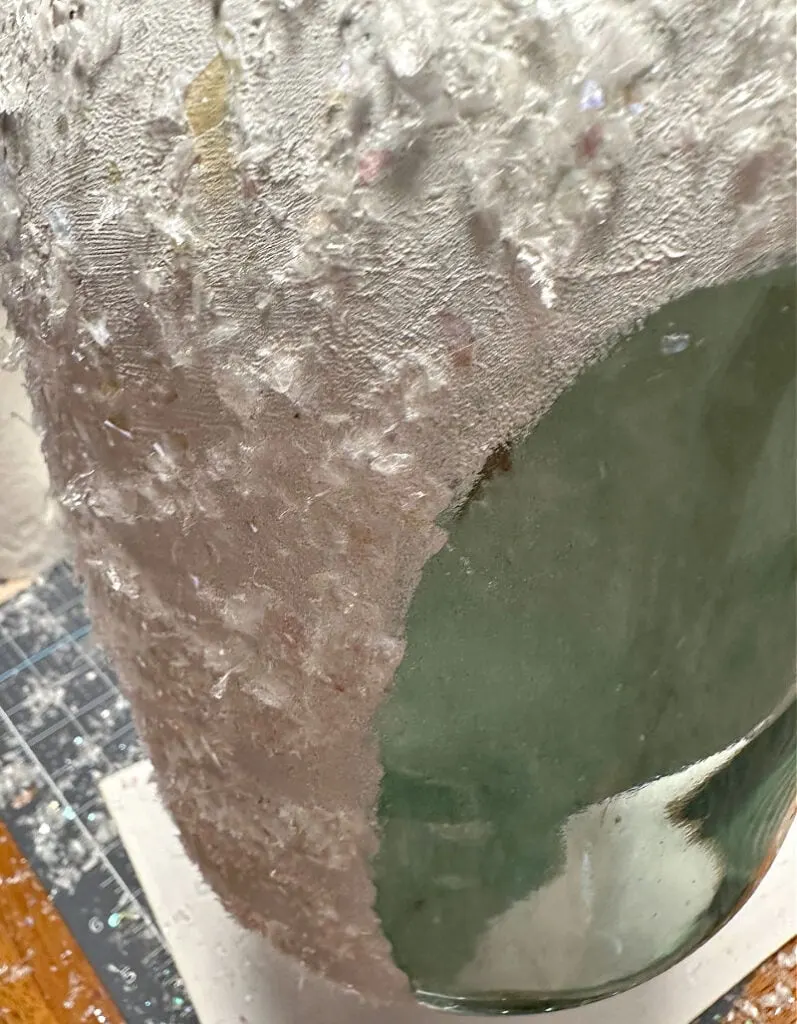
Be sure to place a paper plate under the jar when you are adding the snowflakes. That way you can put the unused snow back in the bag.
It’s a bit of a messy job, but it adds such a pretty look to the jar, especially with the lights on.
Step 7. Outline Image with Snow-Tex
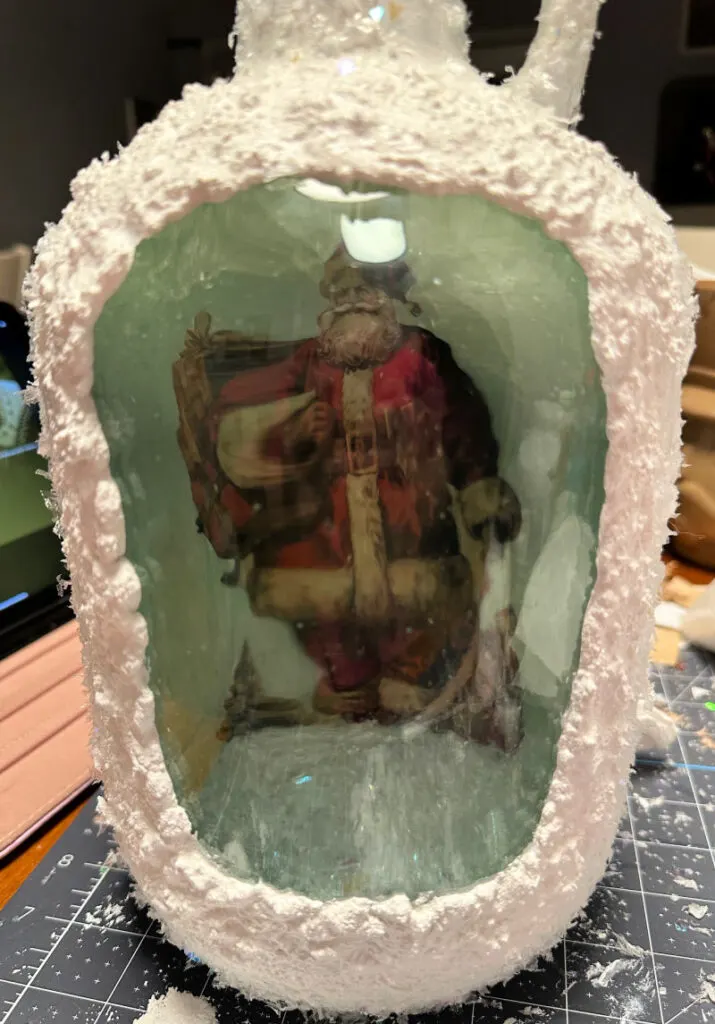
To add more detail around the image, use a craft stick to paint a layer of snow-tex around the window opening on the jar.
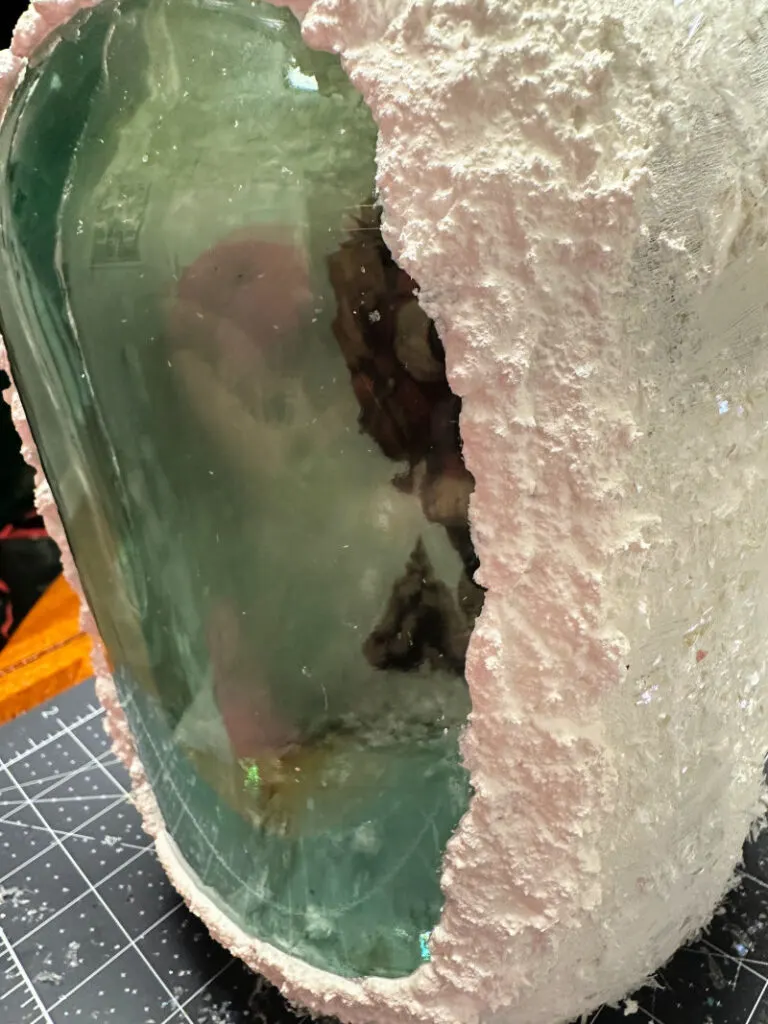
I love the dimension this adds. Let it dry for about an hour.
It’s really coming together now!
Step 8. Add Lights
To really make this jar a statement piece for Christmas, add fairy lights to the jar. Place the string, without the battery pack, in the jar and put the battery pack on the side of the jar.
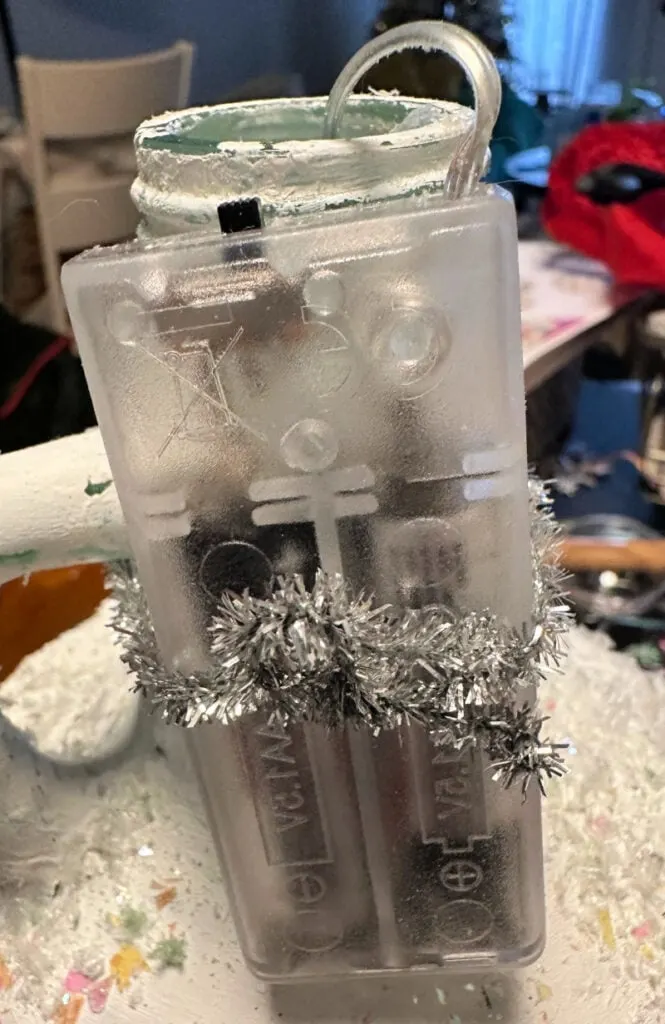
Secure it with a pipe cleaner. This makes it easy to change the batteries and turn the lights on and off. I prefer to use battery operated lights on a timer. That way you don’t have to mess with them each night.
Step 9. Decorate with Flowers
To cover the battery pack and create a centerpiece, I chose to place snowy winter stems in the jar. Simply place a small foam block on top of the jar and secure the flowers. Not hot glue needed.
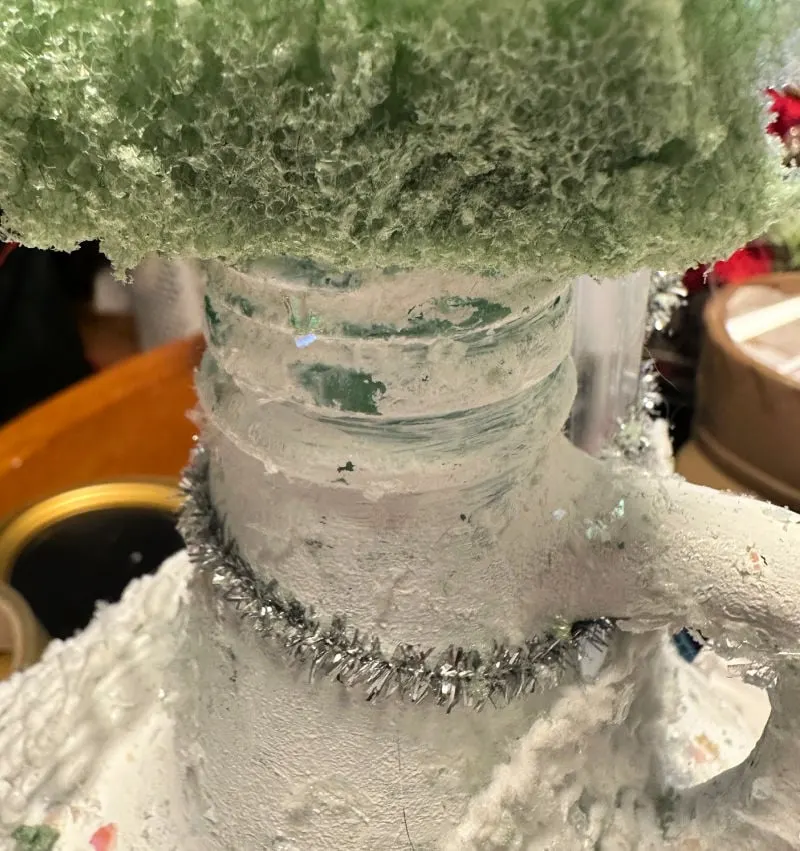
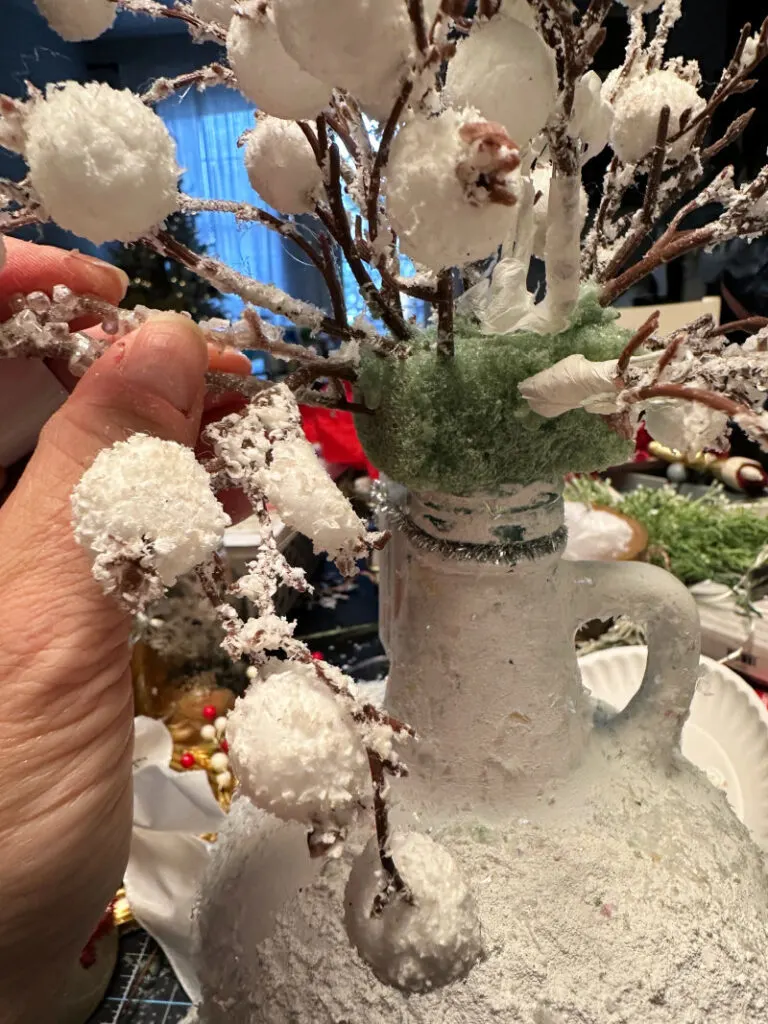
Step 10. Finish with Ribbon
The last step is to finish off the jar with a pretty ribbon. I used a white textured ribbon that I had in my stash.
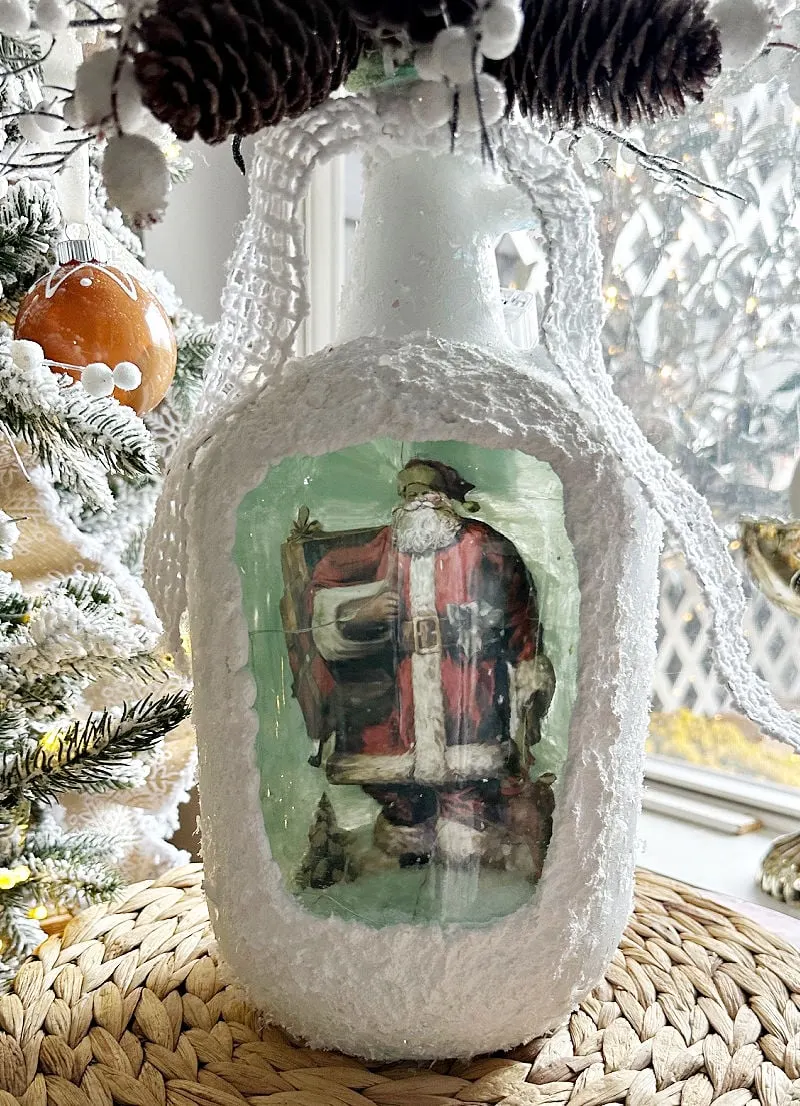
That’s all there is to it! A beautiful decoupaged jar with a vintage Santa image. This has a snow globe effect and the fairy lights looks so lovely at night.
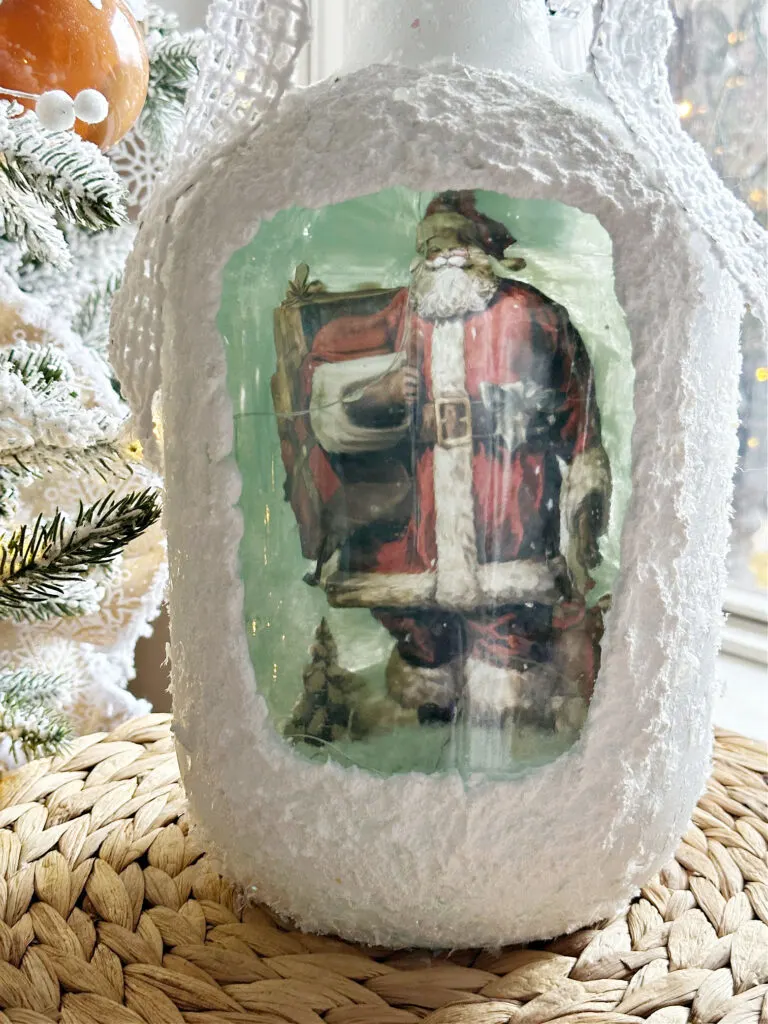
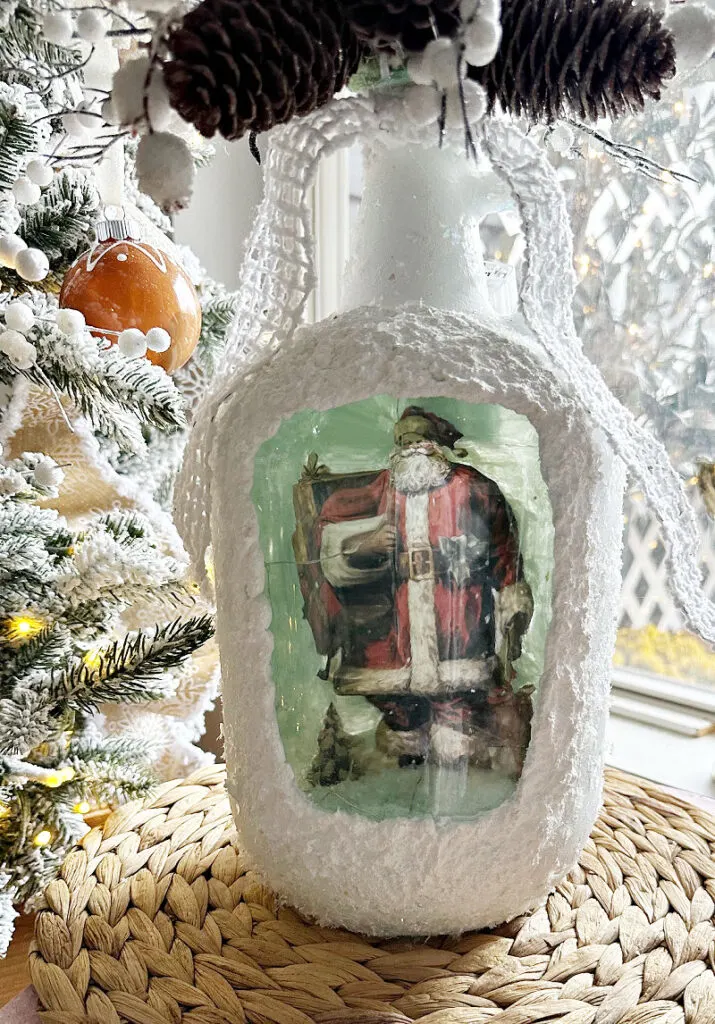
Here it is with the lights on. I’m seriously obsessed with this beauty! It goes perfectly with my DIY Santa art.
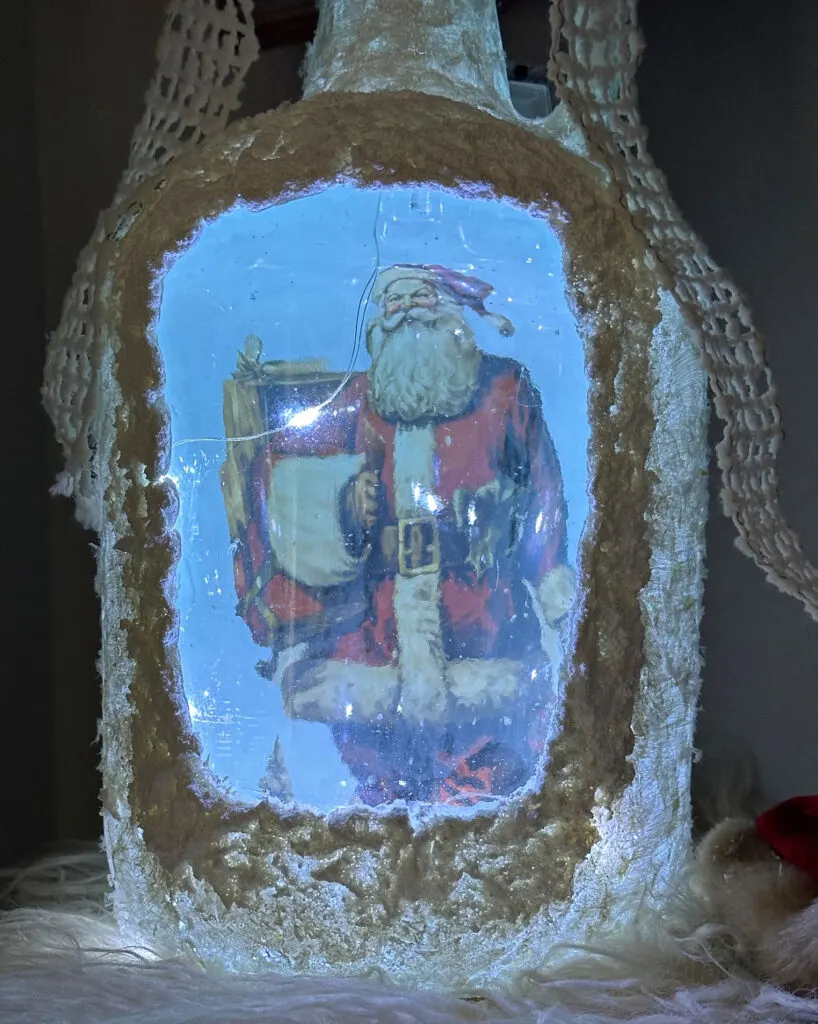
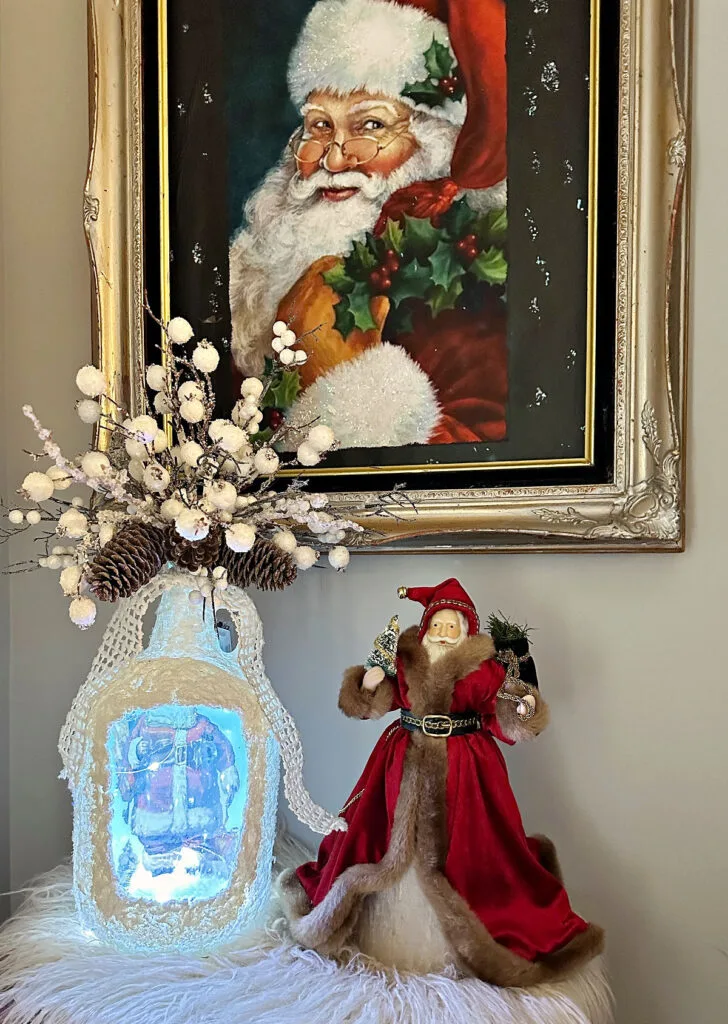
What do you think? Is this something you could see yourself making? If you wanted to use a winter image, this beautiful lighted jar could stay up all winter!
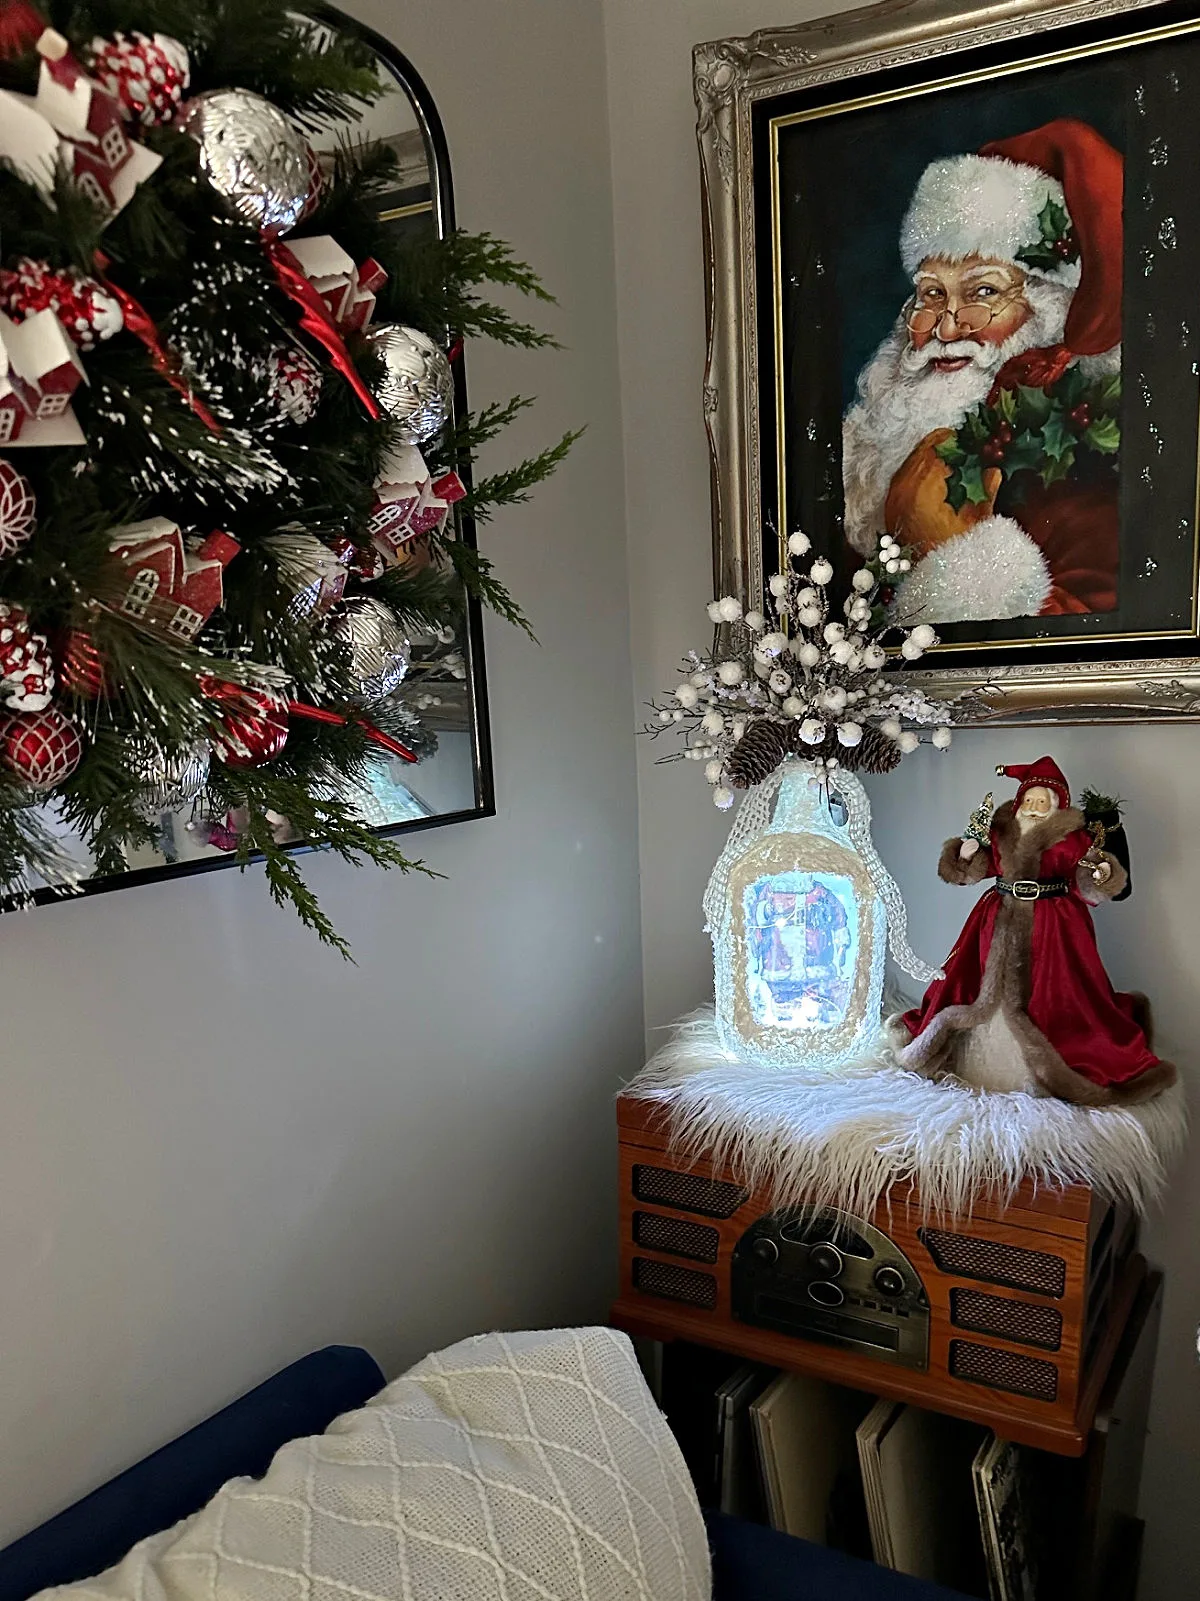
If you do make your own, be sure to share it with us on Facebook or Instagram.
Just tag @ourcraftymom. You never know who you may inspire!
I’d love it if you would share this article with your friends on Pinterest by pinning the below image.
It helps my blog grow and doesn’t cost a thing! 🙂
Become a VIP newsletter subscriber and get instant access to my library of free printables (including wall art, gift tags, and more!).
Click HERE or the button below to join today. I share new printables FREE with subscribers each month as a thank you for visiting.

Here Are a Few of my Most Popular Decoupage Projects:
- How to Decoupage with Napkins
- How to Decoupage on Glass
- How to Make Buffalo Check Plates with Mod Podge
- How to Decoupage with Mod Podge on Soap
What Materials Can You Use to Decoupage?
- Fabric
- Specialty Decoupage Paper
- Laser-printed photos
- Book Pages
- Beautiful Napkins for Decoupage
- Sheet music
Thanks so much for stopping by. Happy crafting!

For even more budget-friendly Christmas ideas, you don’t want to miss this amazing collection of 77 Dollar Tree Christmas Crafts and these 37+ DIY Dollar Tree Christmas Ornaments.
Follow me on social media below:
