Let’s DIY a busted canvas fall truck with a free printable for a simple, rustic craft that brings autumn charm to any space.


This post contains affiliate links at no extra cost to you. Please read my full disclosure here.
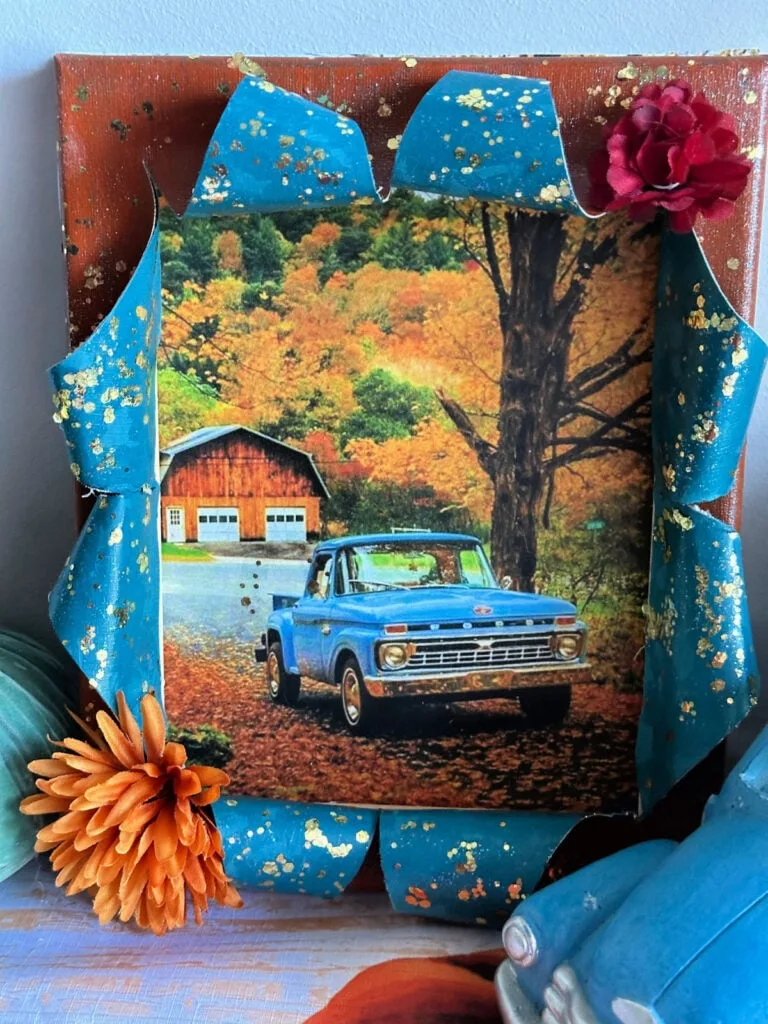
Busted Canvas Fall Truck Decor
When the viral #bustedcanvas or #explodingart trend went crazy last year, I went all in! It is seriously fun and slightly addictive!
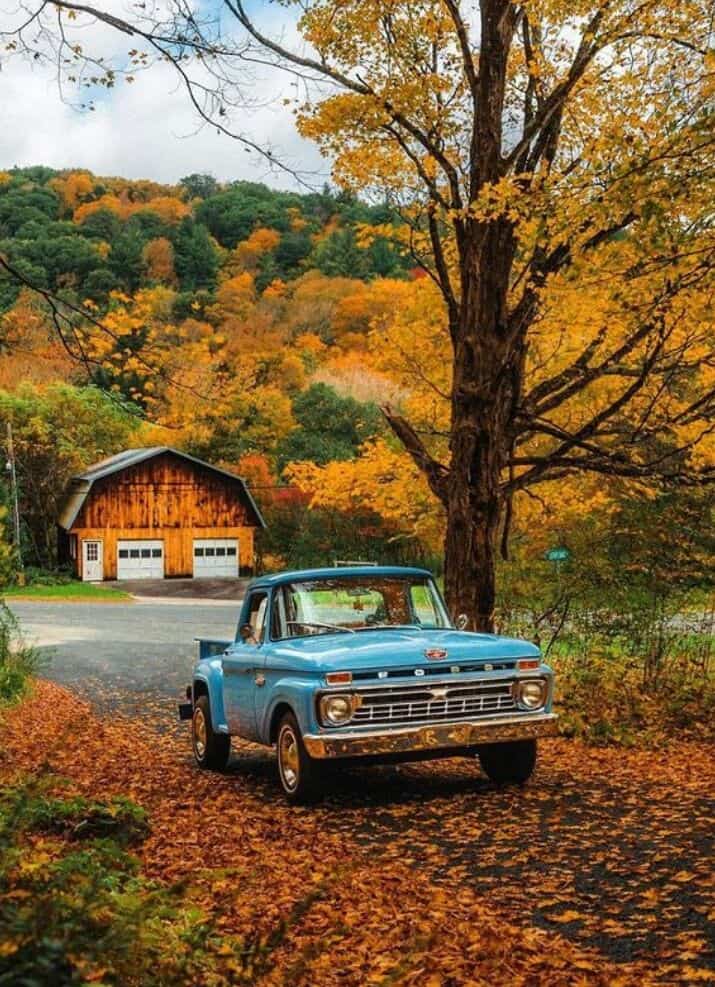
Today’s tutorial is for a fall farmhouse style truck using a printable I shared last year.
Look at all of the gorgeous sparkle and fabulous autumn colors:

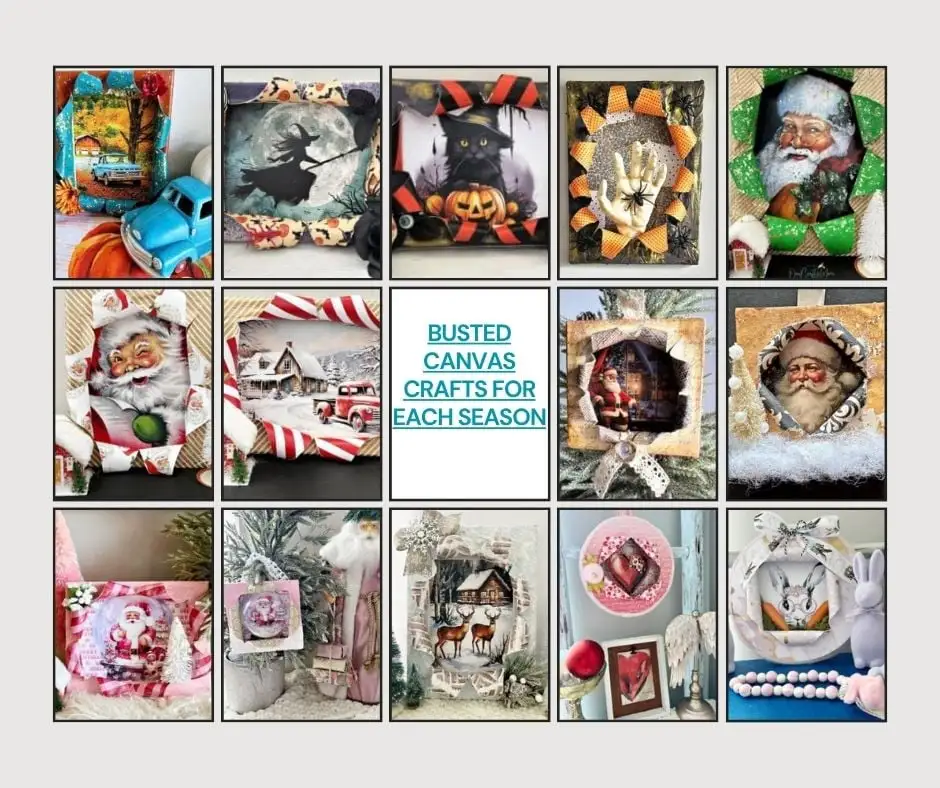
If you are a regular visitor, you know I enjoy decorating for each season and holiday. So, I decided to craft a busted canvas for each season. Then, I just change it out for instant wall art.
You can see all of those DIY projects with the below links and there are also free images for most of them.
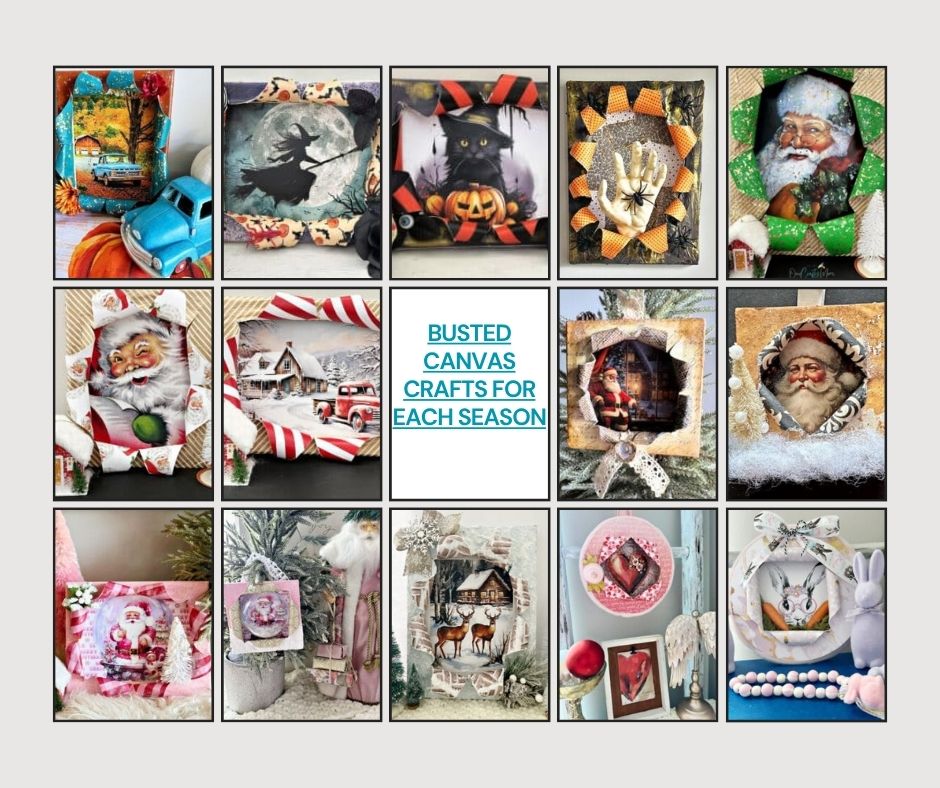
- Halloween Busted Canvas
- Free Halloween Printables for Busted Canvas Crafts
- Christmas Busted Canvas with Free Santa Image
- Mini Busted Canvas Ornaments with 4 Designs
- Snow Globe Christmas Ornament Busted Canvas
- Winter Busted Canvas Printable
- Valentine’s Day Busted Canvas Art
- Easter Busted Canvas
Now let’s get to this step-by-step tutorial.
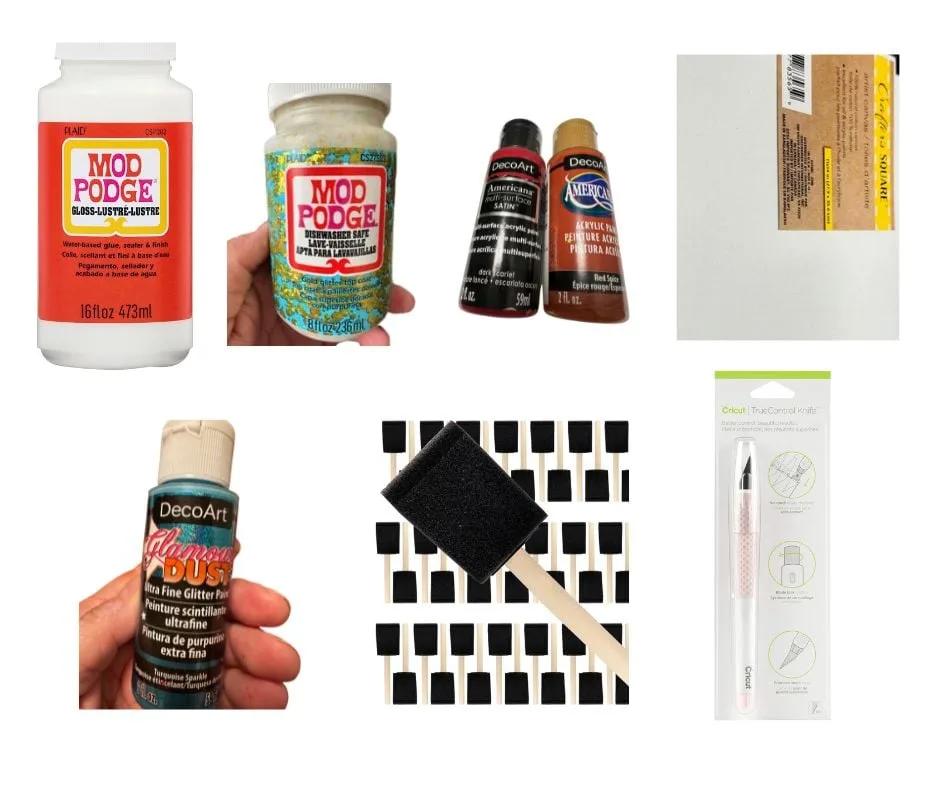
Supplies for Busted Canvas
These are the supplies I used for this beauty. You can get most of the supplies at Dollar Tree making this a very affordable craft.
- 8×10 Canvas – Dollar Tree
- 8×10 Canvas Boards – Dollar Tree
- Fall Flower Stems – Dollar Tree has a great collection, but sometimes I like to check out Michaels, JoAnn Fabric and Crafts or Hobby Lobby. You can usually get them at 40 percent off this time of year.
- Mod Podge – I went with gloss for the paper.
- Mod Podge Gold Glitter – I’m obsessed!
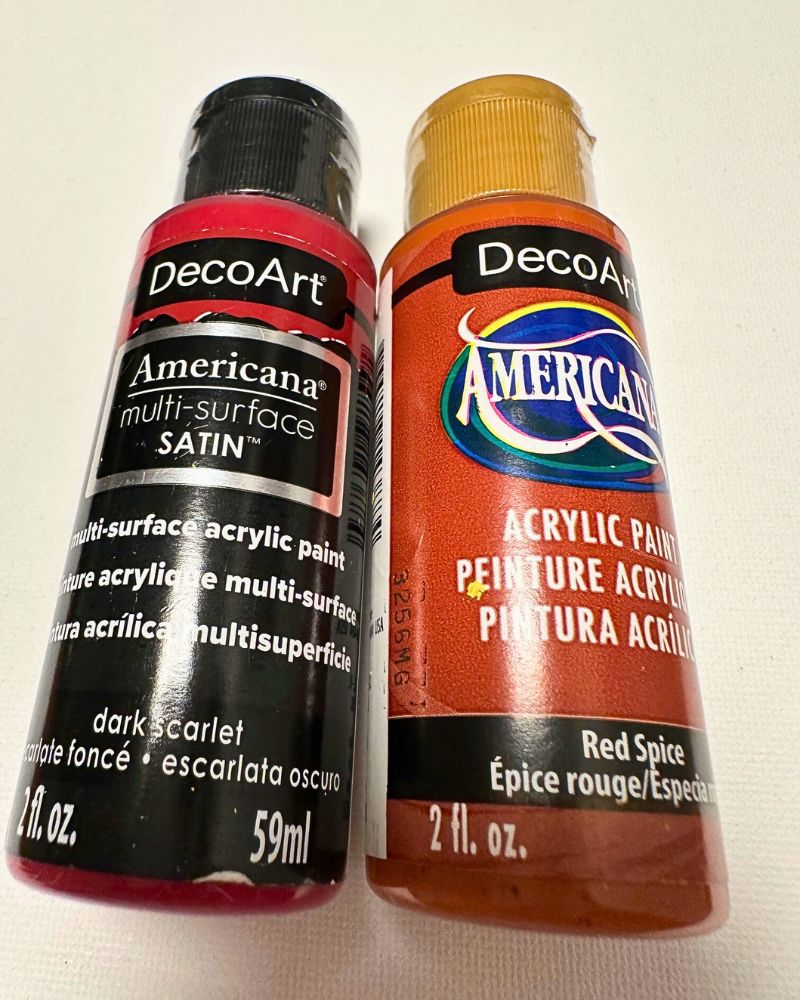
- Craft Paint – I used ocean blue, dark scarlet and red spice
- Heat Gun – this is great for an impatient crafter like me!
- Craft Knife – I love the Cricut knife kit.
- Foam Brush
- Cordless Hot Glue Gun – this is my favorite!!
- Download the Free Fall Truck Printable

How to Make Busted Canvas Crafts
Here are the 5 simple steps to making a busted canvas, but I will go into each step separately below.
Please feel free to ask any questions in the comments and I will do my best to answer.
Once you make your first one you will be a pro!
- Decorate the main canvas
- Decorate the back of the main canvas
- Decorate the flat canvas board
- “Bust the canvas”
- Hot glue the ends of the canvas back
- Decorate with your favorite embellishments
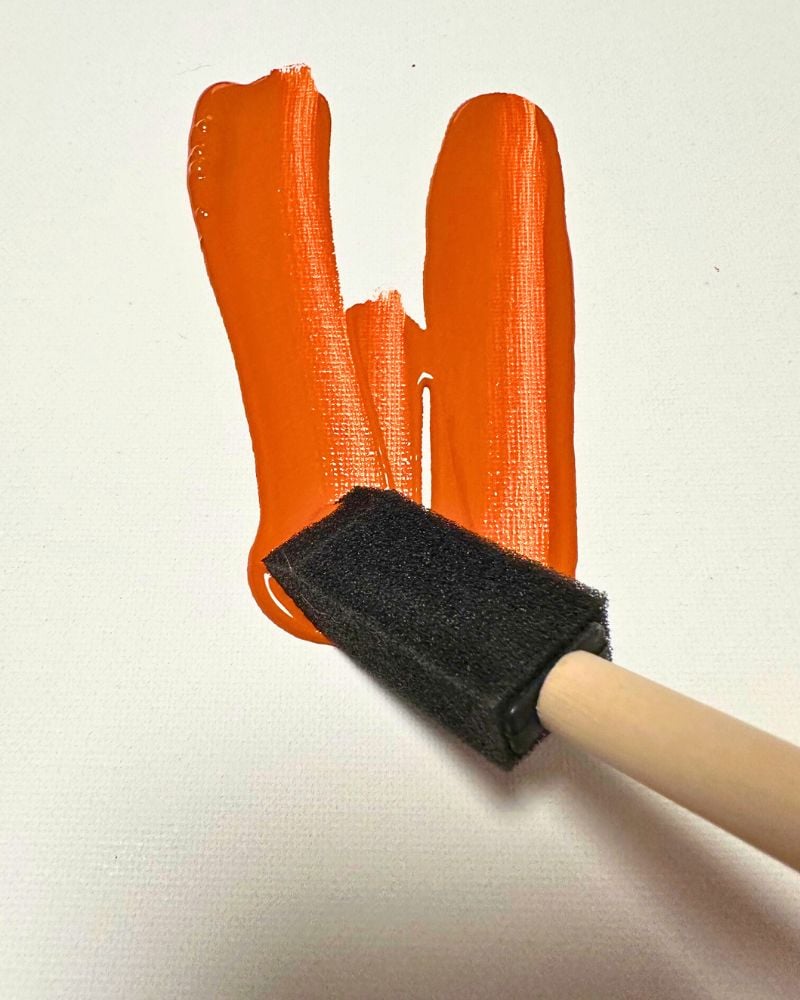
Step 1. Paint the stretched canvas
Paint the stretched canvas with burgundy paint using a foam brush. You will need at least 2 coats.


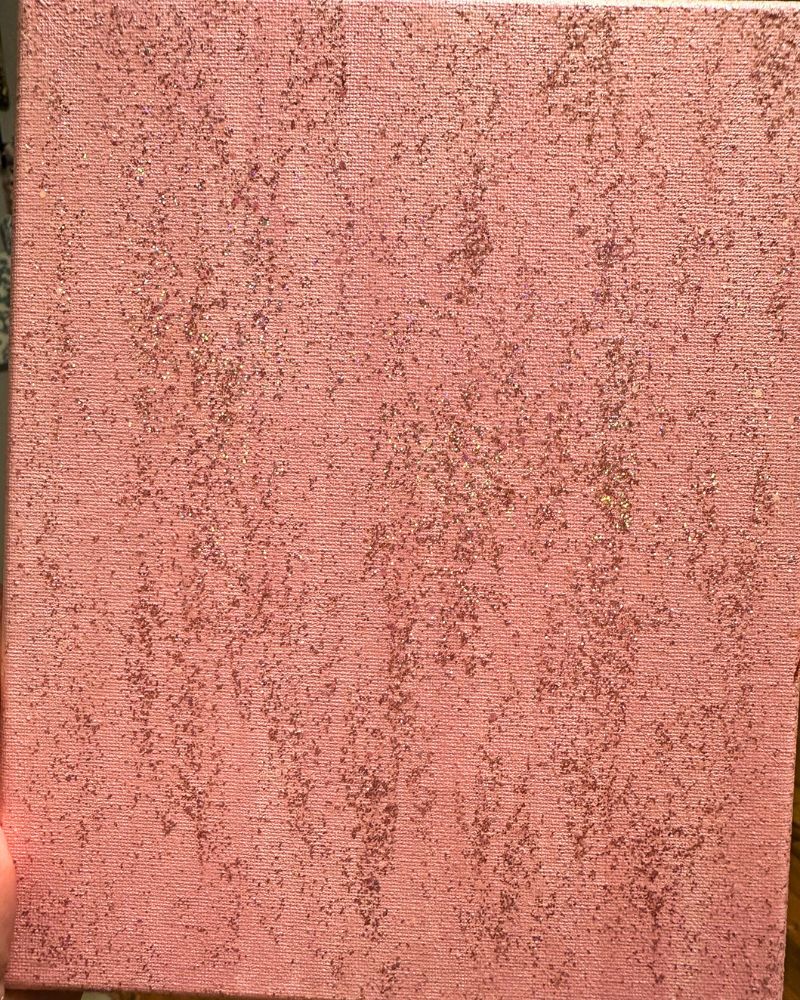
To give it a bit of dimension, I also added a coat of blue glamour dust to the canvas. This is optional, but my motto is everything is better with glitter!


Step 2. Decorate the back of the stretched canvas
The next step is where you can really get creative. Use decorative craft paper, wrapping paper, or paint.
The beautiful blue color pops against the deep burgundy and is a great combination for fall.
Somehow I missed a pic of this step, but simply paint the back of the canvas with 2 coats of blue craft paint.
Step 3. Add gold glitter
What really takes this canvas art to the next level is adding a top coat of mod podge gold glitter. Add as much, or as little as you like.


Step 4. Decorate the flat canvas board
Next up, decorate the canvas board with your fall truck printable. This will be what shows through the opening so you want it to pop.

Adhere the truck image to the flat board with mod podge. Smooth out any wrinkles.
Step 5. Bust the canvas
Now for the fun part-creating the exploding canvas!
Use a craft knife to find the center of the canvas and start cutting. Leave an inch or two around the edges of the canvas.
Cut from the center to the top, the center to the bottom and the center to each side.
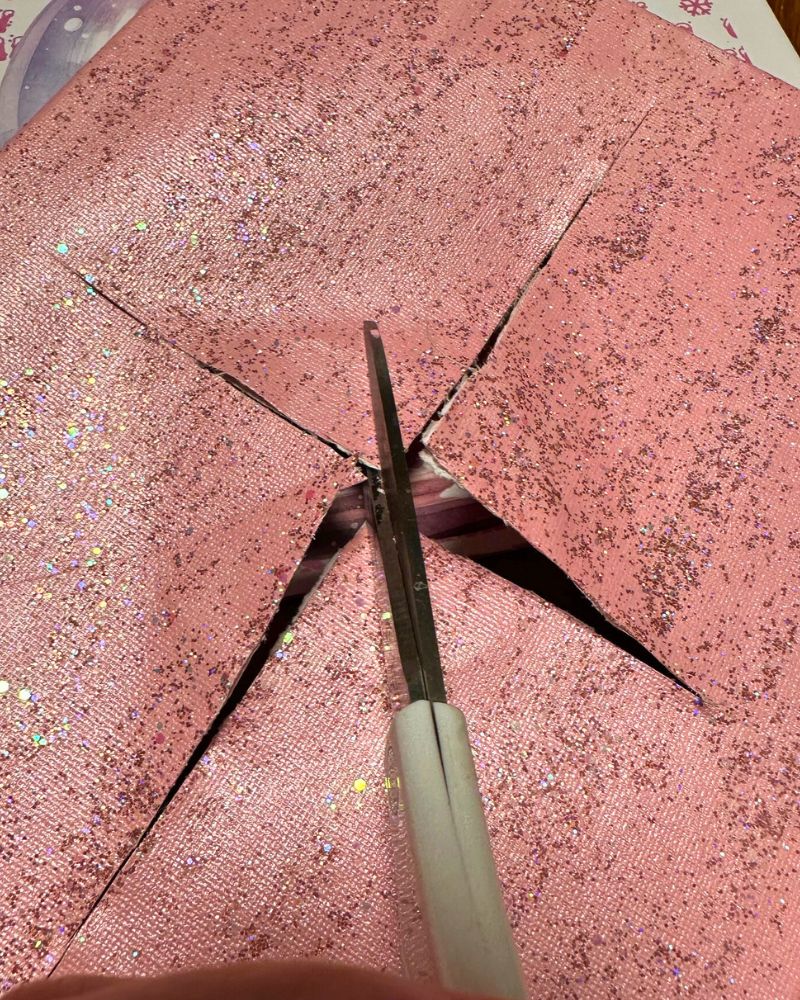

Cut in between the pieces so you are left with 8 cuts.
Secure the edges of the bust-out pieces with a bit of hot glue or E-6000. You are basically curling the cut canvas back to reveal the beautiful autumn image.
Step 6. Glue the canvas to the board
The final step is to glue the bottom board to the top canvas. I used hot glue, but if it doesn’t seem secure enough, add a bit of E-6000.
You can add any embellishments that you like. The gold glitter brought a lot of texture and dimension, so I just went with a single fall mum in the corner.
Add ribbon, moss, anything that you like to make your exploding canvas unique!
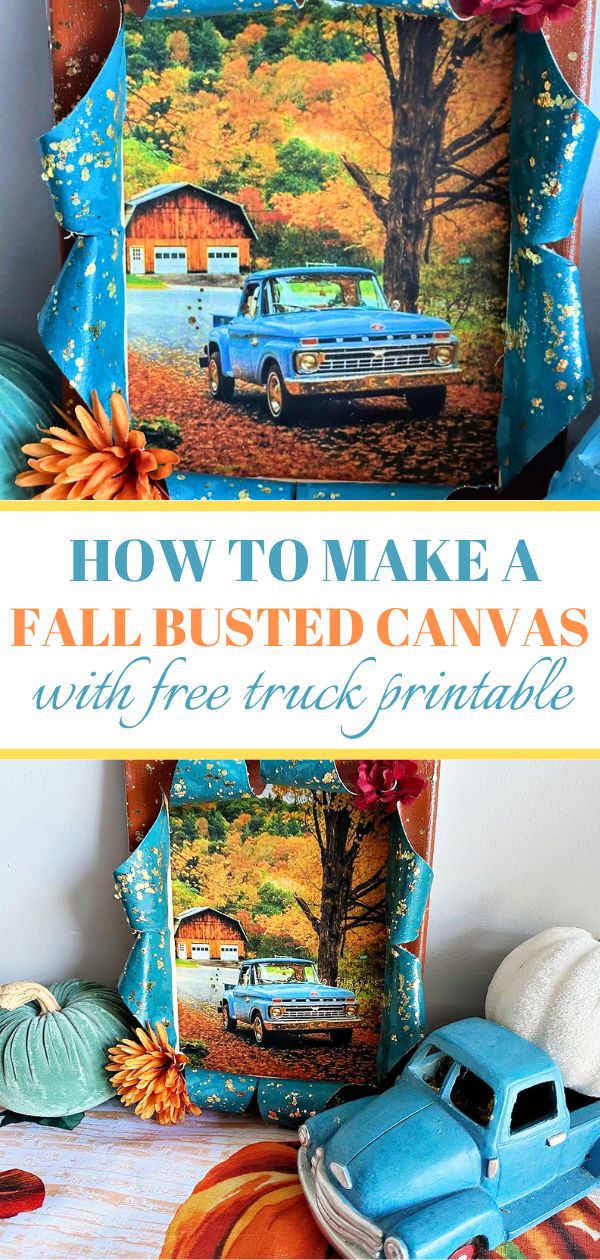
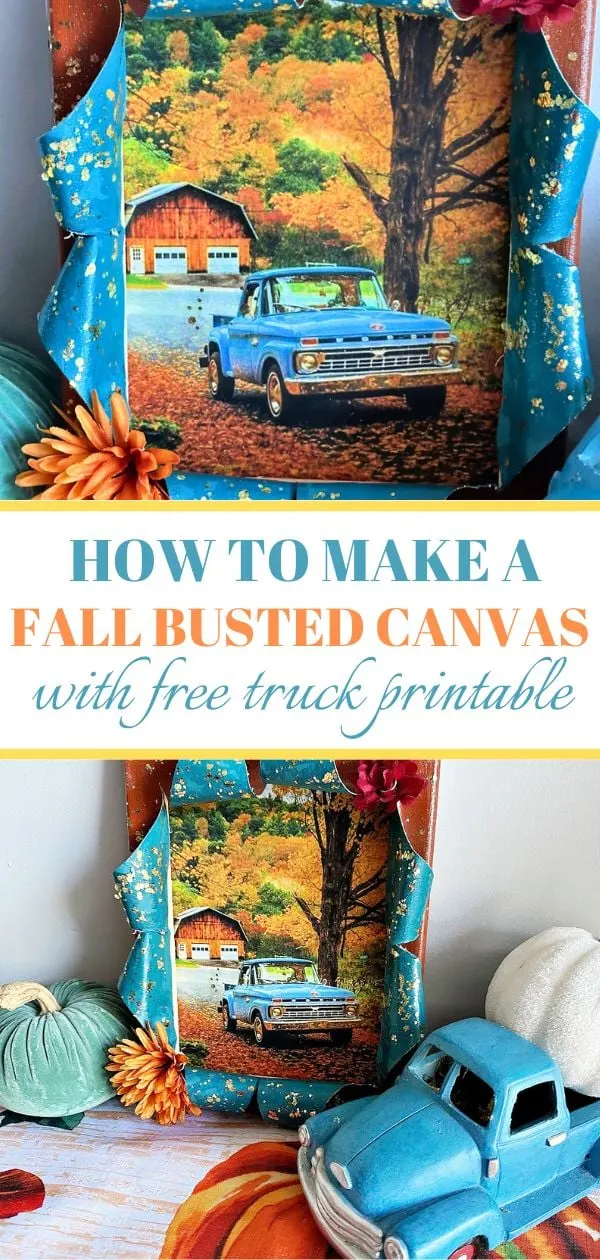
Pin For Later
Share this article with your friends on Pinterest by pinning the below image.
It helps my blog grow and doesn’t cost a thing! 🙂
If you make your own busted canvas, be sure to share it with me on Facebook. Tag @ourcraftymom so I see it.
We also have a free Facebook group just for busted canvas crafts. There are over 1200+ members sharing their lovely creations.
You can join us here:
Busted Canvas Crafts Facebook Group
Thanks so much for stopping by. Happy fall y’all!


You may also enjoy these DIY fall crafts and home decorating ideas:
- Fall Porch Decorating Ideas
- Fall Coffee Table Decor
- Fall Decoupage Cutting Board
- Fall/Halloween Reversible Wreath
- Fall Coffee Table Decor
- Vintage Wall Pockets from a Tin Can
- Faux Concrete Pumpkins
- Fall Wreath DIY
- Fall Decorating Ideas
- Dough Bowl Decor for Fall
Follow me on social media below: