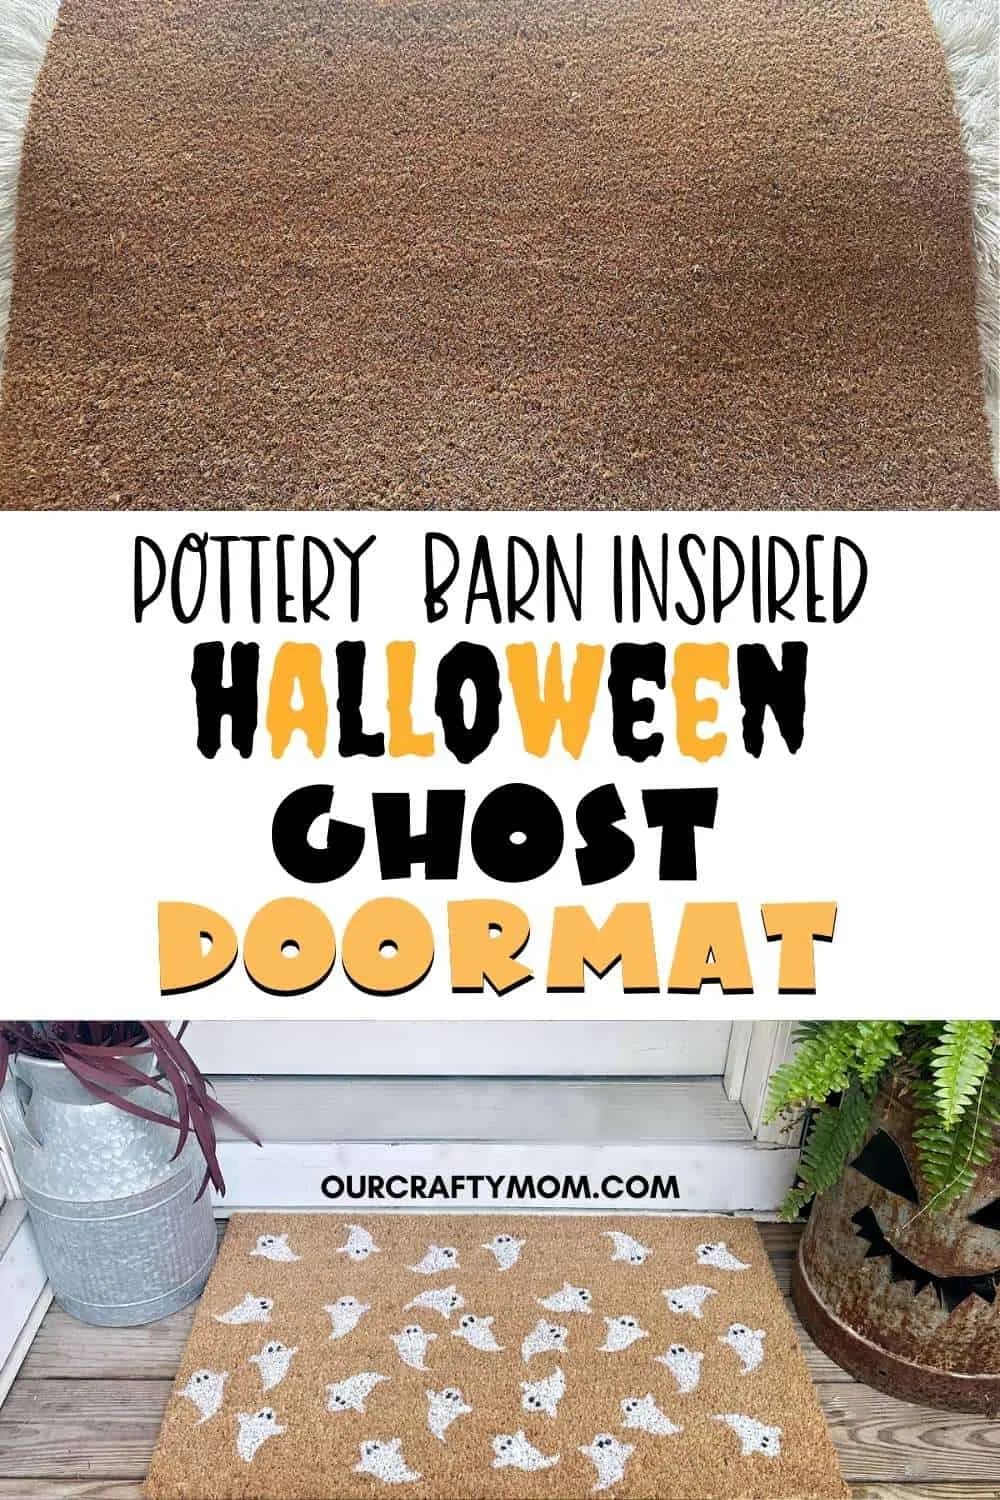
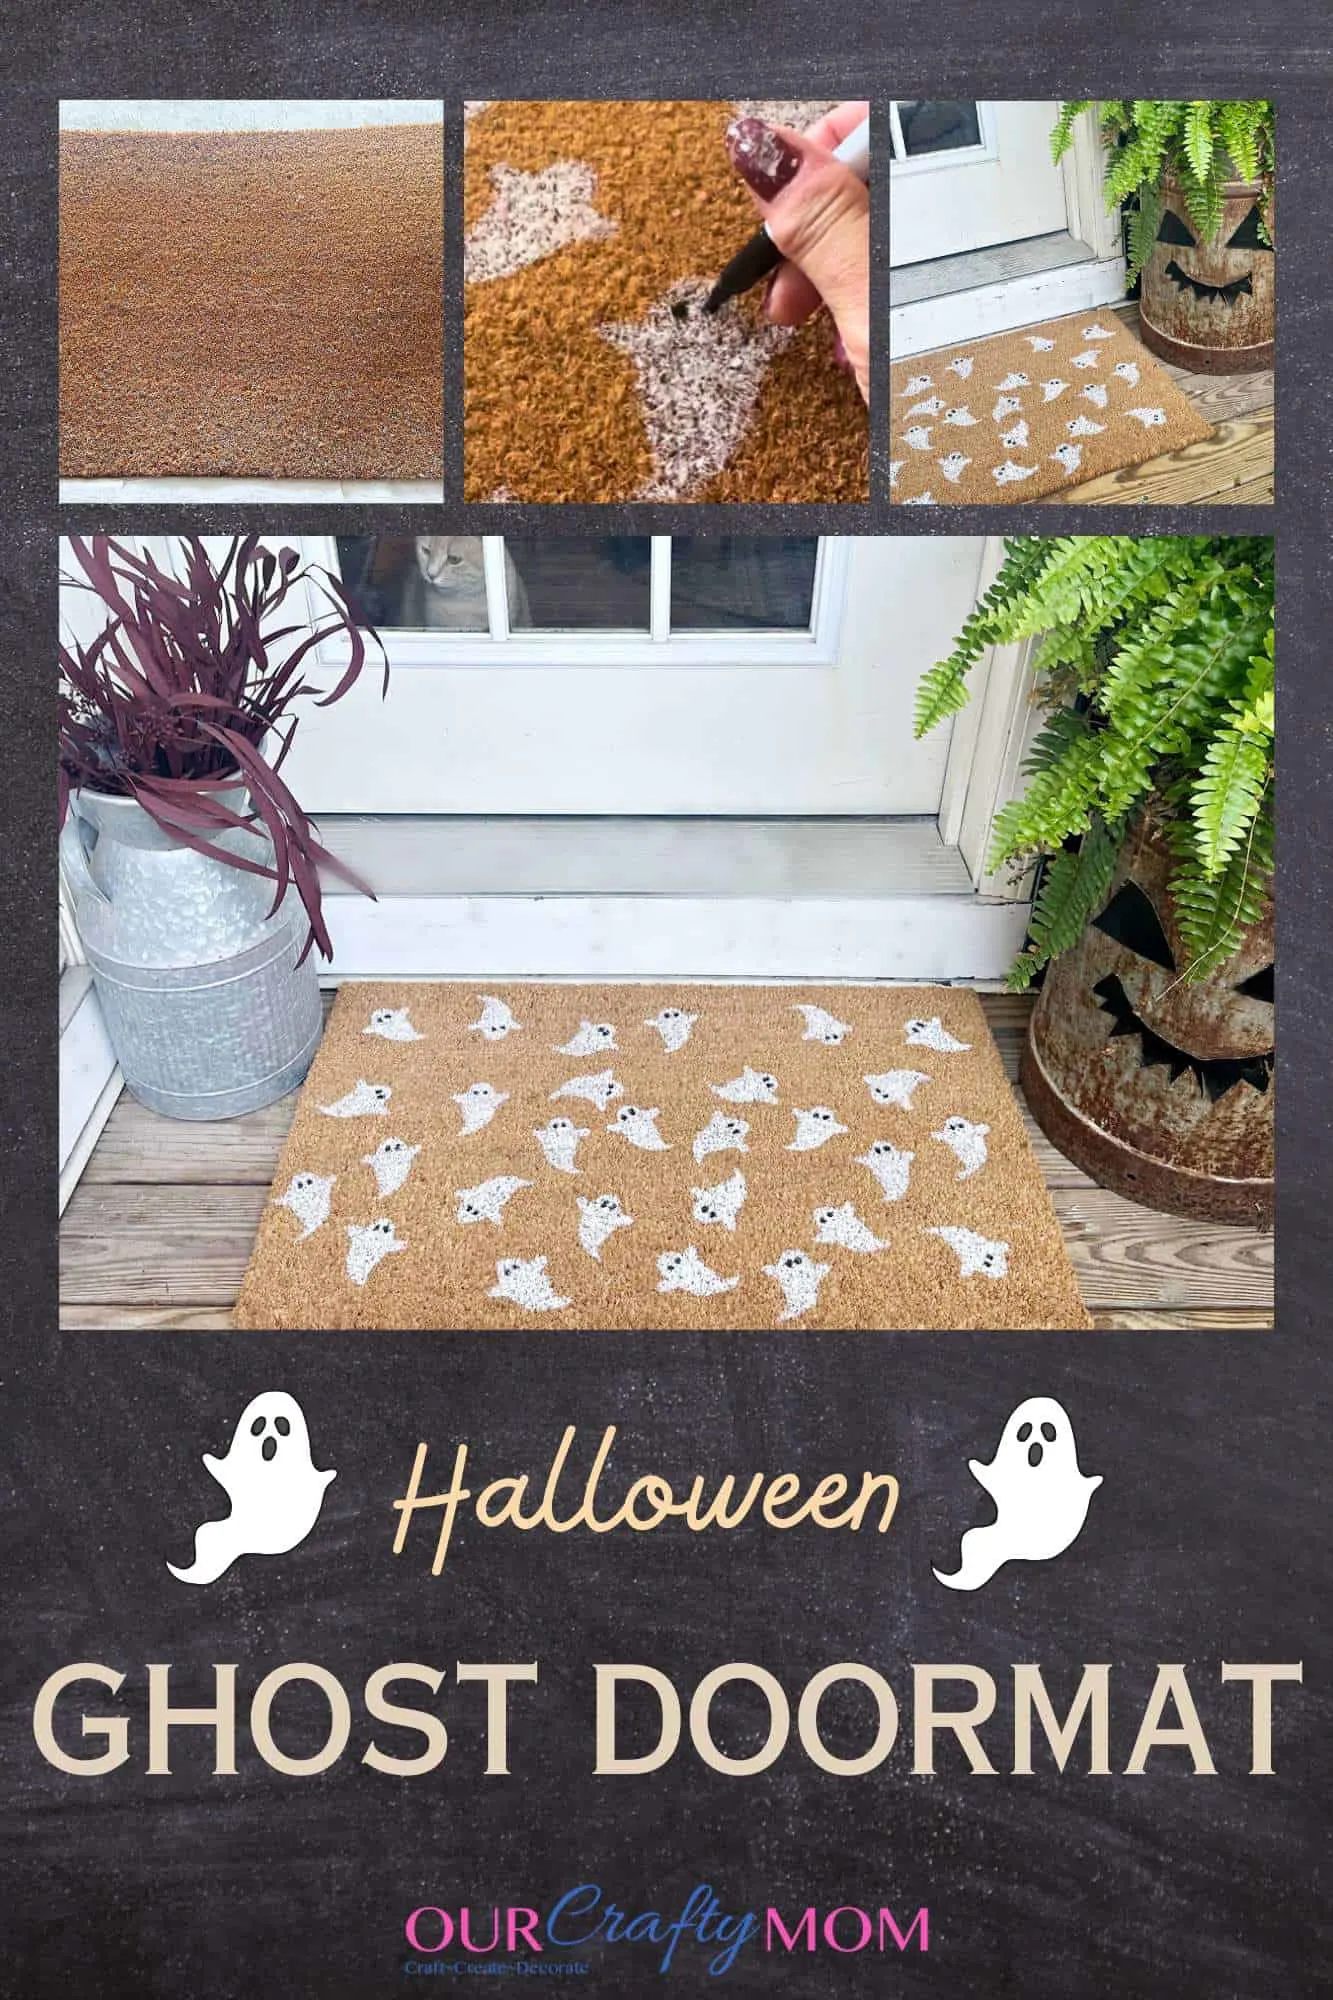
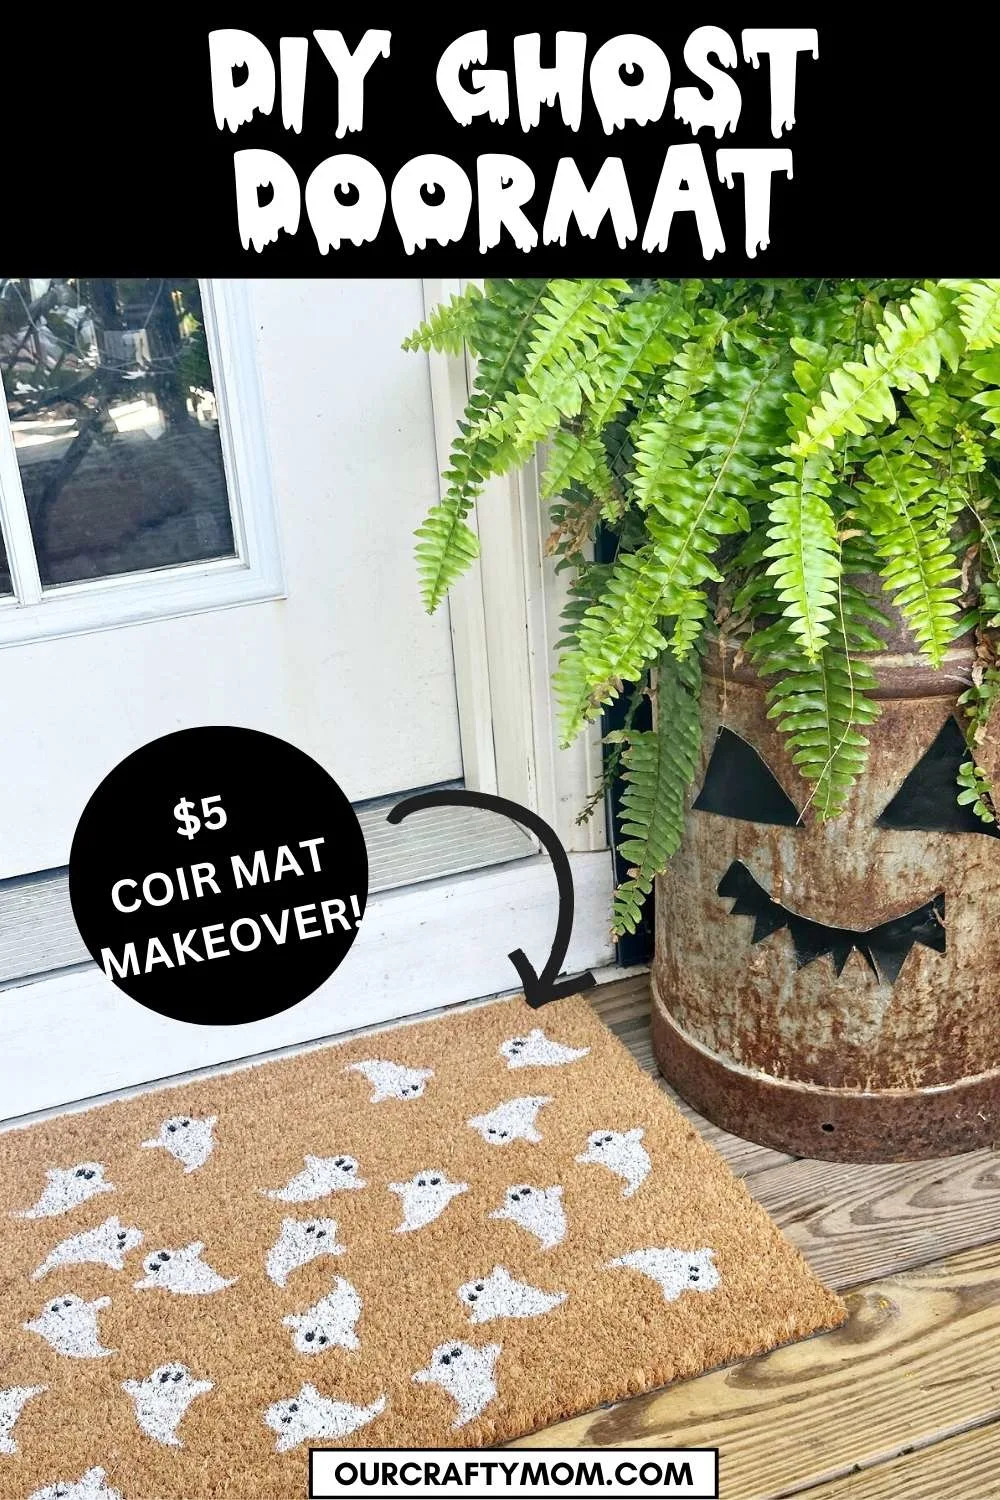
Make a super cute painted ghost Halloween doormat with a cheap coir mat, paint and a wood cut-out. The perfect way to greet trick or treaters!
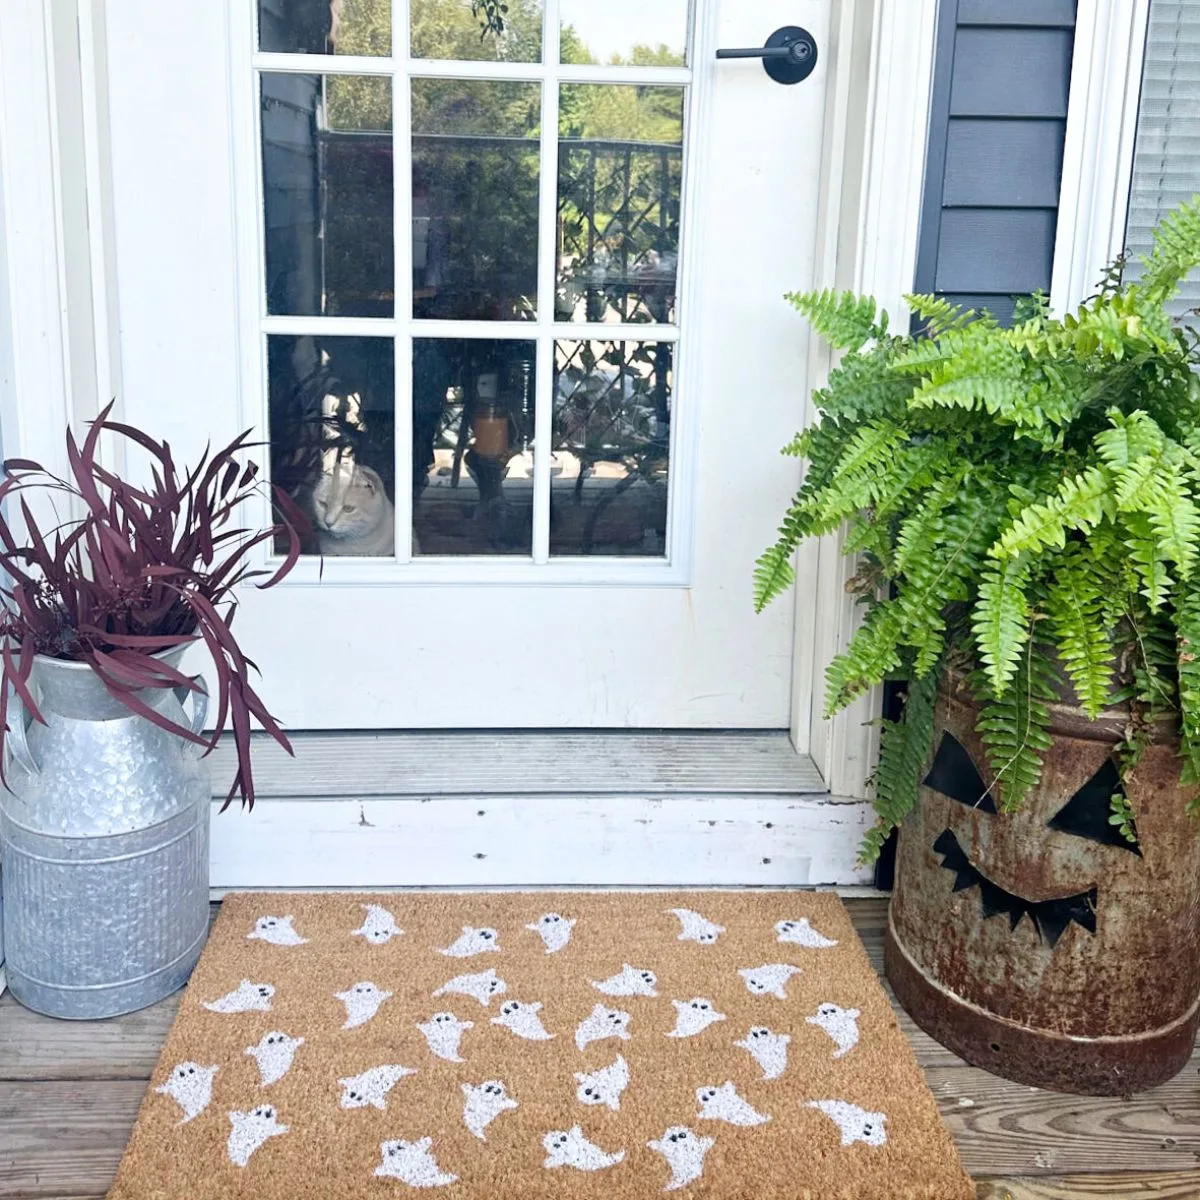
Have you priced Halloween doormats lately? I fell in love with a few Halloween coir doormat designs at the craft store, but they were a little pricey for my thrifty budget.
Plus, I knew it was something I could make for a lot less. 🙂
I’ll share the simple step-by-step tutorial so you can make your own.
This post contains affiliate links at no extra cost to you. Please see my full disclosure here.
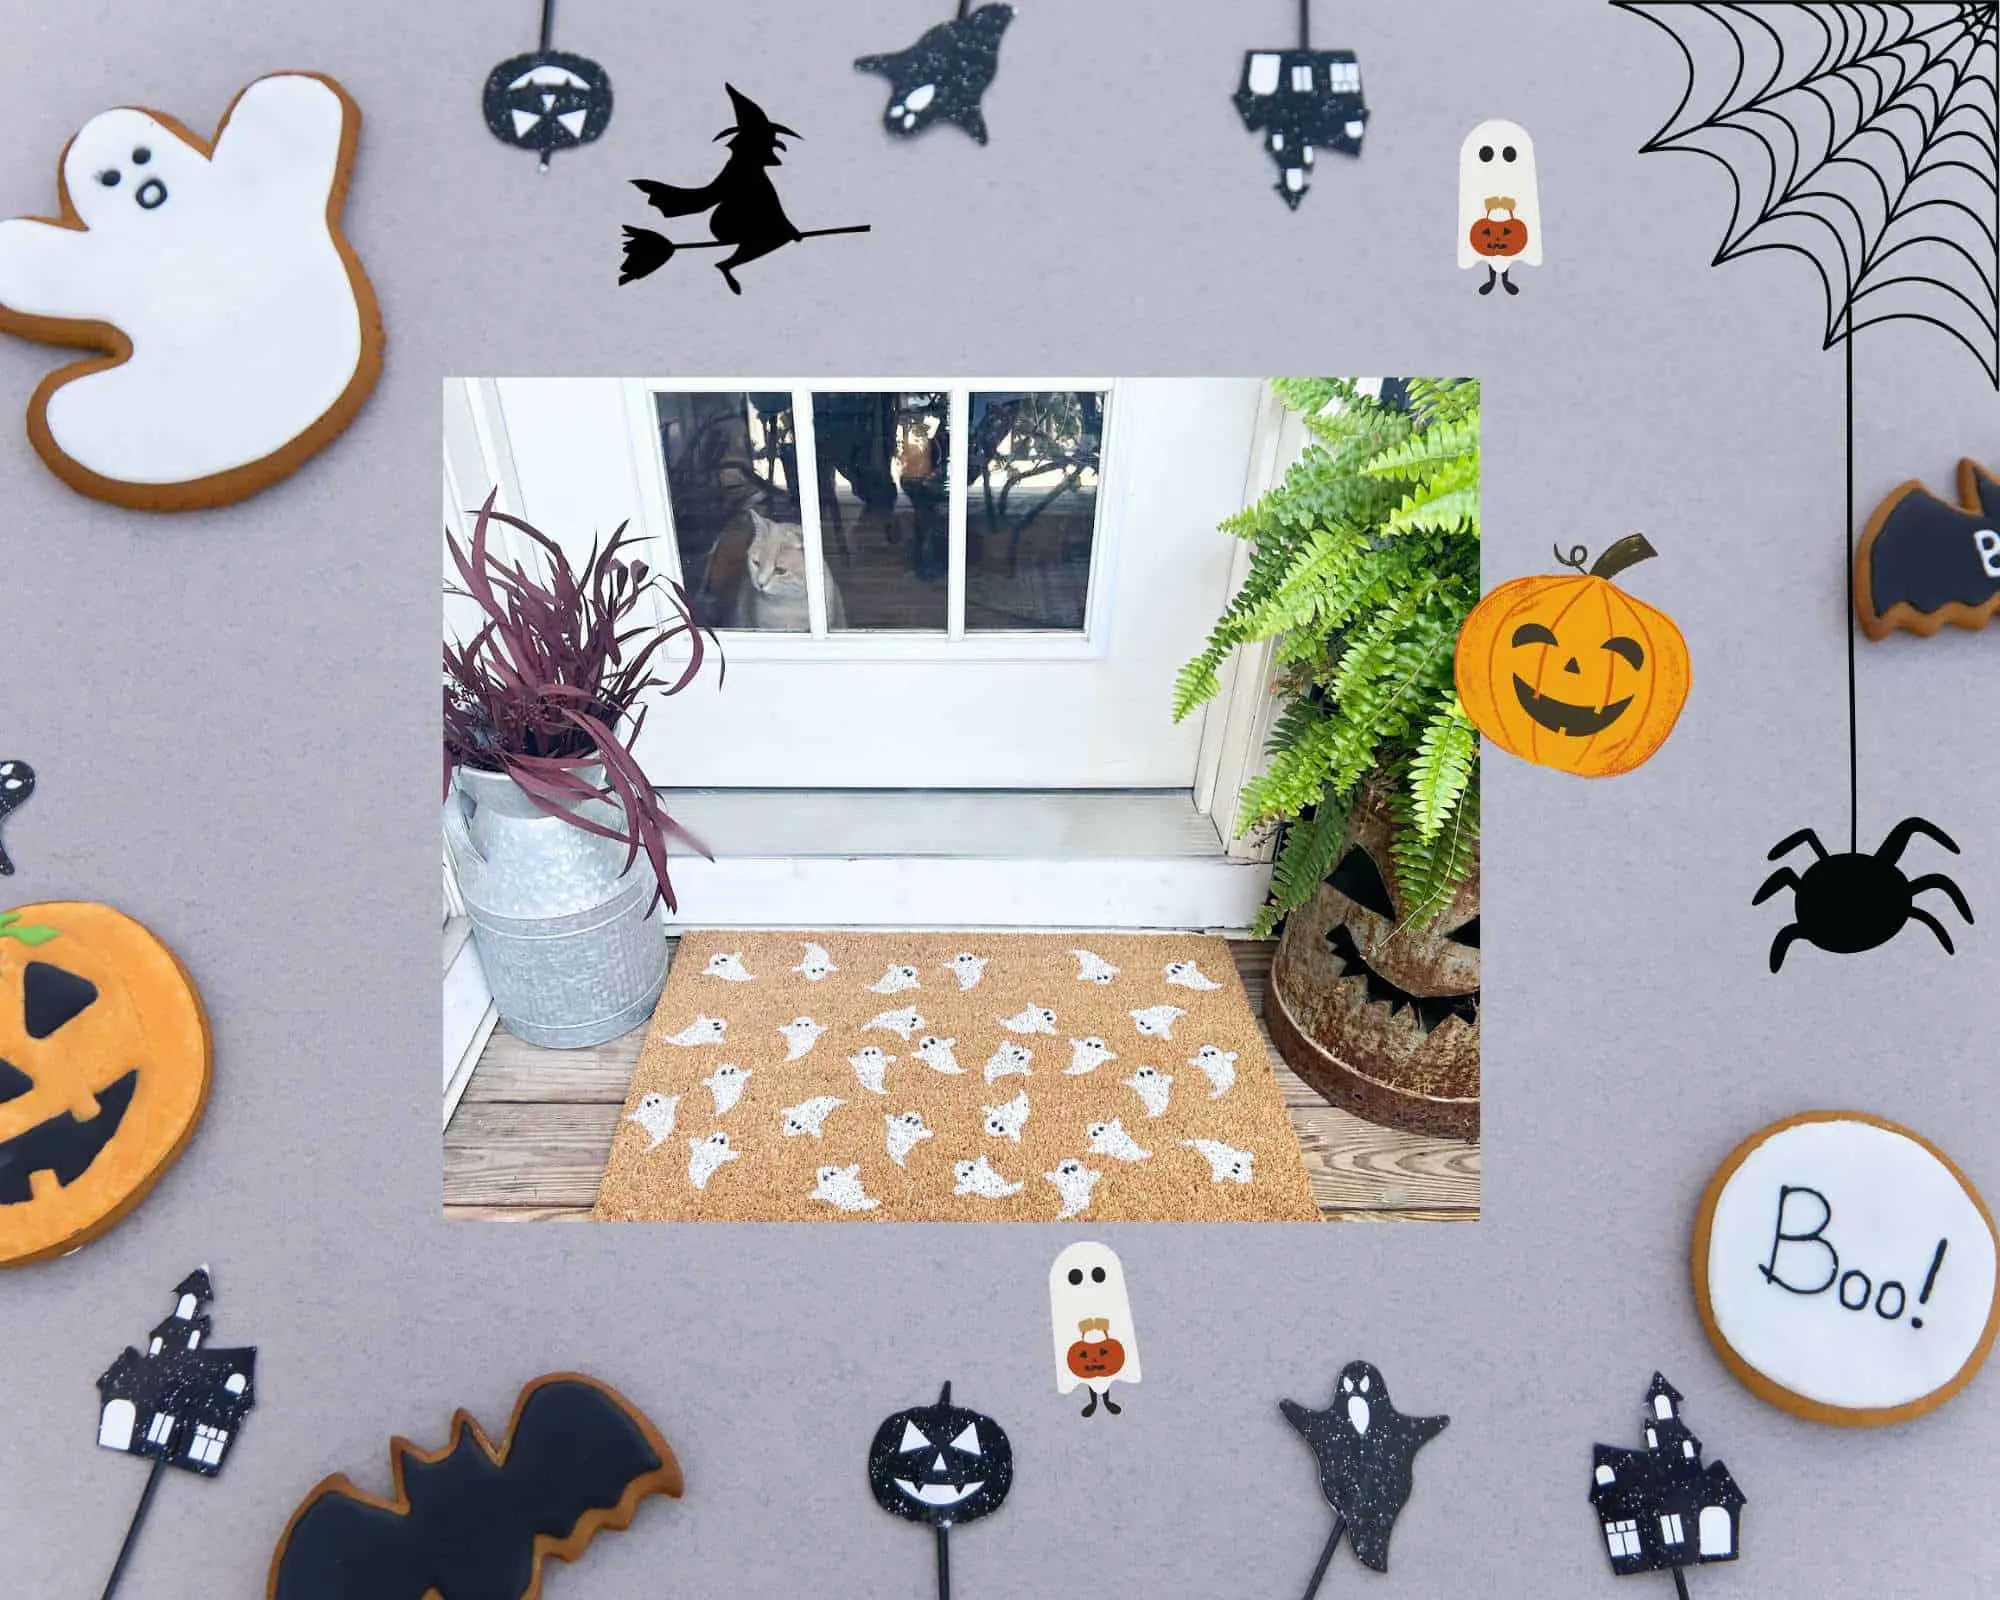
Indoor Outdoor DIY Halloween Doormat
If you follow me on Facebook you know I have a slight obsession with all things ghost decor for Halloween this year.
I’m definitely more about cute Halloween decor rather than spooky Halloween decor.
Who knows how I’ll feel next year! Last year I went with a modern black and white Halloween theme.
Supplies Needed for Halloween Ghost Coir Doormat
- Blank Coir Doormat – check your local Walmart. I found mine for $5.97!
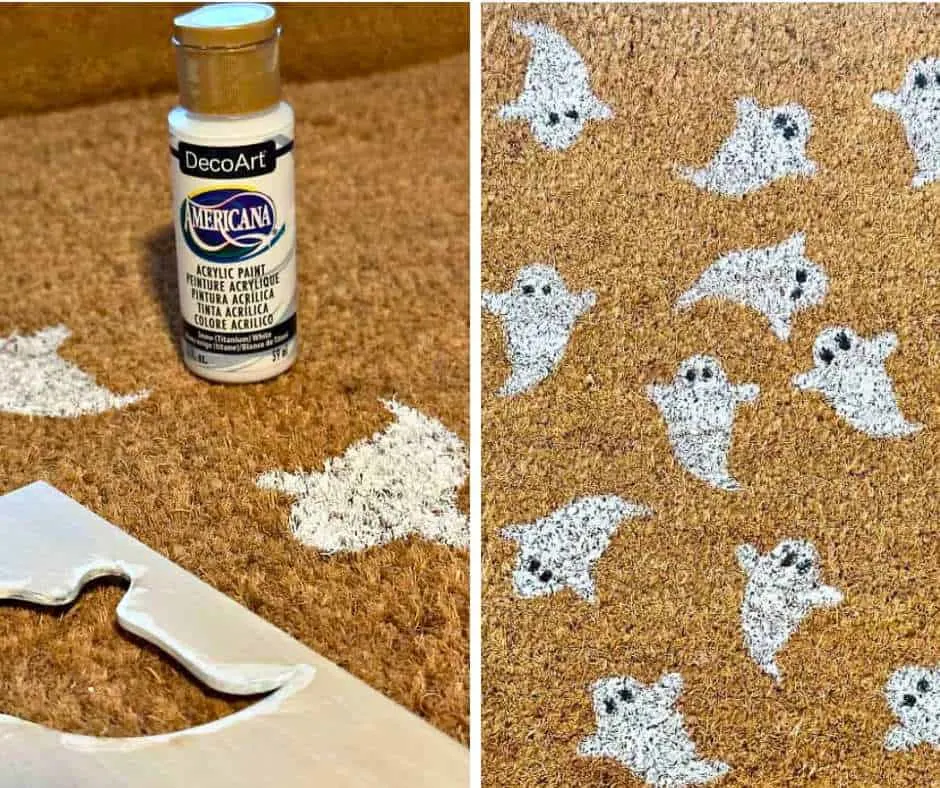
- DecoArt Acrylic Paint in Snow
- Assorted Paint Brushes
- Clear Acrylic Sealer
- Painters Tape – you can use this to tape off a border around the mat. I chose not to include this.
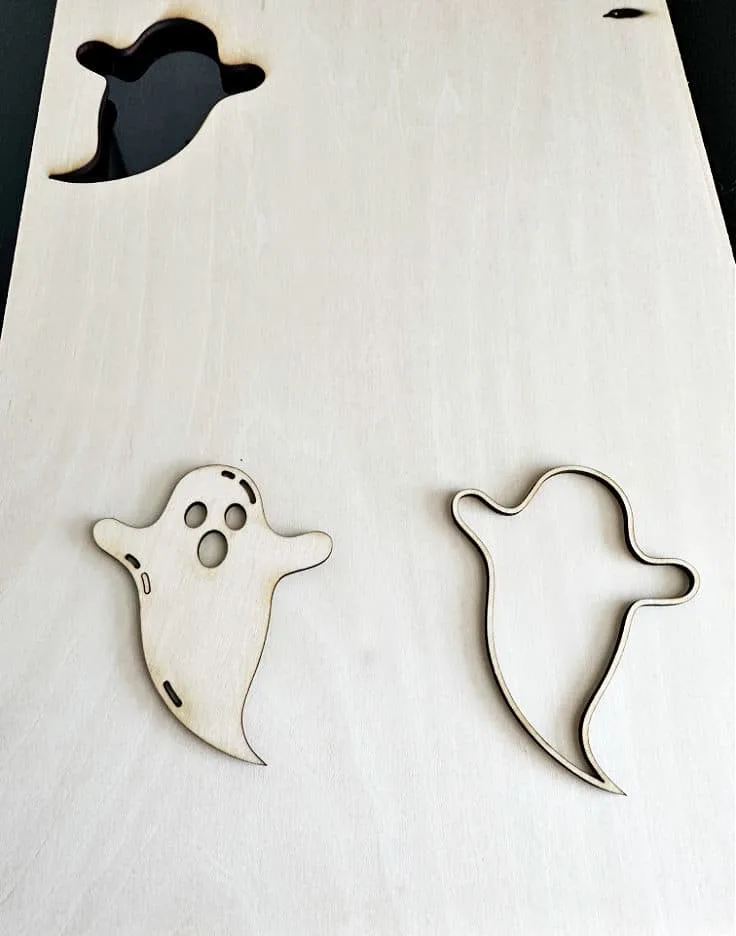
- Ghost cut out – I used my new favorite laser cutting machine to cut out a ghost. You can also use Dollar Tree Halloween cookie cutters.
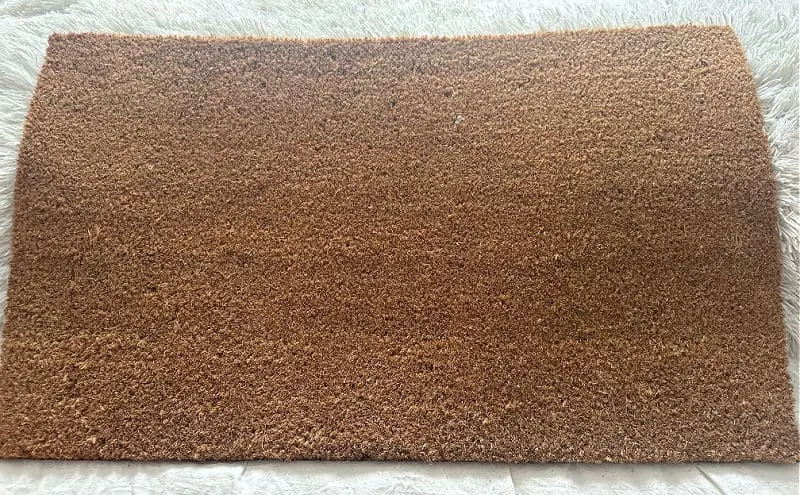
Step 1. Paint the Ghosts on the Doormat
As I mentioned above, I used the xTool M1 to make a small ghost cut-out with 3 mm basswood plywood sheets.
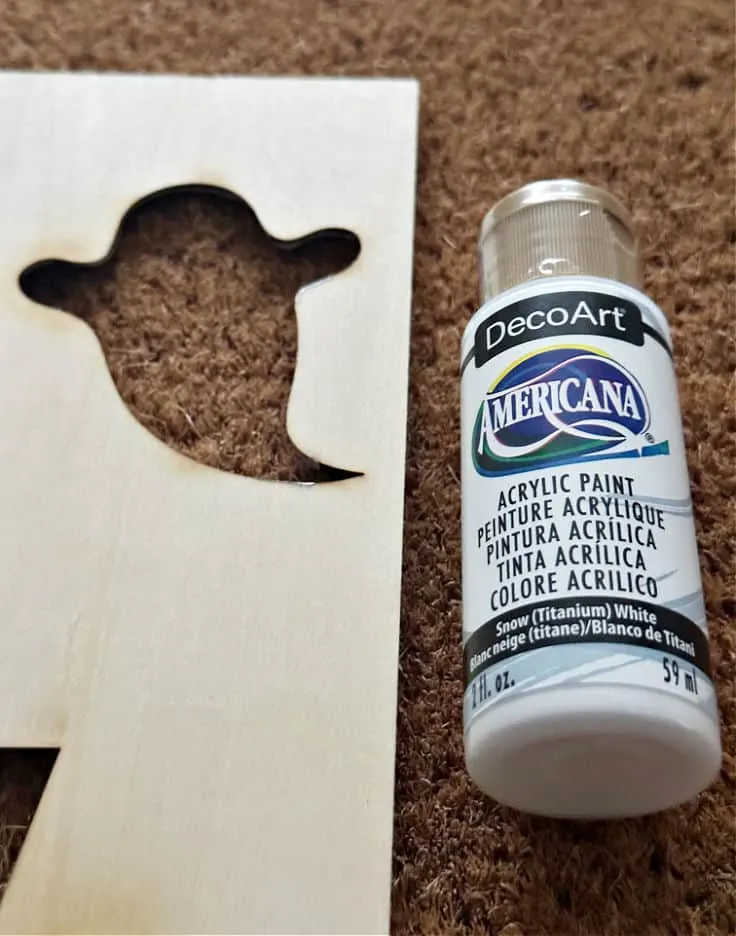
Read all the details about how I cut the ghost with the xTool M1 here.
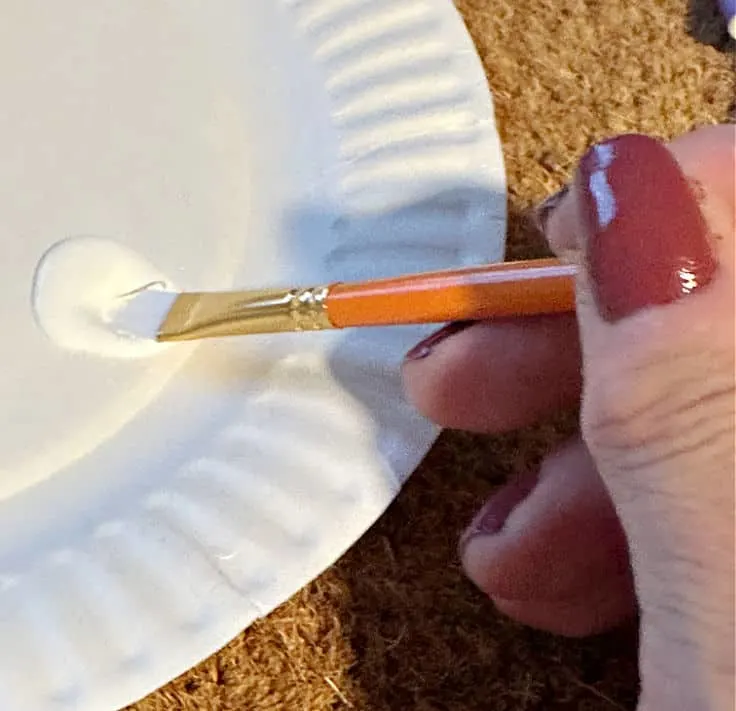
Place your white paint onto a paper plate or paint tray.
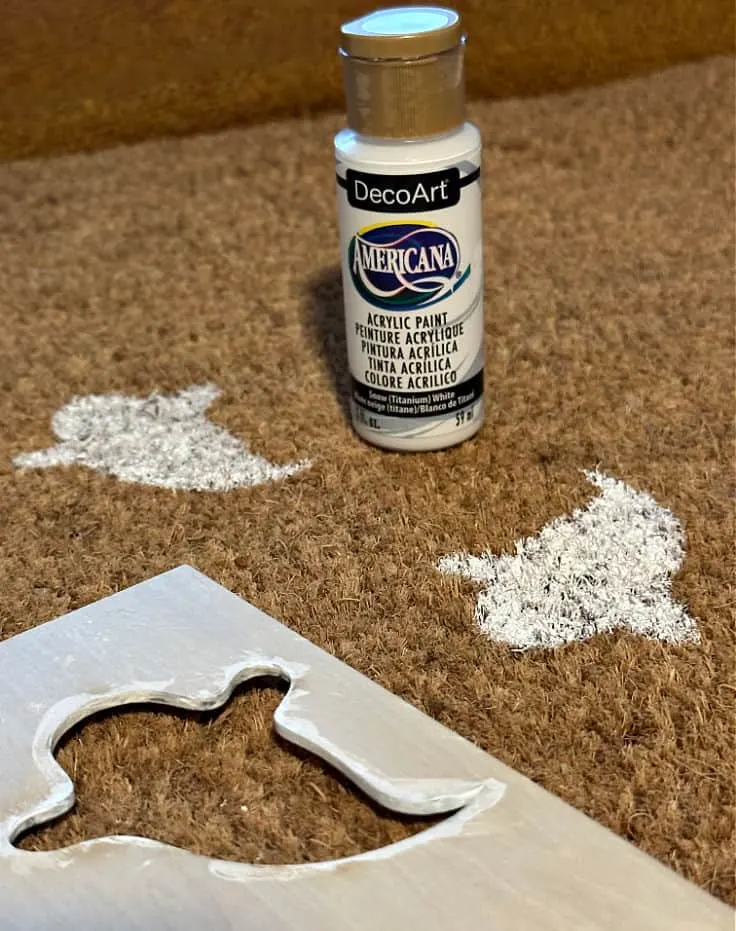
Place the ghost cut out onto the doormat and use your paint brush to paint a couple of light coats.
Quick tip: cut out ghosts on copy paper first and lay them on the rug to help with placement.
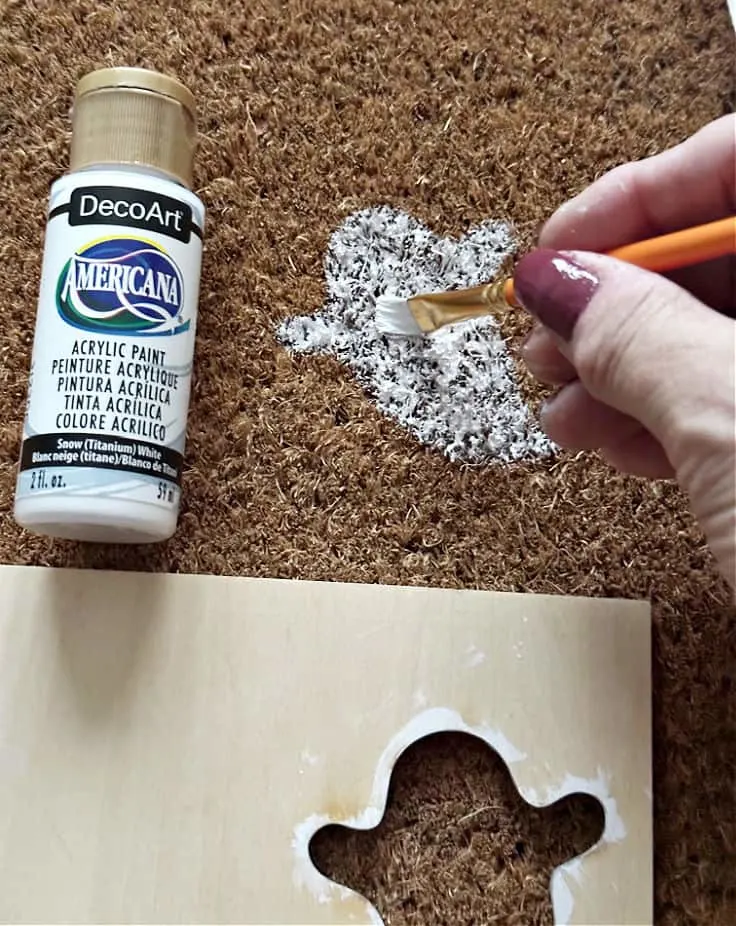
You will need at least 2-3 coats of white paint. The coir material is very thick and textured so it will soak up the paint.
Press the brush into the coir to ensure the ghost is solid. You can go back and touch up the paint as needed.
Step 2. Repeat the process
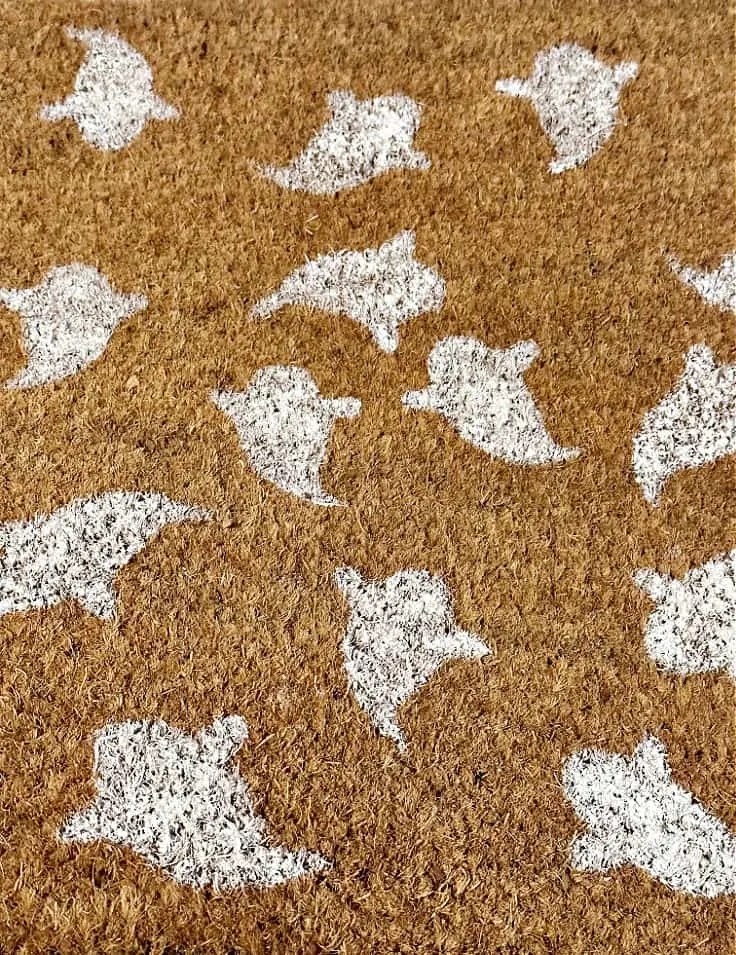
Continue to cover the mat with the cute Halloween ghosts until you are happy with it.
Have fun with it and use your creativity to make it your own. Let dry overnight.
Step 3. Add Ghost Eyes
Now it’s time to add ghost eyes. I used a black sharpie and added a couple of dots to each ghost.
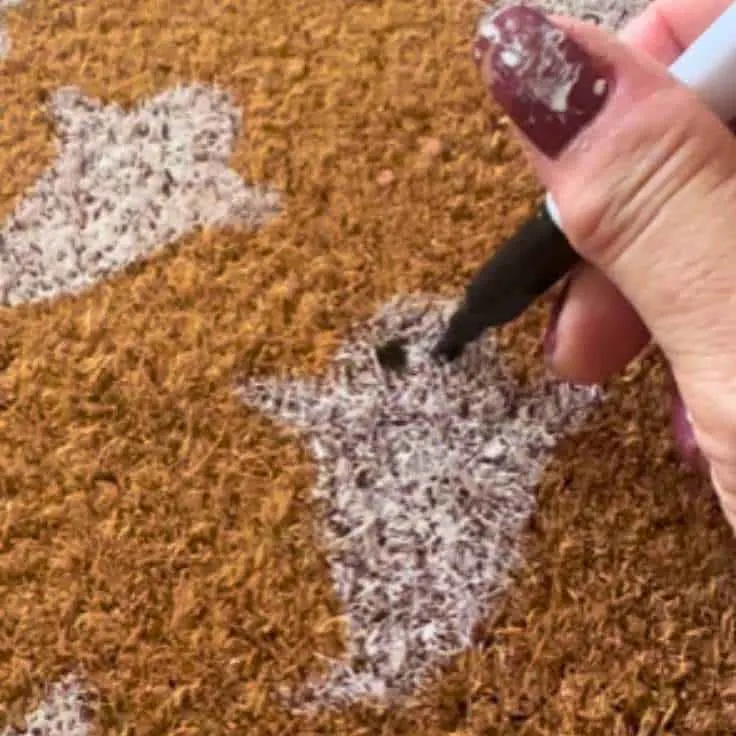
You can also follow the tutorial shown in my ghost painting, where I used black acrylic paint and the bottom of a paint brush.
I chose simple round eyes, but you can make spooky eyes, oval eyes or whatever style you like. Let dry.
Step 4. Spray with a clear sealer
If your doormat is going to be exposed to the elements, you want to ensure it is protected. One way to do that is to spray it with a clear sealer.
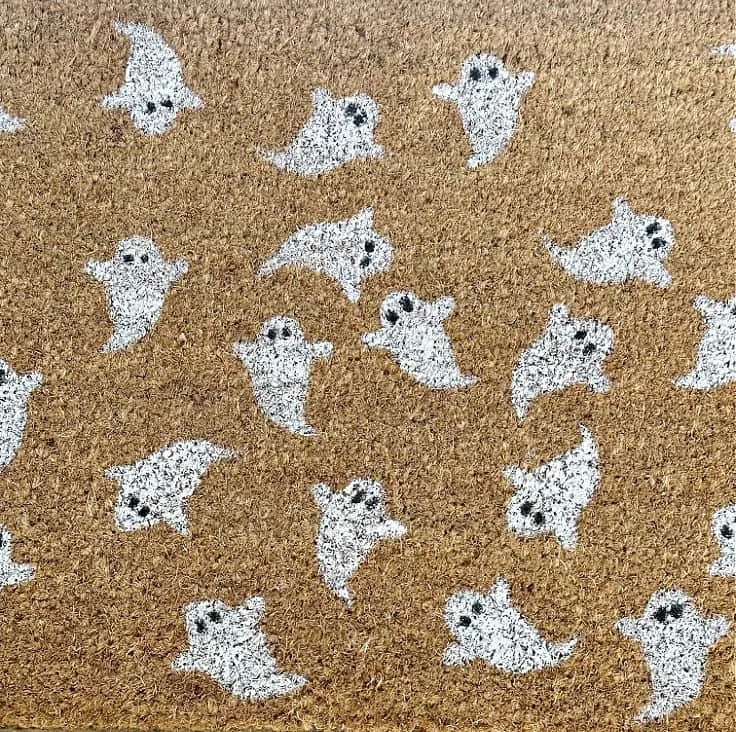
You will need about 2-3 coats of the sealer.
Step 6. Decorate with your new DIY Halloween Ghost Doormat!
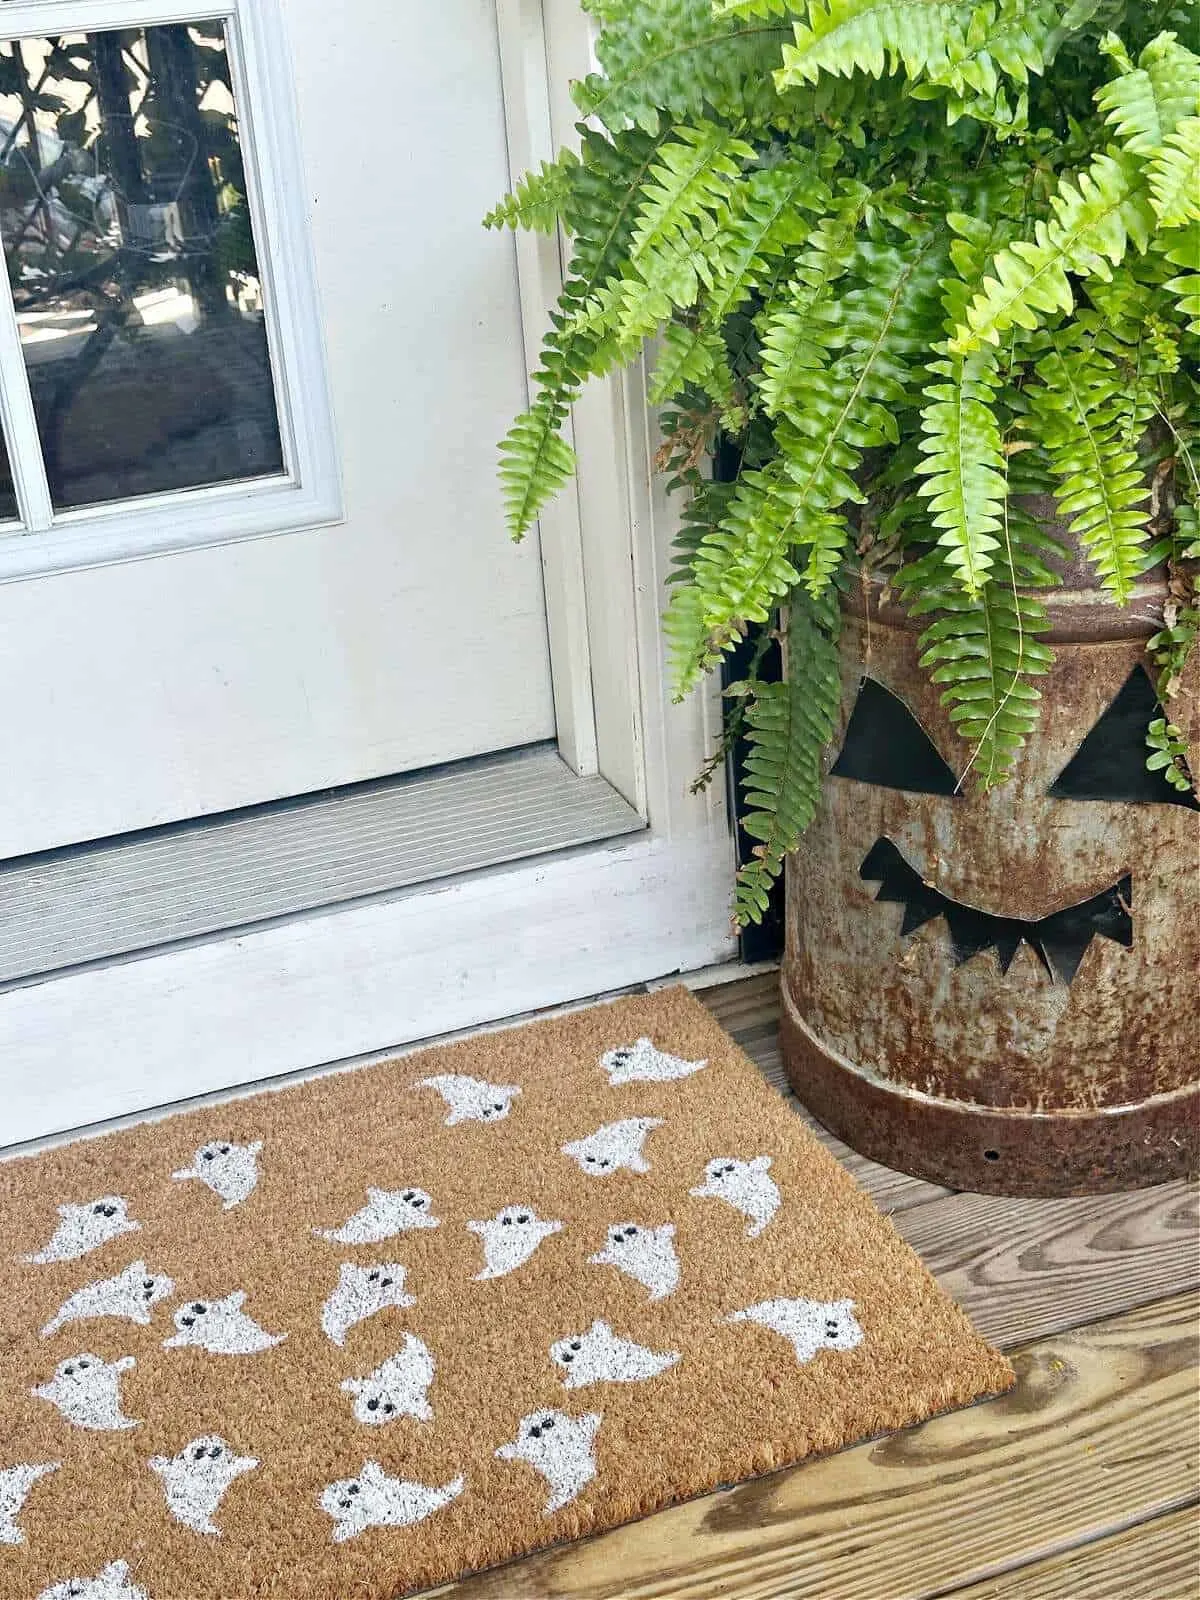
I’m so happy with how this darling little ghost accent rug turned out.
It is just the right size to place in front of my balcony door.
It looks so cute next to the pumpkin Halloween milk can I made last year.
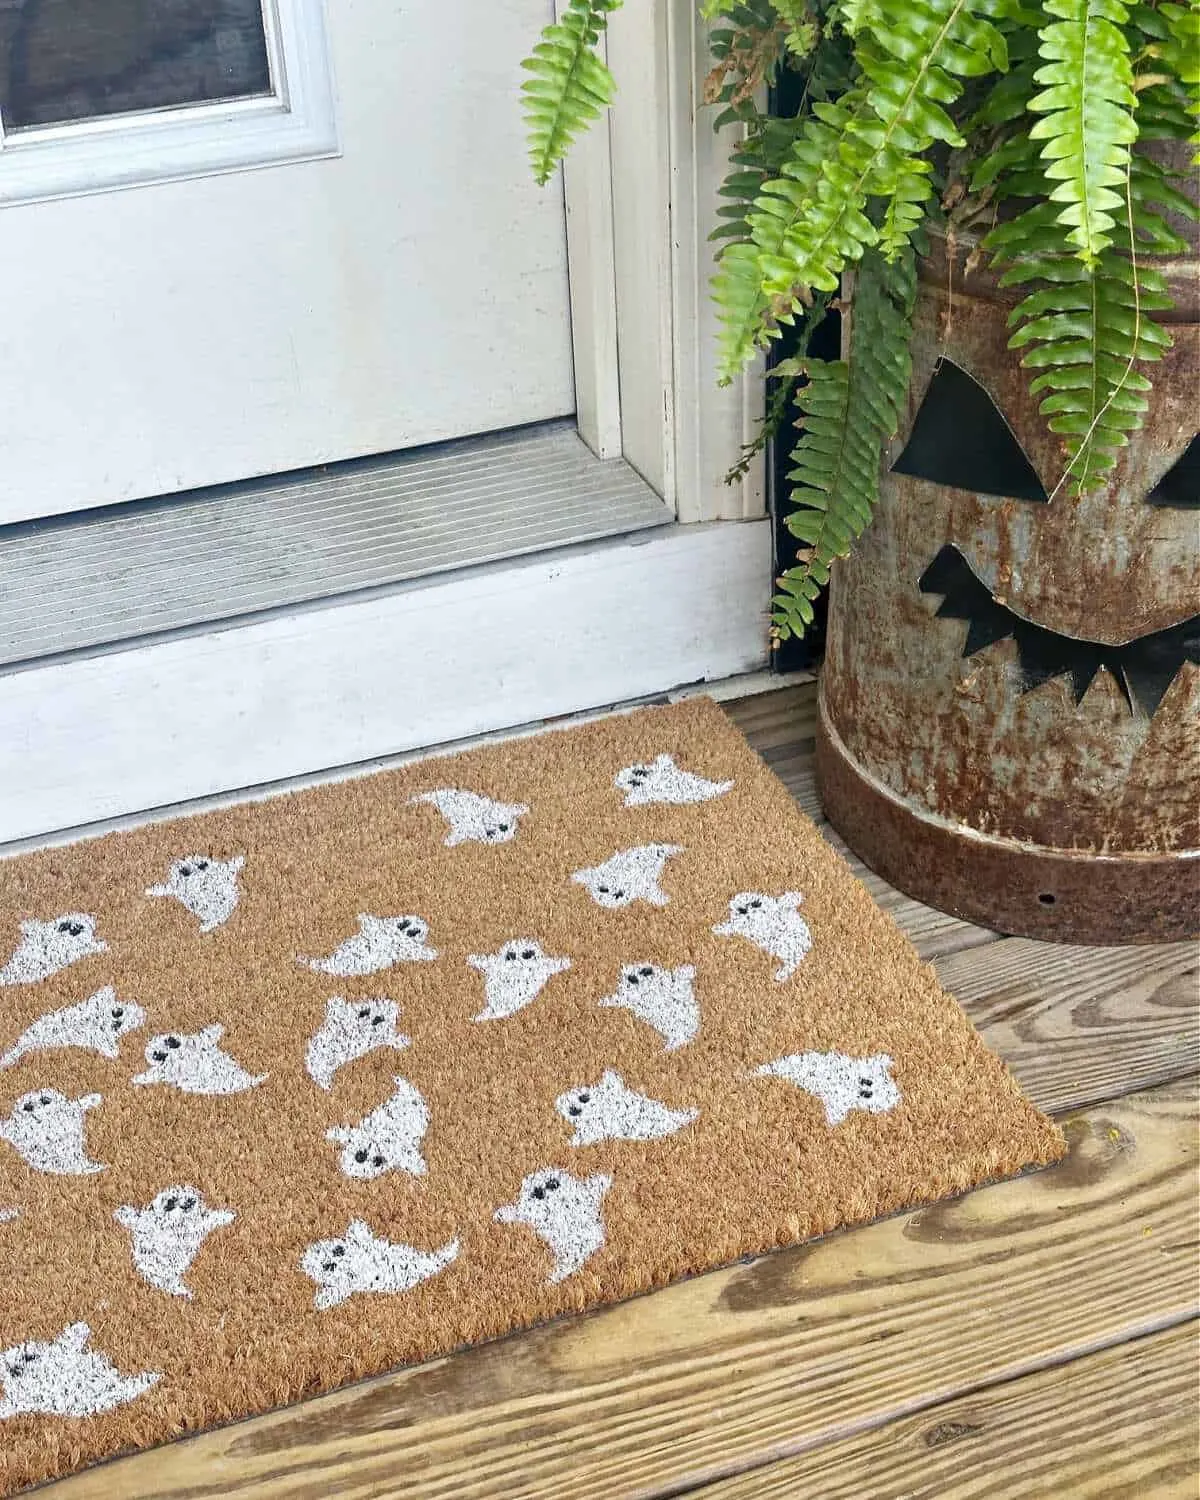
It’s the perfect coir doormat to complete your front door Halloween decor and the best part is it was made for under $10-less if you already have the paint.
You can’t beat that!
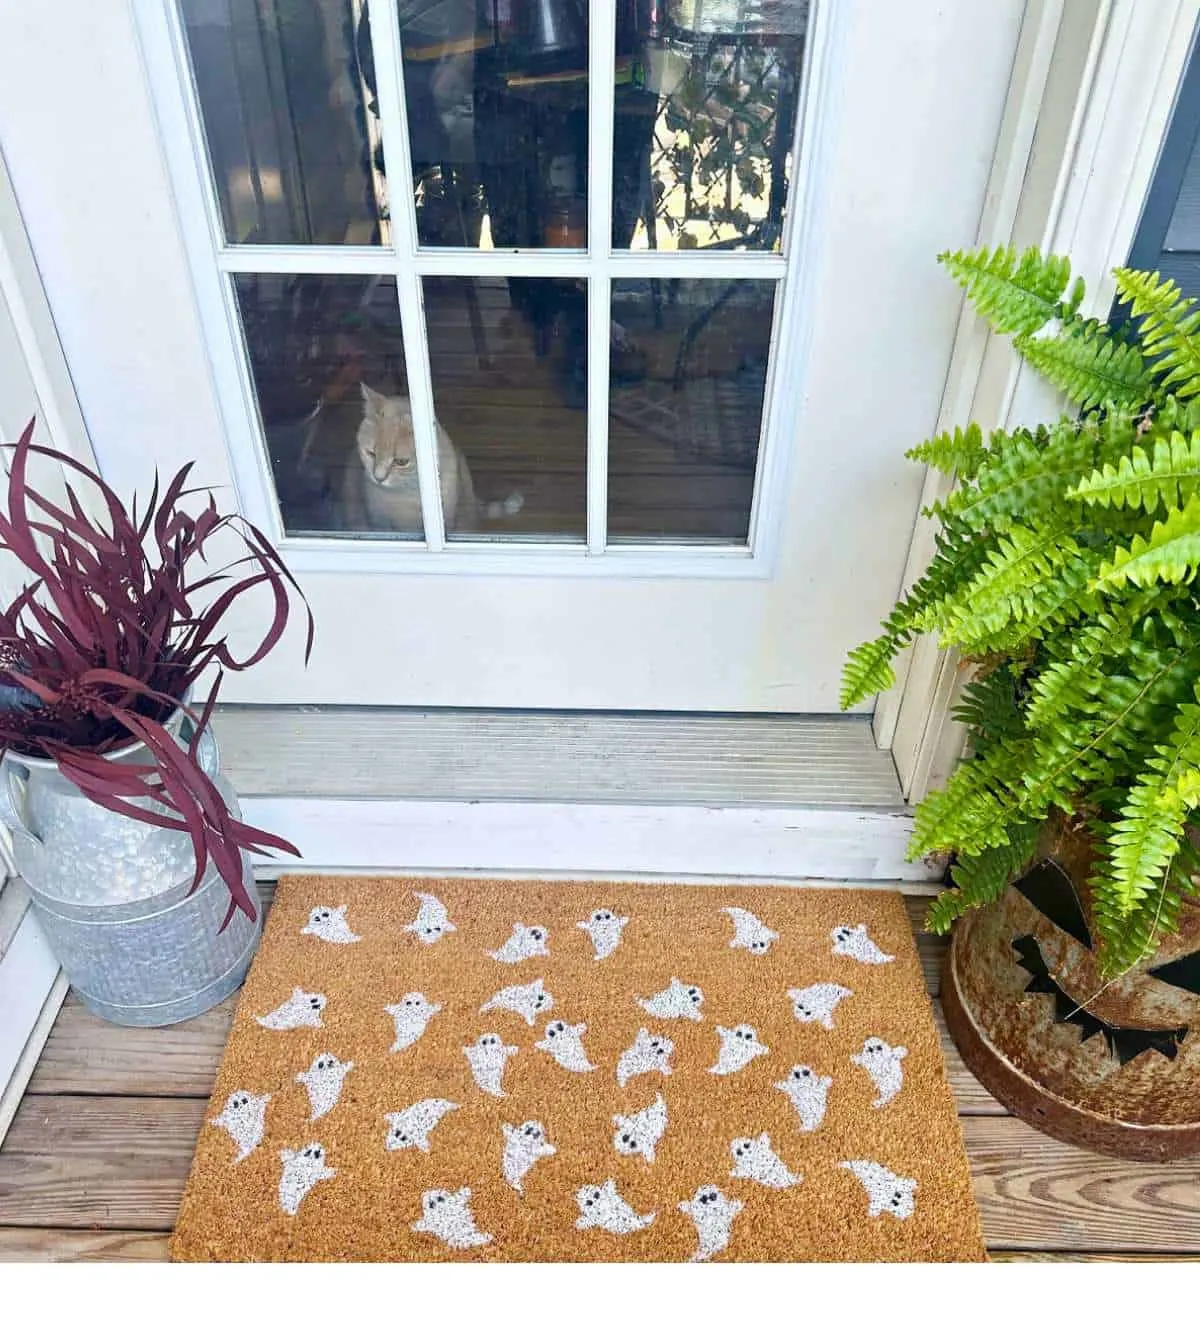
Do you see my adorable little cat, Nala in the door? She is eyeing those dried stems for sure!
Happy Halloween!
If you prefer to buy your own Halloween accent rugs, I’ve found some cute ones below.
So what do you think? Are you going to give this easy ghost Halloween doormat a try?
If you do, please let me know in the comments below or tag me on Facebook or Instagram.
It totally makes my day to see that I inspired someone. 🙂
Please share this on Facebook or save it to your favorite craft or DIY board on Pinterest.
Have a great day and happy crafting!
Here are even more DIY Halloween Ghost Decorations
- Ghost Mug – Pottery Barn Dupe
- Thrift Store Ghost Painting DIY
- Halloween Ghost Pillow – Homegoods Dupe
- Halloween Ghost Centerpiece
Enjoy these fall decorations:
- Fall Porch Decorating Ideas
- Fall Coffee Table Decor
- Fall Porch Decorating Ideas
- Vintage Wall Pockets from a Tin Can
- Faux Concrete Pumpkins
- Fall Wreath DIY
- Warm and Welcoming Fall Decor
You can find me on social media below:
Google Web Story: Outdoor Halloween Doormat

