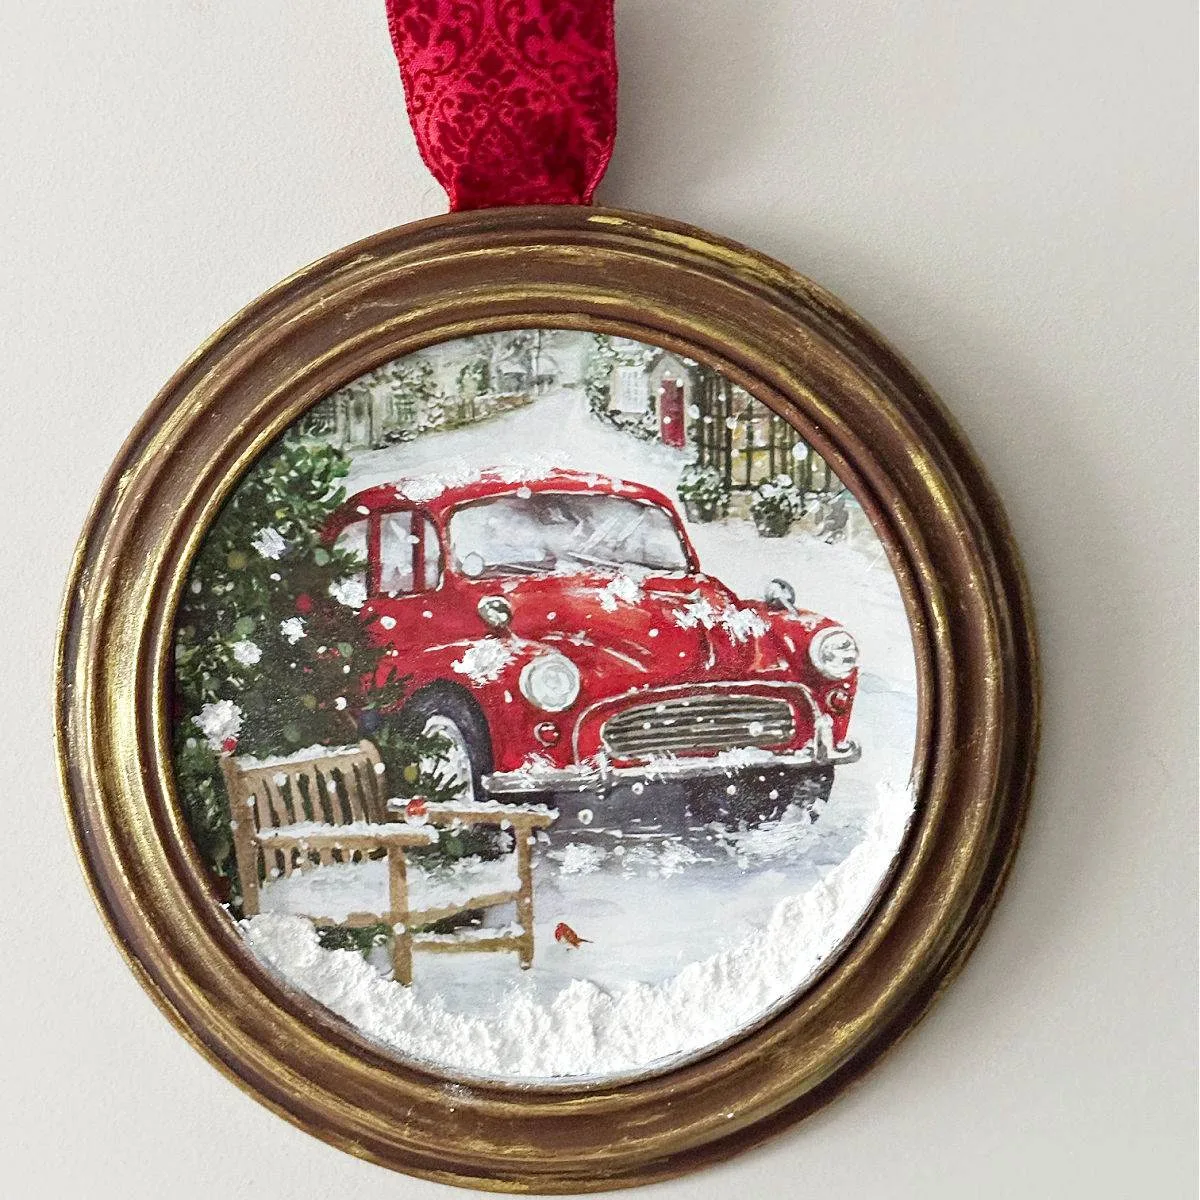
Easily create upcycled thrift store art with this creative upcycling DIY. Turn a simple gift bag into a chic and budget-friendly decor piece.
This post contains affiliate links. This means if you click the link and buy something, I may receive a percentage of sales at no extra cost to you. Please see my full disclosure here.
Upcycled Thrift Store Art
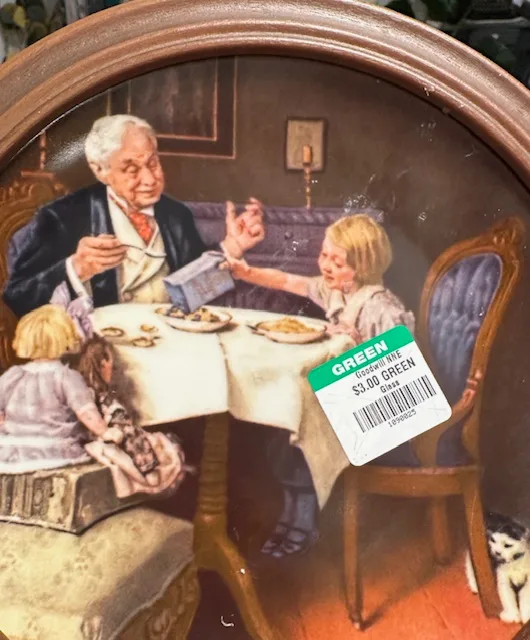
The Christmas crafting continues and this one is a gift for me! On one of my recent thrift store trips, I found a round wood-framed plate for $3.
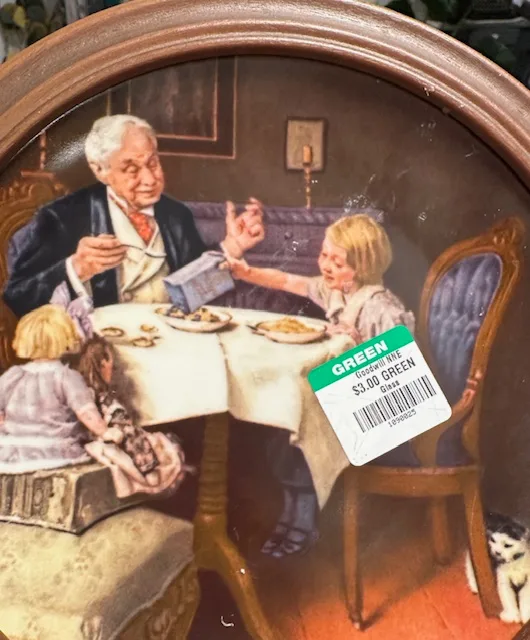
This was a reproduction Norman Rockwell collectible plate. I know a lot of people question painting over or covering up an antique. I did check the value and it was selling for about $7, so I felt fine covering it up.
Also, it’s important to decorate with items that you love, or that speak to you, and this art was not my design style.
The art section is the first aisle I check when visiting Goodwill. You can usually find ornate or vintage style frames for a song.
Red Truck Gift Bag
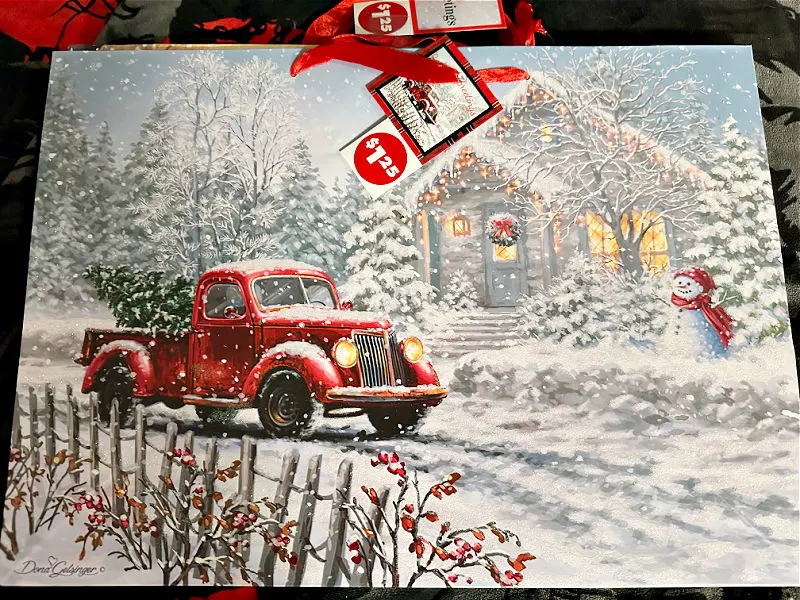
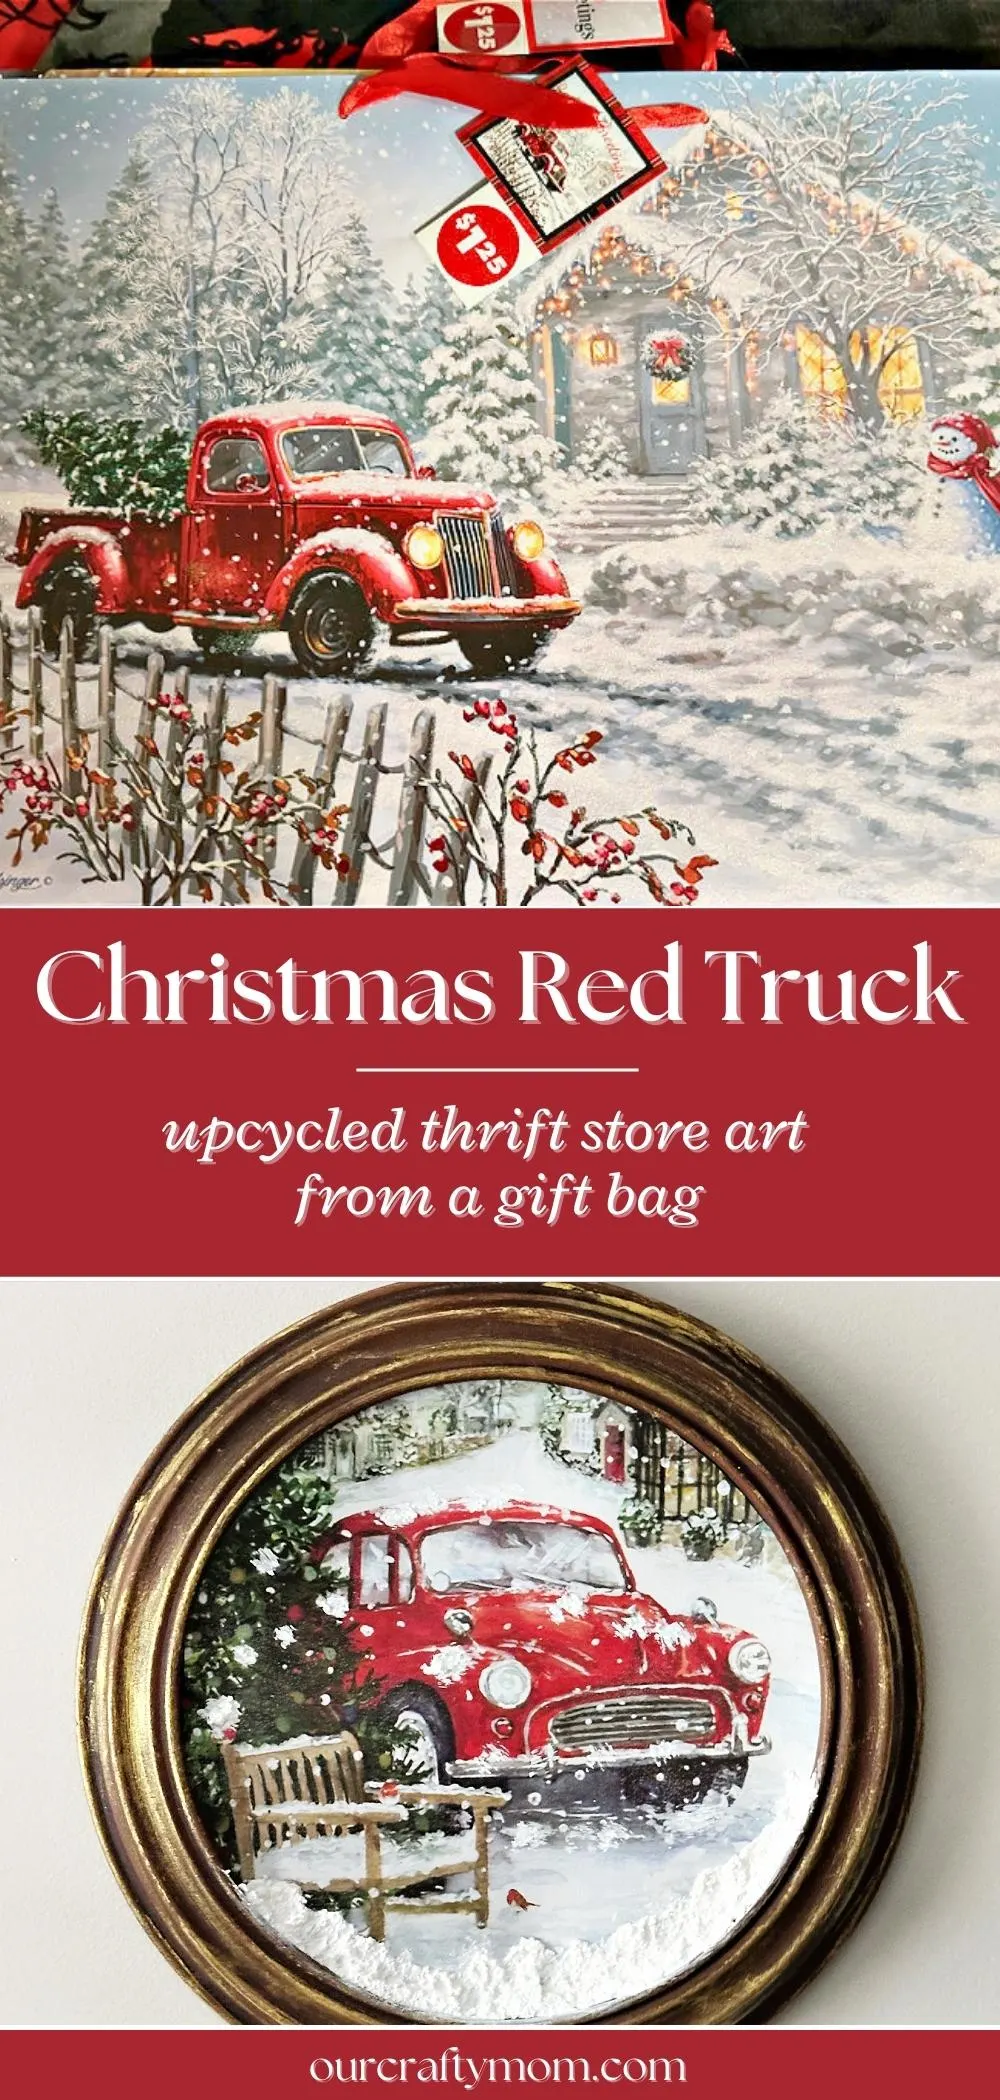
My plan was to create painted Christmas art similar to the Halloween art I made. But, I decided to repurpose a Dollar Tree gift bag with a gorgeous red truck design.
If you follow me on social media you know I love little red truck decor. Be sure to check out this article with 29 DIY red truck Christmas crafts and decor.
I’ve used this decoupage technique several times over the past few years. Here are a few upcycled Christmas gift bag ideas. My favorite is the winter deer scene in an embroidery hoop.
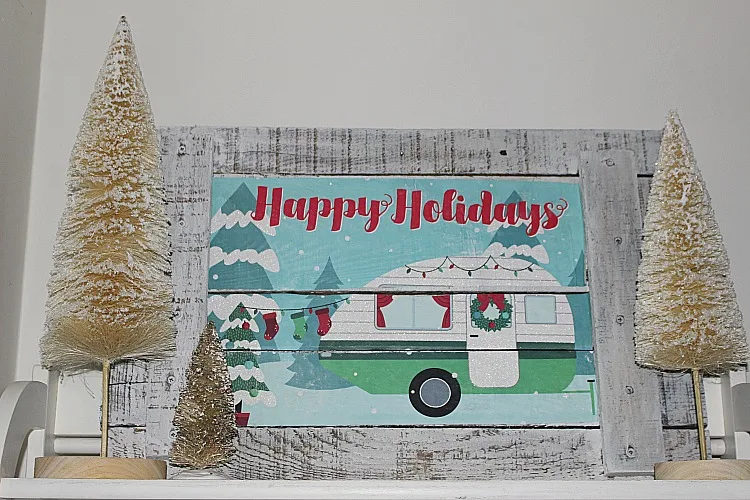
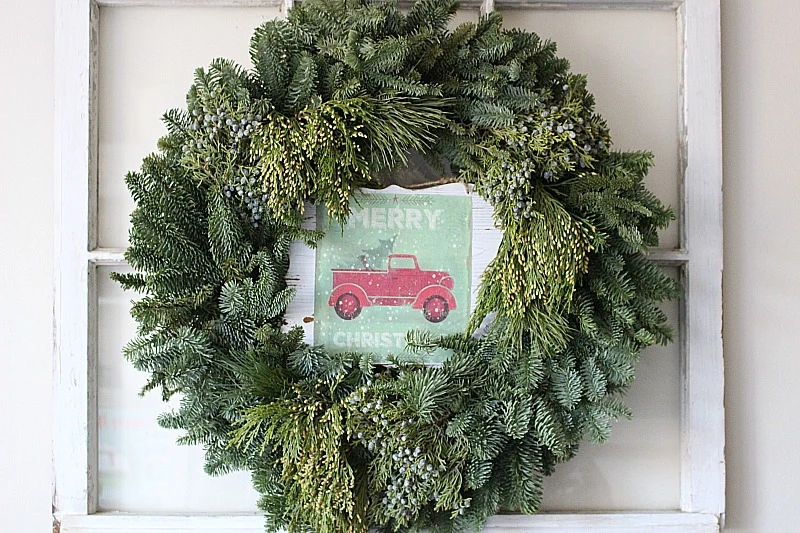
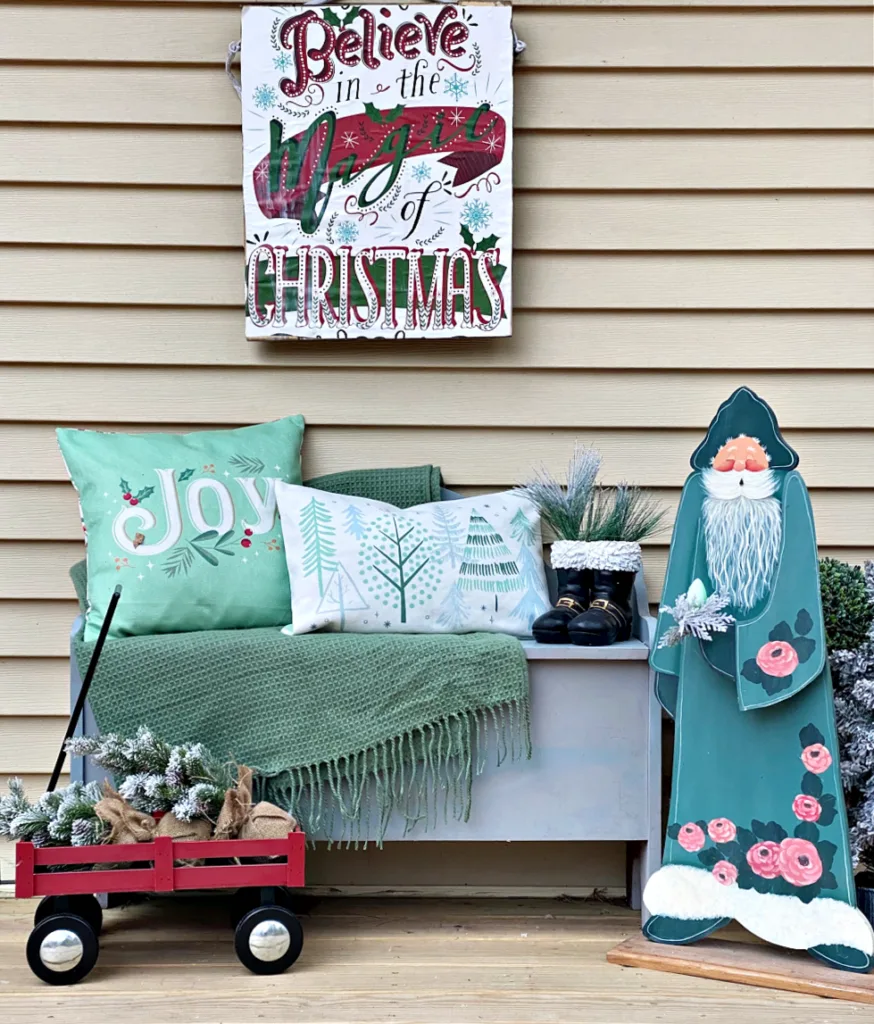
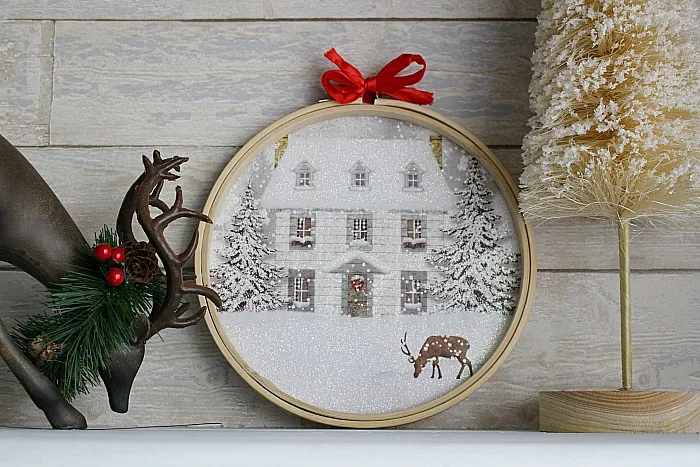
One of the reasons I decided to use this gift bag was it has more of a winter design, so I can leave it up the entire winter season.
Let’s get to the quick tutorial.
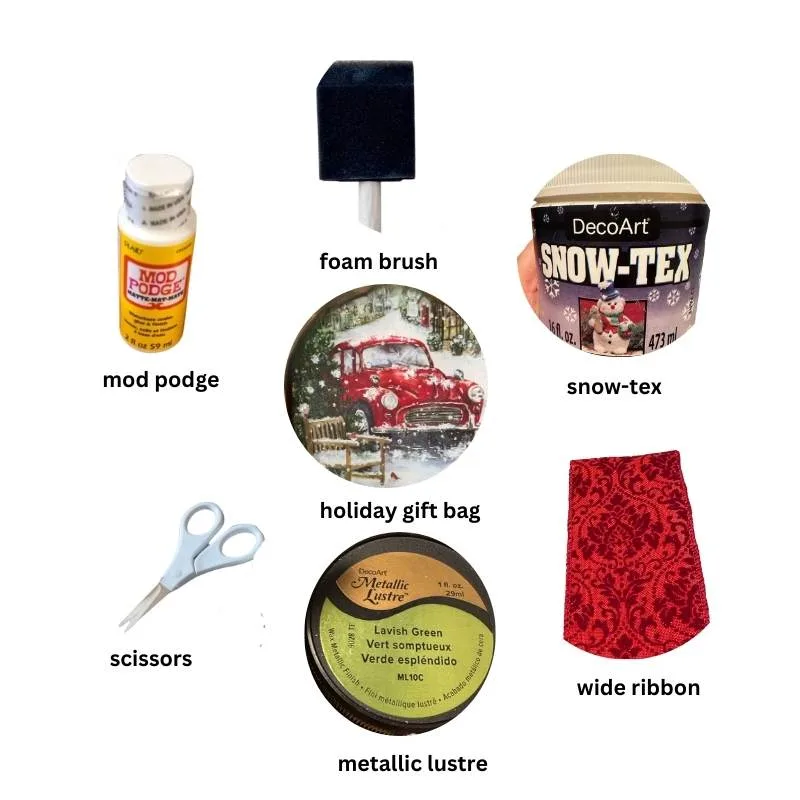
Supplies
- Red Truck Christmas Gift Bag – mine is from Dollar Tree
- Foam Brush
- Mod Podge – I went with matte
- Snow-Tex
- Deco-Art Metallic Lustre
- Craft Knife or scissors– I love this Cricut knife kit
- Ribbon
- Hot Glue Gun
Step 1. Find a Gift Bag
Start by finding a large gift bag that you love. You can also find them at craft and home stores.
Step 2. Cut the gift bag
Cut the gift bag to fit the frame. The easiest way to do this with this type of art is to turn the art over and trace around the plate with tissue paper. Cut it out.
Then you can place the cut tissue paper onto the gift bag to cut the are that you want to focus on.
Step 3. Add mod podge
Use a foam brush to add mod podge to the art. I went with matte.

Step 4. Attach the gift bag
Place the bag on top of the art and smooth it down. Use a credit card, or squeegee to smooth out any wrinkles.
Step 5. Add snow-tex
Use a craft stick to apply snow-tex to highlight the snowy areas on the design. I went heavy at the base of the art, then added some highlights onto the truck.
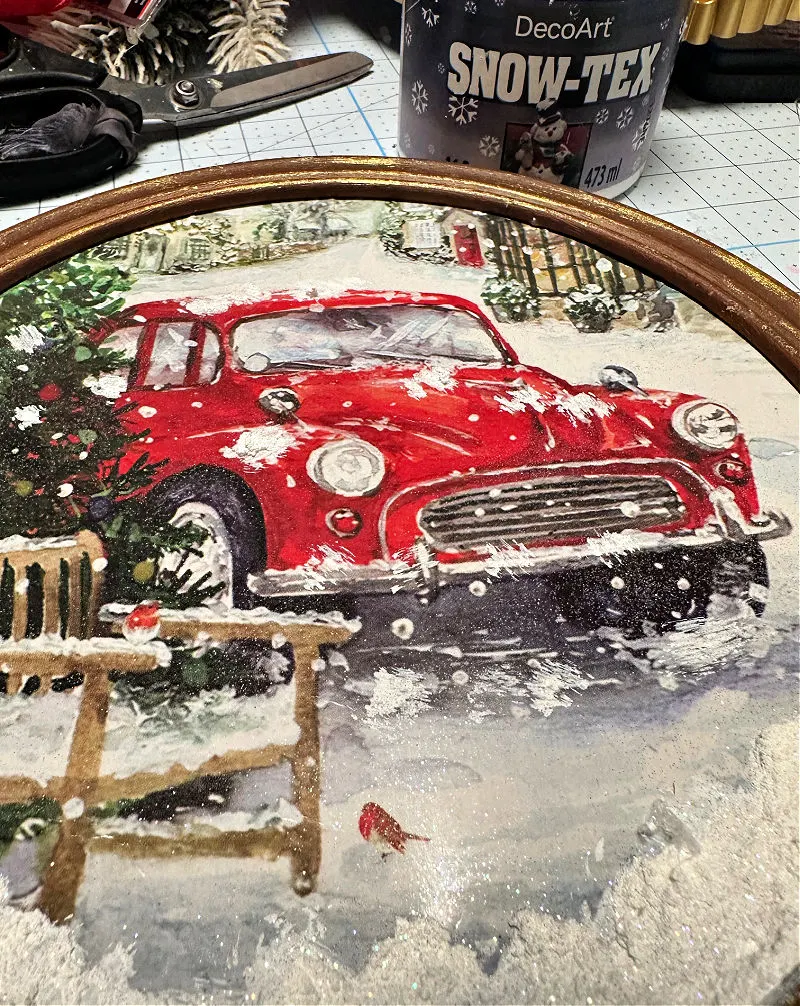
The snow-tex really makes the design pop.
Step 6. Use gold wax on frame
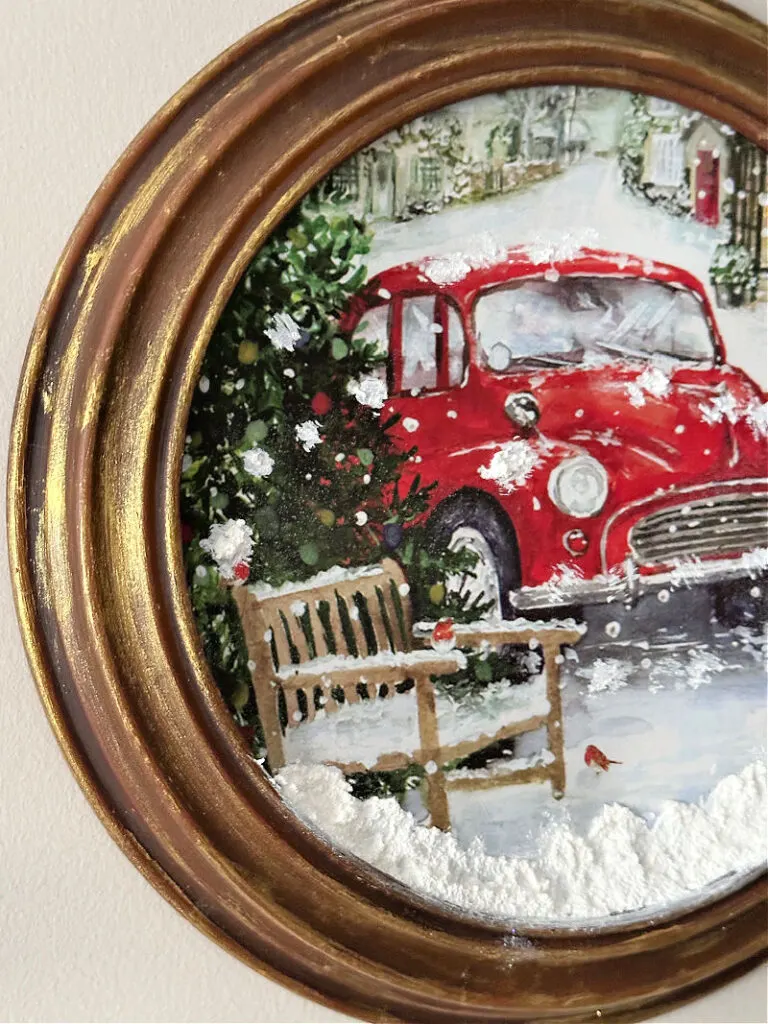
The existing frame was a bit outdated in a dark brown shade. Nothing a bit of gold metallic lustre can’t fix.
This gorgeous gold wax has been used on repeat this entire holiday season. It adds so much depth and dimension. Look at the beautiful color:
Step 7. Attach ribbon for hanging
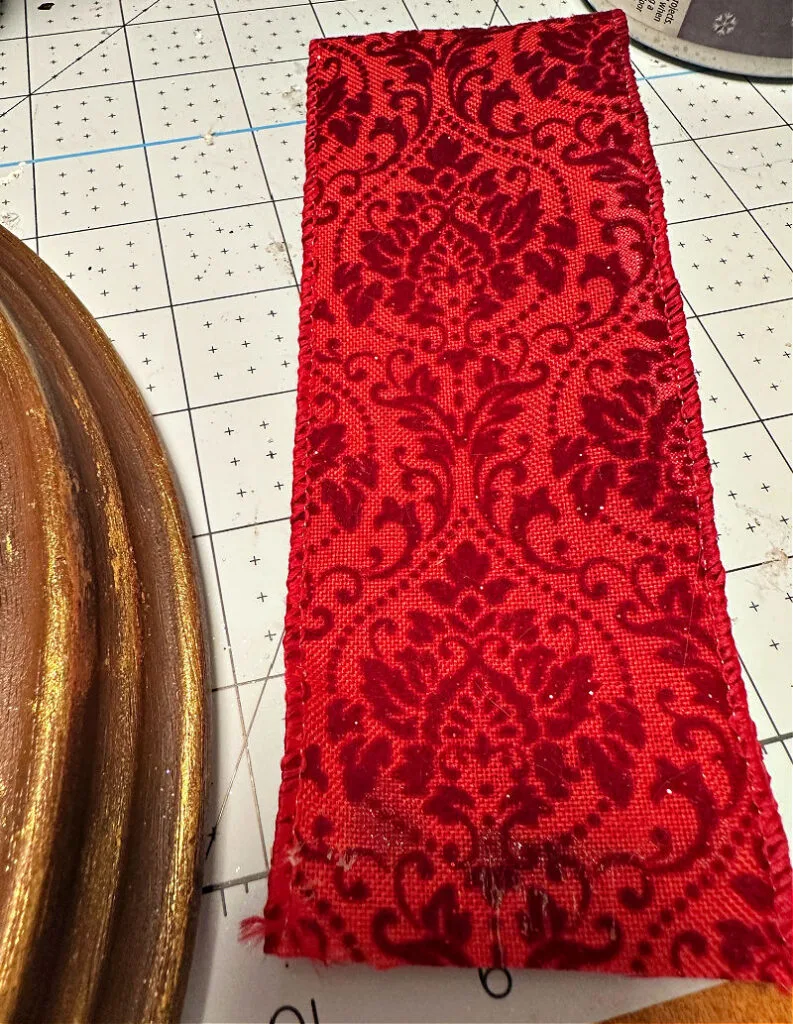
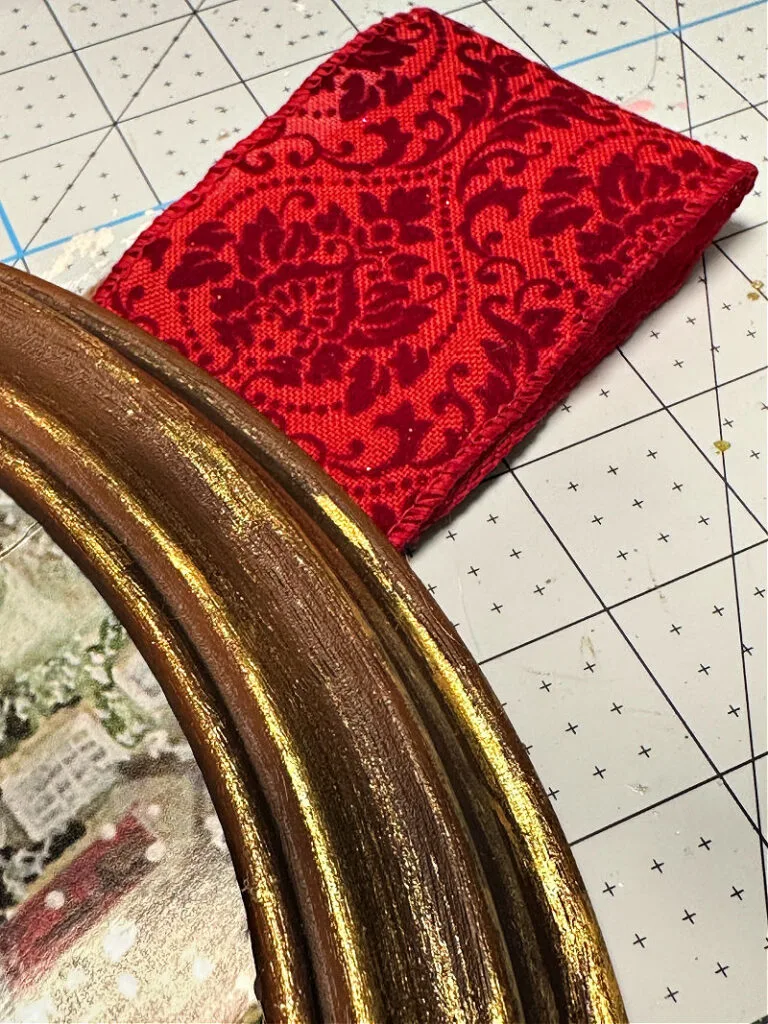
The final step is to cut a piece of ribbon and secure it to the back of the art. I picked up this lovely red brocade ribbon at the after Christmas sales last year.
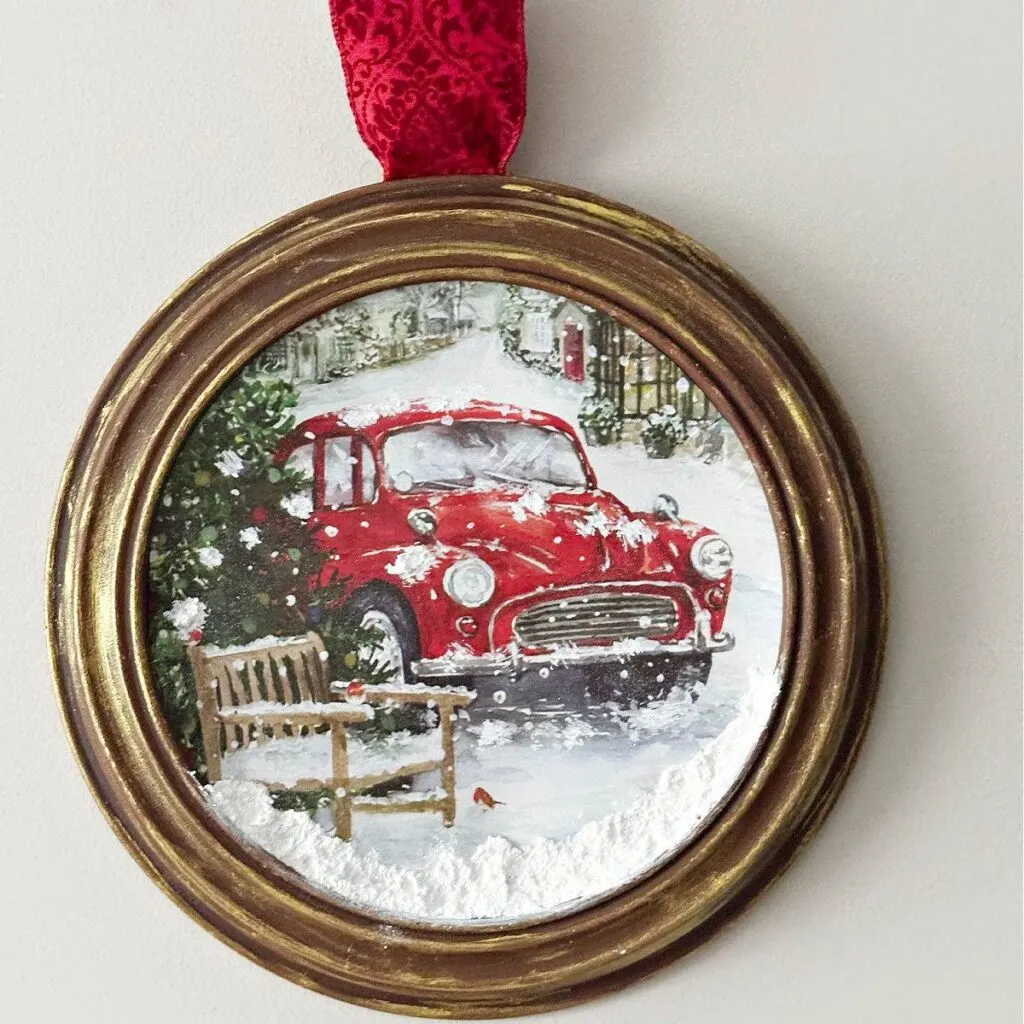
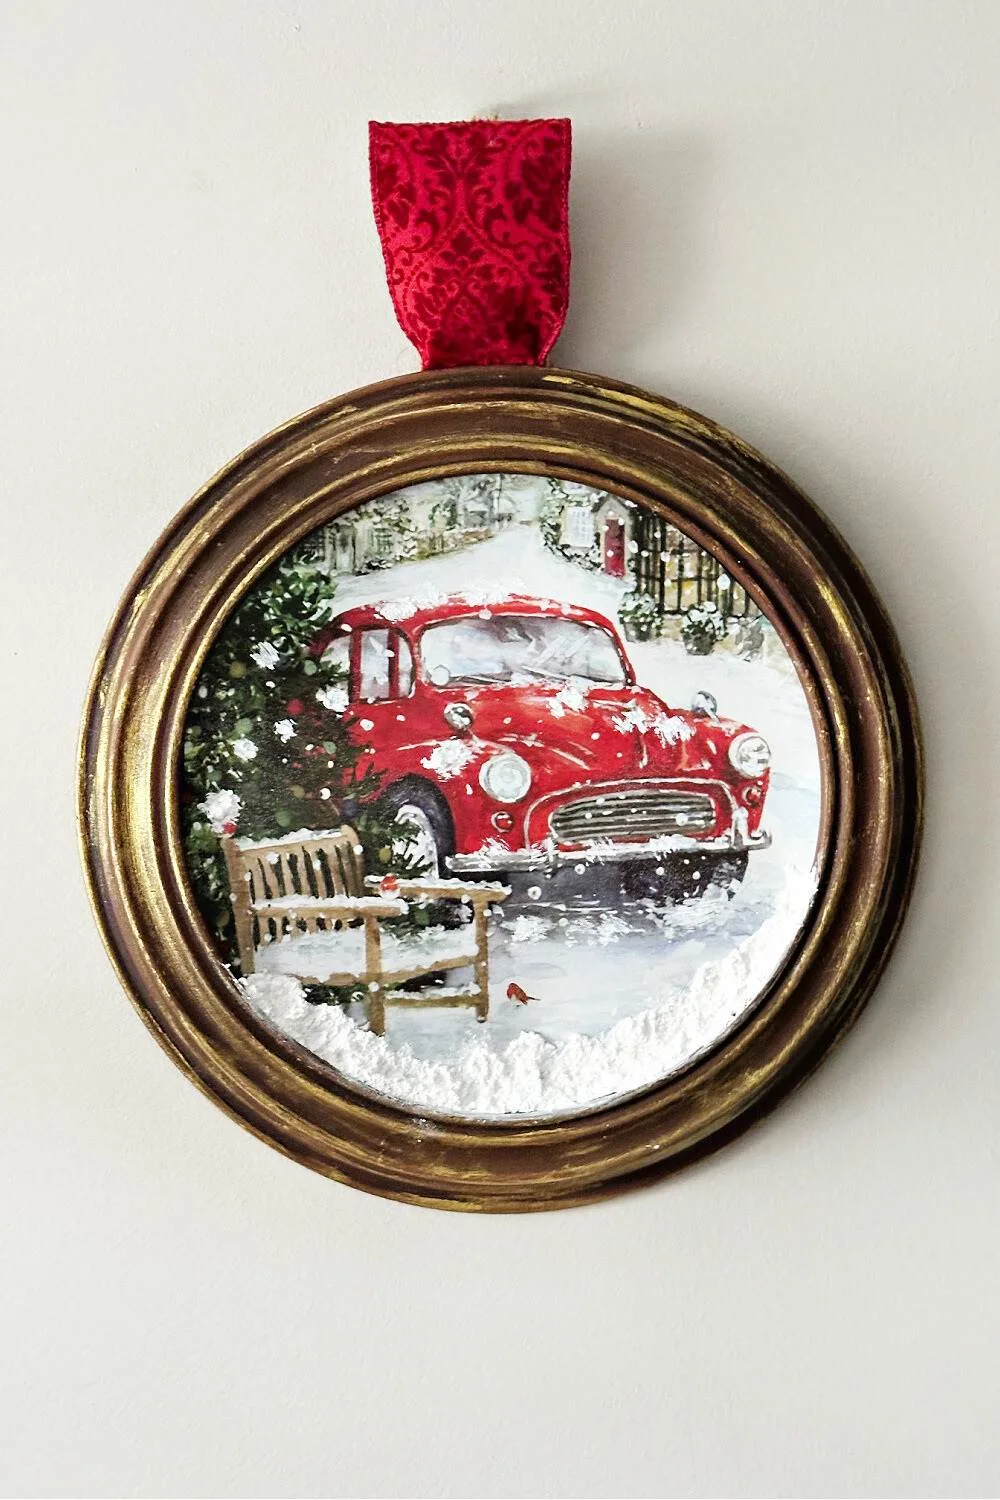
That’s all there is to it-beautiful upcycled thrift store art using a Dollar Tree gift bag. This looks like something you would find at a boutique or antique shop.
What do you think of this upcycled art idea? Is this something you could see yourself making? Check out the gift bags the next time you are shopping.
They really do have some pretty designs. The after Christmas sales are a great time to buy them on clearance for next year.
I’d love it if you would share this article with your friends on Pinterest by pinning the below image.
It helps my blog grow and doesn’t cost a thing! 🙂
If you do make your own gift bag art, be sure to share it with us on Facebook or Instagram.
Just tag @ourcraftymom. You never know who you may inspire.
Become a VIP newsletter subscriber and get instant access to my library of free printables (including wall art, gift tags, and more!).
Click HERE to join today. I share new printables FREE with subscribers each month as a thank you for visiting.
Here Are a Few of my Most Popular Decoupage Projects:
- How to Decoupage with Napkins
- How to Decoupage on Glass
- How to Make Buffalo Check Plates with Mod Podge
- How to Decoupage with Mod Podge on Soap
What Materials Can You Use to Decoupage?
- Fabric
- Specialty Decoupage Paper
- Laser-printed photos
- Book Pages
- Beautiful Napkins for Decoupage
- Sheet music
Thanks so much for stopping by. Happy holidays!

For even more budget-friendly Christmas ideas, you don’t want to miss this amazing collection of 81 Dollar Tree Christmas Crafts and these 37+ DIY Dollar Tree Christmas Ornaments.
Follow me on social media below:
